manuals.online logo
Brands
  1. Home
  2. •
  3. Brands
  4. •
  5. Haverland
  6. •
  7. Heater
  8. •
  9. Haverland RCTT Manual

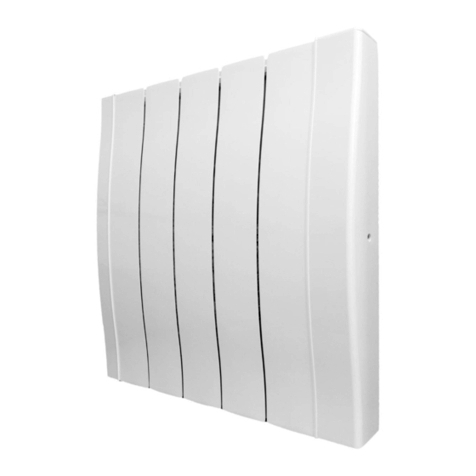
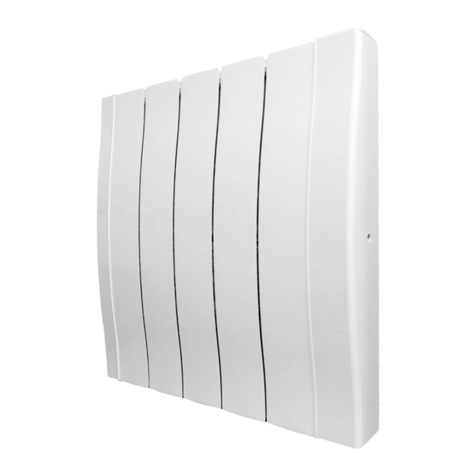
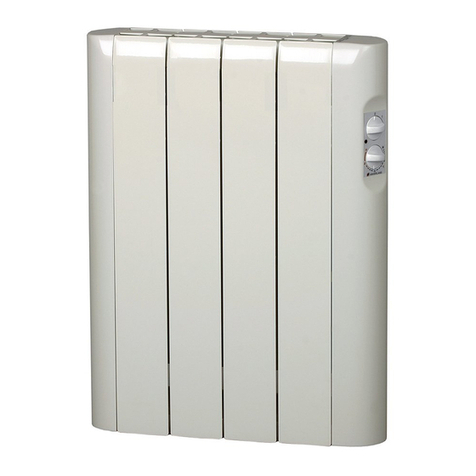
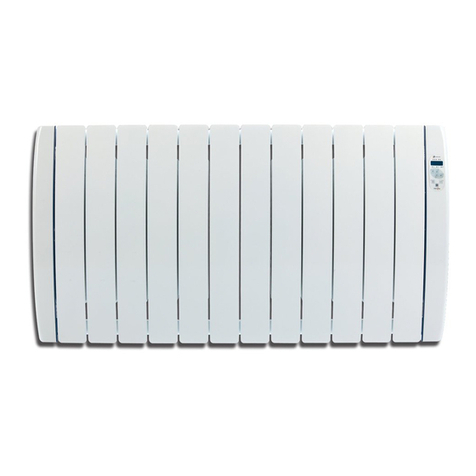
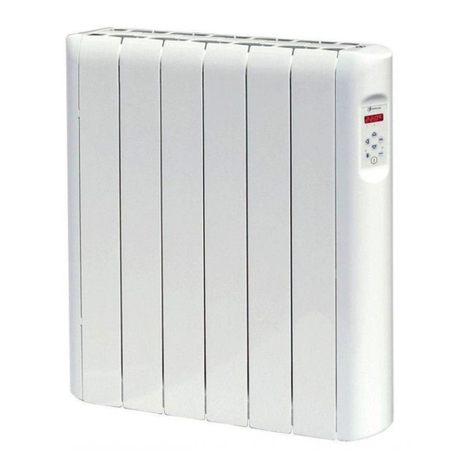
Haverland RCTT Manual

1
3
2
RCTT LCD Guía Rápida
Español
1. Colocar
2. Caer
3. Apoyar
Atornille
completamente
para jar el emisor
IMPORTANTE:
Pulse el
interruptor
situado en
el lateral
derecho.
12
Siga este link o realice una fotografía con su smartphone o tablet al código
QR para acceder al manual completo:
https://haverland.com/wp-content/uploads/2021/09/rctt-lcd_v1.0_septiember-2021_esukfp2021.pdf
ESCANEAR
MANUAL
COMPLETO
ADVERTENCIAS GENERALES
• PELIGRO: NO CUBRIR EL APARATO. NO LO USE PARA SECAR ROPA. Si se cubre, existe el riesgo de producirse un sobrecalentamiento.
• PELIGRO: Si el aparato se va a instalar en un cuarto de baño, debe ser instalado de tal manera que no pueda ser tocado por cualquier persona que se encuentre en la bañera o ducha.
• El manual incluye la instalación completa, las instrucciones de programación, garantía, advertencias de seguridad y funciones avanzadas.
1
INSTALACIÓN
2
El radiador es pesado. Si es
necesario, solicite ayuda durante
la instalación para prevenir daños
personales.
Plantilla
incluida
Atornille hasta tocar
la patilla inferior
(M. 6 x 40 mm)
4 Tornillos
5,5 x 60 mm
INICIO - PRIMERA CONEXIÓN - MODO MANUAL3MODOS FUNCIONAMIENTO
4
Apoye el
emisor
1
3
2
Instructions &
installation manual
English
Slide the
radiator up,
Place over
top tang
and lower
gently into
position
Screw down
FULLY to lock
the radiator
IMPORTANT:
Please enter the following link in order to access to the full
online manual:
https://haverland.com/wp-content/uploads/2021/09/rctt-lcd_v1.0_septiember-2021_esukfp2021.pdf
SCAN FOR
FULL
MANUAL
CAUTION
• WARNING: In order to avoid overheating, do not cover the radiator.
• WARNING: If the radiator is to be installed in a bathroom, it must be positioned so that it cannot be touched by anybody inside the bath or shower.
• Manual includes full installation and programming instructions, warranty details, safety guidance and advanced settings.
1
INSTALLATION
2
The radiator is heavy.
If necessary, ask for help during
installation.
Personal injury may occur.
Cardboard
template
Place the screw but
don’t screw it fully.
(M. 6 x 40 mm)
4 Screws 5.5
x 60 mm
Place
the radiator
Para un uso eciente de su radiador recomendamos usar el modo
AUTO. Consulte el manual de instrucciones completo.
50 cm
15 cm
50 cm
15 cm
3
Se muestra
en la pantalla
todos los
iconos.
4
A continuación, aparece
una segunda pantalla
con la versión del
software.
5
El radiador conecta
en MODO MANUAL
a una temperatura de
consigna de 20 ºC.
6
Pulse la tecla o
para denir la temperatura
deseada. Pulse la tecla
para conrmar.
Este símbolo le indicará que
el radiador está calentando.
Presione la tecla si desea conocer la
temperatura ambiente.
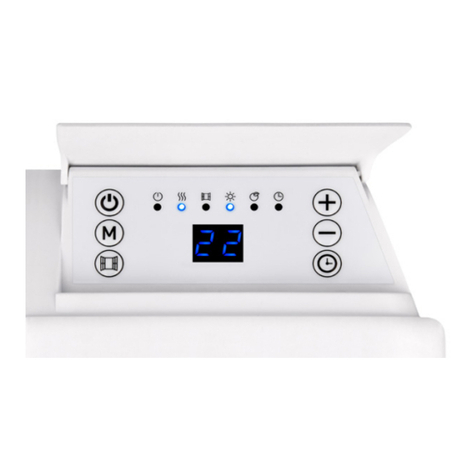
El radiador dispone de 4 modos de funcionamiento: AUTO / OFF / ANTIHIELO / MANUAL.
Para elegir el modo de funcionamiento, pulse sucesivamente la tecla . Una vez
seleccionado, pulse la tecla para conrmar.
Modo AUTO Modo OFF
Modo Antihielo Modo Manual
El radiador sigue la programación
realizada según sus necesidades y
de acuerdo con las temperaturas
seleccionadas.
Este modo se utiliza para largos periodos
de ausencia en los que se quiere evitar
que se congelen las tuberias.
Utilice este modo para desconectar el
radiador.
Si no desea programar su radiador, le
recomendamos elegir el modo MANUAL.
RCTT LCD
Press ON /
OFF switch
located at
the right rear
part of the
unit.
12
START - FIRST CONNECTION - MANUAL MODE3OPERATING MODES
4
For an efcient use of your radiator, we recommend using the
programming mode. For complete information, please read
the full instruction manual carefully.
3
All icons are
shown on the
screen.
4
Then, a second screen
appears with the
software version.
5
The radiator connects
in MANUAL MODE at
a setpoint temperature
of 20ºC.
6
Press the or
buttons to set the target
temperature. Press the
button to conrm.
This symbol means that the
radiator is heating up.
Press the button if you want to know
the room temperature.
The radiator has 4 operating modes: AUTO / OFF / ANTI-FREEZE / MANUAL. To select
the operating mode, press the button repeatedly. After selecting the operating mode,
press the button to conrm.
AUTO mode OFF Mode
Anti-freeze mode Manual Mode
The radiator follows the settings made
according to your needs and according
to the temperatures selected in any
operating mode.
This mode is used for long periods of
absence in which you want to prevent
the pipes from freezing.
To switch OFF the radiator choose the
OFF mode.
If you do not want to program your radiator,
we recommend you choose the MANUAL
mode.
1
3
2
RCTT LCD Guide d’installation et
utilisation
Français
1. Déplacer
2. Laisser
tomber
doucement
3. Soutenir
Visser
complètement pour
ajuster le radiateur
IMPORTANT:
Suivez ce lien ou lisez le code QR de ce guide pour accéder au
manuel complet en ligne:
https://haverland.com/wp-content/uploads/2021/09/rctt-lcd_v1.0_septiember-2021_esukfp2021.pdf
SCANNER
MANUEL
COMPLET
AVERTISSEMENTS GÉNÉRAUX
• DANGER: NE PAS COUVRIR L’APPAREIL. NE PAS L’UTILISER POUR SÉCHER LE LINGE.
• Si l’appareil est installé dans une salle de bain, il doit être placé de telle sorte que l’appareil ne puisse pas être touché par toute personne se trouvant dans la baignoire ou la douche.
• Le manuel comprend l’installation complète, les instructions de programmation, la garantie, les avertissements de sécurité et les fonctions avancées.
1
INSTRUCTIONS D’INSTALLATION
2
RADIATEUR LOURD. En cas de
mauvaise manipulation, l´appareil
peut s’endommager. Si nécessaire,
demandez de l´aide pour l´installer.
Patron
Visser jusqu´à
atteindre la lamelle
inférieure (M.6 x 40
mm).
4 Vis
5,5 x 60 mm
Soutenir le
radiateur
1
3
2
RCTT LCD Manual de instalação
e uso
Português
1. Desloque
2. Cair
3. Apoie
Termine de
aparafusar para
xar o emissor
IMPORTANTE:
Siga este link ou leia o código QR deste guia para acessar o
manual on-line completo:
https://haverland.com/wp-content/uploads/2021/09/rctt-lcd_v1.0_septiember-2021_esukfp2021.pdf
SCAN
MANUAL
COMPLETO
ADVERTENCIAS GERAIS
• PERIGO: Não tape o aparelho. Não o use para secar roupa. Se o cobrir, corre o risco de um sobreaquecimento.
• PERIGO: Num quarto de banho, o aparelho deve ser instalado de forma a não poder tocado por qualquier pessoa que se encontre na banheira ou duche.
• O manual inclui instalação completa, instruções de programação, garantia, avisos de segurança e funções avançadas.
1
INSTALAÇÃO
2
O emissor é pesado.
Se necessário, peça ajuda durante a
instalação.
Lesões pessoais podem ocorrer.
Escantilhão
Aponte o parafuso
até que toque na
patilha inferior
(M. 6 x 40 mm)
4 Parafusos
5,5 x 60 mm
Apoie o
emissor
50 cm
15 cm
50 cm
15 cm
Pour allumer,
appuyez sur
l’interrupteur
ON / OFF
situé sur le
latéral droit
de l’appareil.
12
DÉMARRAGE - PREMIER BRANCHEMENT - MODE MANUEL
3MODES DE FONCTIONNEMENT
4
Pour une utilisation efcace du radiateur, nous vous recommandons
d’utiliser le mode programmé. Veuillez lire l’intégralité du
manuel d’instructions.
3
Toutes
les icônes
s’achent à
l’écran.
4Puis un deuxième écran
apparaît avec la version
du logiciel.
5
Le radiateur s’allume
en MODE MANUEL à
une température de
consigne de 20ºC.
6Appuyez sur la touche
ou pour régler
la température souhaitée.
Appuyez sur la touche
pour conrmer.
Ce symbole vous
indiquera que le radiateur
chauffe.
Appuyez sur la touche si vous
souhaitez connaître la température
ambiante.
Le radiateur dispose de 4 modes de fonctionnement : AUTO / OFF / HORS-GEL / MANUEL. Pour
sélectionner le mode de fonctionnement, appuyez successivement sur la touche . Après
avoir sélectionné le mode de fonctionnement, appuyez sur la touche pour conrmer.
Mode Automatique Mode OFF
Mode Hors-gel Mode Manuel
Le radiateur suit la programmation
congurée selon vos besoins et selon
les températures sélectionnées dans
n’importe quel mode de fonctionnement.
Ce mode est utilisé pour les longues
périodes d’absence pendant lesquelles
vous souhaitez éviter que les
canalisations ne gèlent.
Utilisez ce mode pour éteindre le radiateur.
Si vous ne souhaitez pas programmer votre
radiateur, nous vous conseillons de choisir le
mode MANUEL.
Carregue no
interruptor ON/
OFF, que se
encontra na
parte posterior
direita do
aparelho.
12
INÍCIO - PRIMEIRA CONEXÃO - MODO MANUAL3MODOS DE OPERAÇÃO
4
Para o uso eciente do seu emissor recomendamos o uso do modo
programado. Consulte o manual de instruções completo.
3
Todos os
ícones são
mostrados no
ecrã.
4
Em seguida, um
segundo ecrã aparece
com a versão do
software.
5
O radiador se conecta
no MODO MANUAL
a uma temperatura
denida de 20 ºC
6
Pressione a tecla ou
para denir a temperatura
pretendida. Pressione a tecla
para conrmar.
Este símbolo indica que o
radiador está a aquecer.
Pressione a tecla se quiser saber a
temperatura.
O radiador possui 4 modos de operação: AUTO / OFF / ANTI-GELO / MANUAL.
Para selecionar o modo de operação, pressione sucessivamente a tecla . Após
selecionar o modo de operação, pressione a tecla para conrmar.
Modo AUTO Modo OFF
Modo Anti-gelo Modo Manual
O radiador segue a programação
realizada de acordo com as suas
necessidades e de acordo com as
temperaturas selecionadas em qualquer
modo de operação.
Este modo é utilizado para longos
períodos de ausência quando se pretende
evitar o congelamento das tubagens.
Use este modo para desconectar o radiador.
Se você não deseja programar o seu
radiador, recomendamos escolher o modo
MANUAL.
Bleu ou Gris
Marron
NEUTRE
Terre (Vert et jaune)
PHASE
Cordon de l’appareil RÉSEAU 230 V
TERRE

Other manuals for RCTT

5

Other Haverland Heater manuals

Haverland RCO Parts list manual

Haverland

Haverland RCO Parts list manual

Haverland RCWave+ ANTHRACITE Parts list manual

Haverland

Haverland RCWave+ ANTHRACITE Parts list manual

Haverland HERCULES Operating instructions

Haverland

Haverland HERCULES Operating instructions

Haverland ES 4 User manual

Haverland

Haverland ES 4 User manual

Haverland RC-4A Manual

Haverland

Haverland RC-4A Manual

Haverland TE-700E Manual

Haverland

Haverland TE-700E Manual

Haverland RC3W Parts list manual

Haverland

Haverland RC3W Parts list manual

Haverland TE-700I User manual

Haverland

Haverland TE-700I User manual

Haverland CHT-180 Parts list manual

Haverland

Haverland CHT-180 Parts list manual

Haverland ECOJOULE Parts list manual

Haverland

Haverland ECOJOULE Parts list manual

Haverland ePOINT Parts list manual

Haverland

Haverland ePOINT Parts list manual

Haverland TE-700I Parts list manual

Haverland

Haverland TE-700I Parts list manual

Haverland SIMPLY-4 Parts list manual

Haverland

Haverland SIMPLY-4 Parts list manual

Haverland RCTT 2018 Version User manual

Haverland

Haverland RCTT 2018 Version User manual

Haverland RCES LCD Parts list manual

Haverland

Haverland RCES LCD Parts list manual

Haverland ECOVIEW Parts list manual

Haverland

Haverland ECOVIEW Parts list manual

Haverland RCB Benjamin Manual

Haverland

Haverland RCB Benjamin Manual

Haverland RCW Parts list manual

Haverland

Haverland RCW Parts list manual

Haverland WOW User manual

Haverland

Haverland WOW User manual

Haverland RC11BL Manual

Haverland

Haverland RC11BL Manual

Haverland RCMS Parts list manual

Haverland

Haverland RCMS Parts list manual

Haverland RC 4 A Manual

Haverland

Haverland RC 4 A Manual

Haverland RC-M Parts list manual

Haverland

Haverland RC-M Parts list manual

Haverland RCWave+ Parts list manual

Haverland

Haverland RCWave+ Parts list manual

Popular Heater manuals by other brands

EUROM PSOK 2000 instruction manual

EUROM

EUROM PSOK 2000 instruction manual

Heinner HRH-1600GRY instruction manual

Heinner

Heinner HRH-1600GRY instruction manual

Rowenta CLASSIC manual

Rowenta

Rowenta CLASSIC manual

Frico Tiger 2 kW Original instructions

Frico

Frico Tiger 2 kW Original instructions

Frico Thermozone PA3500 Original instructions

Frico

Frico Thermozone PA3500 Original instructions

Ratek DBH10 operating instructions

Ratek

Ratek DBH10 operating instructions

Webasto Thermo Top C Operating and installation instructions

Webasto

Webasto Thermo Top C Operating and installation instructions

HOMCOM 820-276 instructions

HOMCOM

HOMCOM 820-276 instructions

Timberk TEF T12 TN1 instruction manual

Timberk

Timberk TEF T12 TN1 instruction manual

Star Progetti VARMA 303 MOBILE operating instructions

Star Progetti

Star Progetti VARMA 303 MOBILE operating instructions

Melchioni I-Warm Robot user manual

Melchioni

Melchioni I-Warm Robot user manual

Fostoria 222 Series manual

Fostoria

Fostoria 222 Series manual

Detroit Radiant Products LD3-15-40 installation manual

Detroit Radiant Products

Detroit Radiant Products LD3-15-40 installation manual

Qlima EOR 2015 operating manual

Qlima

Qlima EOR 2015 operating manual

Tylo Steam Outlet Commercial installation guide

Tylo

Tylo Steam Outlet Commercial installation guide

HeatStar HS115IR Operating instructions and owner's manual

HeatStar

HeatStar HS115IR Operating instructions and owner's manual

Taurus ALPATEC RCMB23 Safety Advice

Taurus

Taurus ALPATEC RCMB23 Safety Advice

BASETech 1527437 operating instructions

BASETech

BASETech 1527437 operating instructions

manuals.online logo
manuals.online logoBrands
  • About & Mission
  • Contact us
  • Privacy Policy
  • Terms and Conditions

Copyright 2025 Manuals.Online. All Rights Reserved.