manuals.online logo
Brands
  1. Home
  2. •
  3. Brands
  4. •
  5. Heat & Glo
  6. •
  7. Fireplace Accessories
  8. •
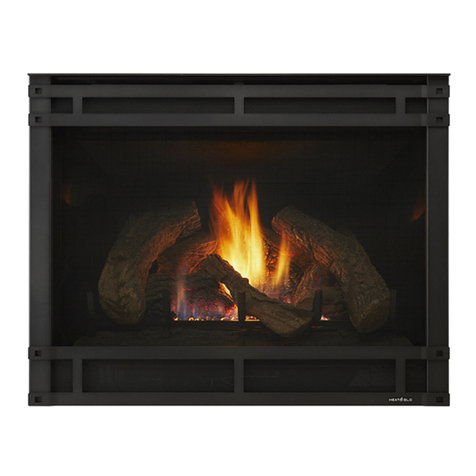
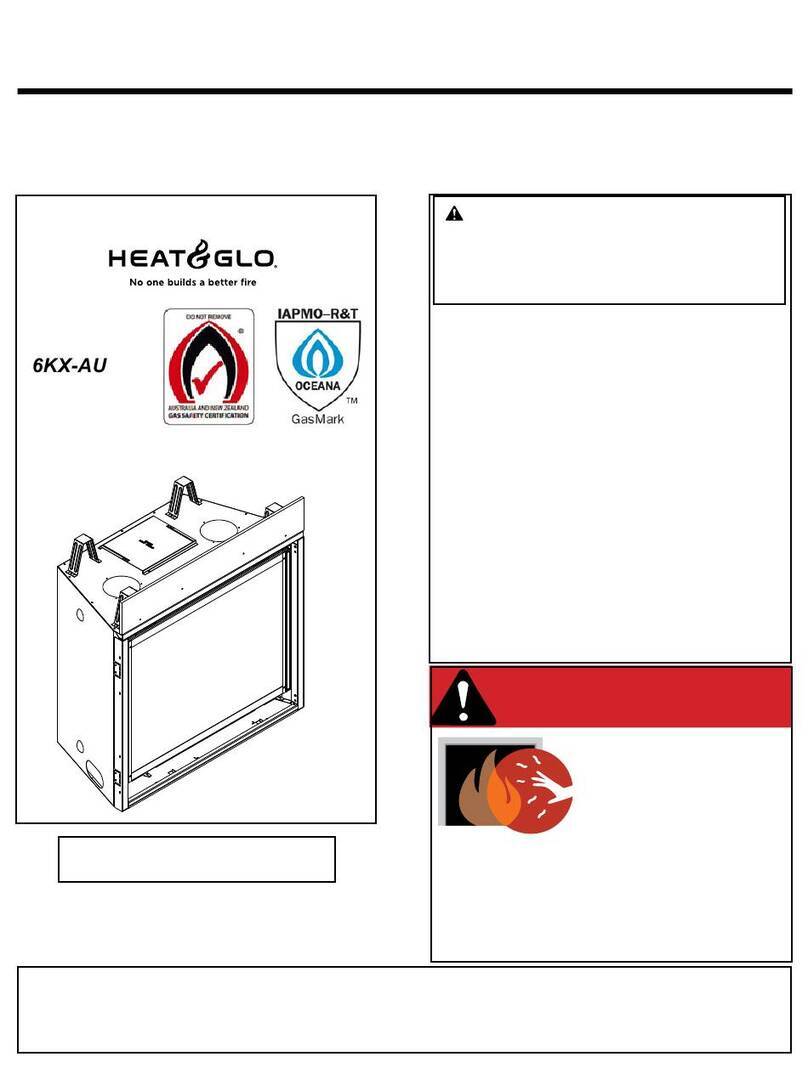
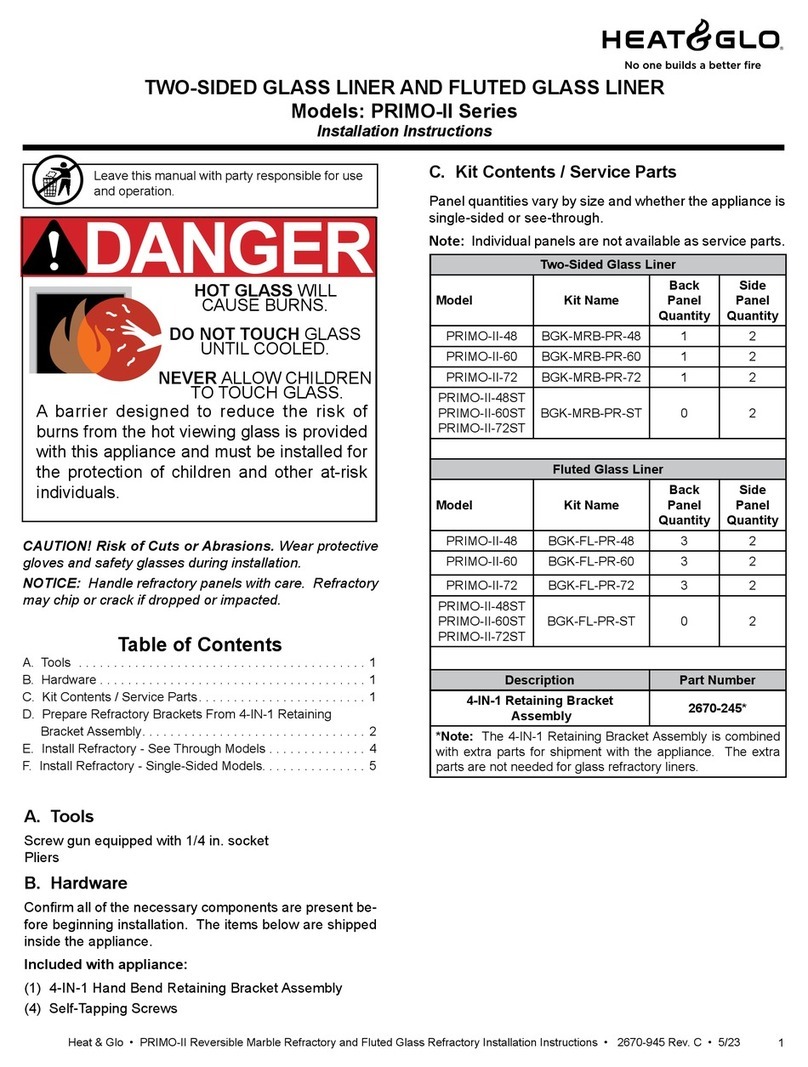
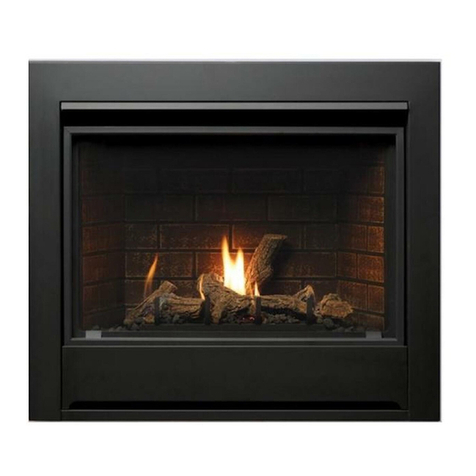
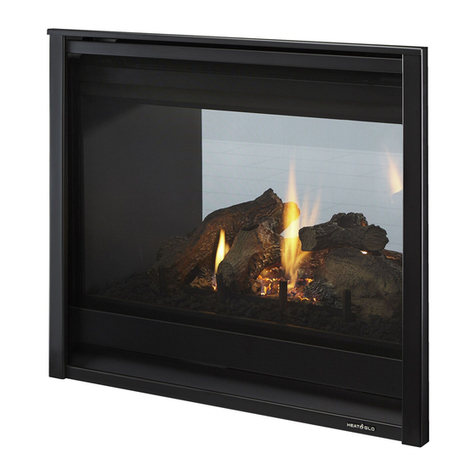
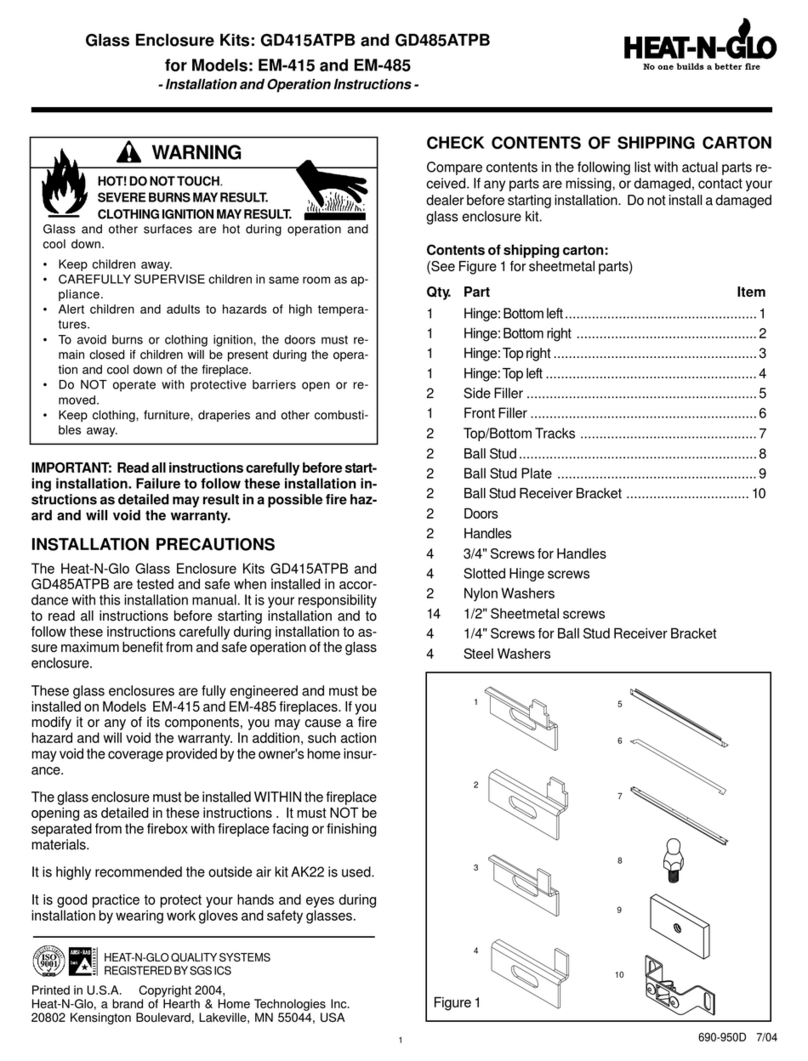
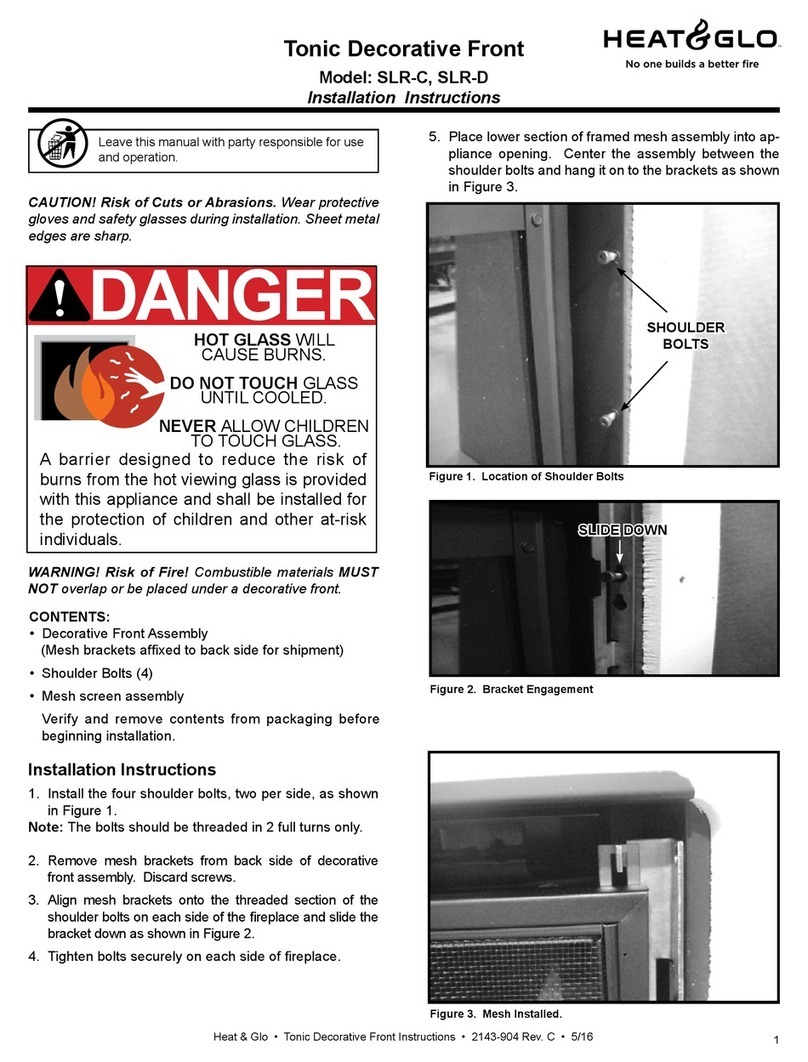
  9. Heat & Glo DRIFTWOOD-C32 User manual

Heat & Glo DRIFTWOOD-C32 User manual

1
Heat & Glo • DRIFTWOOD-C32, DRIFTWOOD-C36, DRIFTWOOD-C42 Installation Instructions • 2491-948 Rev. G • 8/22
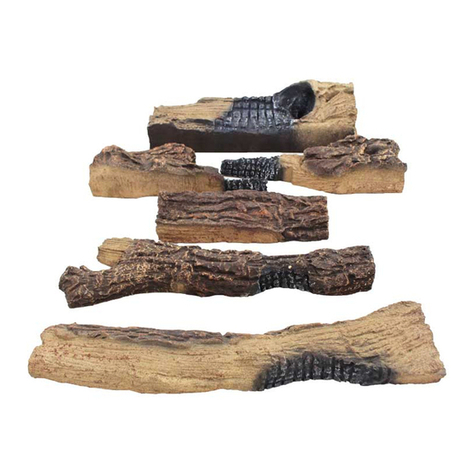
Figure 1 Log Identification - DRIFTWOOD-C32
Figure 4 Log #2 Installed - COSMO32-IFT, COSMO32-IFT-BFigure 3 Log #1 Installed - COSMO32-IFT, COSMO32-IFT-B
CAUTION: Logs are fragile, handle with care.
11
11
22
22
33
NOTICE: To simplify the installation process, use Figure 1 to positively identify each individual log before beginning
installation.
Figure 2 Burner and Pilot Hood Location - COSMO32-IFT,
COSMO32-IFT-B
LOG #1: Place Log #1 into position by setting the log onto the media and centering the log left to right between the walls of
the firebox. Ensure Log #1 is pushed as far back in the firebox as possible. The log may touch the back wall. See Figure 3.
LOG #2:
Place Log #2 into position by setting it onto the media in front of the burner and touching the left wall of the firebox. The fork
of the log should be facing right. Center Log #2 front to back between the burner and the front of the basepan. See Figure 4.
Driftwood Logs
DRIFTWOOD-C32, DRIFTWOOD-C36, DRIFTWOOD-C42
MODELS: COSMO32-IFT,COSMO32-IFT-B, COSMO36-IFT-B,COSMO42IFT, COSMO42-IFT-B, DVLINEAR36,
SLR-X-AU, SLR-X-AU-L, B41L-AU
Installation Instructions
CAUTION! Risk of Cuts or Abrasions. Wear protective gloves and safety glasses during installation.
Leave this manual with party responsible for use
and operation.
11
BURNERBURNER
PILOT HOODPILOT HOOD
1-1/2 IN. TO 2 IN. GAP1-1/2 IN. TO 2 IN. GAP
MODEL: COSMO32-IFT, COSMO32-IFT-B (For COSMO36-IFT-B, DVLINEAR36, B41L-AU see page 2. For
COSMO42-IFT, COSMO42-IFT-B, SLR-X-AU and SLR-X-AU-L go to page 4.)
PILOT HOODPILOT HOOD
11
NOTICE: Logs/Media must not be placed on or against burner or pilot shield. Sooting will occur.
Stones may be used with DRIFTWOOD-C32/C36/C42. They MUST be placed in a single layer and not cross the
burner or pilot shield. Sooting will occur.
Note: Media must be installed prior to installation of Driftwood Logs. Media installation instructions are included in the
appliance installation manual.
Note: Logs may need to be adjusted using slight back and forth movements in order for them to settle into the
media securely.
NO LOGS OR MEDIA IN THIS AREANO LOGS OR MEDIA IN THIS AREA
2Heat & Glo • DRIFTWOOD-C32, DRIFTWOOD-C36, DRIFTWOOD-C42 Installation Instructions • 2491-948 Rev. G • 8/22
LOG #3:
Place Log #3 into position by setting it onto the media in front of the burner and touching the right wall of the firebox. Ensure
the log is centered front to back between the burner and the front of the basepan, and is placed into position with respect
to Log #2. See Figure 5.
33
Figure 5 Log #3 Installed - COSMO32-IFT, COSMO32-IFT-B
1122
11
2233
Note: Consult media placement instructions in appliance installation manual to verify that media rock pieces are placed
correctly and ensure that no media has fallen into areas where it is not allowed.
MODELS: COSMO36-IFT-B, DVLINEAR36, B41L-AU
NOTICE: To simplify the installation process, use Figure 6 to positively identify each individual log before beginning
installation.
LOG #1: Place Log #1 into position by setting the log onto the media behind the burner and pilot hood. Ensure Log #1 is
pushed as far back in the firebox as possible. The log should touch the back wall. Ensure that approximately two inches of
space remains between right side of Log #1 and the right wall of the firebox. Log #4 will be placed in that space. See Figure 8.
LOG #5:
Place Log #5 into position by placing the large end of the log so that it contacts the left wall of the firebox directly to the left
side of the burner The small end of the log rests on the left side of Log #1 as shown in Figure 9.
Note: Logs may need to be adjusted using slight back and forth movements in order for them to settle into the
media securely.
Figure 6 Log Identification - DRIFTWOOD-C36
Figure 7 Burner and Pilot Hood Location -
COSMO36-IFT-B, DVLINEAR36, B41L-AU
Figure 8 Log #1 Installed - COSMO36-IFT-B, DVLINEAR36, B41L-AU
BURNERBURNER PILOT HOODPILOT HOOD
NO LOGS OR MEDIA IN THIS AREANO LOGS OR MEDIA IN THIS AREA
1133445566
1111
55
Figure 9 Log #5 Installed - COSMO36-IFT-B, DVLINEAR36, B41L-AU
NOTICE: When installing logs into B41L-AU, burner must be replaced with part number 2617-007. Driftwood logs
are not approved for use with traditional log burner that is shipped with the BL41-AU. See installation manual for
burner replacement instructions.
3
Heat & Glo • DRIFTWOOD-C32, DRIFTWOOD-C36, DRIFTWOOD-C42 Installation Instructions • 2491-948 Rev. G • 8/22
Figure 11 Log #3 Installed - COSMO36-IFT-B, DVLINEAR36, B41L-AUFigure 10 Log #4 Installed - COSMO36-IFT-B, DVLINEAR36, B41L-AU
33
LOG #4: Place Log #4 into position by placing the forked end of the log toward the back right corner. Place the flat side of
Log #4 against the right wall. See Figure 10.
LOG #3:
Place Log #3 into position by centering it front to back between the burner and the front of the basepan. Position Log #3 so
that the right end of the log is close to contacting Log #4. See Figure 11.
44
11
55
FLAT SIDEFLAT SIDE
44
11
55
33
LOG #6: Place Log #6, as shown in Figure 12, with the forked end resting near the front left corner of the firebox. Position
the other end of the log between the front of the burner and the left forked end of Log #3. Log #6 and Log #3 will not be
touching each other. Log #6 is positioned in front of the burner.
Figure 12 Log #6 Installed - COSMO36-IFT-B, DVLINEAR36, B41L-AU
Note: Consult media placement instructions in appliance installation manual to verify that media rock pieces are placed
correctly and ensure that no media has fallen into areas where it is not allowed.
44
11
55
33
66
4Heat & Glo • DRIFTWOOD-C32, DRIFTWOOD-C36, DRIFTWOOD-C42 Installation Instructions • 2491-948 Rev. G • 8/22
Figure 15 Log #1 Installed
- COSMO42-IFT / COSMO42-IFT-B
SLR-X-AU / SLR-X-AU-L
Figure 16 Log #2 Installed
- COSMO42-IFT / COSMO42-IFT-B
SLR-X-AU / SLR-X-AU-L
33
55
4466
11
11
22
LOG #1: Place Log #1 into position by setting it onto the media behind the burner and pilot hood. Ensure Log #1 is pushed
as far back in the firebox as possible. The log should touch the back wall. See Figure 15. Ensure that a sufficient space
remains between right side of Log #1 and the right wall of the firebox for Log #4 to be placed.
LOG #2:
Place Log #2 into position by placing the forked end, noted in Figure 16, toward the left wall of the firebox. The other end
rests on the left side of Log #1 as shown.
MODELS: COSMO42-IFT / SLR-X-AU / SLR-X-AU-L
Figure 13 Log Identification - DRIFTWOOD-C42 Figure 14 Burner and Pilot Hood Location
- COSMO42-IFT / COSMO42-IFT-B
SLR-X-AU / SLR-X-AU-L
NOTICE: To simplify the installation process, use Figure 13 to positively identify each individual log before beginning
installation.
BURNERBURNER PILOT HOODPILOT HOOD
FORKFORK
11
22
Note: Logs may need to be adjusted using slight back and forth movements in order for them to settle into the media securely.
NO LOGS OR MEDIA IN THIS AREANO LOGS OR MEDIA IN THIS AREA
Note: THE SLR-X-AU-L appliance requires a burner change to be able to be used with this kit. Burner SRV2491-
007 is available throught your dealer. Follow the instructions included with the burner prior to installing this kit.
5
Heat & Glo • DRIFTWOOD-C32, DRIFTWOOD-C36, DRIFTWOOD-C42 Installation Instructions • 2491-948 Rev. G • 8/22
Figure 17 Log #4 Installed
- COSMO42-IFT / COSMO42-IFT-B
SLR-X-AU / SLR-X-AU-L
LOG #6: Place Log #6 as shown in Figure 19 with the forked side facing the right wall of the firebox and the other end resting
on Log #5. Log #6 is positioned in front of the burner.
LOG #3: Place Log #3 into position by centering it front to back between the burner and the front of the basepan. Center
it left to right between Log #6 and Log #4. See Figure 20.
5544
4422
2211
11
1111
Figure 19 Log #6 Installed
- COSMO42-IFT / COSMO42-IFT-B
SLR-X-AU / SLR-X-AU-L
LOG #4:
Place Log #4 into position by placing the forked end of the log toward the back right corner. Place the flat side of Log #4
against the right wall. See Figure 17.
LOG #5:
Place Log #5 into position by placing the small end of the log so that it contacts the left and back walls of the firebox and
rests on Log #2 as shown in Figure 18 with the flat side of the log facing down.
Figure 18 Log #5 Installed
- COSMO42-IFT / COSMO42-IFT-B
SLR-X-AU / SLR-X-AU-L
FORKFORK SMALL ENDSMALL END
55
552222
33
4444
6666
FORKFORK
Please contact your Heat & Glo dealer with any
questions or concerns.
For the location of your nearest Heat & Glo dealer,
please visit www.heatnglo.com.
Heat & Glo, a brand of Hearth & Home Technologies
7571 215th Street West, Lakeville, MN 55044
www.heatnglo.com
Note: Consult media placement instructions in appliance installation manual to verify that media rock pieces are placed
correctly and ensure that no media has fallen into areas where it is not allowed.
Figure 20 Log #3 Installed
- COSMO42-IFT / COSMO42-IFT-B
SLR-X-AU / SLR-X-AU-L

This manual suits for next models

2

Other Heat & Glo Fireplace Accessories manuals
Heat & Glo LOGS-I35FB User manual

Heat & Glo

Heat & Glo LOGS-I35FB User manual

Heat & Glo LOGS-6000G User manual

Heat & Glo

Heat & Glo LOGS-6000G User manual

Heat & Glo LOGS-350TRS-D User manual

Heat & Glo

Heat & Glo LOGS-350TRS-D User manual

Heat & Glo PRIMO-II Series User manual

Heat & Glo

Heat & Glo PRIMO-II Series User manual

Heat & Glo VPK-DV User manual

Heat & Glo

Heat & Glo VPK-DV User manual

Heat & Glo GRL-850-AU Owner's manual

Heat & Glo

Heat & Glo GRL-850-AU Owner's manual

Heat & Glo Tonic SLR-C User manual

Heat & Glo

Heat & Glo Tonic SLR-C User manual

Heat & Glo 6000CMOD-IPI User manual

Heat & Glo

Heat & Glo 6000CMOD-IPI User manual

Heat & Glo COSMO32-IFT User manual

Heat & Glo

Heat & Glo COSMO32-IFT User manual

Heat & Glo OGL-42 Manual

Heat & Glo

Heat & Glo OGL-42 Manual

Heat & Glo LOGS-I35 User manual

Heat & Glo

Heat & Glo LOGS-I35 User manual

Heat & Glo PORTRAIT-6-BK User manual

Heat & Glo

Heat & Glo PORTRAIT-6-BK User manual

Heat & Glo ARC-32 Manual

Heat & Glo

Heat & Glo ARC-32 Manual

Heat & Glo TIARII-BK-IPI User manual

Heat & Glo

Heat & Glo TIARII-BK-IPI User manual

Heat & Glo LOGS-I30FB User manual

Heat & Glo

Heat & Glo LOGS-I30FB User manual

Heat & Glo LOGS-6000GL User manual

Heat & Glo

Heat & Glo LOGS-6000GL User manual

Heat & Glo GD415ATPB User manual

Heat & Glo

Heat & Glo GD415ATPB User manual

Heat & Glo LOGS-2128 User manual

Heat & Glo

Heat & Glo LOGS-2128 User manual
Heat & Glo SL-550F User manual

Heat & Glo

Heat & Glo SL-550F User manual

Heat & Glo LOGS-Cerona42 User manual

Heat & Glo

Heat & Glo LOGS-Cerona42 User manual

Heat & Glo LOGS-750TRS-E User manual

Heat & Glo

Heat & Glo LOGS-750TRS-E User manual

Heat & Glo SSF-LUX60-BK User manual

Heat & Glo

Heat & Glo SSF-LUX60-BK User manual
Heat & Glo LOGS-6000GLX User manual

Heat & Glo

Heat & Glo LOGS-6000GLX User manual

Heat & Glo LOGS-Cerona36 User manual

Heat & Glo

Heat & Glo LOGS-Cerona36 User manual
Popular Fireplace Accessories manuals by other brands

Firegear LOF-3010PS246MT-N Installation and operating instructions
Firegear

Firegear LOF-3010PS246MT-N Installation and operating instructions

WT Knowles & Sons Leeds 3 Fitting instructions

WT Knowles & Sons

WT Knowles & Sons Leeds 3 Fitting instructions

Valor 725RTB Black installation instructions

Valor

Valor 725RTB Black installation instructions

IHP EPIC-TRIM-B installation instructions

IHP

IHP EPIC-TRIM-B installation instructions

Twin-Star International 23WM158 Instruction manual enclosed

Twin-Star International

Twin-Star International 23WM158 Instruction manual enclosed

ADVANCE Easy Moving FIREPOD universal Assembly, Use and Maintenance Manual

ADVANCE Easy Moving

ADVANCE Easy Moving FIREPOD universal Assembly, Use and Maintenance Manual

FireplaceXtrordinair ProBuilder 36 CleanFace Installation

FireplaceXtrordinair

FireplaceXtrordinair ProBuilder 36 CleanFace Installation

Nordpeis SA-ME000-W24 Installation and user manual

Nordpeis

Nordpeis SA-ME000-W24 Installation and user manual

Montigo M40DV-CR manual 

Montigo

Montigo M40DV-CR manual 

Hearth & Home VOFBSD-36 installation instructions

Hearth & Home

Hearth & Home VOFBSD-36 installation instructions

Valor 546LFB ZC Portrait Ledgeview Front installation manual

Valor

Valor 546LFB ZC Portrait Ledgeview Front installation manual

Stoll Urban Fireplace Door Installation & user guide

Stoll

Stoll Urban Fireplace Door Installation & user guide

Valor 1775 quick guide

Valor

Valor 1775 quick guide

Fires of Tradition Octavia Install instructions

Fires of Tradition

Fires of Tradition Octavia Install instructions

Lennox Hearth Products RAVELLE 30 installation instructions

Lennox Hearth Products

Lennox Hearth Products RAVELLE 30 installation instructions

Solas SEVENTY2 LGS-72 installation manual

Solas

Solas SEVENTY2 LGS-72 installation manual

Arada LOG Series Fittings guide

Arada

Arada LOG Series Fittings guide

Town & Country Fireplaces TC30 Black Diamond instructions

Town & Country Fireplaces

Town & Country Fireplaces TC30 Black Diamond instructions

manuals.online logo
manuals.online logoBrands
  • About & Mission
  • Contact us
  • Privacy Policy
  • Terms and Conditions

Copyright 2025 Manuals.Online. All Rights Reserved.