4
Posibles Causas y Soluciones / Troubleshooting
HELVEX, S. A. DE C. V. Calzada Coltongo # 293, Col. Industrial Vallejo, Alcaldía Azcapotzalco, C. P. 02300, Ciudad de México.
Es muy importante seguir las siguientes instrucciones para conservar los
acabados de los productos HELVEX, con brillo y en perfecto estado:
1. Utilice únicamente agua y un paño limpio.
2. No utilice fibras, polvos, abrasivos, ni productos químicos.
3. No utilice objetos punzo-cortantes para limpiar los acabados.
4. Se recomienda realizar la limpieza de su producto diariamente.
Visite nuestras páginas www.helvex.com.mx para México y www.helvex.com
para el mercado Internacional
It is very important to follow the instructions below to preserve HELVEX products
finishes, shiny and in perfect condition:
1. Use only water and a clean cloth.
2. Do not use fibers, powders, abrasives, or chemicals.
3. Do not use sharp objects to clean the finish.
4. It is recommended to clean your product daily.
Visit our pages www.helvex.com.mx for Mexico and www.helvex.com
for the International market.
Recomendaciones de Limpieza / Cleaning Recommendations
In Guadalajara:
Contact:
Enter our free
training courses.
In Monterrey:
En la Ciudad de México:
In Mexico City:
En Monterrey: En Guadalajara:
(52) 55 53 33 94 00
Ext. 5806, 5805 y 5804
33 36 19 01 13
Comunícate:
Participa en nuestros
cursos gratuitos
de capacitación.
81 83 33 57 67
81 83 33 61 78
17
Operación / Operation
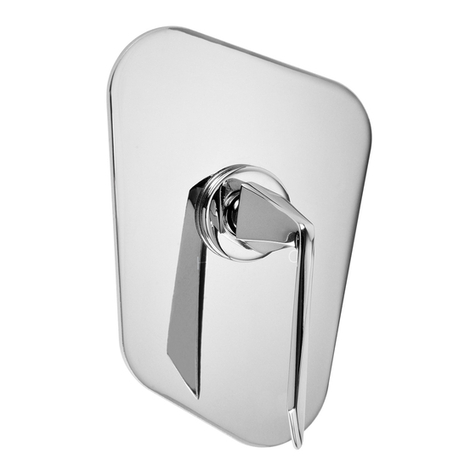
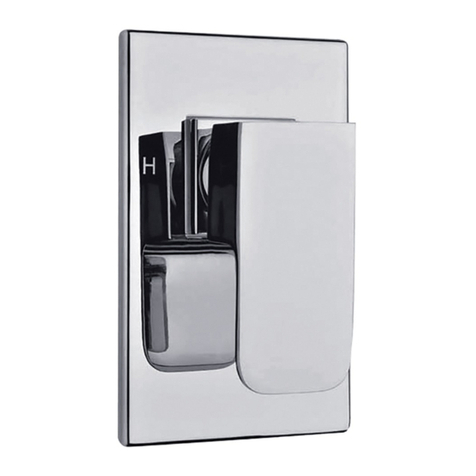
Para abrir y cerrar el flujo de agua, levante y baje el maneral. Para regular
la temperatura del agua, gire a la izquierda para caliente y gire a la
derecha para fría. / To open the water flow lift the lever and to close push
the lever. To adjust the water temperature, turn left for hot and turn right for
cold.
Nota: Después de bañarse se recomienda limpiar el monomando con un trapo.
Note: After to take a shower the recomendation is clean the shower single control with a cloth.
abrir
open
+ fría
+ cold
+ caliente
+ hot
/ Cartridge Replacement
Cambio de Cartucho
Desenrosque el opresor con la llave allen (incluida) para
retirar el maneral. / Unscrew the set screw with the allen
wrench (included) to remove the handle.
Desenrosque el chapetón y la tuerca, retire y reemplace el cartucho.
Arme nuevamente. / Unscrew the escutcheon and nut and remove
and replace the cartridge. Reassembly.
cartucho
cartridge
tuerca
nut
chapetón
escutcheon
opresor
set screw
llave allen
allen wrench
Problema / Problem Causas / Causes Soluciónes / Solutions
Existe poco flujo de agua.
/ There is low water flow. Verifique la presión mínima requerida (Pág. 1).
/ Check the minimum pressure required (Page 1).
Apriete firmemente las conexiones (Pág. 2, paso 3). /
Thigtened the connections firmly (Page 2, step 3).
La presión de operación no es la adecuada.
/ The operating pressure is not adequate.
Las conexiones no están apretadas correctamente. /
The connections are not tightened correctly.
Limpie o reemplace el cartucho (Pág. 4, pasos 17 y 18a o 18b).
/ Clean or remplace the cartridge (Page 4, steps 17 and 18a or 18b).
El cartucho puede estar obstruído.
/ The cartridge may be clogged.
El opresor no está apretado. / The setscrew is not tight.
El maneral está flojo.
/ The handle is loose.
Apriete firmemente el opresor (Pág. 3, paso 10).
/ Tighten the set screw firmly (Page 3, step 10).
Hay fuga en las conexiones. /
There are leaks in the connections Colocar cinta teflón en las conexions (Pág. 2, paso 3). /
Place the plumber’s tape on the connections (Page 2, step 3).
No se colocó cinta teflón en las conexiones. /
Did not place plumber’s tape on the connections.
16
Abra la alimentación general del agua. / Open the general water supply.
Cambio de Cartucho / Cartridge Replacement
18a 18b
cartucho
cartridge tuerca
nut
chapetón esférico
cartridge cap
antifricción
flange
antifriction
chapetón
escutcheon
Remueva el chapetón, el antifricción, el chapetón esférico y
desenrosque la tuerca con la llave para mantenimiento (incluida),
retire y reemplace el cartucho. Arme nuevamente. / Remove the
escutcheon, the flange antifriction, the cartridge cap and unscrew
the nut with the maintenance wrench (included), remove and replace
the cartridge. Reassembly.
Para los modelos PIA-200, LUS-200, E-45, E-72, y E-77/ For the models /and Para los modelos E-712 yE-714/ For the models /and
