Instalación General / General Installation
perico
phillips screwdriver
desarmador de cruz
taladro con
broca de Ø 1/4"
adjustable
wrench
2 mm allen wrench
llave allen 2 mm
drill with
Ø1/4" drill bit
1
*11,4"
(29 cm)
*19,7"
(50 cm)
*25,2"
(64 cm)
6 baterías AA
6 AA batteries
tuberia de PVC
PVC piping
UTV-203
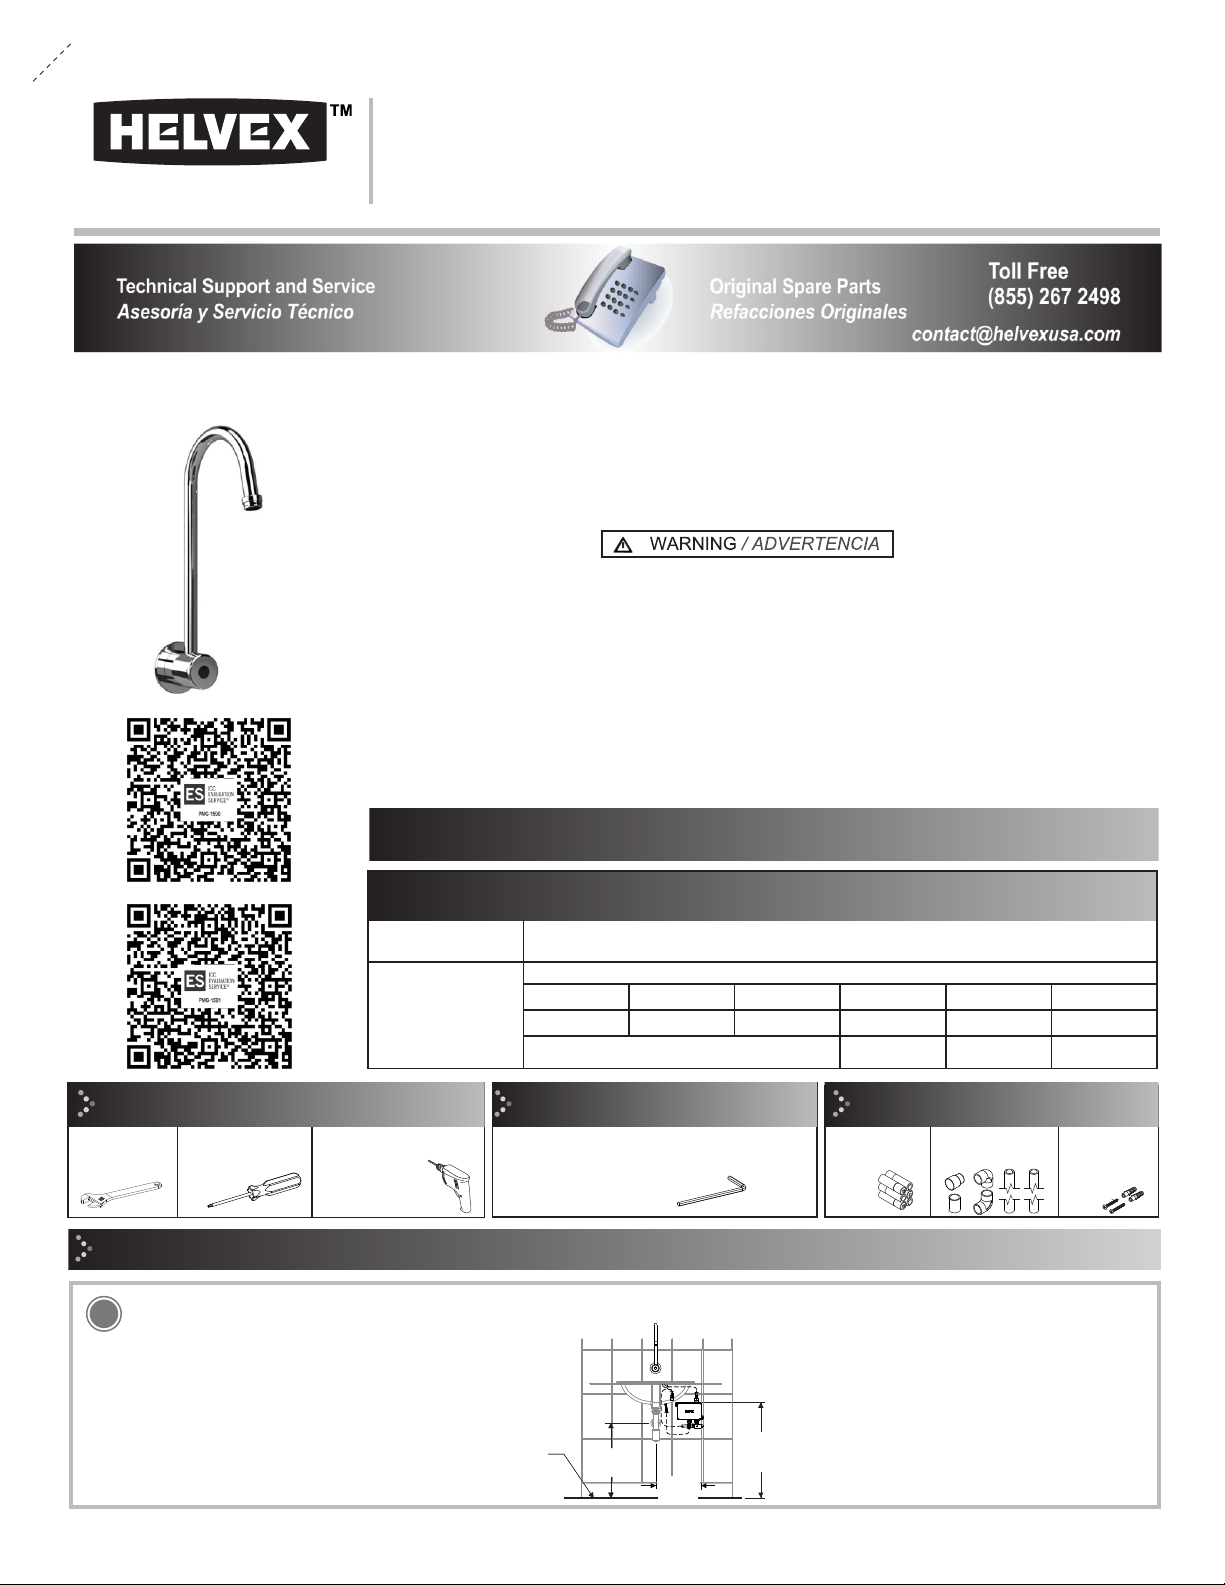
Wall Mount Electronic Faucet
Llave Electrónica a Pared
1,40
20 137,89
Requerimientos de Instalación
Installation Requirements
Model / Modelo
Minimum / Mínima Maximum / Máxima
kg/cm²
PSI kPa kg/cm²
PSI kPa
UTV-203 5,624
80 551,84
Caution: Do not exceed the pressure of:
Precaución: No exceder la presión de: 8,788
125 861,84
1-05-2074-1
INSTALLATION GUIDE
GUÍA DE INSTALACIÓN
This product can expose you to chemicals including lead, which is known to the State of California to cause
cancer. For more information go to www.P65Warnings.ca.gov. / Este producto puede exponerlo a sustancias
químicas, incluido el plomo, que es conocido por el estado de California como causante de cáncer. Para
obtener más información, visite www.P65Warnings.ca.gov.
This Installation Guide Applies to the Product in any Finishing.
Esta Guía de Instalación Aplica al Producto en Cualquier Acabado.
Para disminuir el riesgo de lesiones o daños a la propiedad, lea todas las instrucciones antes de instalar el
producto. Utilice gafas de seguridad. En obras de construcción, instalación, modificación, ampliación y
reparación deben cumplir con el reglamento de construcción y obras de su localidad. El producto ilustrado
puede sufrir cambios de aspecto como resultado de la mejora continua a la que está sujeto.
To reduce the risk of injury or property damage, please read all instructions before installing the product.
Wear safety glasses. For any construction, installation, alteration, extension or repair, comply with your local
building codes. The product’s illustration may vary in appearance to the actual product as result of the
continuous improvement process it is subject to.
Agradecemos su elección por los productos HELVEX.
Estamos seguros de que su confiabilidad por el producto excederá sus más altas expectativas, cuya
funcionalidad, estética, durabilidad, respaldo integral y alta calidad le otorgarán plena satisfacción por años,
reflejando el compromiso con la calidad, innovación y el medio ambiente que forman parte de Helvex.
Thank you for choosing HELVEX products.
We are confident that the product reliably will exceed your highest expectations. This product’s functionality,
aesthetics, durability, quality and support will grant you full satisfaction for years, thus reflecting Helvex’s
commitment to quality, innovation and the environment.
Included Accessories /
Accesorios Incluidos
Recommended Tools and Materials /
Herramientas y Materiales Recomendados Items Included in the Product /
Artículos Incluidos en el Producto
fixing kit
kit de fijación
Install the electronic module according to the reference dimensions shown. / Instale el módulo electrónico de acuerdo a las medidas
referenciales que se muestran.
Note: Place the electronic module where water does not splash. /
Nota: Coloque el módulo electrónico donde no le salpique el agua.
FFL (Finished Floor Level)
NPT (Nivel de Piso Terminado)
*Recommended Dimensions
* Medidas Recomendadas
For the correct functioning of these products, the recommended water pressures is:
Para el correcto funcionamiento de estos productos, se recomiendan las siguientes presiones:


