manuals.online logo
Brands
  1. Home
  2. •
  3. Brands
  4. •
  5. Hess
  6. •
  7. Outdoor Light
  8. •
  9. Hess CITY ELEMENTS 180-2 User manual

Hess CITY ELEMENTS 180-2 User manual

This manual suits for next models

6

Other Hess Outdoor Light manuals

Hess FARO User manual

Hess

Hess FARO User manual

Hess NOVARA V Series User manual

Hess

Hess NOVARA V Series User manual

Hess 10.08511.4000 User manual

Hess

Hess 10.08511.4000 User manual

Hess LINEA 10.00200.4500 User manual

Hess

Hess LINEA 10.00200.4500 User manual

Hess OSLO 650-2 User manual

Hess

Hess OSLO 650-2 User manual

Hess MADRID 600-2 User manual

Hess

Hess MADRID 600-2 User manual

Hess MADRID User manual

Hess

Hess MADRID User manual

Hess LEDIA LL WA EL User manual

Hess

Hess LEDIA LL WA EL User manual

Hess CAMPONE User manual

Hess

Hess CAMPONE User manual

Hess LED KIT MR.05M User manual

Hess

Hess LED KIT MR.05M User manual

Hess TOLEDO M User manual

Hess

Hess TOLEDO M User manual

Hess VIGO 4000 RGB User manual

Hess

Hess VIGO 4000 RGB User manual

Hess LA.45M User manual

Hess

Hess LA.45M User manual

Hess CITY ELEMENTS Series User manual

Hess

Hess CITY ELEMENTS Series User manual

Hess CITY ELEMENTS B User manual

Hess

Hess CITY ELEMENTS B User manual

Hess VIGO 4000 User manual

Hess

Hess VIGO 4000 User manual

Hess CENTO User manual

Hess

Hess CENTO User manual

Hess NORFOLK User manual

Hess

Hess NORFOLK User manual

Hess Linea Installation guide

Hess

Hess Linea Installation guide

Hess TOLEDO 660 User manual

Hess

Hess TOLEDO 660 User manual

Hess TRAPEZ User manual

Hess

Hess TRAPEZ User manual

Hess SALINA User manual

Hess

Hess SALINA User manual

Hess NOVARA SL User manual

Hess

Hess NOVARA SL User manual

Hess VEDO P/S User manual

Hess

Hess VEDO P/S User manual

Popular Outdoor Light manuals by other brands

Kichler Lighting HELEN 37536 instructions

Kichler Lighting

Kichler Lighting HELEN 37536 instructions

Thorn OXANE L installation instructions

Thorn

Thorn OXANE L installation instructions

esotec Solar Globe Light multicolor 20 operating instructions

esotec

esotec Solar Globe Light multicolor 20 operating instructions

mitzi HL200201 ELLIS Assembly and mounting instructions

mitzi

mitzi HL200201 ELLIS Assembly and mounting instructions

HEPER TILA S AFX 3 Module Installation & maintenance instructions

HEPER

HEPER TILA S AFX 3 Module Installation & maintenance instructions

Designplan TRON 180 installation instructions

Designplan

Designplan TRON 180 installation instructions

Sealey LED37 instructions

Sealey

Sealey LED37 instructions

nordlux VEJERS Mounting instruction

nordlux

nordlux VEJERS Mounting instruction

SImx ELITE LED LHTC637 installation instructions

SImx

SImx ELITE LED LHTC637 installation instructions

GEV CAROLINE 10833 manual

GEV

GEV CAROLINE 10833 manual

WE-EF PFL540 LED Installation and maintenance instructions

WE-EF

WE-EF PFL540 LED Installation and maintenance instructions

HEPER DOGO Side LW6048.585-US Installation & maintenance instructions

HEPER

HEPER DOGO Side LW6048.585-US Installation & maintenance instructions

BEGA 84 253 Installation and technical information

BEGA

BEGA 84 253 Installation and technical information

HEPER LW8034.003-US Installation & maintenance instructions

HEPER

HEPER LW8034.003-US Installation & maintenance instructions

HEPER MINIMO Installation & maintenance instructions

HEPER

HEPER MINIMO Installation & maintenance instructions

LIGMAN BAMBOO 3 installation manual

LIGMAN

LIGMAN BAMBOO 3 installation manual

Maretti TUBE CUBE WALL 14.4998.04 quick start guide

Maretti

Maretti TUBE CUBE WALL 14.4998.04 quick start guide

Maxim Lighting Carriage House VX 40428WGOB installation instructions

Maxim Lighting

Maxim Lighting Carriage House VX 40428WGOB installation instructions

manuals.online logo
manuals.online logoBrands
  • About & Mission
  • Contact us
  • Privacy Policy
  • Terms and Conditions

Copyright 2025 Manuals.Online. All Rights Reserved.

1
Gebrauchsanleitung
Installation and Operating Instructions
Notice de montage et d´installation
2020/09/A
CITY ELEMENTS 180-2
LICHTPOLLER
ILLUMINATING BOLLARDS
BORNES LUMINEUSES
LED
2
Wichtige Hinweise
Important Information
Consignes importantes
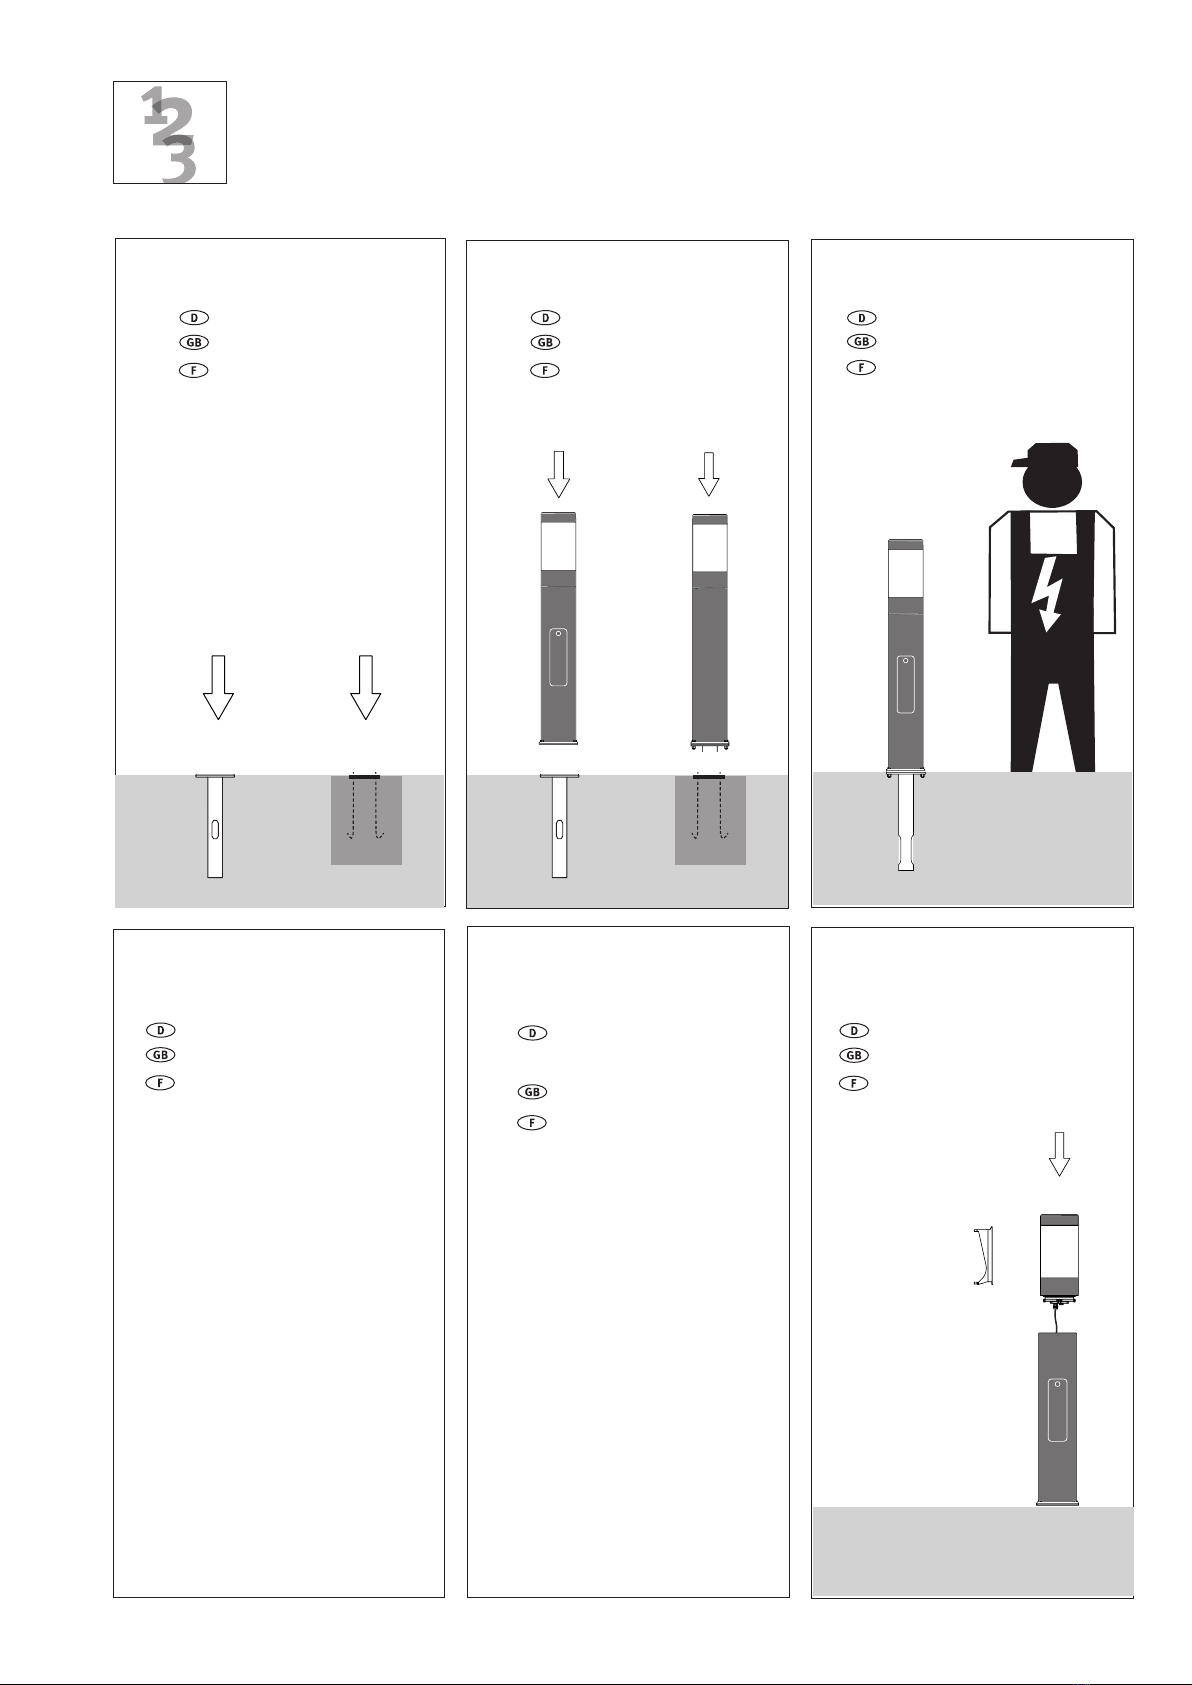
Montage- und Wartungsarbeiten sind
nur mit Originalteilen durchzuführen. Für die
Installation und den Betrieb sind die nati-
onalen und internationalen Vorschriften zu
beachten. Werden nachträglich Änderungen
an Leuchten, Ausleger oder Masten vorge-
nommen, so gilt derjenige als Hersteller, der
diese Änderungen vornimmt. Hess Licht +
Form übernimmt keine Haftung für Schäden,
die durch unsachgemäßen Einsatz entste-
hen. Montage nur durch Fachpersonal.
Only use original parts for mainte-
nance or in the installation of this luminaire.
National and international regulations and
laws apply to the installation and opera-
tion of this lighting fixture. If modifications
are made to the luminaire, bracket arm or
pole, the person who made the modifica-
tions shall be considered the manufacturer
thereafter. Hess Licht + Form does not accept
the liability for damages occurring through
improper actions. Only qualified persons are
permitted to install and assemble products
obtained from Hess Licht + Form.
Tous travaux de montage et d‘entre-
tien ne doivent être effectués qu‘avec des
pièces d’origine. Observez les consignes
de sécurité électriques nationales et inter-
nationales lors de l’installation et lors du
fonctionnement. En cas de modifications
ultérieurement apportées aux luminaires,
aux consoles ou aux mâts, la personne
responsable de ces modifications est consi-
dérée comme le fabricant. Hess Licht + Form
n’assume aucune responsabilité pour les
dommages résultant d’une utilisation non
conforme. Le montage ne doit être effectué
que par des spécialistes.
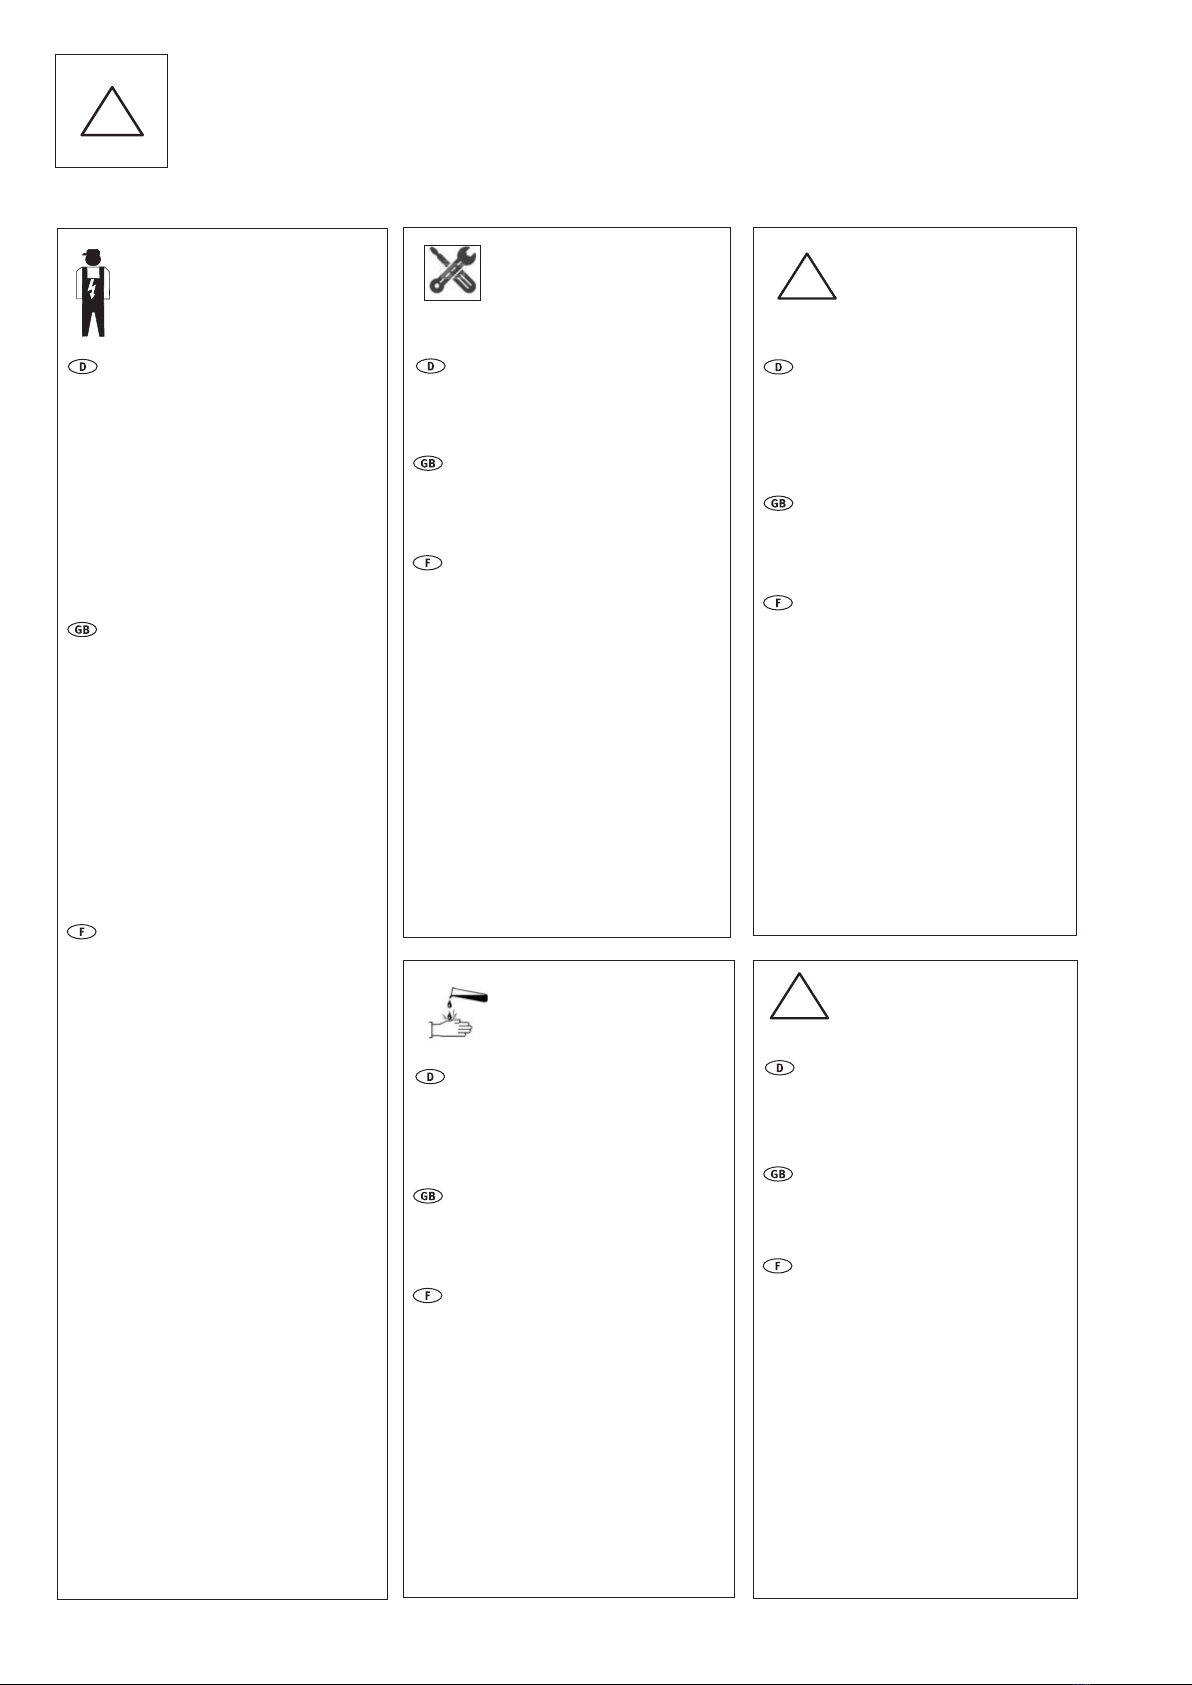
Bei Wartungsarbeiten und beim
Lampenwechsel muß das Element
spannungsfrei sein.
Es muß Schutzkleidung getragen werden.
When performing maintenance and
changing the lamp, always make sure that
the power is off in the luminaire (entire col-
umn). Protective clothing must be worn.
Lors de tous travaux d’entretien et
lors du remplacement d’une source lumi-
neuse, il faut absolument mettre le module
hors circuit.
Il faut absolument porter un vêtement pro-
tecteur.
ACHTUNG! Zerstörungsgefahr!
Chemikalien und Materialien mit korro-
dierenden Wirkungen dürfen nicht auf die
Leuchte einwirken.
Schrauben leicht fetten.
CAUTION! Damage may occur! Do not
allow chemicals or other corrosive materials
to come in contact with the luminaire.
Apply a little grease to the screws.
ATTENTION ! Risque de destruction ! Ni
produits chimiques ni matières à effet corro-
sif ne doivent pouvoir agir sur le
luminaire.
Graisser légèrement les vis.
!
Zur Vermeidung von Gefährdungen
darf eine beschädigte äußere flexible
Leitung dieser Leuchte ausschließlich vom
Hersteller, seinem Servicevertreter oder
einer vergleichbaren Fachkraft ausgetauscht
werden.
To avoid hazards, a damaged outer
flexible cable of this lamp may only be
replaced by the manufacturer, his service
representative or a comparable specialist.
Pour éviter tout danger, un câble fle-
xible extérieur endommagé de cette lampe
ne peut être remplacé que par le fabricant,
son représentant de service ou un spécia-
liste comparable.
Die Lichtquelle dieser Leuchte darf
nur vom Hersteller oder einem von ihm
beauftragten Servicetechniker oder einer
vergleichbar qualifizierten Person ersetzt
werden.“
The light source of this lamp may
only be replaced by the manufacturer or a
service technician commissioned by him or
a comparable qualified person.
La source lumineuse de cette lampe
ne peut être remplacée que par le fabricant
ou un technicien de service mandaté par lui
ou par une personne qualifiée comparable.
!
!
3
Die Leuchte darf nur mit kompletter
Schutzabdeckung betrieben werden.
Only operate this luminaire when it is
in a closed state, i.e. with closed cover.
Ne faire fonctionner le luminaire
qu´avec le couvercle de protection fermé.
PMMA Reinigung
Leuchtenabdeckungen aus PMMA-Kunststoff
dürfen nur mit Wasser und Spülmittel, bei
starken Verschmutzungen mit Waschbenzin
gereinigt werden. Andere Mittel sind nicht
erlaubt, insbesondere die Verwendung
von alkoholhaltigen Reinigern (Spiritus,
Glasreiniger, etc.) oder Kaltreinigern führen
zur Beschädigung der Oberfläche.
PMMA cleaning instructions
Only use a mild detergent and water to clean
luminaire covers and enclosures of PMMA
plastic. If the PMMA is very heavily soiled,
you may use benzene, but with great care and
sparingly. Do not use any other agents; in
particular, alcohol-containing cleaners (spi-
rits, glass cleaner, etc.) or cold cleaning sol-
vents will damage the surface of the PMMA.
Conseil de nettoyage
Les couvercles de luminaire en matière
plastique (de verre acrylique) sont à nettoyer
exclusivement avec de l‘eau et un produit
vaisselle, l‘éther de pétrole est autorisé en
cas d‘encrassements tenaces. Tout autre
produit est proscrit, notamment l‘emploi de
détergents contenant de l‘alcool (white-spirit,
produits pour vitres, etc.) ou de détergents à
froid qui endommageraient la surface.
LED-Modul: Risikogruppe 2, nicht in
den Strahl blicken!
Die Leuchte ist so zu positionieren, dass
längeres in die Leuchte schauen in einem
geringeren Abstand als 0,4m nicht zu
erwarten ist.
LED module risk group 2, do not look
into the beam!
Position the luminaire to avoid extended
viewing into the luminaire at a distance of
less than 0,4m.
Module LED, groupe des risques 2,
ne pas regarder le rayon.
Positionnez le luminaire afin d´éviter d`y
regarder longtemps à une distance
inférieure à 0,4m.
Vorbereitende Arbeiten zum
Aufstellen des Mastes entnehmen Sie bitte
der separaten Empfehlung.
Please refer to the separate recom-
mendation for preparatory work for erect-
ing the pole.
Concernant les travaux préliminaires
pour l’installation du mât merci de consul-
ter la recommandation ci-jointe.
4
Lieferumfang
Included in Luminaire Purchase
Matériel fourni
16.20303.1V001
16.10365.1V 20.02.5990 99.10365.3V001 16.80303.0V001 16.80303.0V002
16.20303.V001
16.20303.1V002
16.20303.0V002
16.20303.3V001
16.20303.2V001
• 250 •
• 500
• 500 • 820 •
• 1200 •
• 380 •
• 300 •
• 400 •
• 300
• • Ø180
•85•
CITY ELEMENTS LP
CR FQ 16.20303.1V001
16.20303.1V002
CRVE FQ 16. 20303.3V001
CR ER500 16.20303.0V001
16.20303.0V002
CRVE ER500 16.20303.2V001
16.10365.1V
16.80303.0V001
16.80303.0V002
99.10365.3V001
20.02.5990
16.20360.0
Gewichte / Windangriffsflächen
Weight / Wind Catching Surface
Poids / Surface de résistance au vent
Kg m²
7 0,15
7 0,15
9,5 0,15
10 0,15
10 0,15
12,5 0,15
4,8 - 5,6 0,07
5
Empfohlene Montagefolge
Recommended Installation Procedure
Déroulement de montage recommandé
2. 3.
1.
Wartung
Maintenance
Entretien
4. 5. 6.
Kabelbelegung
Wiring diagramm
Positionnement brins de cáble
Montage
Mounting
Montage
Montage
Mounting
Montage
Elektrische Verdrahtung
Wiring
Cáblage électrique
Einstellmöglichkeiten
“DIM Modul“
Settings “DIM Modul”
Possibilités de réglage
du “Module DIM“
6
1. Mast aufstellen
Putting Up the Pole
Ériger le mât
1.a
• A >> •
• C
1.b
• A >> •
• C
170
200
14
Typ Q 200/10
Das Anschlusskabel muss bis zur Erdmuffe in
einem Verlegerohr geführt werden.
The power lead must be housed in conduit up
to the in-ground junction box.
Le câble de raccordement situé à l‘intérieur du
tube de pose doit être conduit jusqu‘au manchon de
mise à la terre.
min. NYY-J 3G1,5²
max. NYY-J 3G2,5²
min. H07 RN-F 3G1²
max. H07 RN-F 3G2,5²
Wichtige Hinweise
Important Information
Consignes importantes

3
7
2.1
2. Montage
Mounting
Montage
25 Nm
8
8 mm
20 mm
Zubehör
attachment
équipement
2. Montage
Mounting
Montage
9
2.2
2.2
Kabelübergangskasten
Junction Box
Boîtier de raccordement
3.
3.1
3.2
8 mm
20 mm
Der Kabelübergangskasten ist nicht im Lieferumfang enthalten, er
muss VDE, ENEC und für die Montage auf C-Schienen zugelassen sein,
sowie der Schutzklasse und Schutzart der Leuchte entsprechen.Die
Schraubenanschlussklemmen müssen für das Auflegen der verwendeten Kabel
zugelassen sein.
Empfehlung: TYCO EKM 2050
The junction box does not come with the purchase of the luminaire. It
must be VDE- and ENEC-approved. In addition, it must be approved for mount-
ing to C-profile tracks and must be suitable for use with the respective lumi-
naire’s Protection Rating and Ingress Protection classifications. The screw
terminals must also be suitable for the respective wiring that is used.
Recommendation: TYCO EKM 2050
Le boîtier de raccordement n’est pas inclus dans la livraison. Il doit être
homologué VDE/ENEC ainsi que pour son montage sur des rails de transport et
il doit correspondre à la classe électrique et à l’indice de protection du lumi-
naire. Les bornes à vis doivent permettre d’appliquer des câbles utilisés.
Recommandation: TYCO EKM 2050
4.
L1 N PE L2 L3 Variante
Standard
AstroDIM
StepDIM
Dali
CE
L1
L1
L1
L1
L1
N
N
N
N
N
PE
PE
PE
L2
DA
PST
L3
DA
PE
PE
SK I
L1 N PE L2 L3 Variante
Standard
AstroDIM
StepDIM
Dali
CE
L1
L1
L1
L1
L1
N
N
N
N
N
PE
PE
PE
L2
DA
PST
L3
DA
PE
PE
SK I
M8
10
SchutzklasseI Nachtabsenkung
Protection rating I Night economy feature
Classe électrique I Réduction de puissance la nuit
braun
brown
brun
grün/gelb
green/yellow
vert/jaune
blau
blue
bleu
schwarz
black
noir
grau
grey
gris
H05SS-F 5G1² L1 N PST
Schutzklasse I Dali
Protection rating I Dali
Classe électrique I Dali
H05SS-F 5G1² L1 N DA DA
braun
brown
brun
grün/gelb
green/yellow
vert/jaune
blau
blue
bleu
schwarz
black
noir
grau
grey
gris
Schutzklasse II Dali
Protection rating II Dali
Classe électrique II Dali
H05SS-F 4X1² L1 N DA DA
braun
brown
brun
blau
blue
bleu
schwarz
black
noir
grau
grey
gris
SchutzklasseI Step DIM / Lineswitch
Protection rating I Step DIM / Lineswitch
Classe électrique I Step DIM / Lineswitch
braun
brown
brun
grün/gelb
green/yellow
vert/jaune
blau
blue
bleu
schwarz
black
noir
grau
grey
gris
H05SS-F 5G1² L1 N SD
Schutzklasse II Nachtabsenkung
Protection rating II Night economy feature
Classe électrique II Réduction de puissance la nuit
H05SS-F 4X1² L1 N PST
braun
brown
brun
blau
blue
bleu
schwarz
black
noir
grau
grey
gris
Kabelbelegung
Wiring diagram
Positionnement brins de câble
4.
Schutzklasse II Step DIM / Lineswitch
Protection rating II Step DIM / Lineswitch
Classe électrique II Step DIM / Lineswitch
H05SS-F 4X1² L1 N SD
braun
brown
brun
blau
blue
bleu
schwarz
black
noir
grau
grey
gris
= nicht belegt / not allocated / non affecté
Schutzklasse II
Protection rating II
Classe électrique II
blau
blue
bleu
L1 N
H05SS-F 2X1²
braun
brown
brun
braun
brown
brun
Schutzklasse I
Protection rating I
Classe électrique I
grün/gelb
green/yellow
vert/jaune
blau
blue
bleu
H05SS-F 3G1² L1 N