manuals.online logo
Brands
  1. Home
  2. •
  3. Brands
  4. •
  5. Ingenico
  6. •
  7. Touch Terminal
  8. •
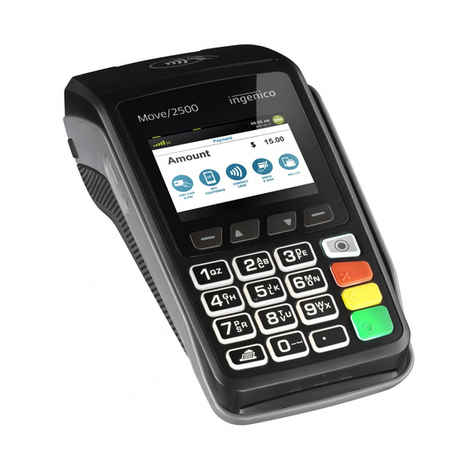
  9. Ingenico Link/2500 Instruction Manual

Ingenico Link/2500 Instruction Manual

Guidelines for setting up
a Smart terminal and
accepting card payments
Ingenico Link/2500 and ICMP
◊Switch on Bluetooth on your phone or tablet (hereinafter “phone”).
◊Switch on the Smart terminal (hereinafter “terminal”):
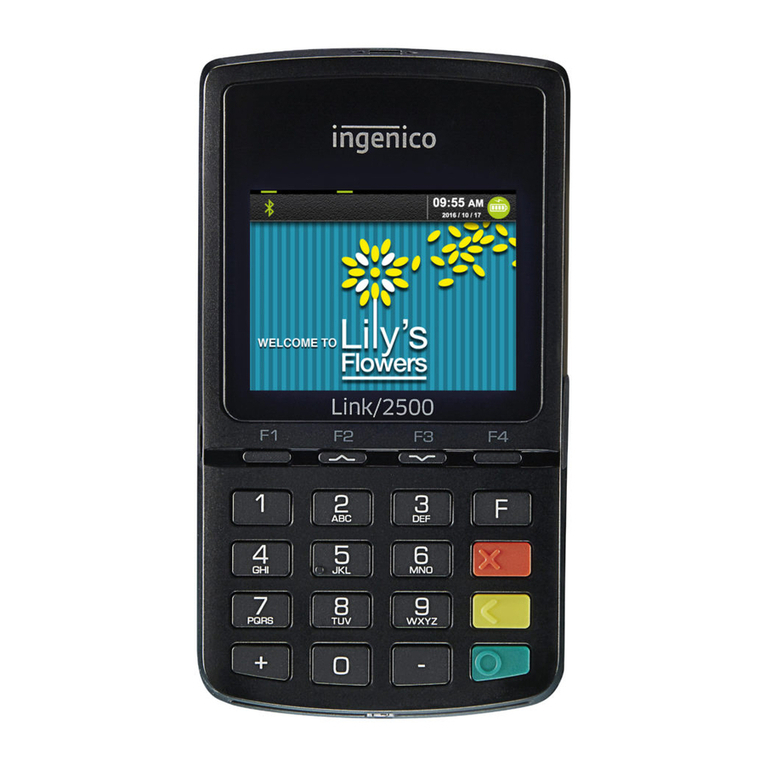
◊On terminal Link/2500 model:
• Press the green button.
• To start pairing enter the code “0000” in the
terminal and press the green button on the
terminal keyboard. Code is not displayed on
the terminal screen.
◊Select “0” (Wait for pairing) from the menu.
Setting up
a Smart terminal
1
◊The terminal will display the “Waiting request…” message, the termi-
nal code iLK-XXXXXX.
◊Select on your phone the terminal named iLK-XXXXXX from the list
of Bluetooth devices.
◊A request for pairing the terminal through Bluetooth will be displayed
on the phone screen. The codes displayed on the phone and terminal
should be the same. Conrm the code on your phone and then press
the green button on the terminal keyboard. If the devices pairing has
been successful, the terminal will display the message “OK/Paired.
Press any key”.
◊On terminal iCMP model:
• Press the button on the right side of the
terminal.
• To start pairing enter the code “0000” in the
terminal and press the green button on the
terminal keyboard. Code is not displayed on
the terminal screen.
2
3
4
iLK-XXXXXX
4
3
2
1
• Select “2“ (Bluetooth Pairing) from the menu.
• The terminal will show the text “Pair a new device?“ – choose
from there “YES - F1 key“.
• The terminal shows the 4 digit PIN code to tune.
• Choose from the phone Bluetooth device what starts with
ICMP + 6 numbers.
• Enter into the phone the code you get from the terminal.
• When adjusted correctly terminal shows “OK“.
2
2
3
3
4
4
◊Open the Swedbank mobile bank app on your phone.
If you don’t have it, download the Swedbank application
from Google Play or App Store.
◊Select “Services” on the bottom menu.
◊Log into the Business prole and choose your company.
◊After login you can start terminal installation process.
5
5
NB!
5
◊On Android phone:
• Press “Install“ button.
• Press “Open Play Store” button to start setup of terminal.
• After you will be directed to Google Play, press “Install“
button for installation of terminal application.
If the application’s download is complete, do not open the
application, instead go back to the Swedbank mobile app-
lication. If “Install” button still there is seen, refresh status by
swiping screen down.
7
8
NB!
6
9
8
6 7
9
◊On iOS phone:
• Press “Open App Store“ button.
• Press “Download and install“ button.
If the application’s download is complete, do not open
the application, instead go back to the Swedbank mobile
application.
7i
8i
9i
NB!
◊Press “Manage“ button for terminal setup.
◊To start terminal installation process choose “Install“.
◊Select the terminal identicator. If you have signed agreement for
more than one terminal, select particular which you want to install.
◊Select terminal device (eg. iLK-XXXXXX or iCMP-XXXXXX) to which
installation of previously chosen terminal identicator should be
done.
10
11
12
10 11
13
9i
7i 8i
14 15
◊Select one of the following options for sending emails:
• Native – after a transaction, the receipt is automatically
displayed on the phone screen, but it has to be sent manually;
• Gmail – after a transaction, the receipt is sent automatically,
access to contacts has to be allowed and a Gmail account has
to be chosen;
• Specic – enter the email server and port.
12
◊The terminal will be automatically paired with the company’s data.This
consists of several steps that can be followed on the phone screen.
◊Make sure that the phone is connected to the internet. If the setup is
complete, select “Next” at the bottom of the screen.
◊Set up the company’s email addresses:
1) for receipts – the receipt of every transaction will be sent there to
forward it to the client, as well as keep it for the company;
2) for reports – the terminal reports on transactions transmitted to
the bank will be sent there.
15
13
14
◊After the email addresses are set up, a test email is sent – check that
you have received it.
◊On Android phone, you have to enable access to photos, media, and
les.
◊If the message “Terminal has been successfully installed / set up” is
displayed on the phone screen, select “Finish”.
The terminal is now set up and ready to receive payments!
◊Switch on the terminal by pressing the green button and open the Smart
terminal application on your phone.
◊Enter the amount to be paid on your phone and select “Start transaction”.
During the transaction, follow the instructions on the terminal screen.
If the client requests a card
payment receipt, it can be
sent by email or SMS.
If the terminal screen
displays that the client’s
signature is needed, then
draw up the receipt on
paper and let the client sign
the receipt.
Acceptance
of card payments
◊The result of the transaction will
be displayed on your phone as
“Transaction done” or “Transaction
failed”.
NB!
16
16
◊Select the transaction you want to cancel and press “Cancel”. Follow
the instructions on the terminal and on the phone screen.
◊The cancelled transaction receipt is sent the same way as during the
payment transaction.
Cancellation of transaction
◊Open the Smart terminal application on your phone.
◊Select the information button “i” in the right upper corner of the
screen and then “View transactions”. 17 18
17 18
Cash receipt to account
◊ The transactions conrmation have to be sent to the bank by the end
of the workday, or the day after the transactions, at the latest.
NB!
If the transactions are not constantly carried out during the
day, it is recommended to close the smart terminal application
on the phone. Then the terminal will be on standby, saving
your phone battery.
◊Select the information button “i”. Infor-
mation about unsent transactions and
the option “Send transactions” will be
displayed on the phone screen.
◊After the transactions have been sent
to the bank, a report is sent to the
company’s email.
◊ If the transaction conrmations were
sent to the bank on time, the cash is
received to the company’s account
within two business days, at the latest.
◊ If the transaction conrmations are not
sent to the bank by the end of the bu-
siness day, the terminal will send them
automatically next time before making
a new transaction.
◊If the transaction report is not sent to
the bank on time, then receipt of the
money is not guaranteed.
19
19
Unpairing a terminal
and a phone
◊Open the Swedbank mobile bank on your phone. The terminal has to
be switched on.
◊Select “Services” on the bottom menu.
◊Log into the mobile bank.
◊Press “Manage“ button.
◊To unpair the terminal choose “Uninstall“.
◊The terminal will be automatically disconnected from the company.
This consists of several steps that can be followed on the phone
screen.
◊If terminal is unpaired, select “Finish“.
20 21
5
10
20
21
NB! If the terminal is connected to the USB cable, it will restart
instead of switching off.
How do switch on/off
the terminal?
◊On terminal iCMP model:
• To switch on the terminal press the button on the right side
of the terminal.
• To restart the terminal hold down the button on the right
side of the terminal for a few seconds.
• To switch off the terminal press and hold down at the same
time the yellow button and the button next to green button.
◊On terminal Link/2500 model:
• To switch on the terminal press the green button.
• There is not separate button combination for restart. To
restart the terminal it must be switched off and on.
• To switch off the terminal press and hold down at the same
time the yellow button and the button next to green button.
In Lithuania
+370 5205 8822
te[email protected]
In Latvia
+371 6735 7057
[email protected]
In Estonia
+372 612 0158
[email protected]
If you have any questions, please contact Hansab AS:
www.swedbank.ee

Other manuals for Link/2500

5

This manual suits for next models

1

Other Ingenico Touch Terminal manuals

Ingenico Moby/M100 User manual

Ingenico

Ingenico Moby/M100 User manual

Ingenico i5100 User manual

Ingenico

Ingenico i5100 User manual

Ingenico iCMP User manual

Ingenico

Ingenico iCMP User manual

Ingenico APOS A8 User manual

Ingenico

Ingenico APOS A8 User manual

Ingenico iWL2XX User manual

Ingenico

Ingenico iWL2XX User manual

Ingenico iCT220, iCT250 User manual

Ingenico

Ingenico iCT220, iCT250 User manual

Ingenico DESK/5000 Specification sheet

Ingenico

Ingenico DESK/5000 Specification sheet

Ingenico AXIUM RX7000 User manual

Ingenico

Ingenico AXIUM RX7000 User manual

Ingenico AXIUM DOCK User manual

Ingenico

Ingenico AXIUM DOCK User manual

Ingenico iWL258 User manual

Ingenico

Ingenico iWL258 User manual

Ingenico iCMPsi User manual

Ingenico

Ingenico iCMPsi User manual

Ingenico Desk Series User manual

Ingenico

Ingenico Desk Series User manual
Ingenico iCT220, iCT250 User manual

Ingenico

Ingenico iCT220, iCT250 User manual

Ingenico iSMP4 User manual

Ingenico

Ingenico iSMP4 User manual

Ingenico Tetra Move/5000 User manual

Ingenico

Ingenico Tetra Move/5000 User manual

Ingenico Lane/7000 User manual

Ingenico

Ingenico Lane/7000 User manual

Ingenico Move 5000 User manual

Ingenico

Ingenico Move 5000 User manual

Ingenico Link 2500 User manual

Ingenico

Ingenico Link 2500 User manual

Ingenico Desk 3500 User manual

Ingenico

Ingenico Desk 3500 User manual

Ingenico iWL250 WIFI User manual

Ingenico

Ingenico iWL250 WIFI User manual
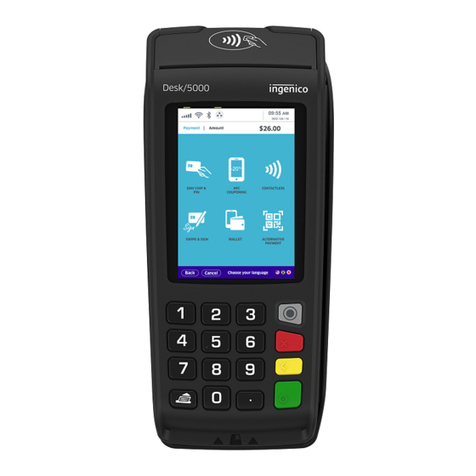
Ingenico Move 5000 User manual

Ingenico

Ingenico Move 5000 User manual

Ingenico UOB User manual

Ingenico

Ingenico UOB User manual

Ingenico PAYZONE iCT250 Instruction sheet
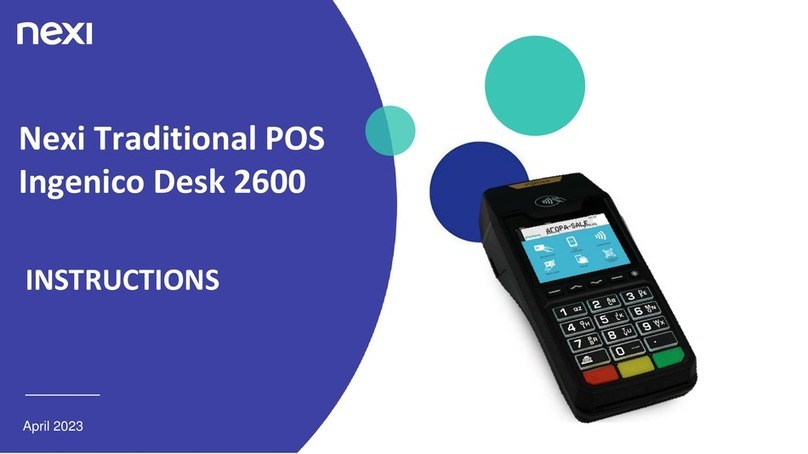
Ingenico

Ingenico PAYZONE iCT250 Instruction sheet

Ingenico iCT 250 User manual

Ingenico

Ingenico iCT 250 User manual

Popular Touch Terminal manuals by other brands

Pioneer BD-V1000 Series operating instructions

Pioneer

Pioneer BD-V1000 Series operating instructions

PSC Falcon 510 user guide

PSC

PSC Falcon 510 user guide

Allen-Bradley PanelView 2711P-RW1 installation instructions

Allen-Bradley

Allen-Bradley PanelView 2711P-RW1 installation instructions

takepayments Your A920 Pro Installation and user guide

takepayments

takepayments Your A920 Pro Installation and user guide

C2STek FL-2000G user manual

C2STek

C2STek FL-2000G user manual

Wincor Nixdorf BEETLE installation guide

Wincor Nixdorf

Wincor Nixdorf BEETLE installation guide

takepayments Desk 3500 installation guide

takepayments

takepayments Desk 3500 installation guide

First Data VeriFoneVX820 Duet Quick setup guide

First Data

First Data VeriFoneVX820 Duet Quick setup guide

Mitsubishi Electric GT1685 Connection manual

Mitsubishi Electric

Mitsubishi Electric GT1685 Connection manual

Advantech HIT-W101C Quick start manual

Advantech

Advantech HIT-W101C Quick start manual

Carel pGD Series user manual

Carel

Carel pGD Series user manual

StarTech.com DuraView RACKCONS1708 user manual

StarTech.com

StarTech.com DuraView RACKCONS1708 user manual

Tellermate T-iX Series user guide

Tellermate

Tellermate T-iX Series user guide

CopperOptics Pairain PG-Plus PCS-719 manual

CopperOptics

CopperOptics Pairain PG-Plus PCS-719 manual

Burkert FreeLINE 8645 Supplementary instructions

Burkert

Burkert FreeLINE 8645 Supplementary instructions

Telic NT910G user manual

Telic

Telic NT910G user manual

Clearfield YOURx-Aerial installation manual

Clearfield

Clearfield YOURx-Aerial installation manual

Custom Audio Electronics Vision15 Turbo user manual

Custom Audio Electronics

Custom Audio Electronics Vision15 Turbo user manual

manuals.online logo
manuals.online logoBrands
  • About & Mission
  • Contact us
  • Privacy Policy
  • Terms and Conditions

Copyright 2025 Manuals.Online. All Rights Reserved.