manuals.online logo
Brands
  1. Home
  2. •
  3. Brands
  4. •
  5. J D Williams
  6. •
  7. Indoor Furnishing
  8. •
  9. J D Williams AT HOME NEW ENGLAND User manual

J D Williams AT HOME NEW ENGLAND User manual

464/3944
Assembly Instructions
Please keep for future reference
Important - Please read these instructions fully before starting assembly
If you need help of have damaged or missing parts, calls the JDW Customer Helpline: 0871 231 2000
Dimensions No. people Assembly Time
Width: 56cm
Depth: 30.5cm
Height: 82cm (approx.)
1 hour
NEW ENGLAND STORAGE CABINET CAT NO: QN912
CAT NO: UM241
1
Safety and Care Advice
Important – Please read these instructions fully before starting assembly
• Check you have all the
components and tools listed on
page 2
plastic bags and separate them
into their groups.
• Keep children and animals
away from the work area, small
parts could choke if swallowed.
• Make sure you have enough
space to layout the parts before
starting.
• During assembly do not stand
or put weight on the product,
this could cause damage.
•Assemble the item as close
room) as possible.
•Assemble on a soft level
surface to avoid damaging the
• Parts of the assembly will be
easier with 2 people.
• Only clean using a damp cloth
and mild detergent, do no use
bleach or abrasive cleaners.
• From time to time check that
there are no loose screws on
this unit.
•This product should not be
discarded with household waste.
Take to your local authority
waste disposal centre.
Care and maintenance
•Assemble all parts and bolts
loosely during assembly, only
once the product is complete
should you fully tighten the bolts
• Regularly check and ensure
tightend properly.
Handy Hints
• We do not
recommend the use
of power drill/drivers
for inserting screws,
as this could damage
the using. Only use hand
screwdrivers
WARNING
In order to help prevent overturning –
To help prevent product toppling over please follow the below steps:-
Do not allow children to climb or hang on the furniture
Do not place heavy items in the top drawers
Do not place heavy items on top of the furniture, unless the furniture has been
designed for this purpose
You will need to provide wall plugs and screws applicable for your wall type
2
Components -Panels
Please check you have all the panels listed below
Components - Fittings
Note:
may be supplied than are required.
Tools required
Phillips screwdriver
(medium & large)
1x1
56x30. 5x1. 5cm
2x1
80. 5X28. 8x1. 5cm
3x1
80. 5X28. 8x1. 5cm
4x1
71. 6x28. 5x1. 2cm
5x2
24. 5x4. 5x1. 2c m
6x1
24. 5x4. 5x1. 2c m
7x1 8x1 9x1
71. 3x24x1. 5cm 50x28. 5x1. 2cm
50x7. 5x1. 2c m
10X2
24. 9x26. 2x0. 9cm
11x4
24x16. 5x1. 5cm
12x8
27. 6x11. 8x0. 9cm
13x4
22x11. 8x0. 9cm
14x4
26. 5x22. 7x0. 3cm
15x2
74x26 x0. 3c m
Ax26
5. 8x30mm
Bx16 Cx16
12x10mm
Dx32
6x35mm 3x30mm
Ex1 Fx1 Gx8
Hx18
3x14mm
J x1 Kx8 Lx2 Mx23
4x16mm
2. 5x12mm
Nx3
3x16mm
Ox8 Px4 Qx1
I x1
Rx1
3
4
Assembly Instructions
Step 1
1. Into the underside of
Top Panel 1 insert 6 x
Male Camlocks B as
shown. Connect magnetic
catch E using 2 x Screw
N
2. Into Base panel 8
insert 2 x Male Camlocks
B
Step 2
Step 3
DD
14
DD
11 X4
2
G
G
H
H
C
B
C
B
C
B
C
B
C
B
C
B
C
N
C
N
C
E1
13
12
12
C
D
C
D
14 11
C
D
C
D
C
A
C
A
C
A
C
A
C
G
C
G
C
G
C
G
C
G
C
G
C
G
C
G
C
H
C
H
C
H
C
H
C
H
C
H
C
H
C
H
C
H
C
H
C
H
C
H
C
H
C
H
C
H
C
H
C
H
C
H
C
B
C
B
8
2
4
C
B
1
8
C
B
C
E
C
N
Connect 2 x Drawer
sides 12 to 1 x Drawer
Back 13 using 4 x
Screw D
2. Slide Drawer base 14
into place.
3. Connect Drawer front
11 to side panels 12
using 4 x Screw D
Repeat to assemble
remaining drawers
12
13
C
D
C
D
12
14
11
1. Insert 2 x Dowels
into the top of Left side
panel 2.
2. Connect 4 x Drawer
runners to Left Side
panel using 8 x Screw
H
3. Repeat for central
panel 4
C
A
2
C
G
2
C
H
4
5
Assembly Instructions
Step 4
Step 5
Step 6
X2
C
A
C
A
C
A
C
A
C
A
C
A
C
A
C
A
C
A
C
A
9
C
C
C
C
4
5
6
C
A
C
A
C
A
C
A
C
A
C
A
5
6
5
C
B
C
B
C
B
C
B
C
B
C
C
C
C
C
C
C
C
C
C
2
1. Insert 2 x Dowels
into the top and bottom
of middle panel 4 as
shown
2. Insert 4 x Dowels
into the edge of Base
panel 8
3. Into Front Plinth 9
insert 4 x Dowels A
4. Connect parts together
as shown and insert 2 x
Female Camlocks
into Middle panel 4.
Tighten with a Phillips
Screwdriver
C
A
C
A
C
A
4
8
9
C
C
4
1. Into 2 x Support bar 5
insert 4 x Dowels A as
shown.
2. Into 1 x Support Bar 6
insert 2 x Dowels A
5
6
C
A
C
A
1. Into Left Side panel 2
insert 4 x male camlocks
in position shown
2. Into Middle Panel 4
insert 1 x Male camlocks
3. Connect Parts
together as shown. Insert
5 x female Camlocks
into holes shown. Tighten
with a Phillips
4
2
C
B
C
B
4
9
8
8
C
C
Assembly Instructions
Step 7
6
Step 8
1. Into Right Side panel
3 insert 3 x male
camlocks in position
shown
2. Connect Parts as
shown and insert 3 x
Female Camlocks.
Tighten with a Phillips
Screwdriver
1. Into Door 7 insert 2 x
Hinge Pins L
2. Locate Door into
position shown, locating
the bottom hinge into a
hole in Base panel 8
3. Locate Top Panel 1
onto the unit.
4. Insert 6 x Female
Camlocks into holes
shown. Tighten with a
Phillips Screwdriver
C
C
C
C
C
C
C
B
C
B
C
B
3
1
C
C
C
C
C
C
C
C
C
C
C
C
C
L
C
L
7
C
B
C
C
3
7
C
L
8
8
8
1
C
C
7
Assembly Instructions
Step 9
Step 10
1. To door 7 connect
Catch Plate F using 2 x
Screws H
2. Connect your choice
of handle, either handle I
or S using screw J
3. Insert 8 x Shelf
Supports as shown
C
J
C
I
C
F
C
H
C
H
C
K
C
K
C
K
C
K
C
K
C
K
C
K
C
K
C
M
C
M
C
M
C
M
C
M
C
M
C
M
C
M
C
M
C
M
C
M
C
M
C
M
C
M
C
M
C
M
C
M
C
M
C
M
C
M
C
M
C
M
C
M
15 15
10
10
C
O
C
O
C
P
C
P
C
P
C
P
7
C
F
C
H
C
I
C
R
C
J
C
K
Step 11
1. Connect 2 x Back
Panel 15 to the reverse
of the unit using 23 x
Screw M as shown
C
M
15
1. Add 4 x protective feet
P to the bottom of the
unit
2. Insert 2 x Shelves 10
3. Insert 4 x Drawers
4. Insert 2 x Drawer
stoppers O into each
Drawer as shown
C
P
10
C
O
8
Assembly Instructions
Step 12
C
Q
C
Q
C
N
The unit is floor
standing, but it is
recommended that the
unit is secured to the
wall.
2. Move the unit into
desired position.
3. Mark the wall with a
suitable scribe the
position of the fixing
hole.
4. Drill hole and insert a
suitable Wall Plug,
Please check the type of wall
you are fixing to and for more
information please see the
guide to wall mounting
& Fixings on the back page
Warning:
Before driling,check
wall for hidden pipes
and cables.
5. Secure the strap to the
wall using a suitable
wall screw
Note: To hide the straps
behind the unit, drill the
holes lower than the top of
the unit
Assembly Complete
1. On the reverse of the
unit, in position shown, fix 1
x Wall Straps using 1 x
Screws L
C
Q
C
N

Other J D Williams Indoor Furnishing manuals
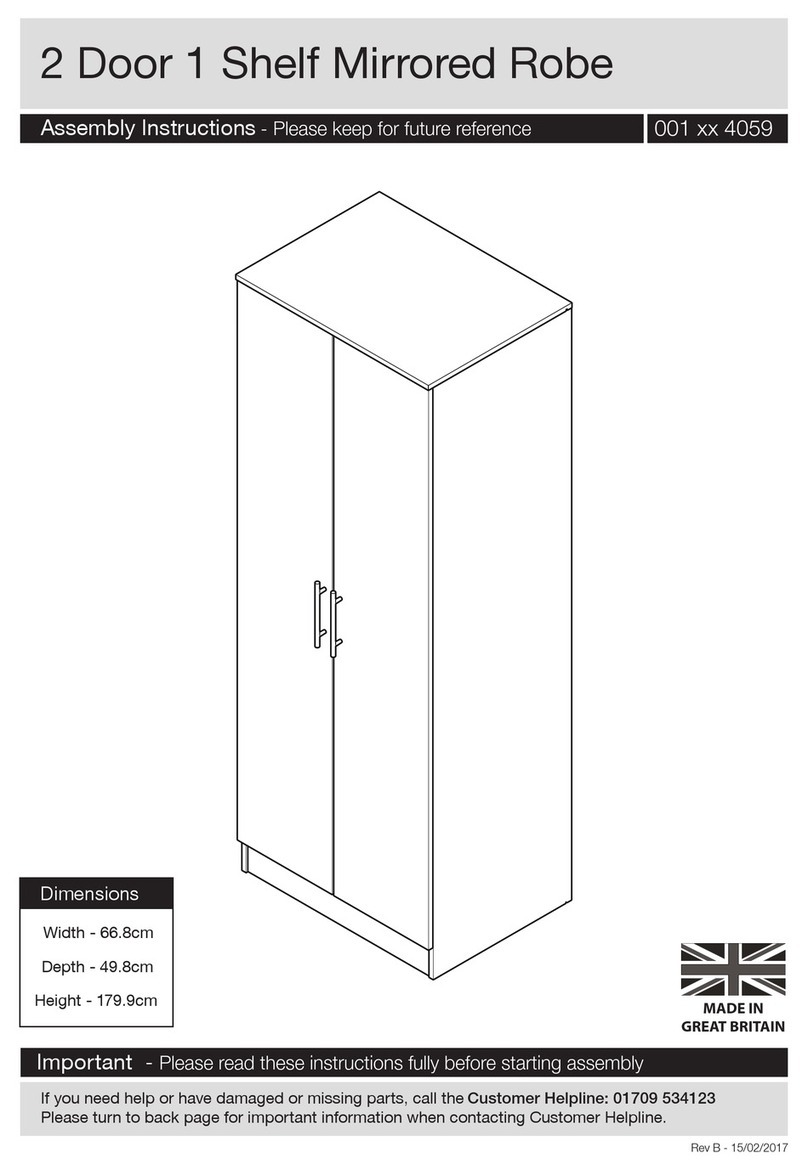
J D Williams 2 Door 1 Shelf Mirrored Robe User manual

J D Williams

J D Williams 2 Door 1 Shelf Mirrored Robe User manual

J D Williams RIO User manual

J D Williams

J D Williams RIO User manual
J D Williams Manhattan LO838 Series User manual
J D Williams

J D Williams Manhattan LO838 Series User manual

J D Williams At Home Luxe SOPHIA BLACK GLOSS TALL BOY... User manual
J D Williams

J D Williams At Home Luxe SOPHIA BLACK GLOSS TALL BOY... User manual

J D Williams Taylor User manual

J D Williams

J D Williams Taylor User manual
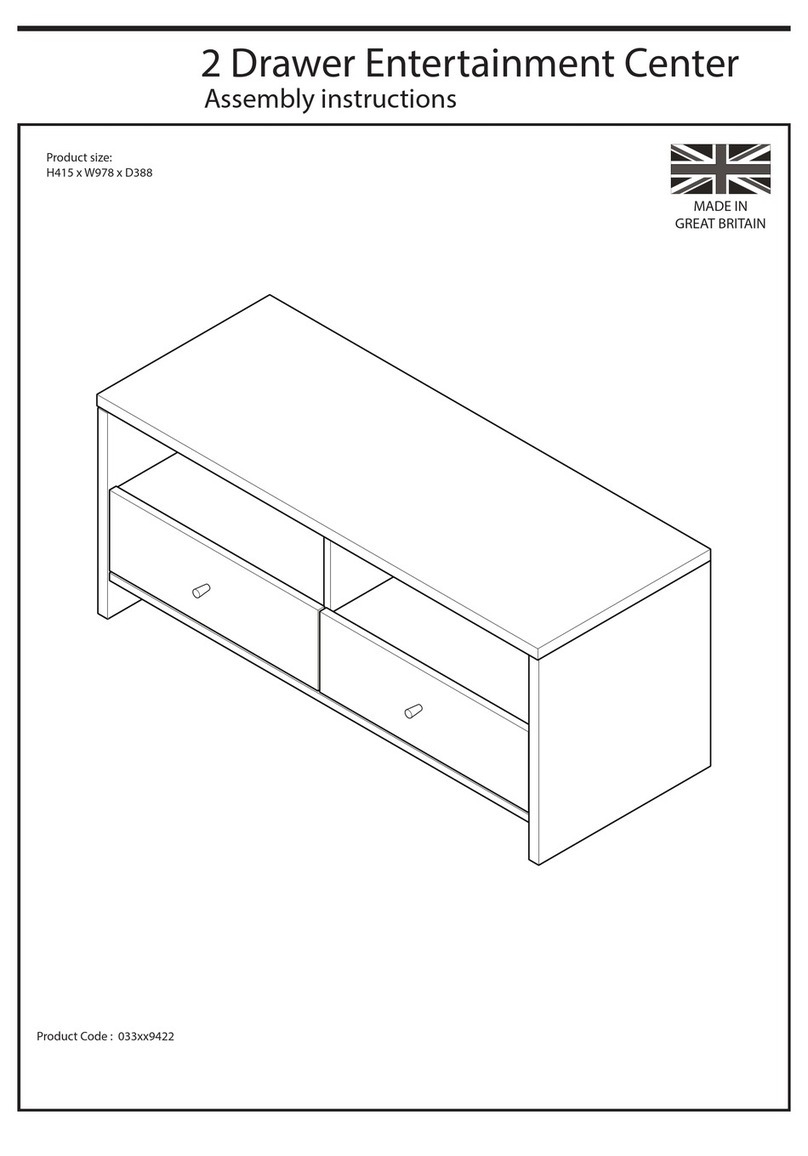
J D Williams 2 Drawer Entertainment Center User manual
J D Williams

J D Williams 2 Drawer Entertainment Center User manual

J D Williams Marbury 4 Seat Cube Dining Set-Table User manual
J D Williams

J D Williams Marbury 4 Seat Cube Dining Set-Table User manual

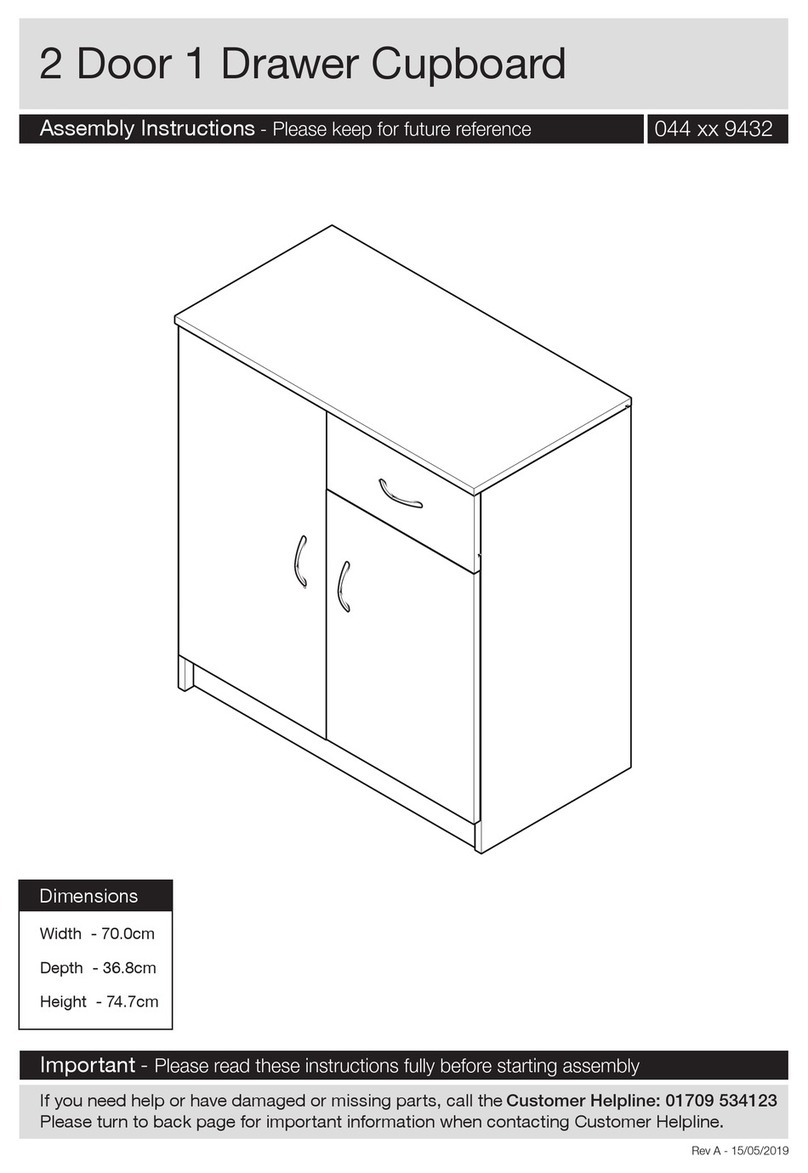
J D Williams 0449432 Series User manual
J D Williams

J D Williams 0449432 Series User manual

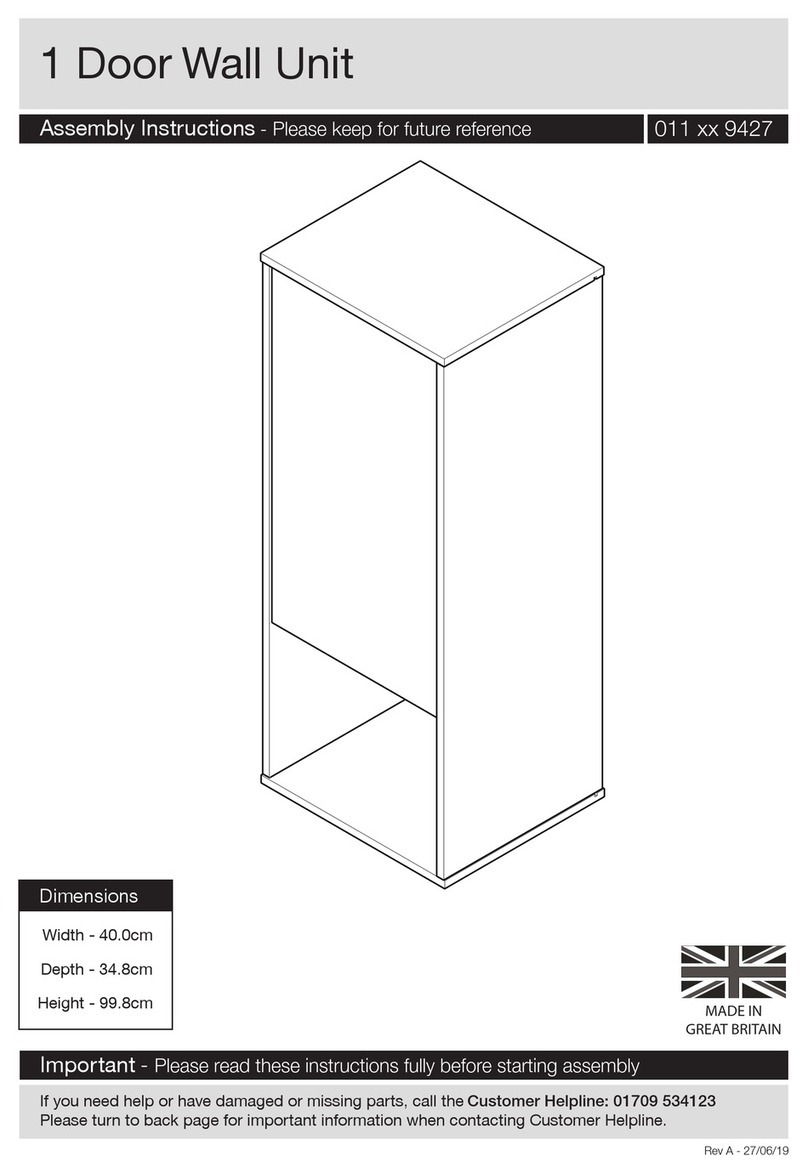
J D Williams Westwood Modula Wall Unit User manual
J D Williams

J D Williams Westwood Modula Wall Unit User manual

J D Williams 2 Drawer Entertainment Center User manual
J D Williams

J D Williams 2 Drawer Entertainment Center User manual

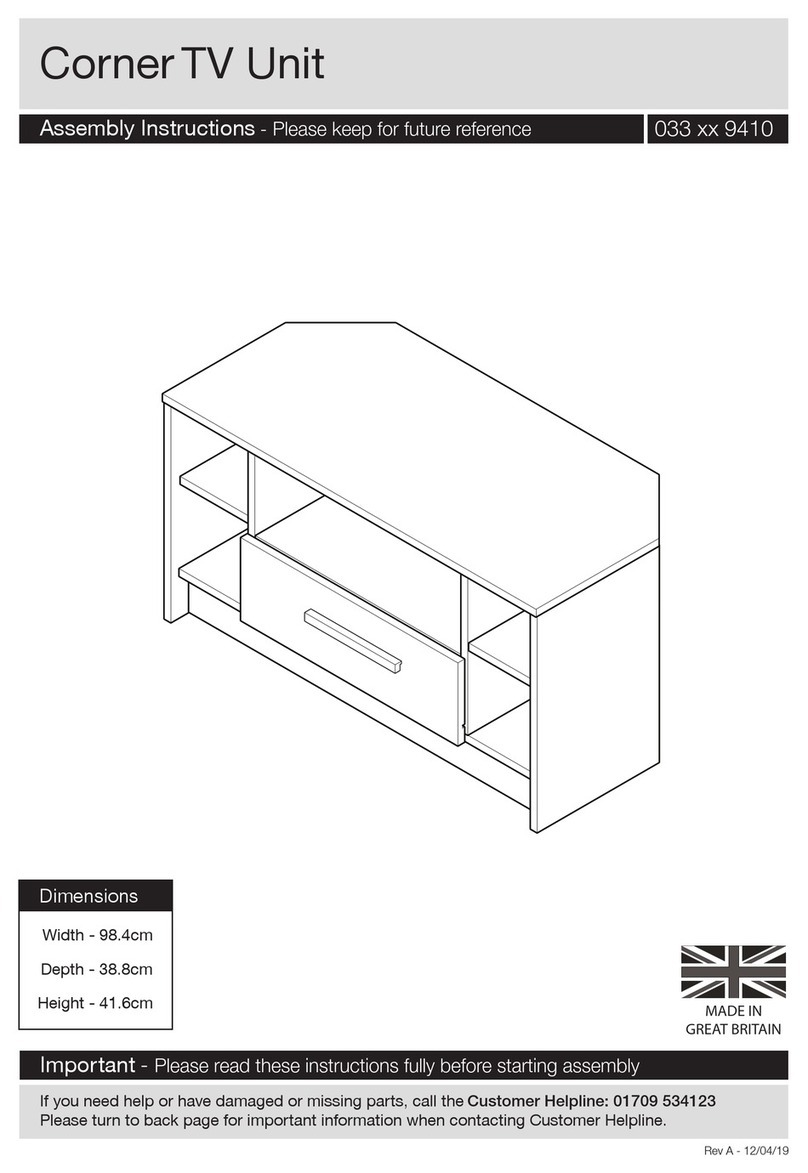
J D Williams Corner TV Unit User manual
J D Williams

J D Williams Corner TV Unit User manual

J D Williams 3 + 2 Drawer Chest 002 8582 Series User manual

J D Williams

J D Williams 3 + 2 Drawer Chest 002 8582 Series User manual

J D Williams Corner Desk User manual

J D Williams

J D Williams Corner Desk User manual
J D Williams Chinoiserie XK091 User manual
J D Williams

J D Williams Chinoiserie XK091 User manual

J D Williams AT HOME NEW ENGLAND UNDERBASIN CUPBOARD... User manual
J D Williams

J D Williams AT HOME NEW ENGLAND UNDERBASIN CUPBOARD... User manual

J D Williams 001 4506 Series User manual

J D Williams

J D Williams 001 4506 Series User manual

J D Williams New England TallBoy User manual

J D Williams

J D Williams New England TallBoy User manual

J D Williams 1 Drawer Occasional Table User manual
J D Williams

J D Williams 1 Drawer Occasional Table User manual

J D Williams TAUNTON FF786 User manual
J D Williams

J D Williams TAUNTON FF786 User manual

J D Williams 3 Door 3 Drawer Display 042 7165 Series User manual

J D Williams

J D Williams 3 Door 3 Drawer Display 042 7165 Series User manual

J D Williams 3 + 2 Drawer Chest User manual
J D Williams

J D Williams 3 + 2 Drawer Chest User manual
J D Williams Aspen User manual
J D Williams

J D Williams Aspen User manual
J D Williams New England User manual
J D Williams

J D Williams New England User manual

J D Williams OSLO 3 DRAWER User manual

J D Williams

J D Williams OSLO 3 DRAWER User manual

Popular Indoor Furnishing manuals by other brands

Next ELLA ELLA 684319 Assembly instructions

Next

Next ELLA ELLA 684319 Assembly instructions

Apco FullView Series Assembly instructions

Apco

Apco FullView Series Assembly instructions

INK+IVY Lounge Assembly instructions

INK+IVY

INK+IVY Lounge Assembly instructions

JWA CLORINDA 73017 Assembly instruction

JWA

JWA CLORINDA 73017 Assembly instruction

Graco Benton manual

Graco

Graco Benton manual

Whittier Wood Furniture 1557b Assembly instructions

Whittier Wood Furniture

Whittier Wood Furniture 1557b Assembly instructions

Otto COPENHAGEN OTCOPENGR Assembly instructions

Otto

Otto COPENHAGEN OTCOPENGR Assembly instructions

Flokk RBM Ana 4340 user guide

Flokk

Flokk RBM Ana 4340 user guide

Crate&Barrel Caicos quick start guide

Crate&Barrel

Crate&Barrel Caicos quick start guide

TUHOME Furniture ELW5701 Assembly instructions

TUHOME Furniture

TUHOME Furniture ELW5701 Assembly instructions

Sunnydaze Decor TF-634 quick guide

Sunnydaze Decor

Sunnydaze Decor TF-634 quick guide

Hailey Home CT1522 Assembly instructions

Hailey Home

Hailey Home CT1522 Assembly instructions

Alpha Cordex 12-250W Technical guide

Alpha

Alpha Cordex 12-250W Technical guide

Lightolier Calculite C4AD specification

Lightolier

Lightolier Calculite C4AD specification

Teknion Marini Adjustment features & instructions

Teknion

Teknion Marini Adjustment features & instructions

Habitat Rope 822540 manual

Habitat

Habitat Rope 822540 manual

Belnick ZG-028-BK-GG Assembly instructions

Belnick

Belnick ZG-028-BK-GG Assembly instructions

Flexa 4838034 Assembly instructions

Flexa

Flexa 4838034 Assembly instructions

manuals.online logo
manuals.online logoBrands
  • About & Mission
  • Contact us
  • Privacy Policy
  • Terms and Conditions

Copyright 2025 Manuals.Online. All Rights Reserved.