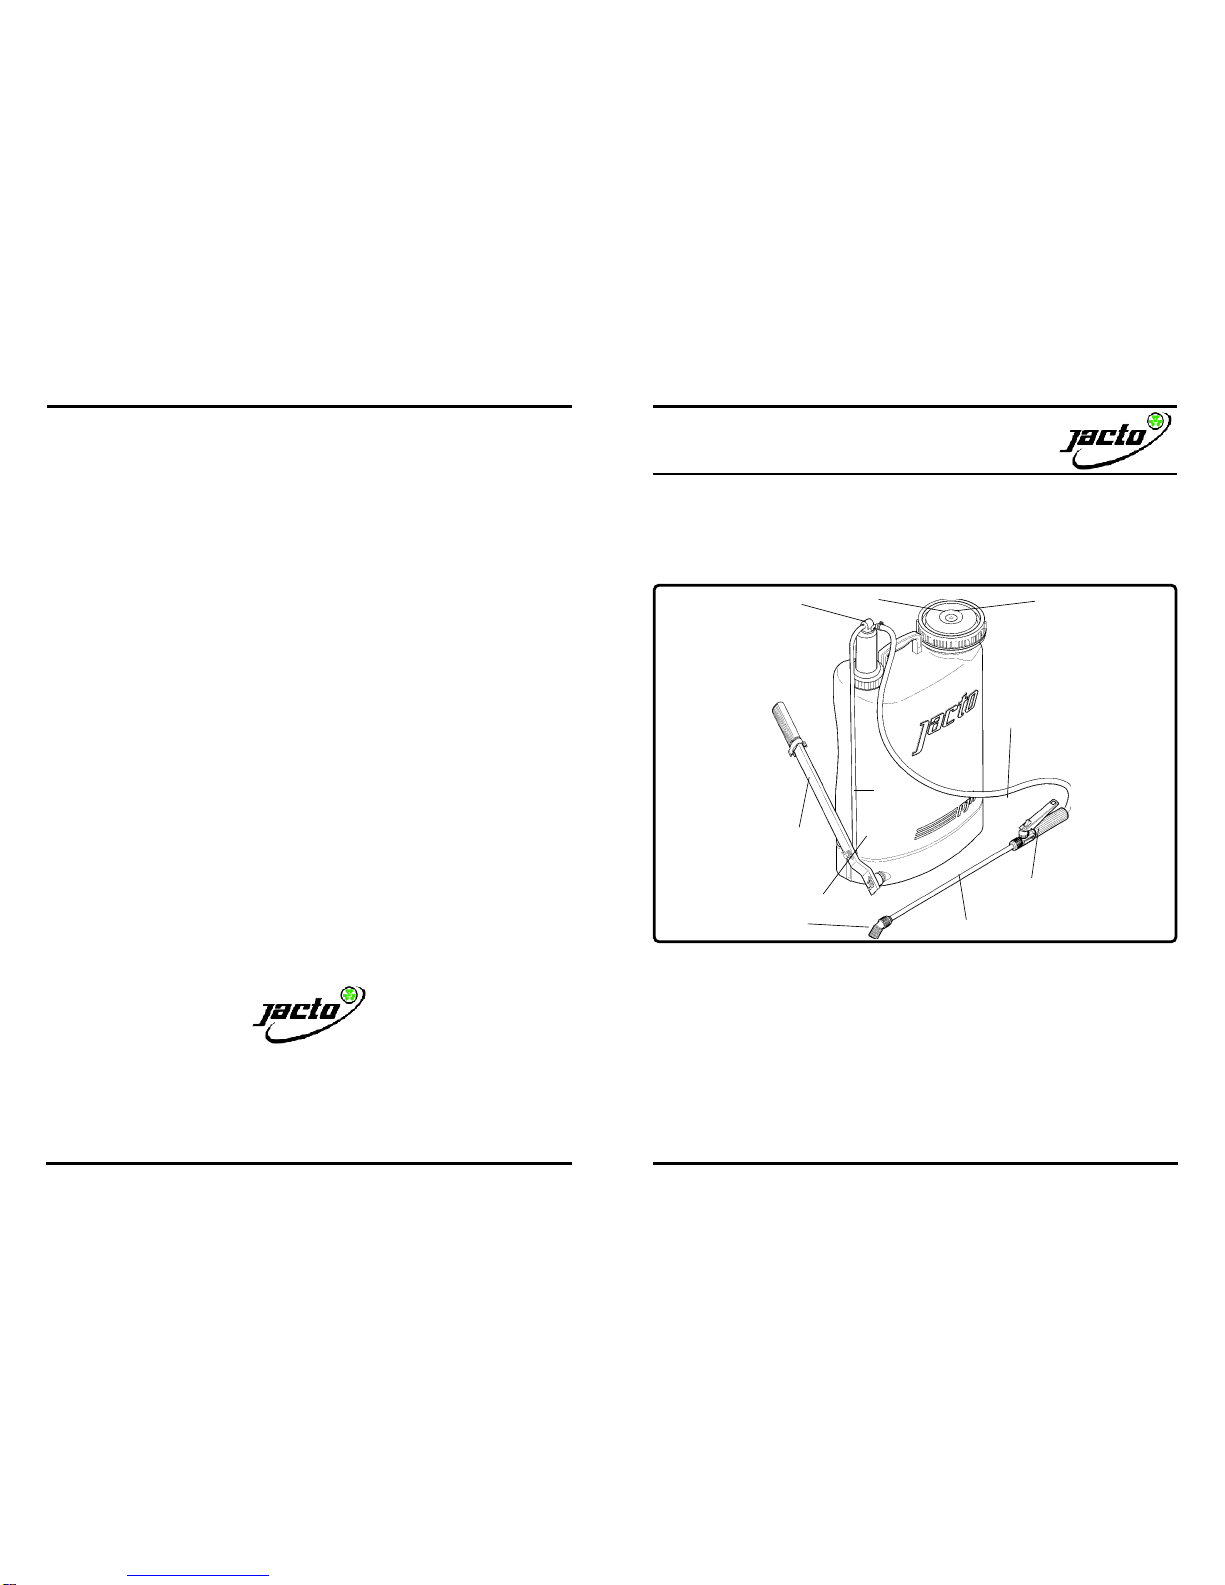
1502
Rod
Tankwithlever
Lance
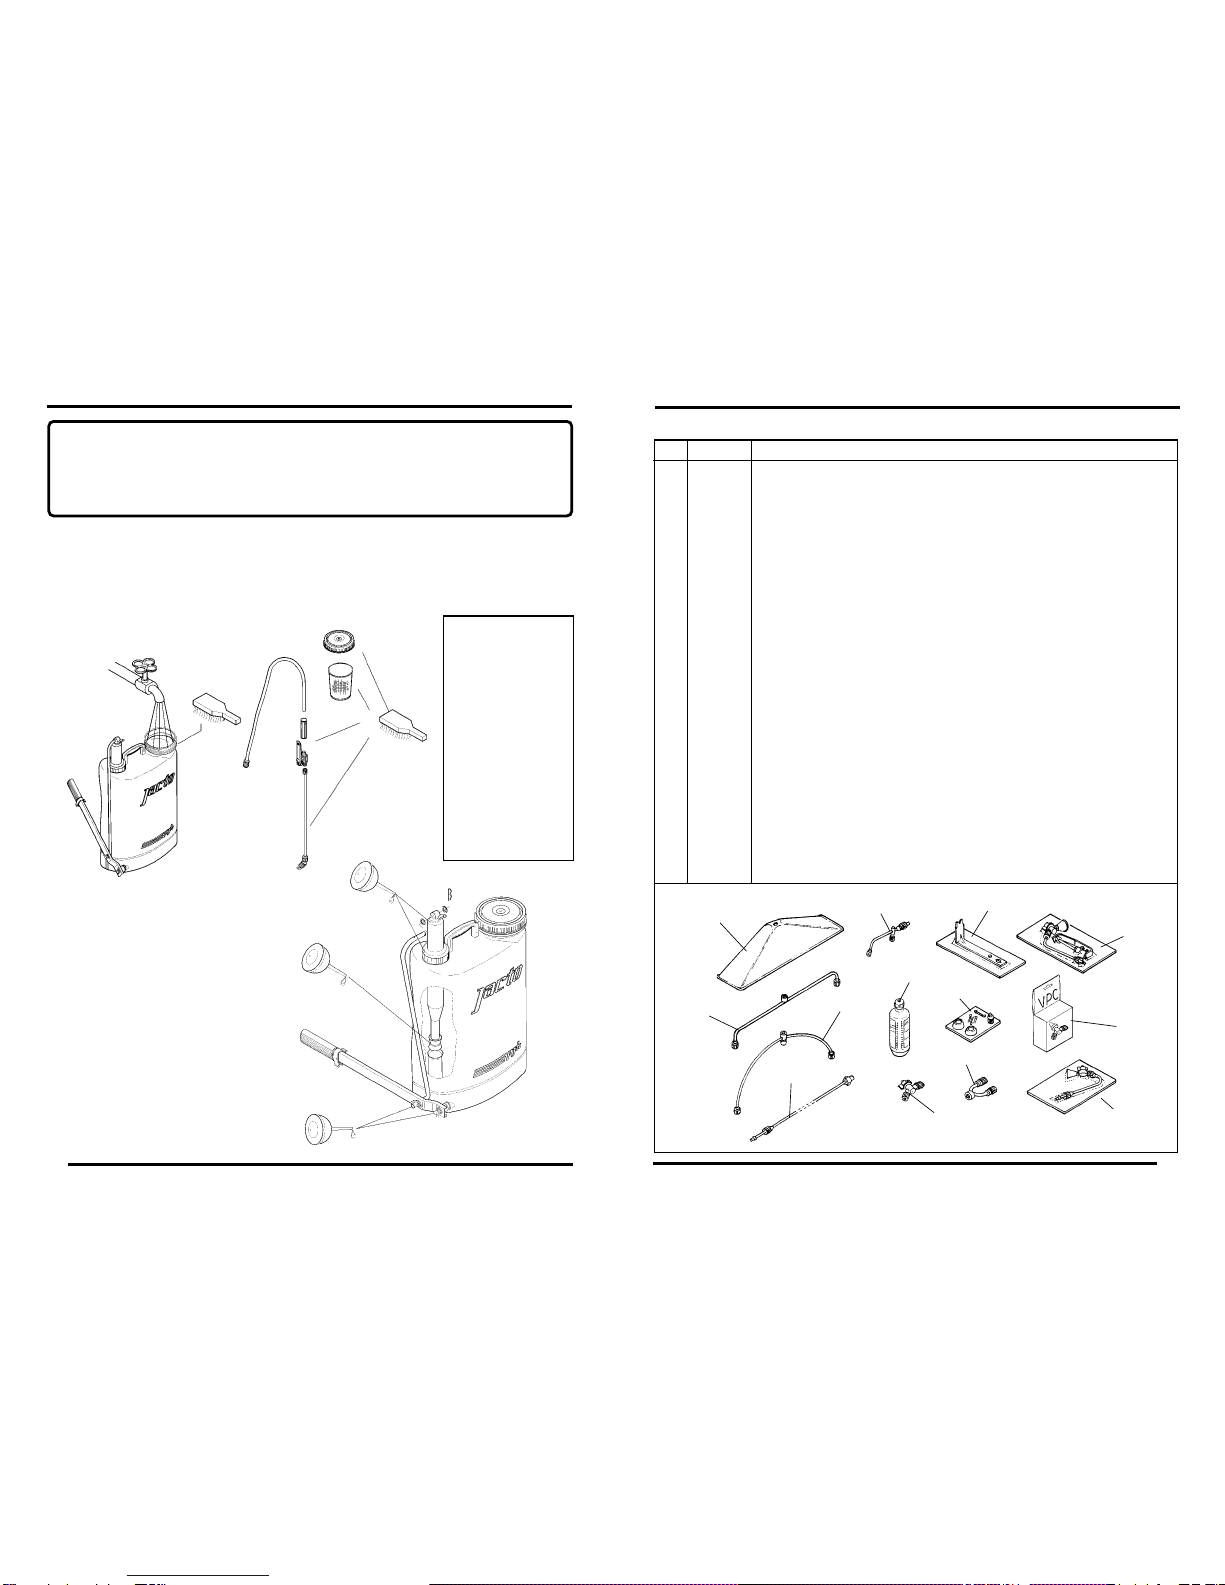
Accessories
plastic bag Hosewith
triggervalve
Contentsof
the plastic bag
ATTENTION:Becarefulwhentakingthesprayeroutofthecartonbecausethelever
is loose and cause damage or personal injury.
4-ASSEMBLYPROCEDURES
Takeoutof the sprayercartonthe following parts.
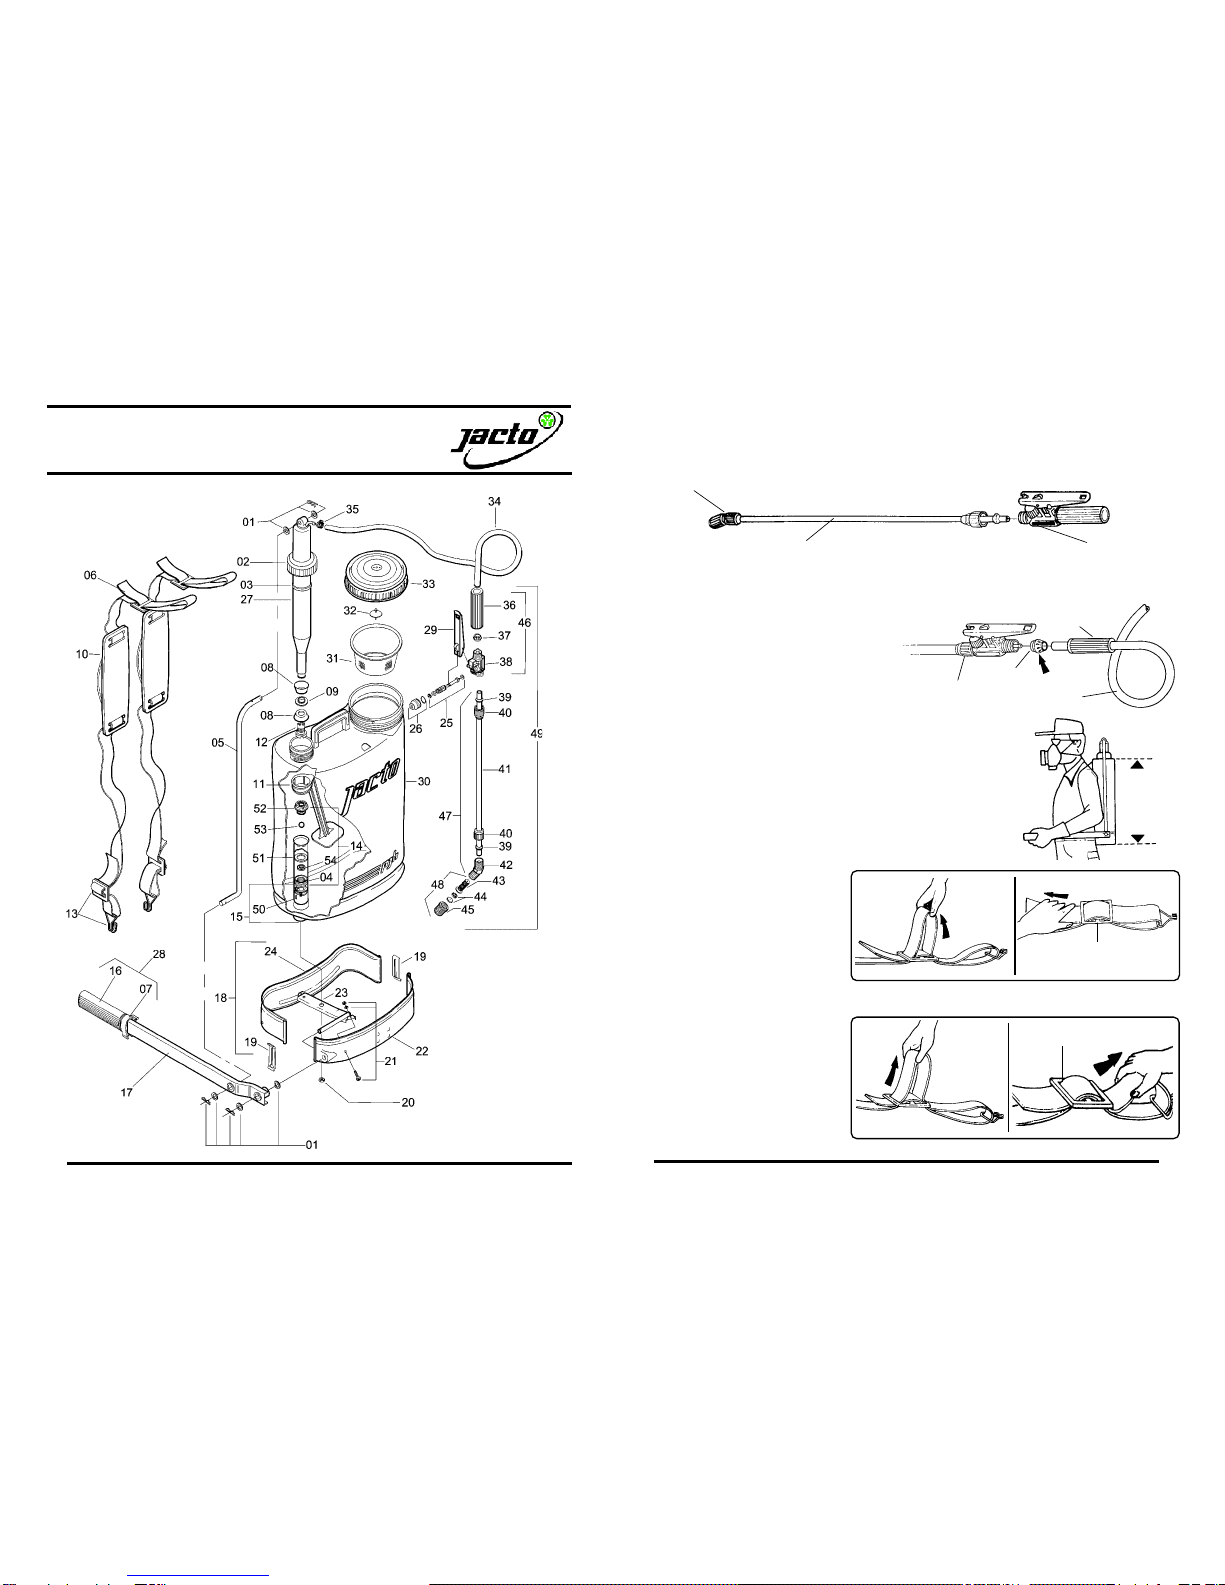
5-INSTALLINGTHELEVERONTHESHAFTANDTHERODONTHECHAMBERTOP
Rod
Lever
Shaft
Cotterpin
Washers
Cotterpin
- Grease slightly the lever orifice and install it on the
rod. Fit a flat washer before the cotter pin.
- Grease slightly the orifice on the chamber top.
- Fit a flat washer on the shaft and rod.
- For easy assembly, install the lever on
the shaft and the rod on the chamber
top at the same time.
- Install the other flat washers on the
shaft and rod and lock with the
cotter pin.
Description
Item Description
Item Part no. Qtd
Qtd
Part no.
00 - PJH manual knapsack sprayer 01
01 942102 Washers and cotter pins 01
02 831222 Gasket holder 62 01
03 831230 Gasket 7 x ø 50.6 01
04 120188 Fastener 01
05 009654 Pumpingrod 01
06 915926 Strap assembly 01
07 495648 Lever lock 01
08 942755 Piston cup 02
09 942763 Piston cup spacer 01
10 012120 Shoulder protector 02
11 300582 Agitator 01
12 402297 Chamber valve 01
13 942110 Buckles and hook set 01
14 661124 Fastener assembly (supplied
with items: 51, 52, 53, 54
and 55) 01
15 925917 Cylinder assembly (supplied
with items 14, 20 and 50) 01
16 002683 Handgrip 01
17 615005 Pumping lever and handgrip 01
18 229484 Tank base assembly (supplied
with items 19, 21, 22, 23,
24, two washers and one
cotter pin) 01
19 825471 Base clamp 02
20 636118 Flanged nut M-8 01
21 229476 Bolts, washers and nuts set 01
22 825448 Rear body 01
23 942714 Reinforcement 01
24 825430 Front body 01
25 105239 Trigger valve needle
assembly (supplied with
items 27 and 28) 01
26 996058 Trigger valve cap 01
27 635284 Chamber assembly (supplied
items 08, 09 and 12) 01
28 495812 Grip assembly 01
29 105247 Trigger 01
30 942086 Tank with lid 01
31 647131 Strainer 01
32 560573 Diaphragm 01
33 120527 Tank with diaphragm 01
34 530576 Hose ø 5/16" x 1350 01
35 938159 ClampMA-913 01
36 909192 Trigger valve handle 01
37 920470 Lock 01
38 909283 Trigger valve body 01
39 909309 Cone packing 02
40 915744 Screw cap 02
41 904235 Tube 01
42 635276 Elbow with cone packing 01
43 592139 Nozzle strainer M-40 01
44 217174 NozzleJD-12P 01
45 229724 Nozzle cap 01
46 908889 Trigger valve assembly
(supplied with items 25, 26, 29,
36, 37 and 38) 01
47 100131 Extension 601 (supplied with
items: 39, 40, 41and 42) 01
48 427062 Nozzle (supplied with items
43, 44 and 45) 01
49 915769 Spray lance assembly
(supplied items 46, 46, 47
and 48) 01
50 120170 Cylinder body 01
51 011668 RingOR1-122 01
52 570788 Ball holder 01
53 715474 Ball 01
54 565960 Packing ring 17 x 12 x 3 01
LLM-172