SECTION
SECTION ENGLISH
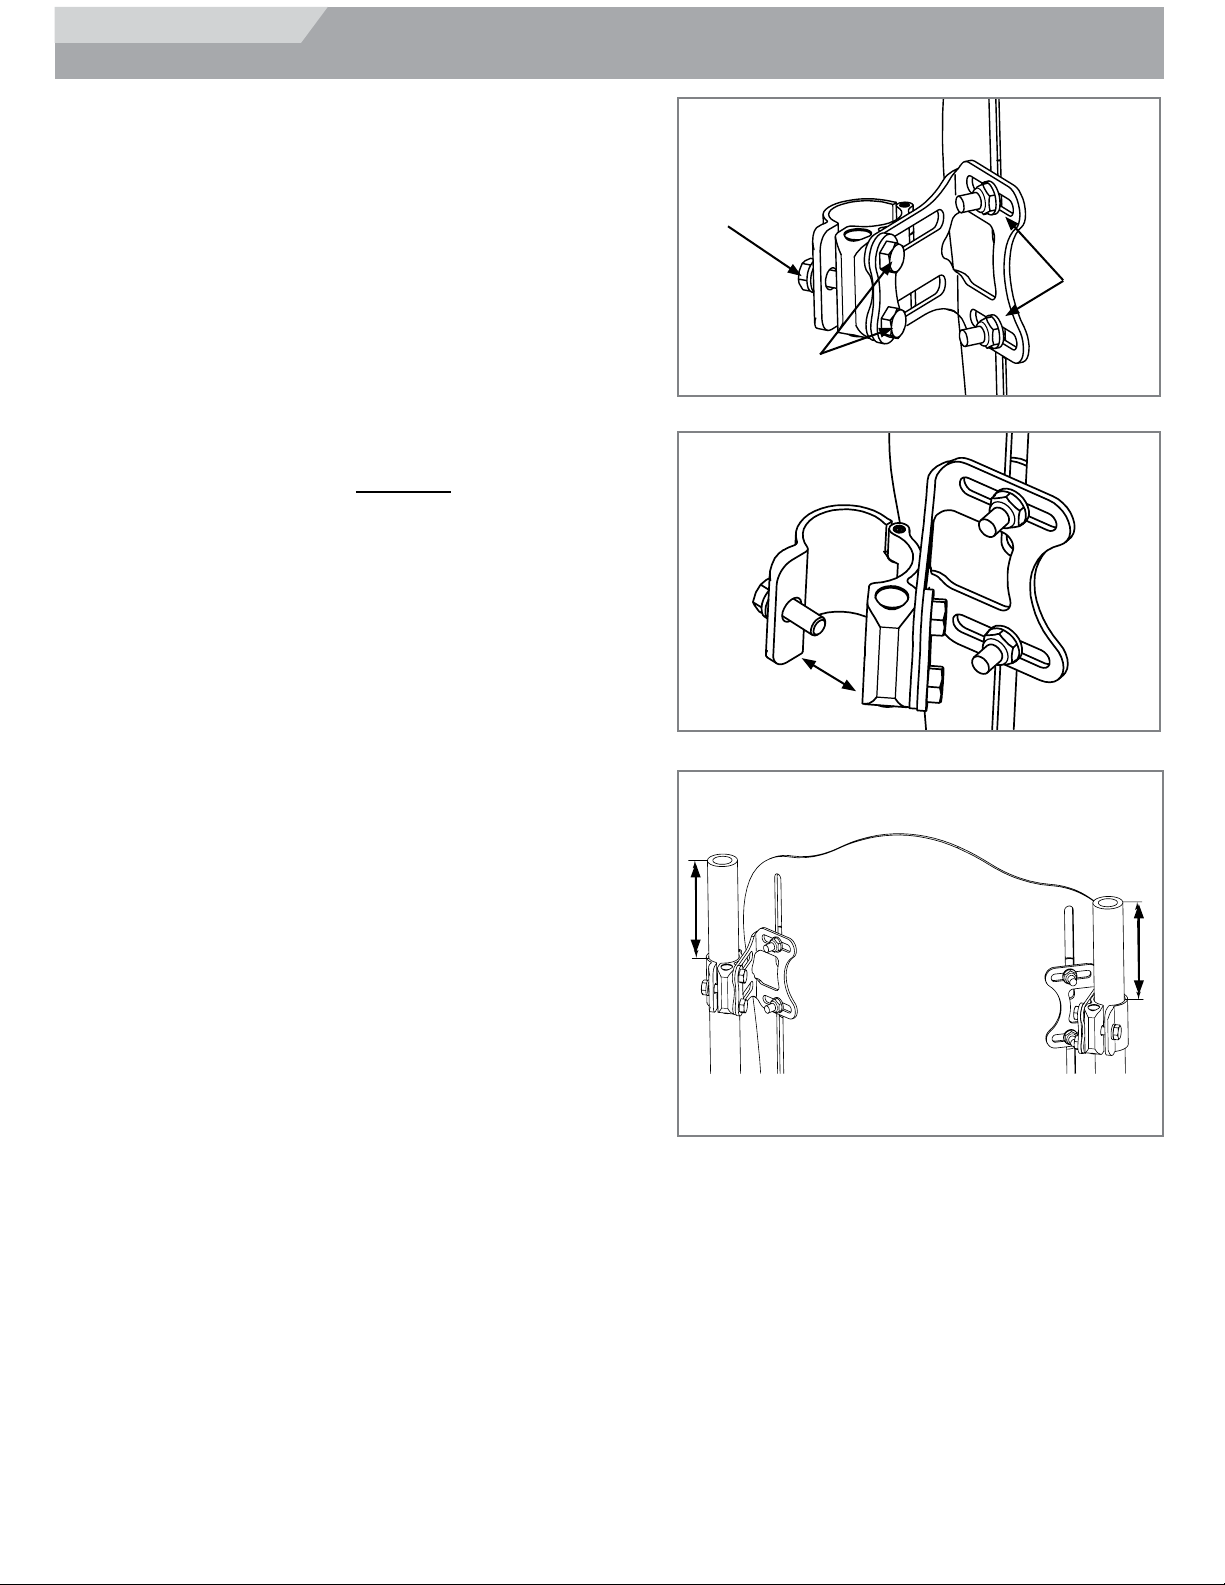
J3 CARBON BACK
Manual del Usuario
Cojín J3 Carbon ™
Información importante para el consumidor
NOTA: Este manual contiene instrucciones importantes que deben ser
transmitidas al usuario del producto. No extraiga este manual antes de la entrega
al usuario final.
DISTRIBUIDOR: Debe entregar este manual al usuario del producto.
USUARIO: Antes de utilizar este producto, lea atentamente el manual completo.
REGISTRO DE GARANTÍA: Para validar la garantía de este producto, complete y
envíe la postal adjunta al manual de instrucciones y cuadernillo con la garantía.
Manuale d'uso
Cuscino J3 Carbon ™
Importanti informazioni per l'utente
AVVISO: questo manuale contiene importanti istruzioni che devono essere
comunicate all'utente di questo prodotto. Si prega di non rimuovere il manuale
prima della consegna all'utente.
RIVENDITORE: questo manuale va consegnato all’utente del prodotto.
UTENTE: prima di usare il prodotto, leggere attentamente tutte le sezioni del
manuale e conservarlo per riferimento futuro.
GARANZIA: per la garanzia di questo prodotto, si prega di conservare la prova
d'acquisto del prodotto.
Manual do Utilizador
Almofada J3 Carbon ™
Informação importante para o consumidor
AVISO: Este manual contém instruções importantes que devem ser transmitidas
ao utilizador deste produto. Não remova este manual antes de o entregar ao
utilizador final.
FORNECEDOR: Este manual deve ser entregue ao utilizador deste produto.
UTILIZADOR: Antes de usar este produto, leia todo o manual e guarde-o para
referência futura.
REGISTO DA GARANTIA: Para validar a garantia deste produto, preencha e
envie o postal anexado às instruções e livro da garantia incluídos.
Handleiding
J3 Carbon ™ Kussen
Belangrijke informatie voor consumenten
OPMERKING: Deze gebruikershandleiding bevat belangrijke instructies die
aan de gebruiker van dit product moeten worden doorgegeven. Verwijder deze
gebruikershandleiding niet voordat het product aan de eindgebruiker is geleverd.
LEVERANCIER: Deze gebruikershandleiding moet aan de gebruiker van dit
product worden gegeven.
GEBRUIKER: Lees voordat u het product gebruikt, deze gebruikershandleiding
helemaal door. Bewaar de handleiding goed, zodat u hem in de toekomst ook
kunt naslaan.
Bruksanvisning
J3 Carbon ™ Kudde
Viktig konsumentinformation
OBS: Denna manual innehåller viktiga instruktioner som måste delges
användaren av denna produkt. Vänligen avlägsna ej denna manual före
leveransen till slutanvändaren.
LEVERANTÖR: Denna manual måste överlämnas till den som ska använda
produkten.
ANVÄNDARE: Innan du använder denna produkt, vänligen läs manualen och
spara den sedan för framtida behov.
GARANTI REGISTRERING: För att bekräfta garantin för denna produkt, fyll i och
skicka det bifogade vykortet som medföljer instruktionen och garantihäftet.