Step 3: Mount VIA Campus²
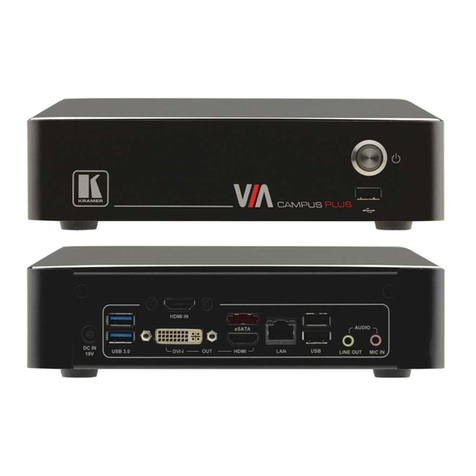
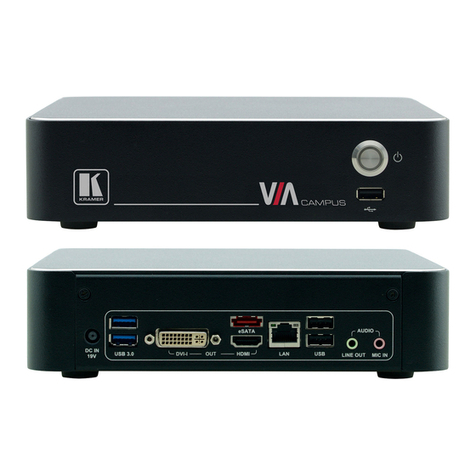
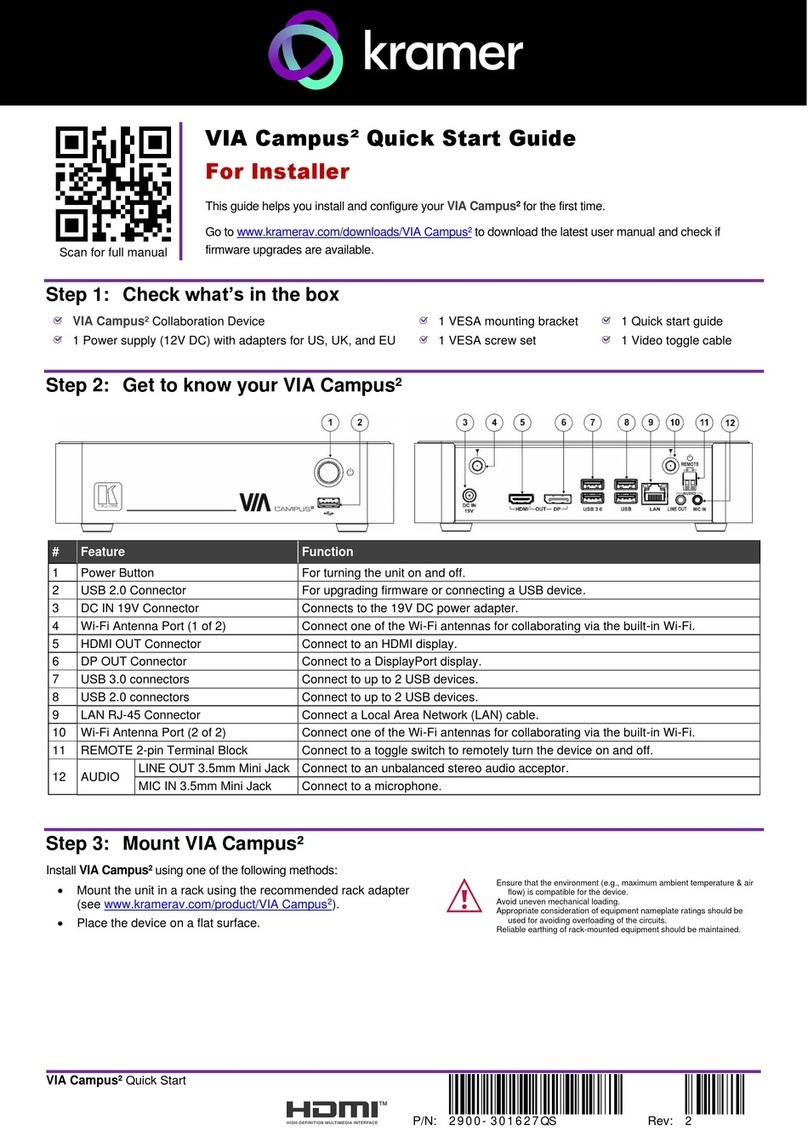
Install VIA Campus² using one of the following methods:
•Mount the unit in a rack using the recommended rack adapter
(see www.kramerav.com/product/VIA Campus2Accessories tab).
•Place the device on a flat surface.
Ensure that the environment (e.g., maximum ambient
temperature & air flow) is compatible for the device.
Avoid uneven mechanical loading.
Appropriate consideration of equipment nameplate ratings
should be used for avoiding overloading of the circuits.
Reliable earthing of rack-mounted equipment should be
maintained.
Step 4: Connect inputs and outputs
Always switch OFF the power on each device before connecting it to your VIA Campus².
1. Connect the keyboard and mouse.
2. Connect an HDMI display and/or a DisplayPort display.
3. Connect a Local Area Network (LAN) cable for connection to your network.
4. Connect the Wi-Fi antennas for using the built-in wireless capability.
5. Connect powered speakers and a microphone.
To achieve specified extension distances, use the Kramer cables in www.kramerav.com/product/VIA Campus2, select the Cables tab.
Using third-party cables may cause damage!
Step 5: Connect power
Connect the 19V DC power adapter to VIA Campus²and plug it into the mains electricity.
There are no operator serviceable parts inside the unit.
The device is intended to be installed at a height of 2 meters or less.
Use only the Kramer Electronics power adapter that is provided with the unit.
Disconnect the power and unplug the unit from the wall before installing.
See www.KramerAV.com for updated safety information.
Step 6: Configure VIA Campus²
For more information about configuration see “For Web Administrator: Gateway Management pages” in the User Manual at
https://www.kramerav.com/product/VIA Campus2#Tab_Resources.
1. Click the VIA tile at the bottom left of the screen: The Gateway Dashboard will open.
2. On the Kramer Gateway Dashboard, click Settings: The login window appears.
3. Enter the User Name (default = su) and Password (default = supass) and click Login:
The VIA Settings window appears.
The VIA Settings tabs are:
▪LAN Settings –Configure network parameters (default = DHCP allocated IP).
▪System Controls –Manage your display and audio settings.
▪Wi-Fi –Choose AP Mode or Client Mode: AP Mode sets VIA Campus² as an
independent Wi-Fi network, Client Mode connects the VIA Campus² to an existing
Wi-Fi network, making it a secondary access point for guests.
4. When you have finished configuring settings, click Reboot to apply all settings.
