manuals.online logo
Brands
  1. Home
  2. •
  3. Brands
  4. •
  5. Leuze
  6. •
  7. Accessories
  8. •
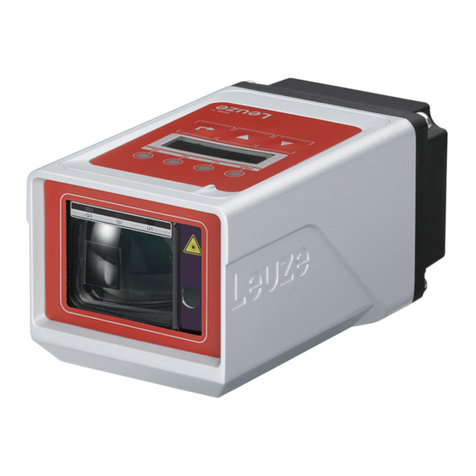
  9. Leuze DCR 200i User manual

Leuze DCR 200i User manual

2016/02 50130079
Irrtümer und Änderungen vorbehalten
Leuze electronic GmbH + Co. KG, In der Braike 1, D-73277 Owen, Telefon +49 (0) 7021 / 573-0, Fax +49 (0) 7021 / 573-199, [email protected], www.leuze.com
1.1 Gerät auspacken.
1.1 Unpack device.
1.1 Déballer l'appareil.
1.1 Rimuovere l'apparecchio dall'imballaggio.
1.1 Desembalar el equipo.
1.1 Desempacotar o aparelho.
1.1 拆开设备包装。
1.1 장치 포장을 풉니다.
1.2 DCR 200i montieren.
Montagewinkel sind optionales Zubehör.
1.2 Mount the DCR200i.
Mounting brackets are optional accessories.
1.2 Monter le DCR 200i.
Les équerres de montage sont des accessoires en option.
1.2 Montare il DCR 200i.
Le squadrette di montaggio sono accessori opzionali.
1.2 Montar el DCR 200i.
Las escuadras de montaje son accesorios opcionales.
1.2 Montar o DCR 200i.
As cantoneiras de montagem são acessórios opcionais.
1.2 安装 DCR 200i。
安装角件属于选配件。
1.2 DCR 200i를 장착합니다.
장착 브래킷은 옵션 액세서리입니다.
1.3 Kabel anschließen. !M12 12-polig, A-codiert.
"Optional Ethernet M12 4-polig, D-codiert.
1.3 Connect cable. !M12, 12-pin, A-coded.
"Optional Ethernet, M12, 4-pin, D-coded.
1.3 Brancher le câble. !M12 12pôles, codageA.
"En option: Ethernet M12 4pôles, codageD.
1.3 Collegare il cavo. !M12, 12 poli, codifica A.
"Opzionale: Ethernet M12 a 4 poli, codifica D.
1.3 Conectar cable. !M12, de 12polos, con codificación A.
"Ethernet opcional, M12 de 4 polos, con codificación D.
1.3 Conectar o cabo. !M12 de 12 polos, codificação A.
"Opcional: Ethernet M12 de 4 polos, codificação D.
1.3 连接电缆 ! M12 12 针,A 编码。
" 可选以太网 M12 4 针,D 编码。
1.3 케이블을 연결합니다. ! M12 12핀, A 코딩됨.
" 옵션 이더넷 M12 4핀, D 코딩됨.
Schnelleinstieg / Quick Start Guide
2Ausrichten / Aligning
DCR 200i
2.1 DCR 200i zum Code ausrichten.
Abstand und Lesewinkel berücksichtigen! Die Ermittlung des
Leseabstandes ist in Kapitel 6.1.3 der Betriebsanleitung
beschrieben.
2.1 Align DCR200i with code.
Take into account distance and reading angle! How to
determine the reading distance is described in chapter6.1.3
in the operating instructions.
2.1 Orienter le DCR 200i vers le code.
Tenir compte de la distance et de l'angle de lecture.
La détermination de la distance de lecture est décrite au
chapitre6.1.3 du manuel d'utilisation.
2.1 Allineare il DCR 200i con il codice.
Tenere conto della distanza e dell'angolo di lettura.
La determinazione della distanza di lettura è descritta nel
capitolo6.1.3 del manuale di istruzioni.
2.1 Alinear el DCR 200i para el código.
Tener en cuenta la distancia y el ángulo de lectura.
La determinación de la distancia de lectura se describe
en el capítulo6.1.3 de las instrucciones de uso.
2.1 Alinhar o DCR 200i com o código.
Considerar a distância e o ângulo de leitura! A determinação
da distância de leitura está descrita no capítulo 6.1.3 do
manual de instruções.
2.1 将 DCR 200i 对准代码。
考虑间距和读取角度!
操作说明书的章节 6.1.3 中介绍了如何计算读取间距。
2.1 DCR 200i를 코드에 맞춥니다.
간격 및 판독 각도를 고려하십시오!
판독 간격 측정은 조작 지침 6.1.3장을 참조하십시오.
2.2 "AUTO"-Mode mit -Taste vorauswählen und mit -Taste
aktivieren. Die Belichtungszeit und die Codearten sowie die
Stellenanzahl werden eingelesen und gespeichert.
2.2 Preselect “AUTO” mode with the button and activate with
the button. The exposure time and the code types as well
as the number of digits are read in and stored.
2.2 Présélectionner le mode AUTO avec la touche et l'activer
avec la touche . Le temps de pose et les types de codes
ainsi que le nombre de chiffres sont lus et enregistrés.
2.2 Preselezionare la modalità «AUTO» con il tasto e attivarla
con il tasto . Il tempo di esposizione, i tipi di codice e il
numero di cifre vengono letti e memorizzati.
2.2 Preseleccionar el modo «AUTO» con la tecla y activarlo
con la tecla . Se leen y memorizan el tiempo de exposición
y los tipos de código, así como el número de dígitos.
2.2 Pré-selecionar o modo "AUTO" com o botão e ativar com
o botão . O tempo de exposição, os tipos de código
e o número de dígitos são lidos e armazenados.
2.2 用 按钮预选“AUTO”模式,并用 按钮激活。
读入并保存照明时间、代码类型以及数位。
2.2 버튼으로 "AUTO" 모드를 사전 선택하고 버튼으로
활성화합니다. 노출 시간과 코드 방식 및 자릿수가 판독되고
저장됩니다.
2.3 "TRIG"-Mode mit -Taste vorauswählen und mit -Taste
aktivieren. Die gespeicherten Leseeinstellungen werden
überprüft.
2.3 Preselect “TRIG” mode with the button and activate with
the button. The stored read settings are checked.
2.3 Présélectionner le mode TRIG avec la touche et l'activer
avec la touche . Les réglages de lecture enregistrés sont
vérifiés.
2.3 Preselezionare la modalità «TRIG» con il tasto e attivarla
con il tasto . Le impostazioni di lettura salvate vengono
verificate.
2.3 Preseleccionar el modo «TRIG» con la tecla y activarlo
con la tecla . Se comprueban los ajustes memorizados
para la lectura.
2.3 Pré-selecionar o modo "TRIG" com o botão e ativar
com o botão . Os ajustes de leitura armazenados são
verificados.
2.3 用 按钮预选“TRIG”模式,并用 按钮激活。
检查保存的读取设置。
2.3 버튼으로 "TRIG" 모드를 사전 선택하고 버튼으로
활성화합니다. 저장된 판독 설정값이 점검됩니다.
1Montieren / Mounting
Sample code:
10 ° ... 20 °
1 2
2015/12 50130080
Subject to modifi cations and errors
Leuze electronic GmbH + Co. KG, In der Braike 1, D-73277 Owen, Telefon +49 (0) 7021 / 573-0, Fax +49 (0) 7021 / 573-199, [email protected], www.leuze.com
2016/02 50130079
Subject to modifications and errors
easy handling.
3.1 Netzwerkkabel mit dem PC verbinden.
3.1 Connect network cable to the PC.
3.1 Relier le câble réseau au PC.
3.1 Collegare il cavo di rete al PC.
3.1 Conectar el cable de red con el PC.
3.1 Conectar o cabo de rede ao PC.
3.1 将网线与计算机连接。
3.1 네트워크 케이블을 PC에 연결합니다.
3.2 Internet-Browser öffnen und Default IP-Adresse eintragen.
3.2 Open an Internet browser and enter the default IP address.
3.2 Ouvrir un navigateur Internet et entrer l'adresseIP par défaut.
3.2 Aprire il browser Internet e inserire l'indirizzo IP di default.
3.2 Abrir el navegador de internet y registrar la dirección IP default.
3.2 Abrir o navegador da internet e inserir o endereço IP padrão.
3.2 打开网络浏览器并输入默认的 IP 地址。
3.2 인터넷 브라우저를 열고 기본 IP 어드레스를 입력합니다.
3.3 Im WebConfig in den !Service-Mode wechseln und den
"Wizard starten.
3.3 In WebConfig, switch to !Service mode and
start wizard ".
3.3 Dans WebConfig, basculer en !mode de maintenance
et"lancer l'assistant.
3.3 In WebConfig passare alla !Modalità di assistenza
e"Avviare il Wizard.
3.3 En WebConfig, cambiar al !modo de servicio
e"iniciarasistente.
3.3 No WebConfig, alterar para o !Modo de serviço
e"Iniciar o assistente.
3.3 在 WebConfig 中切换至 ! 服务模式,并启动 " 向导。
3.3 WebConfig에서, ! 서비스 모드에서 변경하고 " 마법사를
시작합니다.
Schnelleinstieg / Quick Start Guide
4DCR 200i IP-Adresse anpassen / Adjust the DCR 200i IP address
DCR 200i
4.1 Unter !Konfiguration "Steuerung #Ethernet DCR die
Geräte IP-Adresse anpassen.
4.1 Under !Configuration "Control #Ethernet DCR, adjust
the device IP address.
4.1 Sous !Configuration "Commande #Ethernet DCR,
adapter l'adresseIP de l'appareil.
4.1 In !Configurazione "Controllore #Ethernet DCR
modificare l'indirizzo IP degli apparecchi.
4.1 En !Configuración "Control #Ethernet DCR adaptar la
dirección IP del equipo.
4.1 Em !Configuração "Comando #Ethernet DCR ajustar
o endereço IP do aparelho.
4.1 在 ! 配置 " 控制 # DCR 以太网 下调整设备 IP 地址。
4.1
! 설정 " 제어 # 이더넷 DCR에서 장치 IP 어드레스를
조정합니다.
4.2 Alternativ über die DCR Configurator-App IP-Adresse oder
DHCP-Parametriercode aufrufen. Die Parametriercodes
werden mit dem "AUTO"-Mode eingelesen.
4.2 Alternatively, use the DCR Configurator app to call up the IP
address or DHCP configuration code. The configuration codes
are read in with the “AUTO” mode.
4.2 Autre possibilité: appeler l'adresseIP ou le code de paramé-
trage DHCP via l'application DCRConfigurator. Les codes de
paramétrage sont lus en mode AUTO.
4.2 In alternativa, richiamare l'indirizzo IP o il codice di parametriz-
zazione DHCP tramite l'app DCR Configurator. I codici di
parametrizzazione vengono letti in modalità «AUTO».
4.2 Alternativamente, activar con la DCR Configurator-App la
dirección IP o el código de parametrización DHCP. Los
códigos de parametrización se leen con el modo «AUTO».
4.2 Como alternativa, acessar o endereço IP ou o código de
parametrização DHCP através do aplicativo DCR Configurator.
Os códigos de parametrização são lidos com o modo
"AUTO".
4.2 也可通过 DCR 配置 APP 调出 IP 地址或
DHCP 参数代码。通过“AUTO”
模式读入参数代码。
4.2 또는, DCR 설정 앱에서 IP 어드레스 또는
DHCP 매개변수 코드를 불러옵니다.
매개변수 코드는 "AUTO" 모드에서 읽을
수 있습니다.
3Verbindung webConfig / Connecting webConfig
1
2
1
2
3

Other Leuze Accessories manuals

Leuze BPS 34 Series Parts list manual

Leuze

Leuze BPS 34 Series Parts list manual

Leuze HT25CL2 User manual

Leuze

Leuze HT25CL2 User manual

Leuze BPS 8 SM 102 User manual

Leuze

Leuze BPS 8 SM 102 User manual

Leuze IGSU 14E User manual

Leuze

Leuze IGSU 14E User manual

Leuze LBK S-01 User manual

Leuze

Leuze LBK S-01 User manual

Leuze HTU330 Series User manual

Leuze

Leuze HTU330 Series User manual

Leuze MLDSET-M1 User manual

Leuze

Leuze MLDSET-M1 User manual

Leuze SET-AC User manual

Leuze

Leuze SET-AC User manual

Leuze ODSL 30 User manual

Leuze

Leuze ODSL 30 User manual

Leuze ESB2 Series User manual

Leuze

Leuze ESB2 Series User manual

Leuze ODS 96 M/V Mounting instructions

Leuze

Leuze ODS 96 M/V Mounting instructions

Leuze DDLS 170 Parts list manual

Leuze

Leuze DDLS 170 Parts list manual

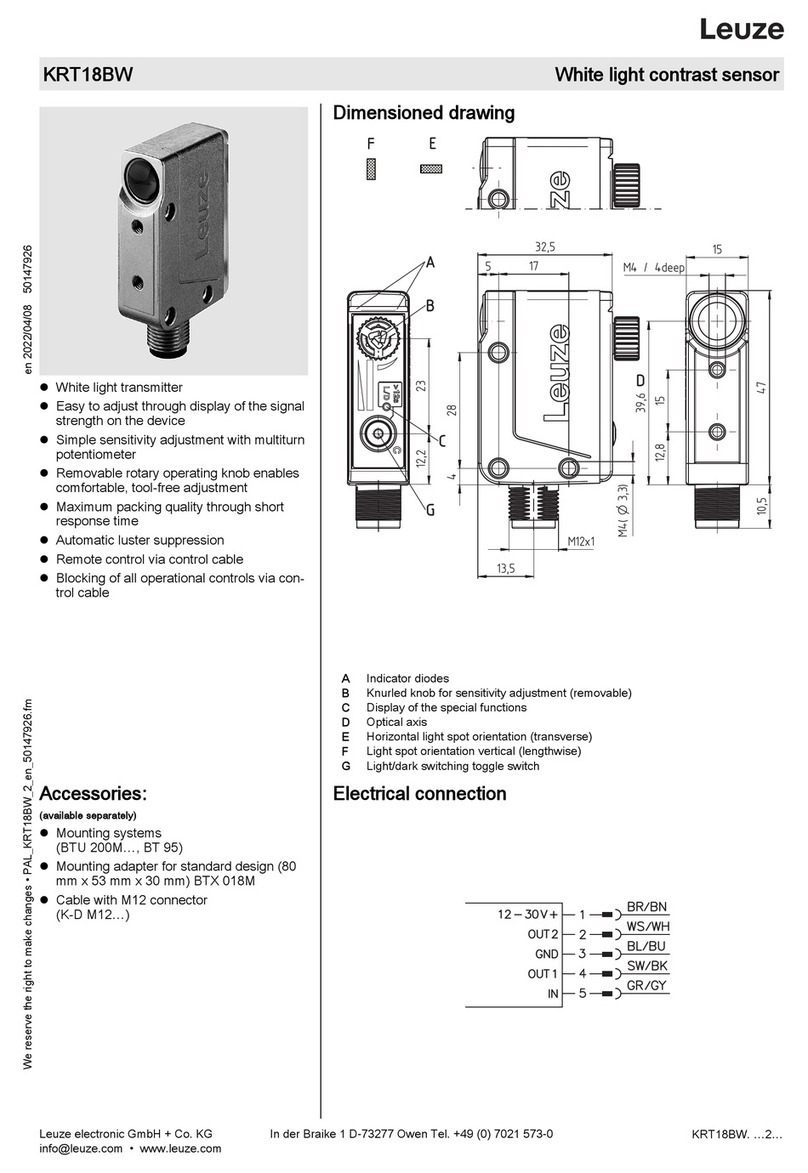
Leuze KRT18BW User manual

Leuze

Leuze KRT18BW User manual

Leuze IGSU 14E SD User manual

Leuze

Leuze IGSU 14E SD User manual

Leuze GS63B/6.3-S8 User manual

Leuze

Leuze GS63B/6.3-S8 User manual

Leuze GSU14E User manual

Leuze

Leuze GSU14E User manual

Leuze KRT3CM Series User manual

Leuze

Leuze KRT3CM Series User manual

Leuze GSX14E User manual

Leuze

Leuze GSX14E User manual

Leuze LES 36 Series User manual

Leuze

Leuze LES 36 Series User manual

Leuze PRK 55 Ex Series User manual

Leuze

Leuze PRK 55 Ex Series User manual

Leuze KRT18BW User manual

Leuze

Leuze KRT18BW User manual

Leuze LRS Parts list manual

Leuze

Leuze LRS Parts list manual

Leuze GSU12 User manual

Leuze

Leuze GSU12 User manual

Popular Accessories manuals by other brands

Emerson Rosemount 3200HP instruction manual

Emerson

Emerson Rosemount 3200HP instruction manual

Electrovaya PowerPad 160 Safety and instruction manual

Electrovaya

Electrovaya PowerPad 160 Safety and instruction manual

Chef's Choice Trizor XV 15 instructions

Chef's Choice

Chef's Choice Trizor XV 15 instructions

Laird Sentrius RS191 Configuration guide

Laird

Laird Sentrius RS191 Configuration guide

Steren ALA-034 manual

Steren

Steren ALA-034 manual

ORION TELESCOPES & BINOCULARS 5302 instruction manual

ORION TELESCOPES & BINOCULARS

ORION TELESCOPES & BINOCULARS 5302 instruction manual

Cornelius Post-Mix Valves UFB-1 Training manual

Cornelius

Cornelius Post-Mix Valves UFB-1 Training manual

Simrad PI32 Quick reference guide

Simrad

Simrad PI32 Quick reference guide

Ritron RQX 1 Series Modification

Ritron

Ritron RQX 1 Series Modification

Hutech Alt-Az AZM-100 quick start guide

Hutech

Hutech Alt-Az AZM-100 quick start guide

Fastus LS Series user manual

Fastus

Fastus LS Series user manual

Philio Technology Corporation PST08-A user manual

Philio Technology Corporation

Philio Technology Corporation PST08-A user manual

S+S Regeltechnik HYGRASGARD RPFF Operating Instructions, Mounting & Installation

S+S Regeltechnik

S+S Regeltechnik HYGRASGARD RPFF Operating Instructions, Mounting & Installation

Kooper 5905923 User instructions

Kooper

Kooper 5905923 User instructions

netvox R313B user manual

netvox

netvox R313B user manual

Movisens Move 4 quick start guide

Movisens

Movisens Move 4 quick start guide

Lexing LX-MV-360S18 Instruction

Lexing

Lexing LX-MV-360S18 Instruction

LOXONE Door & Window Contact Air quick guide

LOXONE

LOXONE Door & Window Contact Air quick guide

manuals.online logo
manuals.online logoBrands
  • About & Mission
  • Contact us
  • Privacy Policy
  • Terms and Conditions

Copyright 2025 Manuals.Online. All Rights Reserved.