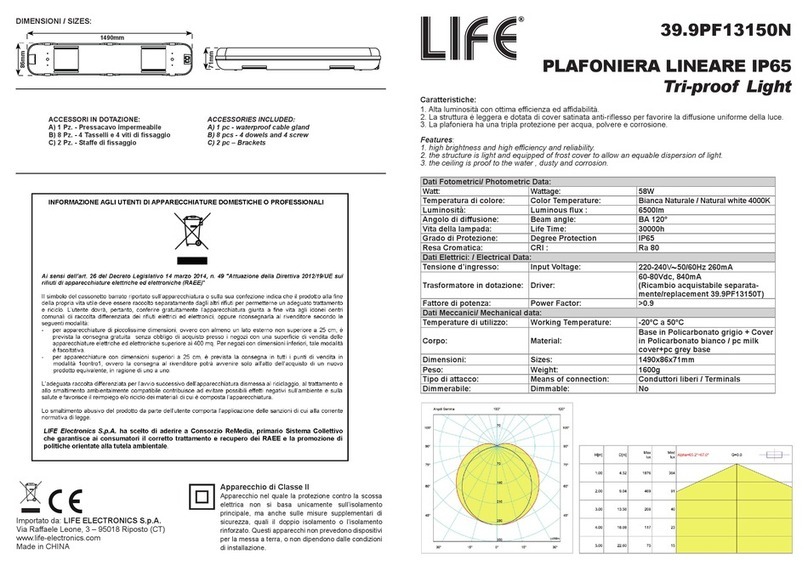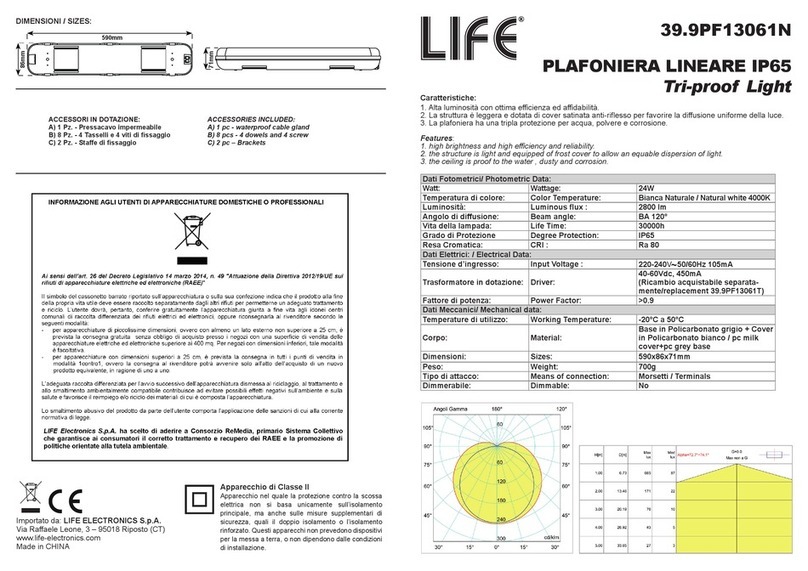
ATTENZIONE: rispettare lo schema di collegamento
Attention: follow the connection diagram
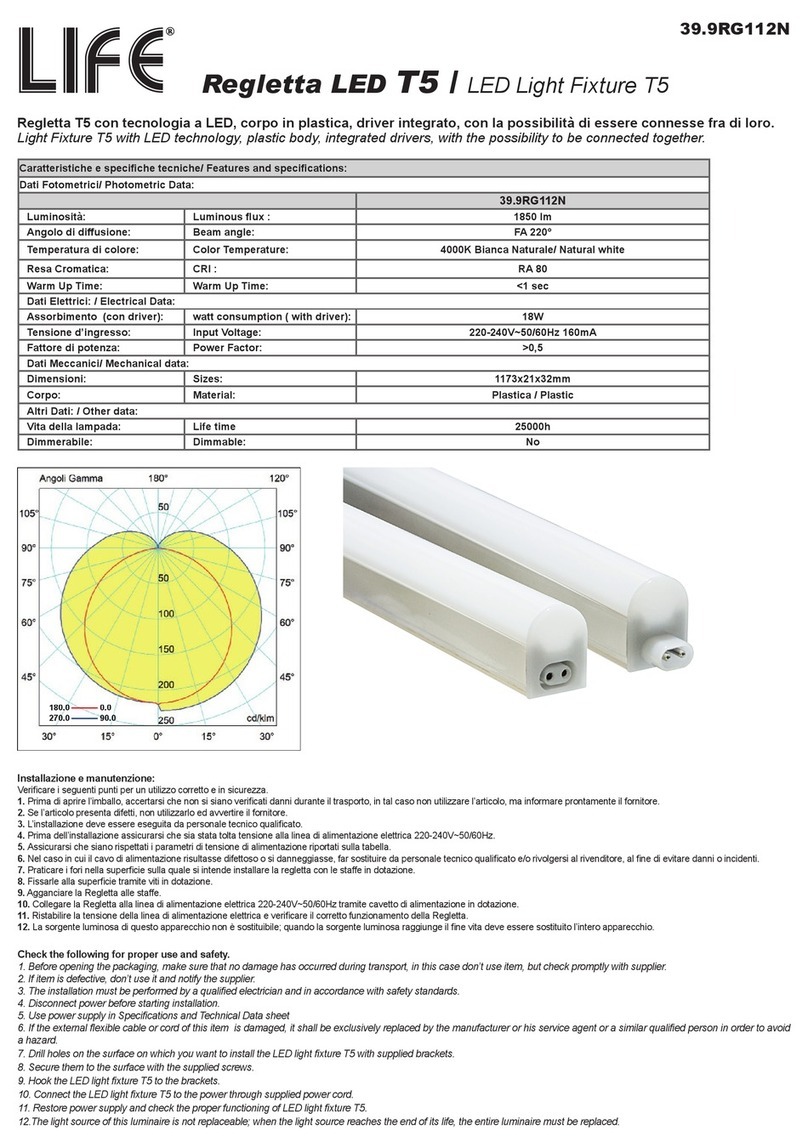
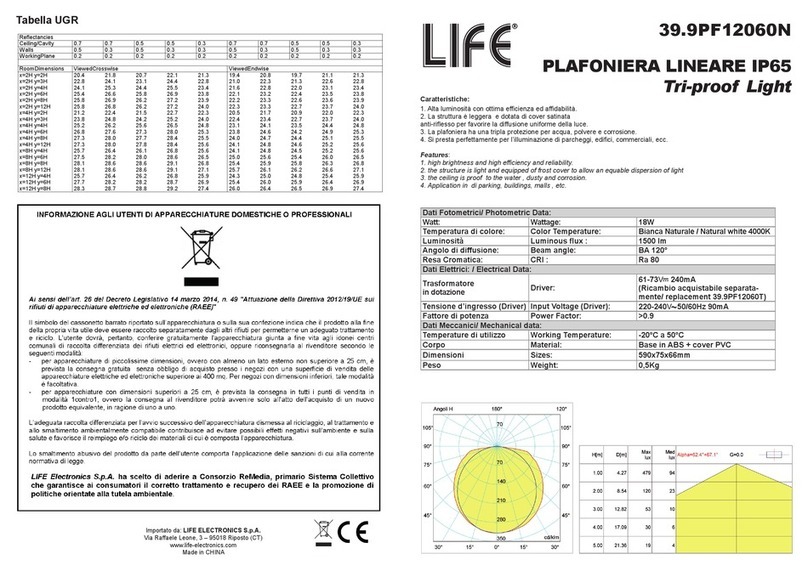
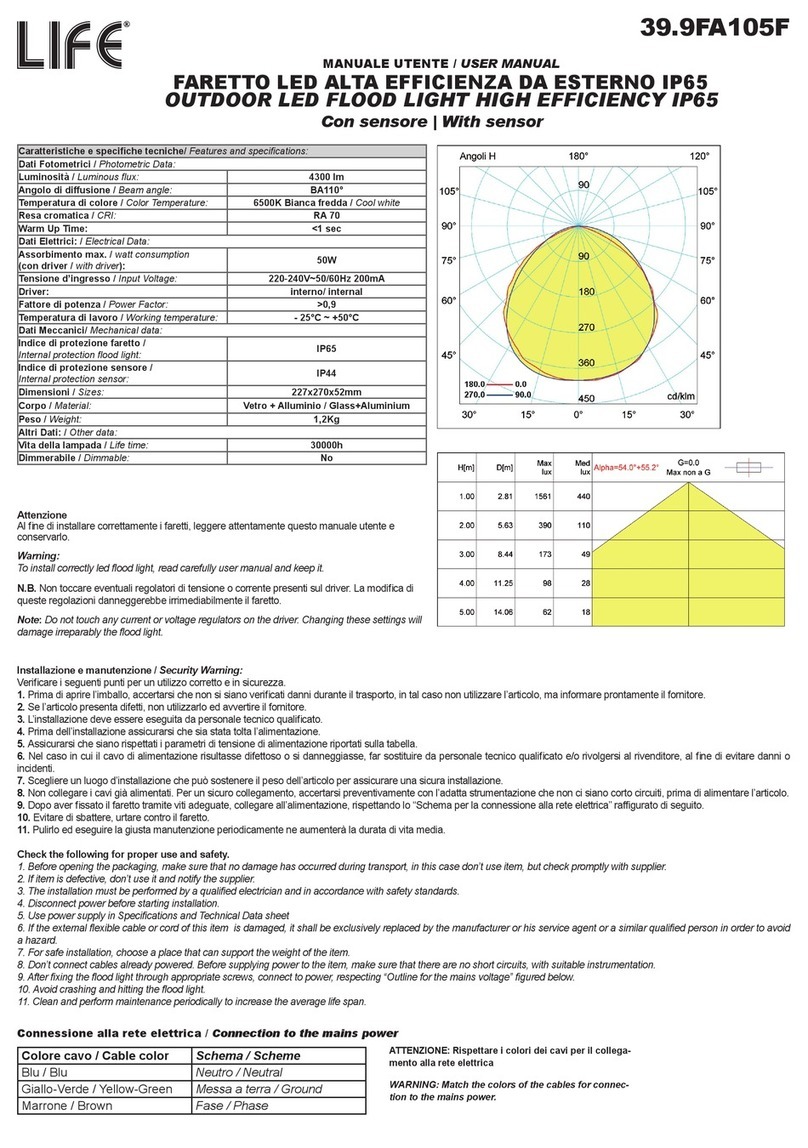
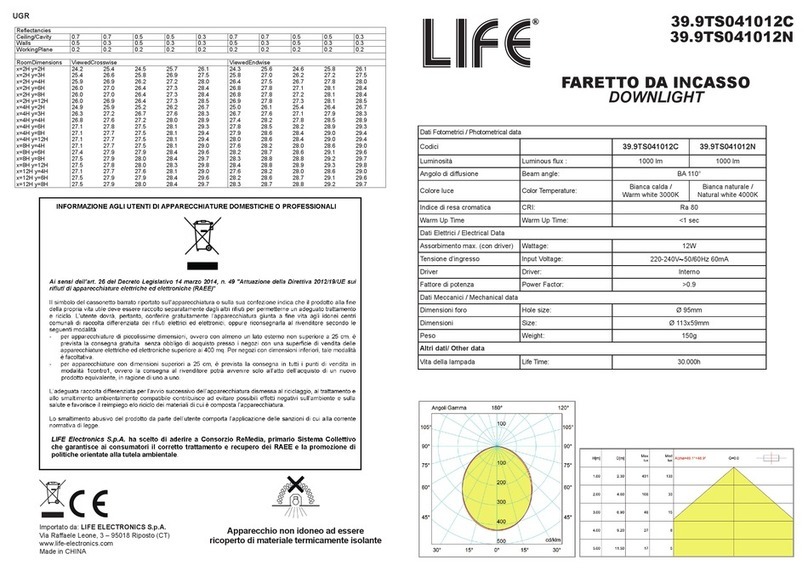
MODALITA’ DI MONTAGGIO DELLA PLAFONIERA / HOW TO INSTALLING:
Installazione cavo di alimentazione / Power cord installation
L’installazione deve essere eseguita da personale tecnico qualicato:
Installation must be performed by qualied technical personnel:
1- Togliere tensione alla linea di alimentazione elettrica e svitare il pressacavo impermeabile dalla
plafoniera.
1- Turn o the power supply line and unscrew the waterproof cable gland from the ceiling light.
2- Sganciare con un cacciavite il coperchio, al cui interno si trova la morsettiera per eettuare i colle-
gamenti alla linea di alimentazione elettrica 220-240V~50/60Hz.
2- Unhook the cover with a screwdriver, inside which the terminal board is located to make the connections to
the 220-240Vac - 50 / 60Hz power supply line.
3- Inserire il cavo di alimentazione elettrica e collegare la Fase (il lo marrone) al terminale L ed il
Neutro (il lo blu) al terminale N.
3- Insert the power supply cable and connect the Phase (the brown wire) to the L terminal and the Neutral (the
blue wire) to the N terminal.
a) Poggiare le stae in dotazione sulla parete dove verrà installata la plafoniera.
b) Segnare i punti da forare sulla parete, per agganciare le stae.
c) Dopo aver forato la parete, inserirvi i tasselli ad espansione, e ssare le stae tramite viti.
d) Agganciare la plafoniera alle due stae ssate sulla parete/sotto d’installazione.
a) Place the supplied brackets on the wall where the ceiling light will be installed.
b) Mark the points to be drilled on the wall, to hook the brackets.
c) After drilling the wall, insert the dowels, and x the brackets using screws.
d) Attach the ceiling light to the two brackets xed to the installation wall / ceiling.
a) Fissare un kit tiranti al sotto, dove si intende installare la plafoniera.
b) Inserire le stae in dotazione alla plafoniera.
c) Agganciare i moschettoni del kit tiranti alle stae della plafoniera.
a) Fix a tie-rod kit to the ceiling, where you intend to install the Tri-proof light.
b) Insert the brackets supplied with the Tri-proof light.
c) Attach the carabiner hooks to the Tri-proof light brackets.
Nota / Note :
La plafoniera è predisposta per eettuare installazioni multiple in serie (12pz max), ma è necessario forare l’estremità
opposta della plafoniera, quella non dedicata all’installazione dell’alimentazione elettrica ed utilizzare il pressacavo
impermeabile IP65 (in dotazione). Eettuare il collegamento fra le plafoniere rispettando lo schema di collegamento e
mantenendo il doppio isolamento su tutta la linea di alimentazione elettrica.
The Tri-Proof light is designed to perform multiple installations in series (12pcs max), but it is necessary to drill the opposite
end of the ceiling light, the one not dedicated to the installation of the power supply and use the IP65 waterproof cable gland
(supplied).
Make the connection between the ceiling lights respecting the connection diagram and keeping the double insulation on the
whole power supply line.
ATTENZIONE / WARNING
• La sorgente luminosa di questo apparecchio non è sostituibile; quando la sorgente luminosa raggiunge il ne vita
deve essere sostituito l’intero apparecchio.
• Non posizionare la plafoniera vicino a fonti di calore.
• Prima di collegare la plafoniera all’ alimentazione elettrica vericare che tutti i collegamenti siano stati eseguiti
correttamente rispettando la tensione nominale di lavoro, altrimenti si potrebbero vericare danni e/o guasti.
• Non usare driver diversi dal modello in dotazione. Qualora si vericasse un guasto e si dovesse sostituire il driver
contattare immediatamente il personale tecnico qualicato ed utilizzare il modello indicato in tabella.
• Non toccare la plafoniera se ancora alimentata.
• Accertarsi che il punto d’installazione possa reggere il peso della plafoniera.
• La manutenzione e la sostituzione deve essere eseguita da personale tecnico qualicato
• The light source of this appliance is not replaceable; when the light source reaches the end of life, the whole luminaire must
be replaced.
• Do not place the ceiling light near sources of heat.
• Before connecting the ceiling light to the power supply, check that all connections have been made correctly, respecting the
rated working voltage, otherwise damage and / or faults could occur.
• Do not use drivers other than the supplied model. Should a fault occur and the driver should be replaced, contact the quali-
ed technical personnel immediately and use the model indicated in the table.
• Do not touch the ceiling light if it is still powered.
• Make sure that the installation point can bear the weight of the ceiling light.
• Maintenance and replacement must be performed by qualied technical personnel
4- Riagganciare il coperchio nella posizione
corretta, ssare nuovamente il pressacavo e, dopo
essersi assicurati che è stato mantenuto il doppio
isolamento su tutta la linea di alimentazione,
ristabilire la tensione alla linea di alimentazione
elettrica per testare il corretto funzionamento della
plafoniera.
4- Replace the cover in the correct position, fasten the
cable gland again and, after making sure that double
insulation has been maintained on the whole power
line, re-establish the voltage at the power supply line
to test the correct operation of the ceiling light.
1 Montaggio tramite stae (in dotazione)
1 Installation with brackets (supplied)
2. Montaggio tramite kit tiranti con cavo in acciaio 39.9PF1A01
(non in dotazione)
2. Installation with tie-rod kit with steel cable 39.9PF1A01 (not supplied)
Simbolo / Schema Cavo / Cable
L = Fase / Phase Marrone / Brown
N = Neutro / Neutral Blu / Blue
Il dispositivo è in Classe II, quindi non necessita della messa a terra, ma per assicurare un adeguato doppio isolamento su
tutta la linea di alimentazione utilizzare un cavo gommato, quale il H05RN-F, avente una sezione compresa fra 1,5mm2 e
2,5mm2. Sguainare i li conduttori del cavo di alimentazione elettrica solo della porzione di conduttore che entrerà all’interno
della morsettiera, prestando attenzione alla fuoriuscita dei trefoli che potrebbero causare corto circuiti.
The device is in Class II, so it does not need to be grounded, but to ensure adequate double insulation along the entire power
line use a rubberized cable, such as the H05RN-F, having a section between 1.5mm2 and 2, 5mm2. Strip the conductor wires
of the power supply cable only of the conductor portion that will enter the terminal board, paying attention to the escape of the
strands that could cause short circuits.
