manuals.online logo
Brands
  1. Home
  2. •
  3. Brands
  4. •
  5. Life
  6. •
  7. Lighting Equipment
  8. •
  9. Life HB0 Series User manual

Life HB0 Series User manual

39.9HB01291N
Importato da:
LIFE ELECTRONICS S.p.A.
Via Ra󰀨aele Leone, 3
95018 Riposto (CT)
www.life-electronics.com
Made in CHINA
Manuale utente / User manual
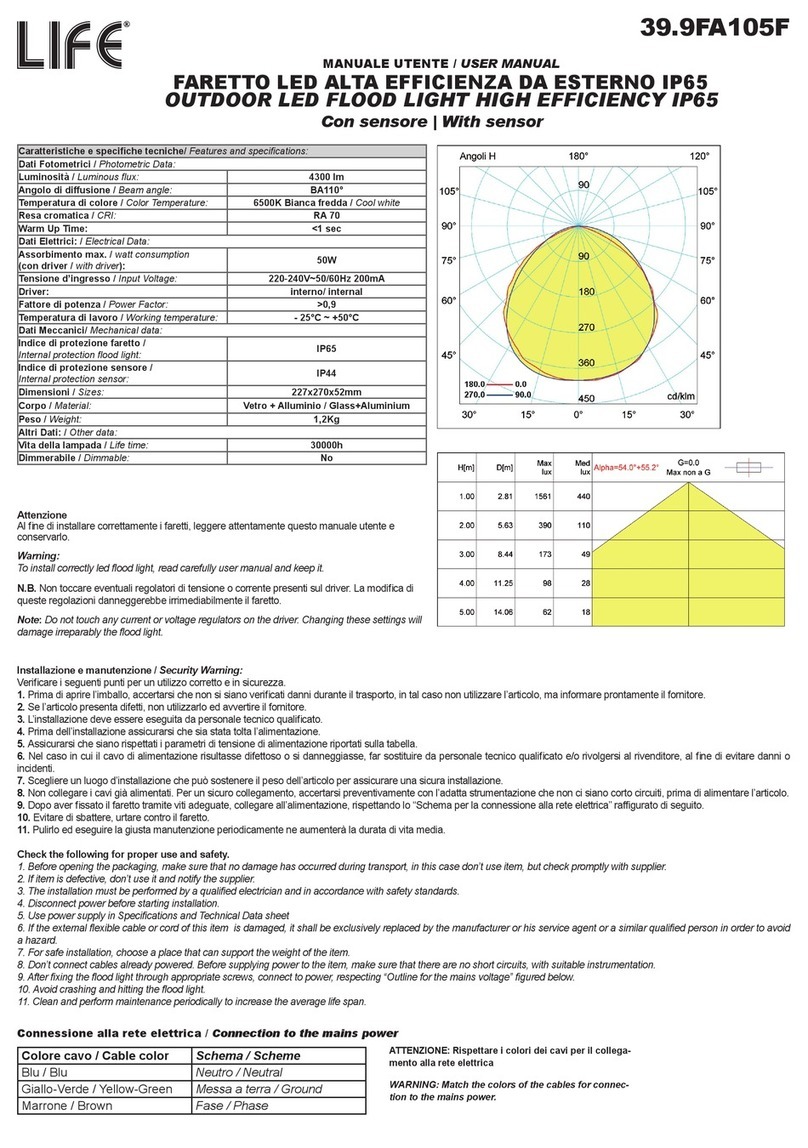
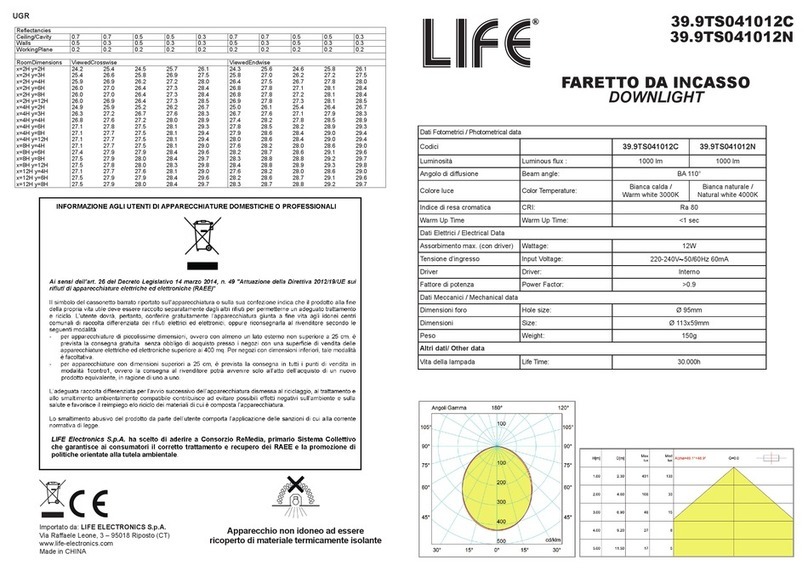
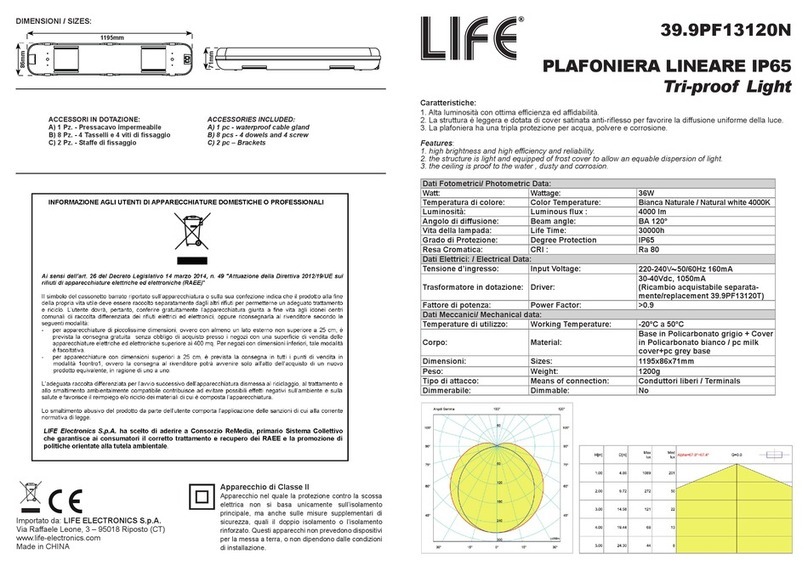
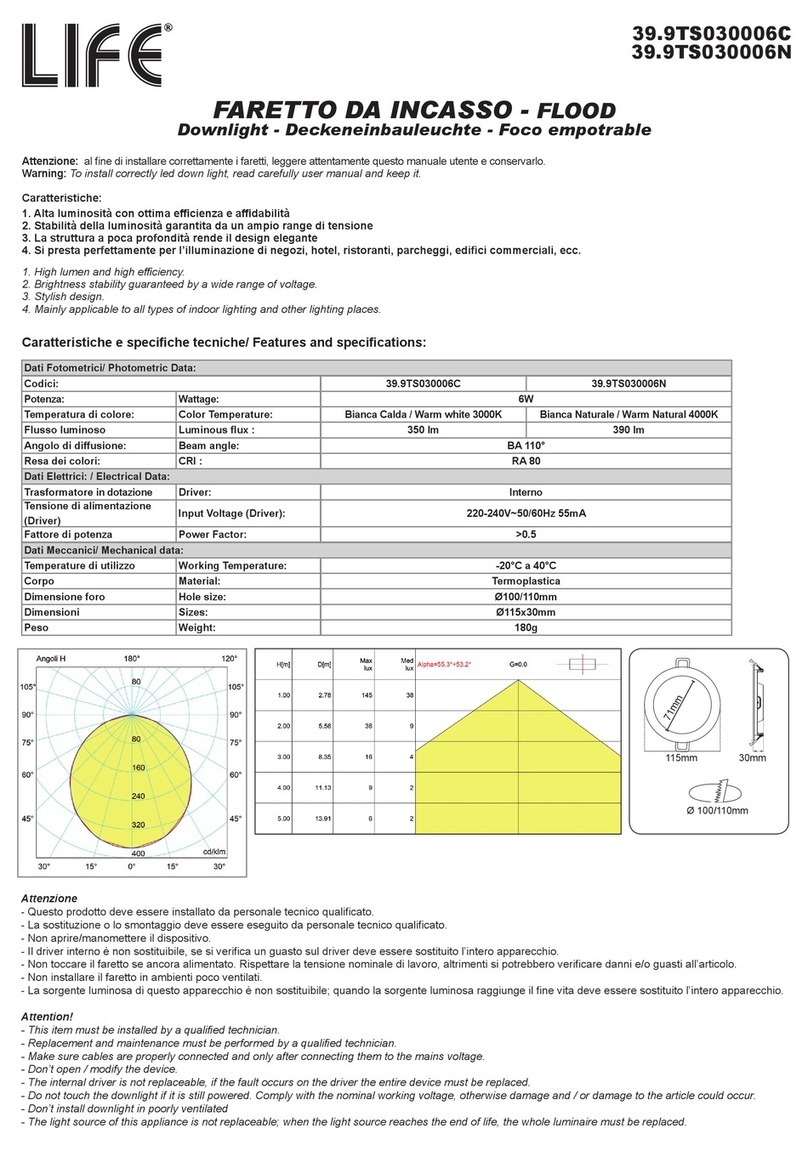
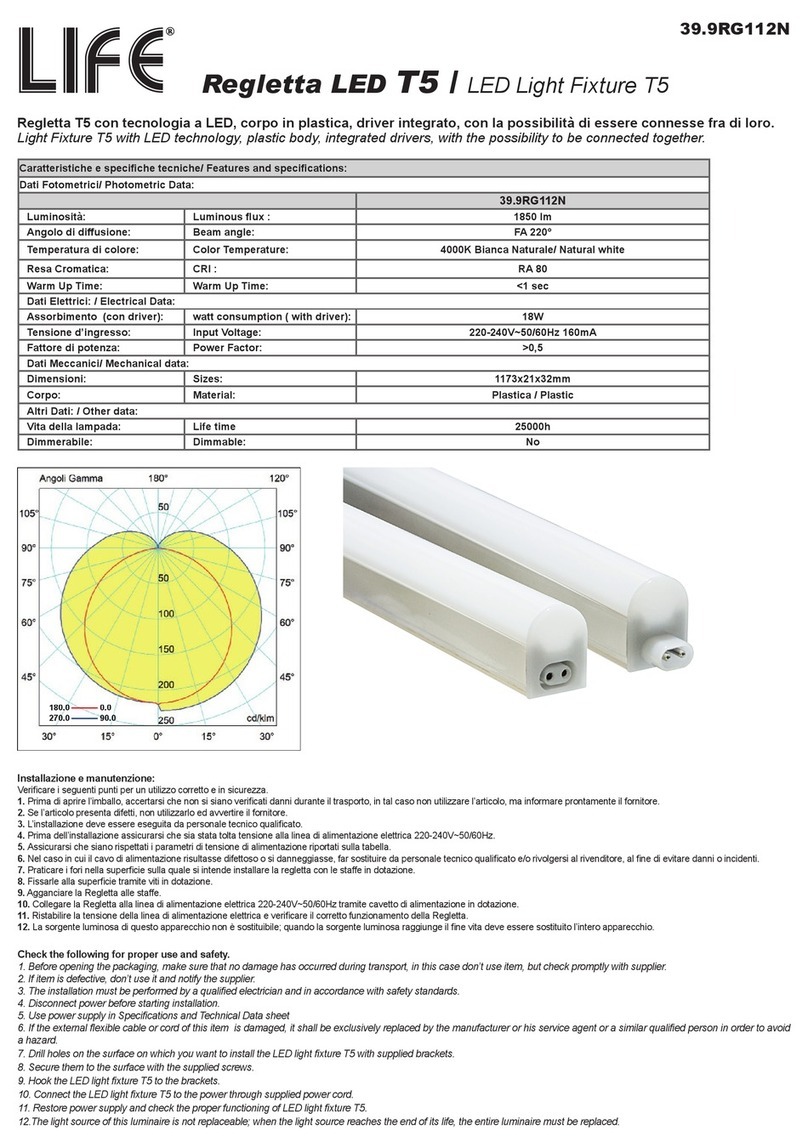
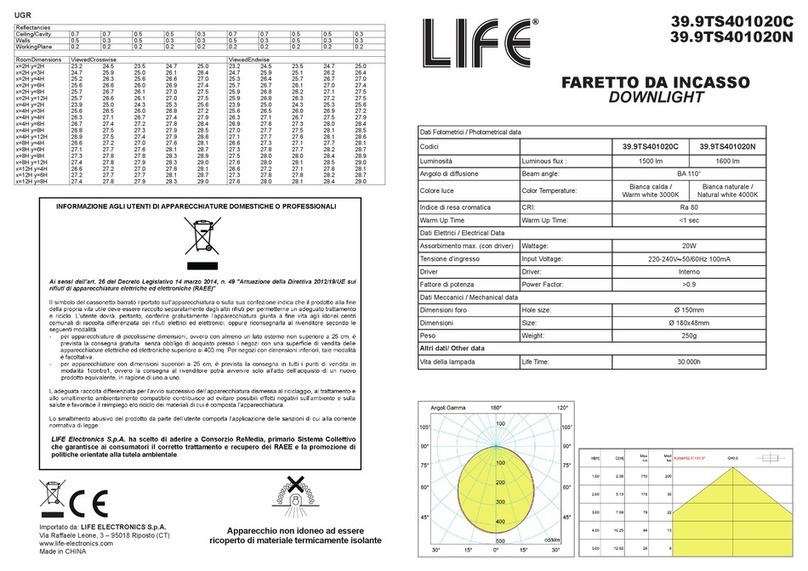
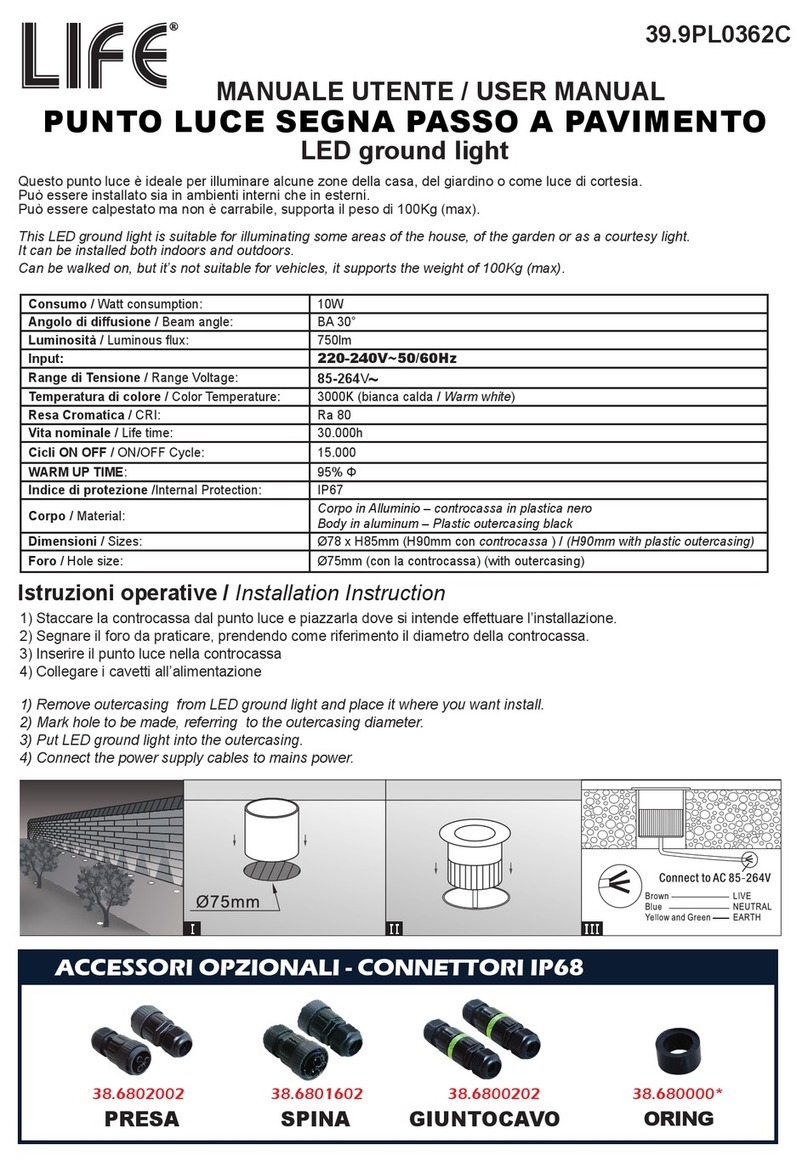
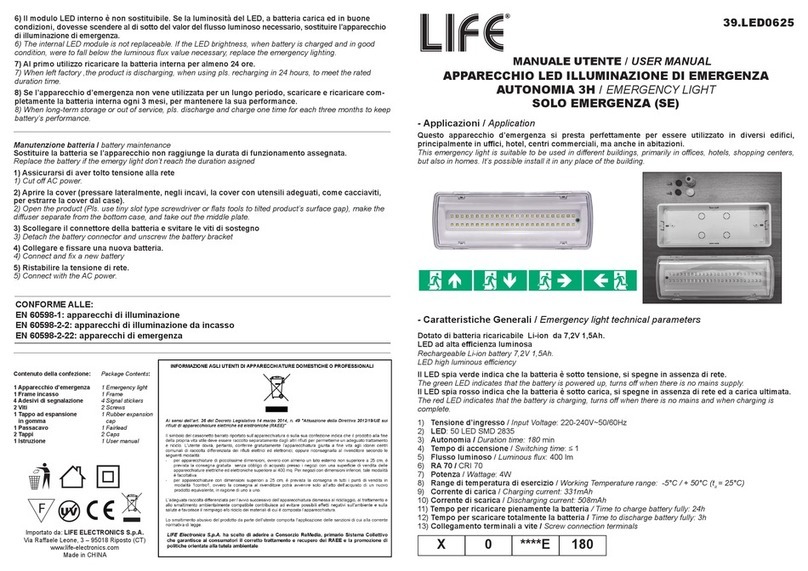
Dati Fotometrici /Photometrical data
Luminosità Luminous ux : 10000 lm
Angolo di diffusione Beam angle: BA 100°
Colore luce Color Temperature: Bianca naturale / Natural white 4000K
Illuminazione d’accento Accent idoneo / idone
Indice di resa cromatica CRI: Ra 80
Warm Up Time Warm Up Time: <1 sec
Dati Elettrici / Electrical Data
Driver Driver:50-60V 1,92A
(Ricambio acquistabile separatamente/ replacement 39.9HB01291T)
Tensione d’ingresso Input Voltage: 220-240V~50/60Hz 600mA
Fattore di potenza Power Factor: >0.9
Dati Meccanici / Mechanical data
Dimensioni Size: Ø460x315mm
Peso Weight: 2,9kg
Corpo Body Termoplastica + alluminio / Thermoplastic + alluminium
Altri dati / Other data
Vita della lampada Life Time: 30.000h
Caratteristiche e speciche tecniche/ Features and specications:
CAMPANA A LED Serie HB0 120W
LED High Bay HB0 series
Dimensioni / Size:
ø460
315mm
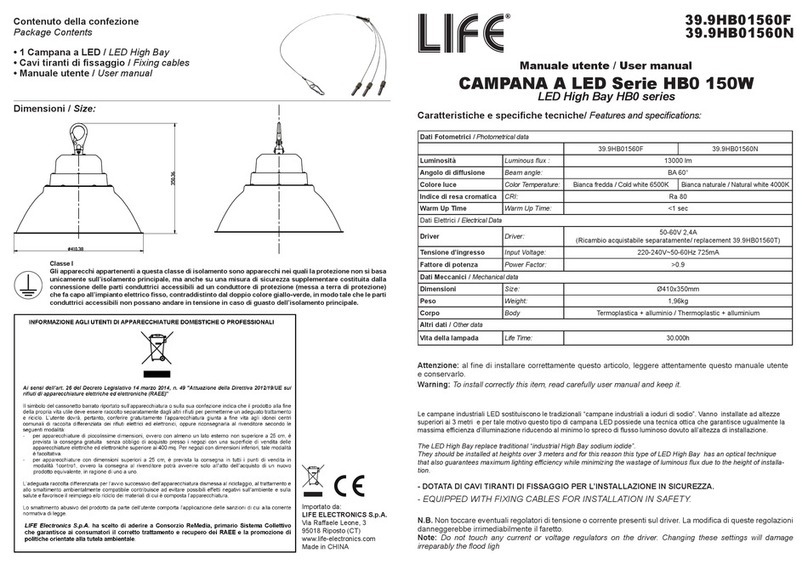
Contenuto della confezione
Package Contents
• 1 Campana a LED / LED High Bay
• Cavi tiranti di ssaggio / Fixing cables
• Manuale utente / User manual
Classe I
Gli apparecchi appartenenti a questa classe di isolamento sono apparecchi nei quali la protezione non si basa
unicamente sull’isolamento principale, ma anche su una misura di sicurezza supplementare costituita dalla
connessione delle parti conduttrici accessibili ad un conduttore di protezione (messa a terra di protezione)
che fa capo all’impianto elettrico sso, contraddistinto dal doppio colore giallo-verde, in modo tale che le parti
conduttrici accessibili non possano andare in tensione in caso di guasto dell’isolamento principale.
Attenzione: al ne di installare correttamente questo articolo, leggere attentamente questo manuale utente
e conservarlo.
Warning: To install correctly this item, read carefully user manual and keep it.
Le campane industriali LED sostituiscono le tradizionali “campane industriali a ioduri di sodio”. Vanno installate ad altezze
superiori ai 3 metri e per tale motivo questo tipo di campana LED possiede una tecnica ottica che garantisce ugualmente la
massima e󰀩cienza d’illuminazione riducendo al minimo lo spreco di usso luminoso dovuto all’altezza di installazione.
The LED High Bay replace traditional “industrial High Bay sodium iodide”.
They should be installed at heights over 3 meters and for this reason this type of LED High Bay has an optical technique
that also guarantees maximum lighting eciency while minimizing the wastage of luminous ux due to the height of installa-
tion.
- DOTATA DI CAVI TIRANTI DI FISSAGGIO PER L’INSTALLAZIONE IN SICUREZZA.
- EQUIPPED WITH FIXING CABLES FOR INSTALLATION IN SAFETY.
N.B. Non toccare eventuali regolatori di tensione o corrente presenti sul driver. La modica di queste regolazioni
danneggerebbe irrimediabilmente il faretto.
Note: Do not touch any current or voltage regulators on the driver. Changing these settings will damage
irreparably the ood ligh
Caratteristiche
1. Facile da montare e smontare.
2. Driver integrato.
3. Elevato risparmio energetico, nessun emissione di raggi UV e IR,
nessun contenuto di mercurio.
4. Corpo in alluminio.
5. Supercie luminosa omogenea.
6. Ottima dissipazione termica, elevata stabilità.
7. Nessun e󰀨etto icker, nessun abbagliamento.
8. Aspetto compatto, facile da installare e da trasportare.
Features
1. Easy to disassemble;
2. Light source and driver are connected by connectors, convenient
to maintain, no need of soldering;
3. Energy-saving, no UV,IR ,mercury free.
4. Adopt aluminum prole.
5. Uniform luminous surface, no dark spot;
6. High ecient thermal management design, LEDs and driver work
in low temperature; high stability of continuous working;
7. Can on-o frequently, no icker and glare;
8. Compact appearance, easy to install and transport.
Istruzioni per la sicurezza:
Check the following for proper use and safety:
Vericare i seguenti punti per un utilizzo corretto ed in sicurezza.
1. Prima di aprire l’imballo, accertarsi che non si siano vericati danni durante il trasporto, in tal caso non
utilizzare l’articolo, ma informare prontamente il fornitore.
2. Se l’articolo presenta difetti, non utilizzarlo ed avvertire il fornitore.
3. L’installazione deve essere eseguita da personale tecnico qualicato.
4. Prima di e󰀨ettuare qualsiasi operazione sulla campana LED, togliere tensione alla linea di alimentazione
elettrica 220-240V~50/60Hz
5. Assicurarsi che siano rispettati i parametri di tensione di alimentazione riportati sulla tabella.
6. Nel caso in cui il cavo di alimentazione risultasse difettoso o si danneggiasse, far sostituire da personale
tecnico qualicato e/o rivolgersi al rivenditore, al ne di evitare danni o incidenti.
7.Assicurarsi che il punto di installazione supporti il peso della campana, quindi ssare un gancio al so󰀩tto e
agganciarla tramite moschettone.
8. Se opportuno, ssare i tiranti, in dotazione, alla campana. Svitare 3 bulloni dalla campana ed avvitare quelli
dei tiranti, tenendo fermi i dadi interni. Successivamente agganciare al so󰀩tto il moschettone dei tiranti.
9.La sorgente luminosa di questo apparecchio è non sostituibile; quando la sorgente luminosa raggiunge il ne
vita, deve essere sostituito l’intero apparecchio.
10.Se si dovesse vericare un guasto al driver dell’apparecchio, sostituirlo solamente con il modello di ricambio
39.9HB01291T.
11. L’articolo è dotato di driver con classe di isolamento I, quindi potrebbe subire impulsi di tensione di
modo comune (fra fase e messa a terra), di valore elevato, generati da scariche atmosferiche, che potrebbero
danneggiarlo irreparabilmente. Per ovviare a tale inconveniente, è opportuno predisporre degli scaricatori di
sovratensione “SDP” sulla linea che alimenta l’articolo.
1. Before opening the packaging, make sure that no damage has occurred during transport, in this case don’t
use item, but check promptly with supplier.
2. If item is defective, don’t use it and notify the supplier.
3. The installation must be performed by a qualied electrician and in accordance with safety standards.
4. Before carrying out any operation on the LED High Bay, disconnect the 220-240V~50/60Hz power supply line.
5. Use power supply in Specications and Technical Data sheet
6. If the external exible cable or cord of this item is damaged, it shall be exclusively replaced by the manufacturer
or his service agent or a similar qualied person in order to avoid a hazard.
7. Make sure the installation material can endure the lamp weight; x installation accessories securely on the
lamp, then mount the lamp into the hook of intalled object;
8. If necessary, secure xing cables, supplied, to the High Bay. Unscrew 3 bolts from the High Bay and tighten
those of the xing cables, while holding the inner nuts. Subsequently mount the hook of the xing cables to the
ceiling.
9. The light source of this appliance is non-replaceable; when the light source reaches the end of life, the whole
appliance must be replaced.
10. If the appliance driver fails, replace it only with the replacement model 39.9HB01291T.
11. The item is equipped with a driver with insulation class I, so it could be subjected to voltage pulses of
common mode (between phase and ground), of high value, generated by atmospheric discharges, which
could damage it irreparably. To obviate this drawback, it is advisable to provide “SDP” overvoltage arresters
on the line that feeds the article.
Applicazioni: Ampiamente utilizzato in fabbriche, aziende, magazzini, parcheggi, capannoni, aeroporti, centri
commerciali e stazioni ferroviarie.
Applications: Widely used in Factory, basement, warehouse, parking lot, shed, airports, shopping malls, railway
stations, farms etc
Connessione alla rete elettrica / Connection to the mains power
Colore cavo Schema
Blu Neutro (N)
Giallo-verde Messa a terra
Marrone Fase (F)
Collegamento alla linea di alimentazione elettrica
Dopo aver tolto tensione alla linea di alimentazione elettrica 220-240V~ 50/60Hz, collegare fase, neutro e messa
a terra della campana LED ad una morsettiera protetta (non in dotazione).
Successivamente collegare fase, neutro e messa a terra della linea di alimentazione elettrica all’altro lato della
morsettiera protetta. Per un’adeguata installazione utilizzare un cavo di alimentazione elettrica gommato, con
sezione compresa fra 1,5mm2 e 2,5mm2.
Dopo aver ultimato il collegamento alla linea di alimentazione elettrica, ripristinare la tensione alla linea di
alimentazione elettrica e testare il corretto funzionamento della campana LED.
Connection to the power supply line
After having disconnected the 220-240V~50/60Hz power supply line, connect the phase, neutral and earthing of
the LED High Bay to a protected terminal board (not supplied).
Then connect phase, neutral and grounding of the power supply line to the other side of the protected terminal
board. For an adequate installation use a rubberized power supply cable, with a cross-section between 1.5mm2
and 2.5mm2.
After completing the connection to the power supply line, restore the voltage to the power supply line and test
the correct functioning of the LED High Bay.
1
NF

This manual suits for next models

1

Other Life Lighting Equipment manuals

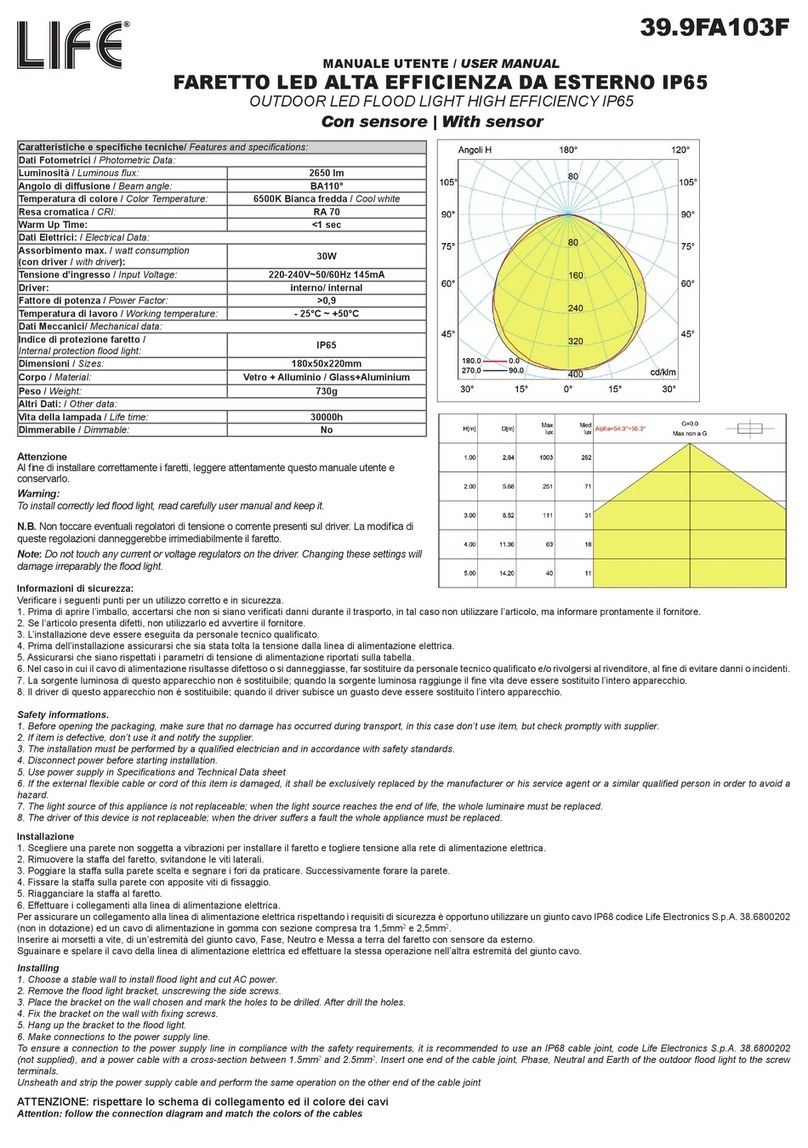
Life 39.9FA103F User manual

Life

Life 39.9FA103F User manual

Life 39.LED0611 User manual

Life

Life 39.LED0611 User manual

Life 39.9TS042620N40 User manual

Life

Life 39.9TS042620N40 User manual

Life 39.9PF13061N User manual

Life

Life 39.9PF13061N User manual

Life FLOOD ULTRA SLIM User manual

Life

Life FLOOD ULTRA SLIM User manual

Life 39.9TP050359C User manual

Life

Life 39.9TP050359C User manual

Life 39.9F70020C User manual

Life

Life 39.9F70020C User manual

Life 39.9TSS0518N User manual

Life

Life 39.9TSS0518N User manual

Life FLOOD ULTRA SLIM User manual

Life

Life FLOOD ULTRA SLIM User manual

Life 39.9RG112N User manual

Life

Life 39.9RG112N User manual

Life HB0 Series User manual

Life

Life HB0 Series User manual

Life 39.LED0612 User manual

Life

Life 39.LED0612 User manual

Life 39.9PL0362C User manual

Life

Life 39.9PL0362C User manual

Life 39.LED0739D User manual

Life

Life 39.LED0739D User manual

Life PL-C 4-2G11 User manual

Life

Life PL-C 4-2G11 User manual

Life 39.9PF13120N User manual

Life

Life 39.9PF13120N User manual

Life 39.9TS042620N User manual

Life

Life 39.9TS042620N User manual

Life 39.9TS041012C User manual

Life

Life 39.9TS041012C User manual

Life 39.9TS401020C User manual

Life

Life 39.9TS401020C User manual

Life CIRCOLINA G10q T9 User manual

Life

Life CIRCOLINA G10q T9 User manual

Life 39.9PF12060N User manual

Life

Life 39.9PF12060N User manual

Life 39.9TP040354N User manual

Life

Life 39.9TP040354N User manual

Life HB0 Series User manual

Life

Life HB0 Series User manual

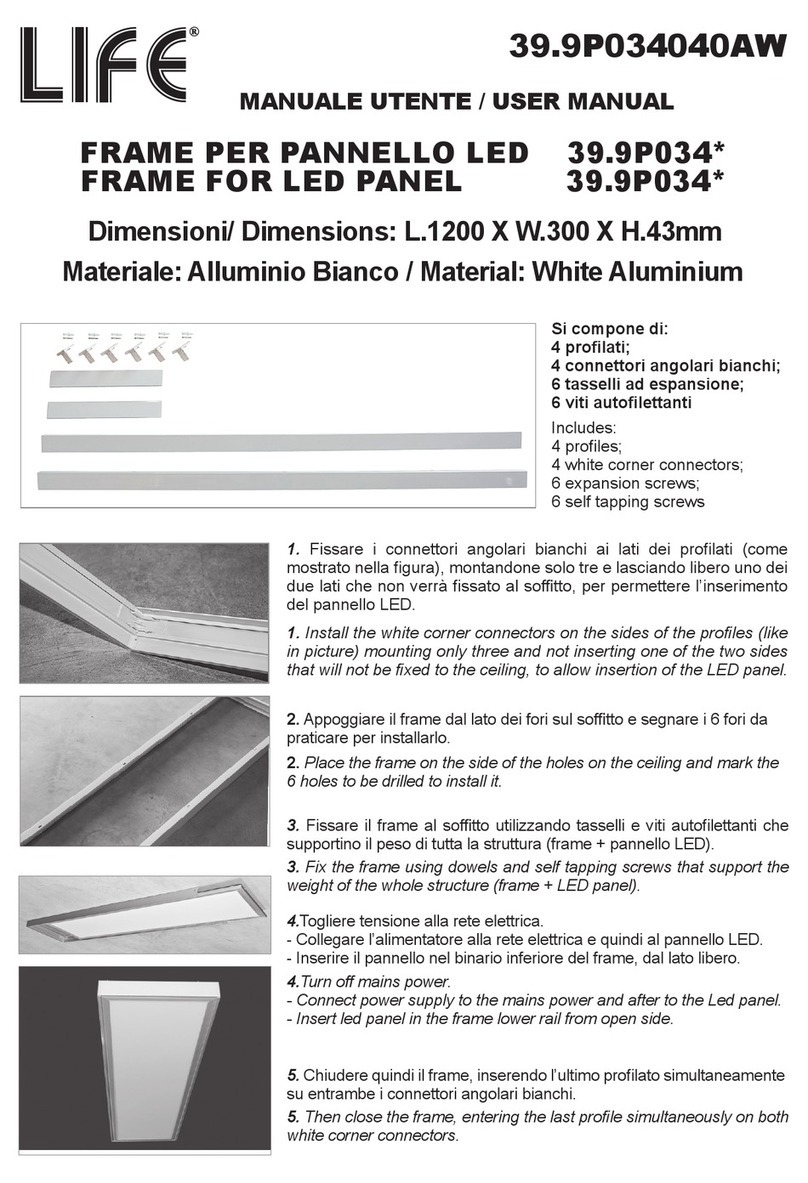
Life 39.9P034 Series User manual

Life

Life 39.9P034 Series User manual

Popular Lighting Equipment manuals by other brands

Cineroid LM400-VCe user manual

Cineroid

Cineroid LM400-VCe user manual

TPL VISION Ring 80 Technical user guide

TPL VISION

TPL VISION Ring 80 Technical user guide

Lumena PROSOLAR HALOPOST user manual

Lumena

Lumena PROSOLAR HALOPOST user manual

Fumagalli Germana manual

Fumagalli

Fumagalli Germana manual

LEGRAND BH4NDWE instruction manual

LEGRAND

LEGRAND BH4NDWE instruction manual

Sygonix Arona operating instructions

Sygonix

Sygonix Arona operating instructions

Performance In Lighting TYK+ 10 RGBW installation instructions

Performance In Lighting

Performance In Lighting TYK+ 10 RGBW installation instructions

Elation ELAR PAR 72 UV manual

Elation

Elation ELAR PAR 72 UV manual

PacLights FCPC Series installation guide

PacLights

PacLights FCPC Series installation guide

PROEL AMADEUS ALOGENO user manual

PROEL

PROEL AMADEUS ALOGENO user manual

Audibax Monster Beam 7R user manual

Audibax

Audibax Monster Beam 7R user manual

Star Headlight & Lantern Arrow TD93DLXTARO Series Installation and instruction manual

Star Headlight & Lantern

Star Headlight & Lantern Arrow TD93DLXTARO Series Installation and instruction manual

ETC Source Four LED series user manual

ETC

ETC Source Four LED series user manual

SEI LT517300TX Accessories assembly

SEI

SEI LT517300TX Accessories assembly

Equinox Systems Cirrus user manual

Equinox Systems

Equinox Systems Cirrus user manual

IOTA ILB CP18 HE CW instruction manual

IOTA

IOTA ILB CP18 HE CW instruction manual

Hopkins BLAZER LINK CWL623 owner's manual

Hopkins

Hopkins BLAZER LINK CWL623 owner's manual

BSVILLAGE SWING Operation instructions

BSVILLAGE

BSVILLAGE SWING Operation instructions

manuals.online logo
manuals.online logoBrands
  • About & Mission
  • Contact us
  • Privacy Policy
  • Terms and Conditions

Copyright 2025 Manuals.Online. All Rights Reserved.