manuals.online logo
Brands
  1. Home
  2. •
  3. Brands
  4. •
  5. Mocka
  6. •
  7. Indoor Furnishing
  8. •
  9. Mocka Sadie User manual

Mocka Sadie User manual

mocka.co.nz I mocka.com.au I PO BOX 18, Pinkenba QLD 4008
ASSEMBLY I N S TRUCTION S
Sadie
Desk
Thank you for your purchase.
Please follow the instructions below for correct assembly
WARNING: Any furniture that is not anchored to a wall has the potential to tip over in certain
circumstances, i.e. if a child attempts to climb up on the furniture or in the event of an earth-
quake. Accordingly, we recommend that all furniture is anchored to a wall. We supply a free safety
wall anchor with all furniture sold and we recommend these are used to prevent your product
tipping. The fixing device provided should fit most wall types, but please note that dierent wall
materials may require dierent fixing devices from those supplied.
For quicker assembly, we recommend the
use of a power drill on a low-speed setting.
.
Phillips & Flathead screwdrivers
and hammer required
Wall Strap
x2
Z
washer
Y
wall
x1
X
anchor
safety
WV
strap x1 x1
screw wall
x1
screw
bolt
x57
x4
AB C D E F G H
J KI
Hardware Supplied
x18
dowel
x24
screwslide
rail x2
slide
rail x2
slide
rail x2
slide
rail x2
locking
nut x57
x12
screw
x4
wedge
x8
screw
LM
screwplastic aluminum
strip
x2
N
glide x8
O
allen key
x1
1
Sadie
mocka.co.nz I mocka.com.au I PO BOX 18, Pinkenba QLD 4008
ASSEMBLY I N S TRUCTION S
2
Desk
2
Attach 2x slide rails (G) to panel [3] with 6x screws (E). Tighten with
a screwdriver. Insert 4x bolts (C) into panel [3]. Tighten with a screwdriver.
Attach 2x slide rails (F) to panel [4] with 6x screws (E).
Tighten with a screwdriver. Insert 6x bolts (C) into panel
[4] as shown. Tighten with a screwdriver.
G
CR
E
F
CL
E
CC
CC
CC
G
G
E
E
E
E
E
E
E
E
E
E
F
F
E
E
CC
C
C
FLIP
3
3
4
4
Sadie
Desk
mocka.co.nz I mocka.com.au I PO BOX 18, Pinkenba QLD 4008
ASSEMBLY I N S TRUCTION S
Insert 4x bolts (C) into panels [5] and [24] as shown.
Tighten with a screwdriver.
3 4
Attach panels [5] and [24] to panels [6] with 6x screws (B)
and 4x dowels (A). Tighten with a screwdriver.
CC
B
B
B
B
B
B
A
A
5
24
5
24
6
CC
B
mocka.co.nz I mocka.com.au I PO BOX 18, Pinkenba QLD 4008
ASSEMBLY I N S TRUCTION S
Sadie
Desk
5 6
Attach panels [7] to panels [5] and [24], secure with 4x locking nuts (D).
Tighten with a screwdriver.
Attach panel [4] to panel [7], secure with 2x locking nuts (D).
Tighten with a screwdriver.
D
D
D
4
5
24
7
7
7
D
D
Sadie
Desk
mocka.co.nz I mocka.com.au I PO BOX 18, Pinkenba QLD 4008
ASSEMBLY I N S TRUCTION S
Attach panel [7] to panel [3], attach panel [8] to panels [3] and [4],
secure with 6x locking nuts (D). Tighten with a screwdriver.
Insert 8x bolts (C) into panel [9]. Tighten with a screwdriver.
7 8
DD
D
C
CC
C
C
C
C
C
3
4
7
9
8
Sadie
Desk
mocka.co.nz I mocka.com.au I PO BOX 18, Pinkenba QLD 4008
ASSEMBLY I N S TRUCTION S
Attach panel [9] to panels [3] and [4] with 6x screws (B) and 4x
dowels (A). Tighten with a screwdriver.
Insert 4x bolts (C) into panels [10]. Attach panels [10] and [11] together
with 4x locking nuts (D). Tighten with a screwdriver. Attach 8x plastic
glide (N) to panels [10] and [11] using a hammer.
10
9
B
B
B
B
B
B
A
A
A
C
D
D
D
D
C
X2
N
N
N
N
N
N
N
N
3
4
11
11
10
10
10
9
B
11
Sadie
Desk
mocka.co.nz I mocka.com.au I PO BOX 18, Pinkenba QLD 4008
ASSEMBLY I N S TRUCTION S
Attach panels [10] and [11] to panel [9] with 8x locking nuts (D).
Tighten with a screwdriver.
Slide panels [23] down along the grooves between the panels [3] and [4].
12
D
D
D
D
3
3
23
4
4
11
11
10
10
9
13
Sadie
Desk
mocka.co.nz I mocka.com.au I PO BOX 18, Pinkenba QLD 4008
ASSEMBLY I N S TRUCTION S
Insert 2x bolts (C) into panel [2] as shown. Tighten with a screwdriver. Attach panel [12] to panel [2] with 2x locking nuts (D).
Tighten with a screwdriver.
14
C
C
D
D
2
2
12
15
Sadie
Desk
mocka.co.nz I mocka.com.au I PO BOX 18, Pinkenba QLD 4008
ASSEMBLY I N S TRUCTION S
Attach panel [12] to panel [4] with 2x locking nuts (D).
Tighten with a screwdriver.
Insert 10x dowels (A) into panels [2], [3], [4], [5] and [24].
Tighten with a screwdriver.
16
D
A
D
A
A
A
A
A
A
A
A
A
2
3
4
4
5
24
12
17
Sadie
Desk
mocka.co.nz I mocka.com.au I PO BOX 18, Pinkenba QLD 4008
ASSEMBLY I N S TRUCTION S
Insert 21x bolts (C) into panel 1] as shown.
Tighten with a screwdriver.
Attach panels [13] to panel [1] with 4x locking nuts (D).
Tighten with a screwdriver.
18
CC
CCC
C
C
D
D
C
C
C
C
C
C
C
C
C
C
C
C
C
C
11
13
13
19
Sadie
Desk
mocka.co.nz I mocka.com.au I PO BOX 18, Pinkenba QLD 4008
ASSEMBLY I N S TRUCTION S
Attach panel [1] to panels [2], [3], [4], [5] and [24] with 17x locking nuts (D).
Tighten with an Allen Key (M).
Insert 8x bolts (C) into panels [14] and [15] as shown.
Tighten with a screwdriver.
Drawers x2
20
D
D
D
D
D
D
D
D
CC
CC
CC
CC
2
4
3
5
24
14
15
M
D
1
Drawers x2 Drawers x2
21
Sadie
Desk
mocka.co.nz I mocka.com.au I PO BOX 18, Pinkenba QLD 4008
ASSEMBLY I N S TRUCTION S
Attach panels [16] and [17] to panel [15], secure with 4x locking nuts (D)
as shown. Attach panels [18] and [19] to panel [14], secure with 4x locking
nuts (D) as shown Tighten with a screwdriver.
Slide panels [20] down along the grooves between the panels
[16], [17], [18] and [20] as shown.
22
D
D
D
D
DD
DD
14 14
15
15
16
16
17
17
18
18
19
19
20
20
23
Sadie
Desk
mocka.co.nz I mocka.com.au I PO BOX 18, Pinkenba QLD 4008
ASSEMBLY I N S TRUCTION S
Attach panels [16], [17] and [21] as shown using 4x screws (L) and 2x
aluminum strip (O). Tighten with a screwdriver. Attach panels [18], [19]
and [22] as shown using 4x screws (L). Tighten with a screwdriver.
Attach slide rail (I) and slide rail (H) to the underside of the side panels
as shown. Secure with 12x screws (E) and tighten with a screwdriver.
24
L
L
L
L
L
L
O
O
LL
H
I
E
E
E
E
E
E
H
I
E
E
E
E
E
E
14
15
16
16
17
17
18
18
19
19
21
22
Drawers x2 Drawers x2
25
Sadie
Desk
mocka.co.nz I mocka.com.au I PO BOX 18, Pinkenba QLD 4008
ASSEMBLY I N S TRUCTION S
Insert the assembled drawers into the corresponding compartments
as shown. Ensure the drawers slide easily along the rails.
Attach 4x wedges (J) to the back of the unit as shown, and secure
with 4x screws (K). Now attach 1x safety strap (V) to the back edge
of panel [1] using 1x washer (Z) and 1x screw (W).
Tighten with a screwdriver.
26
V
J
K
K
J
J
K
K
J
ZW
screw
strap
washer
14
15
J
K
27
Sadie
Desk
mocka.co.nz I mocka.com.au I PO BOX 18, Pinkenba QLD 4008
ASSEMBLY I N S TRUCTION S
Once assembled lift furniture into place, do not drag. Attach the other
end of the safety straps (V). Fasten to the wall using 1x washer (Z),
1x wall anchor (X) and 1x wall screw (Y).
Ensure unit is balanced and steady before use.
You’re done, enjoy!
28
Y
Z
anchor
wall
screw
strap
washer

Other manuals for Sadie

23

Other Mocka Indoor Furnishing manuals

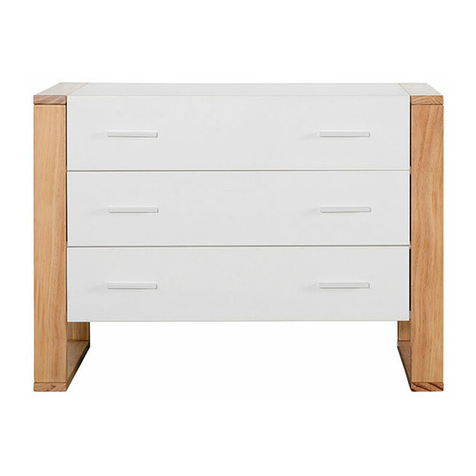
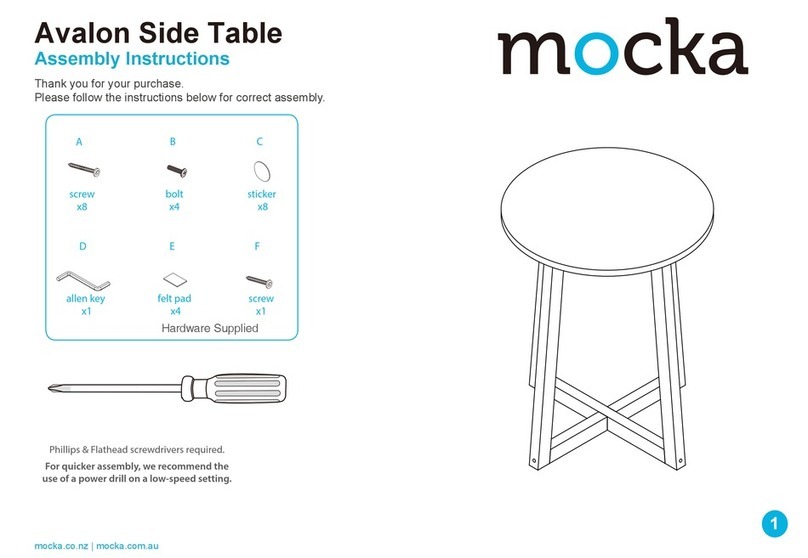
Mocka Kennedy Side Table User manual

Mocka

Mocka Kennedy Side Table User manual

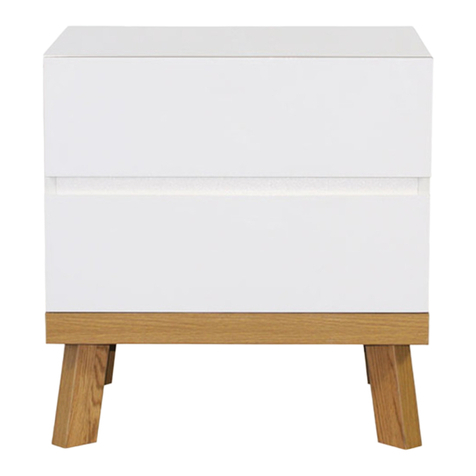
Mocka Eclipse Eight Drawer User manual

Mocka

Mocka Eclipse Eight Drawer User manual

Mocka Vibe/Olsen Tallboy User manual

Mocka

Mocka Vibe/Olsen Tallboy User manual

Mocka Inca Entertainment Unit User manual

Mocka

Mocka Inca Entertainment Unit User manual

Mocka Eclipse User manual

Mocka

Mocka Eclipse User manual

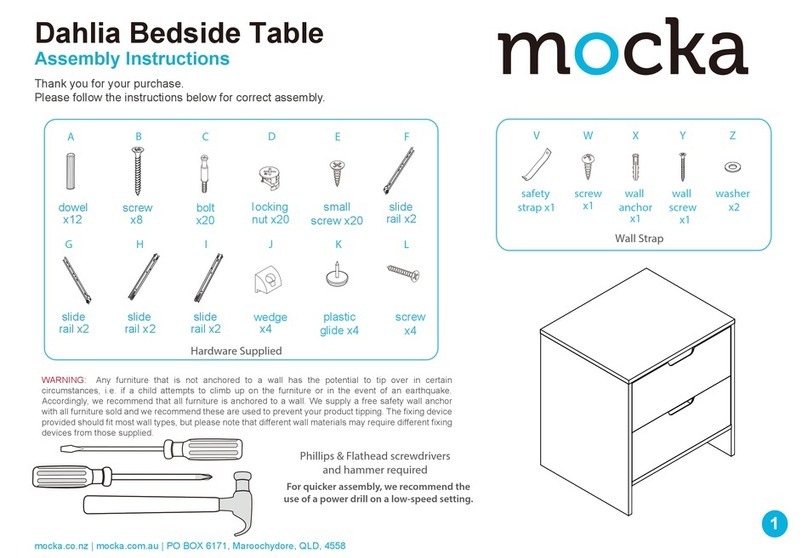
Mocka Maya Bedside Table User manual

Mocka

Mocka Maya Bedside Table User manual

Mocka Sintra Side Table User manual

Mocka

Mocka Sintra Side Table User manual

Mocka Vermont Cot User manual

Mocka

Mocka Vermont Cot User manual
Mocka Sonata Bed Queen User manual

Mocka

Mocka Sonata Bed Queen User manual

Mocka Tahoe User manual

Mocka

Mocka Tahoe User manual

Mocka Alps User manual

Mocka

Mocka Alps User manual

Mocka Addi Three Drawer User manual

Mocka

Mocka Addi Three Drawer User manual

Mocka Sintra Bedside Table User manual

Mocka

Mocka Sintra Bedside Table User manual

Mocka Georgia User manual

Mocka

Mocka Georgia User manual

Mocka Zander Bench Seat User manual

Mocka

Mocka Zander Bench Seat User manual

Mocka Zara User manual

Mocka

Mocka Zara User manual

Mocka Maya Entertainment Unit User manual

Mocka

Mocka Maya Entertainment Unit User manual

Mocka Eros Bedside Table User manual

Mocka

Mocka Eros Bedside Table User manual

Mocka Nava Buffet User manual

Mocka

Mocka Nava Buffet User manual

Mocka Harlin Kids Bedside Table User manual

Mocka

Mocka Harlin Kids Bedside Table User manual

Mocka Kirra Bedside Table User manual

Mocka

Mocka Kirra Bedside Table User manual

Mocka Kirra Six Drawer User manual

Mocka

Mocka Kirra Six Drawer User manual

Mocka Zander Round Dining Table User manual

Mocka

Mocka Zander Round Dining Table User manual

Mocka Eliza Buffet User manual

Mocka

Mocka Eliza Buffet User manual

Popular Indoor Furnishing manuals by other brands

Noble House Home Furnishings SMALL SIDEBOARD Assembly instructions

Noble House Home Furnishings

Noble House Home Furnishings SMALL SIDEBOARD Assembly instructions

BFM I-Beam Assembly instructions

BFM

BFM I-Beam Assembly instructions

Furniture of America CM6957AC Assembly instructions

Furniture of America

Furniture of America CM6957AC Assembly instructions

Costway JV10710 manual

Costway

Costway JV10710 manual

Universal Furniture Universal EXPLORE HOME Heath 941D-964 instruction sheet

Universal Furniture

Universal Furniture Universal EXPLORE HOME Heath 941D-964 instruction sheet

Coaster 2249 Assembly instructions

Coaster

Coaster 2249 Assembly instructions

BLUM TANDEM 568R5337BB quick guide

BLUM

BLUM TANDEM 568R5337BB quick guide

Ostermann REDOCOL e-Desk eco Assembly & operation manual

Ostermann

Ostermann REDOCOL e-Desk eco Assembly & operation manual

DHP Jesse 4099419 manual

DHP

DHP Jesse 4099419 manual

Linon NKC-20270 manual

Linon

Linon NKC-20270 manual

BRW NATALIA III Assembly manual

BRW

BRW NATALIA III Assembly manual

TEMPLE & WEBSTER GLCBAA Assembly instructions

TEMPLE & WEBSTER

TEMPLE & WEBSTER GLCBAA Assembly instructions

Electro PR-2308 quick start guide

Electro

Electro PR-2308 quick start guide

Ballard Designs JM102 quick guide

Ballard Designs

Ballard Designs JM102 quick guide

Coaster 107283 Assembly instructions

Coaster

Coaster 107283 Assembly instructions

Costway HW69423 user manual

Costway

Costway HW69423 user manual

Babyletto 9023 Assembly instructions

Babyletto

Babyletto 9023 Assembly instructions

modway EEI-1380 manual

modway

modway EEI-1380 manual

manuals.online logo
manuals.online logoBrands
  • About & Mission
  • Contact us
  • Privacy Policy
  • Terms and Conditions

Copyright 2025 Manuals.Online. All Rights Reserved.