manuals.online logo
Brands
  1. Home
  2. •
  3. Brands
  4. •
  5. Mocka
  6. •
  7. Indoor Furnishing
  8. •
  9. Mocka Scarborough User manual

Mocka Scarborough User manual

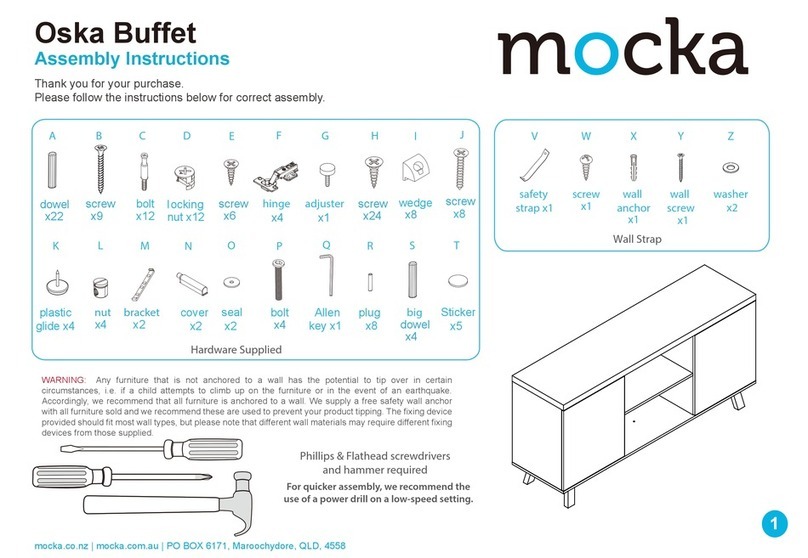
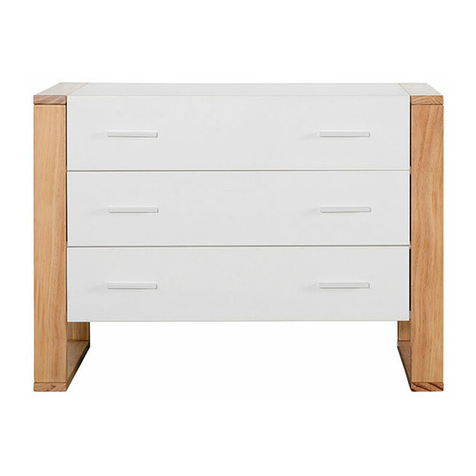
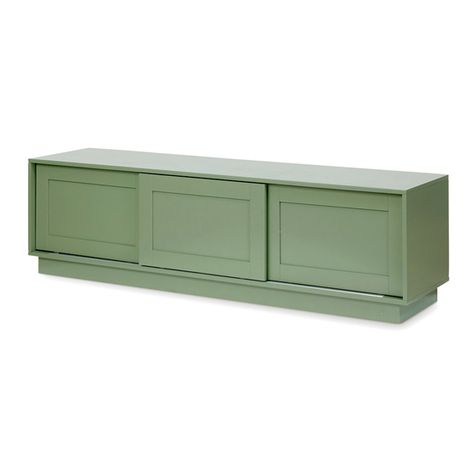
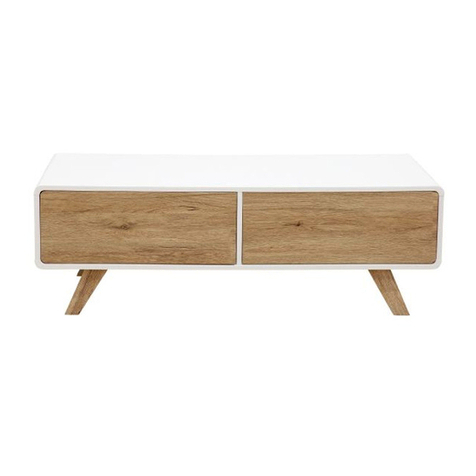
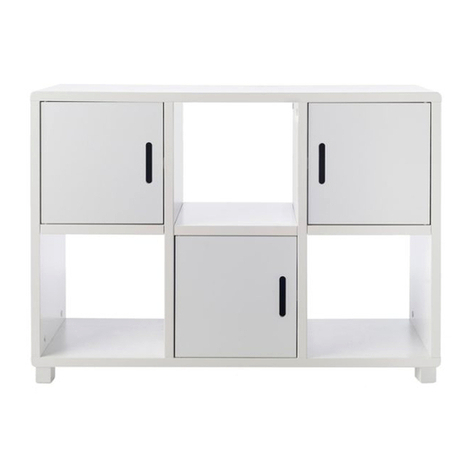
Scarborough Buffet
Assembly Instructions
Thank you for your purchase.
Please follow the instructions below for correct assembly.
mocka.co.nz | mocka.com.au | PO BOX 6171, Maroochydore, QLD, 4558
1
bolt
x24
leg bracket
x4
bolt
x4
allen
key x1
screw
x8
long
screw x8
plug
x5
cover
x5
screw
x12
ABCD E F G H
JKLM N
I
OPQR
dowel
x20
screw
x45
slide
rail x3
slide
rail x3
slide
rail x3
slide
rail x3
bracket
x5
locking
nut x24
T
felt pad
x4
small
bolt
x16
SA1
U
Wall Strap
x4
washer
Z
Y
wall
anchor
x2
X
safety
strap x2
WV
screw
x2
wall
screw
x2
WARNING: Any furniture that is not anchored to a wall has the potential to tip over in certain
circumstances, i.e. if a child attempts to climb up on the furniture or in the event of an earthquake.
Accordingly, we recommend that all furniture is anchored to a wall. We supply a free safety wall anchor
with all furniture sold and we recommend these are used to prevent your product tipping. The fixing device
provided should fit most wall types, but please note that different wall materials may require different fixing
devices from those supplied.
For quicker assembly, we recommend the
use of a power drill on a low-speed setting.
Hardware Supplied
Phillips & Flathead screwdrivers
x8
wedge screw
x8
A2 A3 A4 A5
hinge
x2
hinge
x2
screw
x24
shelf plug
x8
height
adjuster x2
Scarborough Buffet
Assembly Instructions
mocka.co.nz | mocka.com.au | PO BOX 6171, Maroochydore, QLD, 4558
2
12
Insert 8x bolts (C) into panel [1] and tighten with a screwdriver.
Attach 2x brackets (J) to panel [1] secure with 4x screws (E).
Tighten with a screwdriver. Place 2x covers (K) over the brackets
(J) as shown.
Attach 3x slide rails (F) to panel [6] as shown with 9x screws (E).
Tighten with a screwdriver. Insert 2x bolts (C) into panel [6] and
tighten with a screwdriver.
F
CL
E
6
1
EE
K
JJ
C
C
C
C
C
C
C
C
E
J
E
J
E
EF
F
F
E
E
E
E
E
E
E
C
C
Scarborough Buffet
Assembly Instructions
mocka.co.nz | mocka.com.au | PO BOX 6171, Maroochydore, QLD, 4558
3
34
Attach 3x slide rails (G) to panel [4] as shown with 9x screws (E).
Tighten with a screwdriver. Insert 2x bolts (C) into panel [4] and
tighten with a screwdriver.
Attach 3x brackets (J) to panels [2] and [7] secure with 6x screws (E).
Tighten with a screwdriver. Place 3x covers (K) over the brackets
(J) as shown.
G
G
G
G
CR
E
EE
K
JJ
EE
x2
J
EE
J
E
E
E
E
E
EE
E
E
C
C
2
7
4
The round head
is aligned with the
direction of the arrow
Scarborough Buffet
Assembly Instructions
mocka.co.nz | mocka.com.au | PO BOX 6171, Maroochydore, QLD, 4558
4
56
Attach panels [7] to panels [4] and [6] with 4x dowels (A) and secure
with 4x locking nuts (D). Tighten with a screwdriver.
Attach panels [3], [4], [5] and [6] to panel [1] with 8x dowels (A) and
secure with 8x locking nuts (D). Tighten with a screwdriver.
A
D
D
D
DA
A
A
A
A
A
A
A
A
D
A
A
D
D
D
D
D
D
4
6
5
1
4
6
3
7
7
D
Scarborough Buffet
Assembly Instructions
mocka.co.nz | mocka.com.au | PO BOX 6171, Maroochydore, QLD, 4558
5
78
Slide panels [8] down along the grooves between
panels [3], [4], [5] and [6] as shown.
Attach panel [2] to panels [3], [4], [5] and [6] with 8x dowels (A) and secure
with 8x long screws (B). Tighten with a screwdriver.
B
A
A
B
A
B
B
B
B
A
B
A
B
5
5
44
66
3
3
2
8
8
8
B
Scarborough Buffet
Assembly Instructions
mocka.co.nz | mocka.com.au | PO BOX 6171, Maroochydore, QLD, 4558
6
910
Attach a leg bracket (P) to each leg [9] using 2x screws (R) and
1x bolt (Q). Tighten with a screwdriver and Allen key (O). Attach
each leg [9] to panel [2] using 4x small bolts (S) as shown. Tighten
with the Allen key (O). Attach 4x felt pads (T) to the ends of the legs.
Attach 2x support legs [10] to panel [2] as shown. screw the 2x height
adjusters (N) onto the support legs [10].
Attach 2x hinges (A2) and 1x plug (L) to panel [11] and secure with 4x
screws (A4) and 1x screw (E). Attach 2x hinges (A3) and 1x plug (L) to
panel [12] and secure with 4x screws (A4) and 1x screw (E).Tighten
with a screwdriver.
2
10
10 11
12
9
9
9
9
9
front
back
Q
R
P
R
O
front
L
L
L
E
E
E
A2
A2
A2
A4
A4
A4
A4
A3
A3
A3
A4
A4
N
N
S
S
S
S
T
S
O
x4
T
SSS
T
T
T
Scarborough Buffet
Assembly Instructions
mocka.co.nz | mocka.com.au | PO BOX 6171, Maroochydore, QLD, 4558
7
11 12
Attach doors [11] and [12] to panels [3] and [4] as shown, using
16x screws (A4) to secure each hinge (A2) and (A3). Tighten with
a screwdriver. If the door is not catching or sitting flush, twist the
end of the cover (K) unit it catches on the plug (L).
Insert 8x shelf plugs (A5) into the unit at the desired height for the
shelves and rest the shelf panels [13] onto them. Ensure the shelves
are balanced and stable. Insert the three assembled drawers,
ensuring they slide along the rails smoothly.
11
12
3
3
5
5
66
A4
A4
A4
A3
A3
A3 A5
A5
A5
A5
A5
NOTE: If the doors are uneven or there is a gap
in the middle, loosen or tighten the screw on the
door hinge until they are sitting flush.
13
13
K
Scarborough Buffet
Assembly Instructions
mocka.co.nz | mocka.com.au | PO BOX 6171, Maroochydore, QLD, 4558
8
13 Drawer x 3 14 Drawer x 3
Insert 4x bolts (C) and attach 1x plug (L) using 1x screw (E) to
panel [14]. Tighten with a screwdriver.
Attach panels [15], [16] and [18] as shown using 4x screws (M).
Tighten with a screwdriver.
C
C
C
C
M
M
L
E
14 15
16
18
M
M
Scarborough Buffet
Assembly Instructions
mocka.co.nz | mocka.com.au | PO BOX 6171, Maroochydore, QLD, 4558
9
15 Drawer x 3 16 Drawer x 3
Slide panels [17] down along the grooves between panels [15]
and [16].
Attach panel [14] to panels [15] and [16] using 4x locking nuts (D).
Tighten with a screwdriver.
14
15
15
16
16
17
D
D
DD
Scarborough Buffet
Assembly Instructions
mocka.co.nz | mocka.com.au | PO BOX 6171, Maroochydore, QLD, 4558
10
17 Drawer x 3 18
Attach slide rails (H) and slide rails (I) to the underside of the side panels
as shown. Secure with 4x screws (E) and tighten with a screwdriver.
Insert the drawers into the unit as shown. If the door is not catching or
sitting flush, twist the end of the cover (K) until it catches on the plug (L).
H
E
E
E
E
I
15
16
K
Scarborough Buffet
Assembly Instructions
mocka.co.nz | mocka.com.au | PO BOX 6171, Maroochydore, QLD, 4558
11
19 20
Attach 8x wedges (U) to the back of the unit as shown, and secure
with 8x screws (A1). Now attach 2x safety straps (V) to the back edge
of panel [1] using 2x washers (Z) and 2x screws (W). Tighten with a
screwdriver.
Once assembled lift furniture into place, do not drag. Use a drill to
create a small hole lining up with the top of the safety strap (V).
Fasten to the wall using 2x washers (Z), 2x wall anchors (X) and
2x wall screws (Y). Ensure unit is balanced and steady before use.
You’re done, enjoy!
wall
anchor
screw
strap
washer
V
Z
W
A1
U
1
V
Z
W
V
Z
W
X
Y
Z
X
Y
Z
A1
U

Other Mocka Indoor Furnishing manuals

Mocka Canyon Six Drawer User manual

Mocka

Mocka Canyon Six Drawer User manual

Mocka Boston Cot User manual

Mocka

Mocka Boston Cot User manual

Mocka Essentials Small Bookcase User manual

Mocka

Mocka Essentials Small Bookcase User manual

Mocka Maya Corner Shelf User manual

Mocka

Mocka Maya Corner Shelf User manual

Mocka Scarborough Tallboy User manual

Mocka

Mocka Scarborough Tallboy User manual

Mocka Genevieve User manual

Mocka

Mocka Genevieve User manual

Mocka Phoebe Bookshelf Large User manual

Mocka

Mocka Phoebe Bookshelf Large User manual

Mocka Nava User manual

Mocka

Mocka Nava User manual

Mocka Trestle Desk User manual

Mocka

Mocka Trestle Desk User manual

Mocka Chelsea Tallboy Drawers User manual

Mocka

Mocka Chelsea Tallboy Drawers User manual

Mocka Nyla Six Drawer User manual

Mocka

Mocka Nyla Six Drawer User manual

Mocka Jack Four User manual

Mocka

Mocka Jack Four User manual

Mocka Locka User manual

Mocka

Mocka Locka User manual

Mocka Alps Bedside Table User manual

Mocka

Mocka Alps Bedside Table User manual

Mocka Lewis User manual

Mocka

Mocka Lewis User manual

Mocka Brooklyn Midi Drawers User manual

Mocka

Mocka Brooklyn Midi Drawers User manual

Mocka Archie User manual

Mocka

Mocka Archie User manual

Mocka Portia User manual

Mocka

Mocka Portia User manual

Mocka Tahoe User manual

Mocka

Mocka Tahoe User manual

Mocka Kuranda User manual

Mocka

Mocka Kuranda User manual

Mocka Hatcher User manual

Mocka

Mocka Hatcher User manual

Mocka Edmond User manual

Mocka

Mocka Edmond User manual

Mocka Cove User manual

Mocka

Mocka Cove User manual

Mocka Tasman User manual

Mocka

Mocka Tasman User manual

Popular Indoor Furnishing manuals by other brands

Canyon ARGAMA CND-SGCH4AO manual

Canyon

Canyon ARGAMA CND-SGCH4AO manual

Aeris Muvman manual

Aeris

Aeris Muvman manual

Costway HW66560 user manual

Costway

Costway HW66560 user manual

Oypla 3994 user manual

Oypla

Oypla 3994 user manual

WB Mfg EPIC EP3082-FXO-RR6 Assembly instructions

WB Mfg

WB Mfg EPIC EP3082-FXO-RR6 Assembly instructions

STENDMEBEL Lamia KM063 Assembling Instruction

STENDMEBEL

STENDMEBEL Lamia KM063 Assembling Instruction

Alvin Monarch DC555-40 Assembly instructions

Alvin

Alvin Monarch DC555-40 Assembly instructions

Munchkin MK0006-000 manual

Munchkin

Munchkin MK0006-000 manual

Welltime LKZ 740372 Assembly instructions

Welltime

Welltime LKZ 740372 Assembly instructions

Zanzini 06000201 Assembly instructions

Zanzini

Zanzini 06000201 Assembly instructions

9to5 seating Neo Lite Assembly instructions

9to5 seating

9to5 seating Neo Lite Assembly instructions

Courtyard Creations RTS735G Assembly instructions

Courtyard Creations

Courtyard Creations RTS735G Assembly instructions

OSP Home Furnishings HILLSBORO HSB12 quick start guide

OSP Home Furnishings

OSP Home Furnishings HILLSBORO HSB12 quick start guide

Studio Designs Sew Ready CRAFT ARMOIRE 13379 Assembly instructions

Studio Designs

Studio Designs Sew Ready CRAFT ARMOIRE 13379 Assembly instructions

noken Smart Cabinets 100165528 manual

noken

noken Smart Cabinets 100165528 manual

Lifetime 80172 owner's manual

Lifetime

Lifetime 80172 owner's manual

Cooper Lighting GRF420MH Specification sheet

Cooper Lighting

Cooper Lighting GRF420MH Specification sheet

ZONE KIZ 311-065V00 manual

ZONE KIZ

ZONE KIZ 311-065V00 manual

manuals.online logo
manuals.online logoBrands
  • About & Mission
  • Contact us
  • Privacy Policy
  • Terms and Conditions

Copyright 2025 Manuals.Online. All Rights Reserved.