NEC AspireX User manual

Voice Mail User's Manual

i
INTRODUCTION
INTRODUCTION
Thank you for introducing our product, Voice Mail.
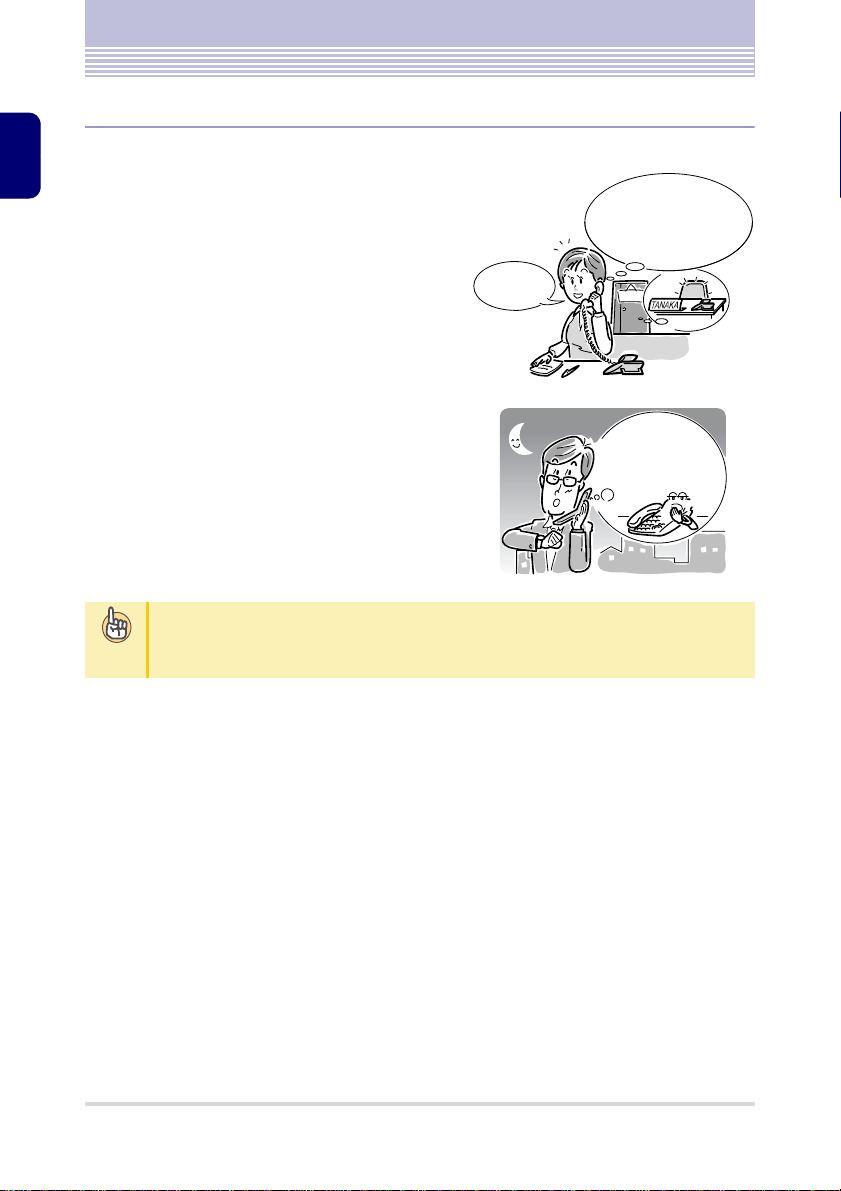
With Voice Mail you can record a call to listen to it later, and let other people hear the
recorded conversation. Moreover, Voice Mail acts an answering machine to answer the calls
received while you are away.
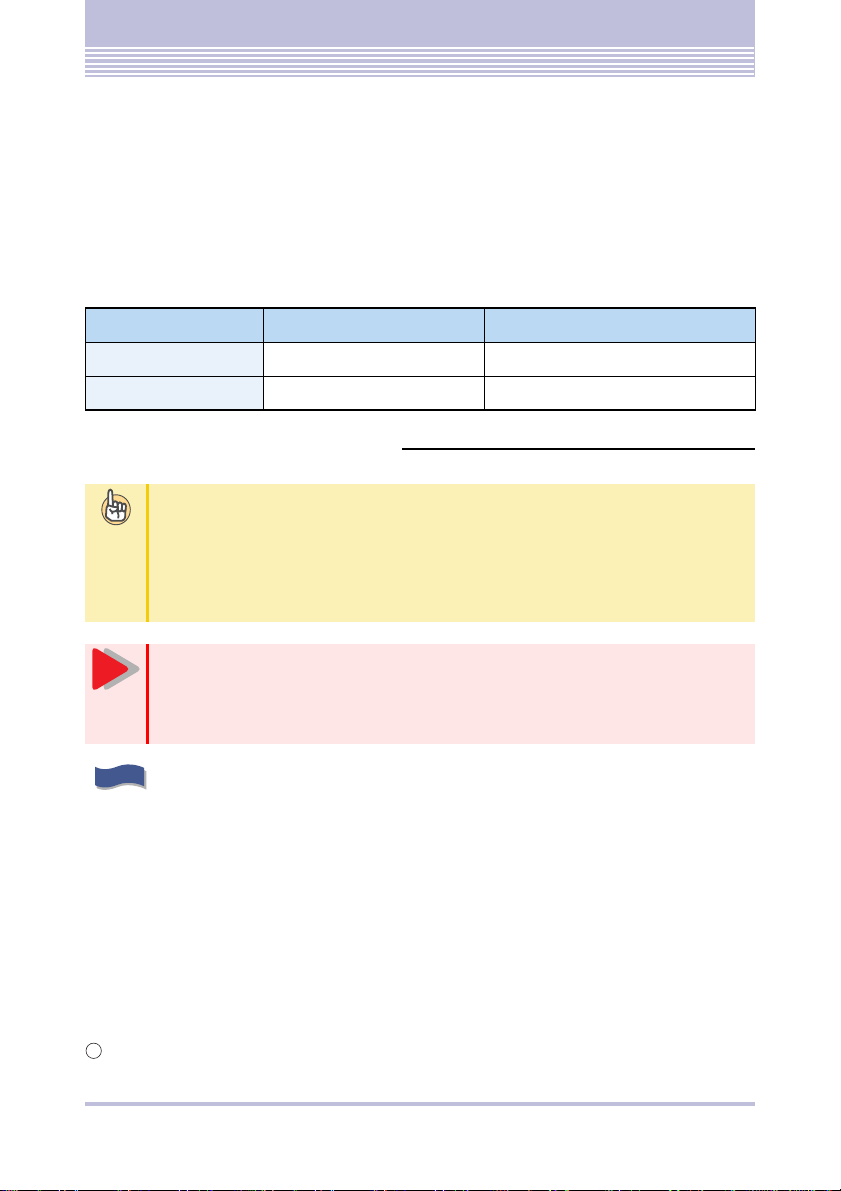
There are following two types of products in Voice Mail. Recordable time varies from prod-
uct to product. For details, check with your system administrator.
The symbols used in this manual
Voice Mail type Maximum recording time Remarks
Short-time Voice Mail 2 hours Comes with a system control unit
Long-time Voice Mail 120 hours An option: IP3WW-CF-B1
This symbol represents tips to solve small problems that you may come
across
Even if you operate Voice Mail exactly as described in this manual, there may be differ-
ences in the reaction of Voice Mail, depending on the settings of the main system or Voice
Mail. In such cases, the tips given after this symbol may guide you.
Moreover, hints to different ways of using Voice Mail are described after this symbol.
This symbol represents the matters that we want you be careful of
If you do not follow these cautions, you may not be able to operate Voice Mail
well, or the procedures will not proceed as desired. Please be sure to follow these
cautions.
This symbol represents the contents of the voice guidance from Voice
Mail Voice Service Center that you will hear from the handset
You will operate Voice Mail according to this guidance. Depending on the settings, the
actual guidance may differ from the guidance described on this manual.
T
i
p
s
Caution
G
u
i
d
a
n
c
e
Caution
(1) Copying or reproducing a part of, or the whole of this publication is prohibited.
(2) The information on this publication may change without prior notice.
(3) The information on this publication has been produced with thorough examination, however, if any
suspected fact or mistakes, or missing descriptions are observed, please contact us.
2008-2011 NEC Corporation
This publication cannot be copied or modified without permission from NEC Corporation.
C

CONTENTS
1
INTRODUCTION ......................................................................... i
CONTENTS ................................................................................ ii
GETTING STARTED
What You Can Do with Voice Mail ........................................ 1-2
Cautions ................................................................................. 1-5
Using Voice Mail Efficiently ................................................. 1-7
Using Voice Mail Control Keys .................................................................. 1-7
Functions of Voice Mail Control Keys ................................. 1-8
Registering Voice Mail Control Keys ....................................................... 1-10
USING THE MAILBOX
Basic Operation .................................................................... 2-2
Operation Flow ......................................................................................... 2-2
Service/Option Code List .......................................................................... 2-4
Setting a Password ................................................................................... 2-6
Listening to Messages Left for You ..................................... 2-8
Pressing the Mailbox Key to Listen To Messages .................................... 2-8
Following the Voice Guidance to Listen To Messages .............................. 2-9
Recording a Message ......................................................... 2-10
Recording a message directly to another person’s mailbox ................... 2-10
Record message for more than one person in a single procedure ......... 2-11
Functions to Manage Your Mailbox ................................... 2-13
Changing the Re-Play Order of Messages ............................................. 2-13
Skipping Forward the Re-Play of a Message for a Fixed time ................ 2-14
Skipping Backward the Re-Play of a Message for a Fixed time ............. 2-14
Stopping a Message Re-Play and Re-Starting ....................................... 2-15
Sending a Message to another Person after Listening ........................... 2-15
Recording the Same Message to More Than One Mailbox .................... 2-17
Making Voice Mail Call You Automatically When a Message is
Recorded ................................................................................................ 2-20
Automatically Calling a Trunk Line After Recording a Message ............. 2-23
Deleting All the Messages in Your Mailbox ............................................. 2-24

2
GETTING
STARTED USING THE
MAILBOX USING THE CALL
RECORDING
SERVICE
USING THE
ANSWERING
MACHINE SERVICE
TO THE SYSTEM
ADMINISTRATORS
Calling the Other Party's Number While Message is Being Re-played .. 2-25
Calling Soon after Listening to the Message from a Trunk Line ............. 2-25
Making E-mail Notification Automatically When a Message Is
Recorded ................................................................................................ 2-26
USING THE CALL RECORDING SERVICE
Using the Call Recording Service ....................................... 3-2
Automatic Call Recording ......................................................................... 3-2
Manual Call Recording ............................................................................. 3-3
Answering a Call Back from Voice Mail .................................................... 3-5
Possible Operations during Call Recording ....................... 3-6
Deleting the Recorded Conversation ........................................................ 3-6
Deleting the Recorded Conversation and Starting a New Recording ....... 3-6
USING THE ANSWERING MACHINE SERVICE
Using Voice Mail as an Answering Machine ....................... 4-2
Using the Extension Answering Service ............................ 4-3
Automated Attendant Key Setup .............................................................. 4-3
Setting and Canceling the Extension Answering Service ......................... 4-4
Recording/Checking/Deleting the Answering Message ............................ 4-7
Switching the Answering Message ......................................................... 4-10
Setting to Not Record the Caller’s Message ........................................... 4-11
Calling a Telephone Using the Extension Answering Service ................. 4-12
Listening to Messages from an Outside .................................................. 4-12
Using the Trunk Answering Service .................................. 4-15
Recording, Checking and Deleting an Answering Message ................... 4-15
Specify a Answering Message ................................................................ 4-17
Calling a trunk line Which Is Using the Trunk Answering Service .......... 4-18
Listening to Messages from an Outside .................................................. 4-19
Using the Message Ordering Service ............................... 4-20
Operations of Message Ordering Service ............................................... 4-20
What Each Person in Charge Does ........................................................ 4-22
TO THE SYSTEM ADMINISTRATORS
Upon Management ................................................................ 5-2

3
Voice Mail Specification ............................................................................ 5-2
Maintenance and Changing the Equipment .............................................. 5-3
Mailbox Types ........................................................................................... 5-4
Setting to Use Voice Mail .......................................................................... 5-5
Voice Mail Basic Setup ............................................................................. 5-5
Mail Box Setup .......................................................................................... 5-8
Message Recording Setup ....................................................................... 5-9
Live Recording Setup ............................................................................... 5-9
Call Information Setup ............................................................................ 5-10
Voice Mail Automated Attendant Data Setup .......................................... 5-11
Voice Prompt Language Assignment for System based ......................... 5-12
Voice Prompt Language Assignment for each Mail Box ......................... 5-12
Voice Mail Multiple Address Group Setup .............................................. 5-13
Voice Announcement Service Option ..................................................... 5-13
Voice Mail E-mail Notification Setup ....................................................... 5-14
SMTP Setup ........................................................................................... 5-14
POP3 Setup ............................................................................................ 5-16
Other Settings ......................................................................................... 5-17
Mailbox Management Sheet ............................................... 5-20
INDEX .............................................................................. Index-1

1 - 1
GETTING STARTED
What You Can Do with
Voice Mail .................................. 1-2
Cautions ........................................ 1-5
Using Voice Mail Efficiently ........... 1-7
Functions of Voice Mail
Control Keys .............................. 1-8

1 - 2
What You Can Do with Voice Mail
GETTING STARTED
This section explains how you can use Voice Mail:
▼
Record and send your own voice, or listen to a received message
< Mailbox service >
A Voice Mail user can have his/her own mailbox.
With a mailbox, you can send voice messages or lis-
ten to received messages.
Moreover, if you want another person to hear a
message you have received, you can forward the
message to that person’s mailbox.
When you receive a new message in your mailbox,
you are notified in the following ways:
◆Digital Key Telephone
The large lamp (message lamp) will flash. If you
have set up a key to access your mailbox, that
key will also flash.
◆DSS console
If you have set up a key to access your mailbox,
that key will flash in red.
◆Digital Cordless Telephone
The message lamp will flash. If you have set up a
key to access your mailbox, that key will also
flash.
◆Single Line Telephone with a message wait-
ing lamp
The message-waiting lamp will flash.
◆Display board
The message display lamp will flash in red.
What You Can Do with Voice Mail
What is a mailbox?
A mailbox is like a post-office box that is used to exchange “voice letters”. This mailbox
not only lets you receive messages from others, but also lets you save recorded conversa-
tions and listen to them later.
"You have a
new message!"
"You have a
new message!"
T
i
p
s

1 - 3
What You Can Do with Voice Mail
GETTING STARTED
▼Record a Call
< Call recording service >
Taking notes while talking on the phone is sometimes inconvenient, because you cannot con-
centrate on the call, or there are just too many things to write down, etc. Using Voice Mail,
you can record an entire call, and then pass on the information correctly.
There are two ways to record a call:
◆Trunk line Automatic Call Recording
When a call is received from a trunk line, record-
ing starts automatically when you lift the handset
and answer to the call. Moreover, when you
make a call to a trunk line, the recording starts
automatically when the other party picks up their
phone.
To enable this automatic call recording feature, a
setting must be made during installation.
◆Manual Call Recording
To start recording a conversation while making a
call to a trunk line, press the key that has been set
up as the call recording key. This function can be
used to record only the important parts of a call.
"Hello. XX
company speaking."
"Automatic
recording is
started!"
"Alright, I understand.
I’ll pass your message
on to the person in charge."
"Manual
recording
is started!"

1 - 4
What You Can Do with Voice Mail
GETTING STARTED
▼Use as an Answering Machine
< Extension/Trunk answering service >
◆Extension Answering Service
When you are away from your desk, or absent,
Voice Mail acts as an answering machine to han-
dle calls from extensions.
◆Trunk Answering Service
If you set up a day of the week or time of the day
during which you cannot answer calls, Voice
Mail will act as an answering machine to answer
a trunk call received by the specified telephone
number.
When you receive a message
In either case, you can set up Voice Mail to automatically make a call to a specified exten-
sion/trunk line to notify you that a new message has been recorded.
"Hello,
Mr. Tanaka?"
"Hello, you’ve reached
Tanaka’s answering service.
Currently I am away from
the office..."
"Today’s
office hours
have already ended.
If you have a message..."
T
i
p
s

1 - 5
Cautions
GETTING STARTED
▼Installation environment
Do not place your telephone where there is a lot of noise, especially near a large-scale air
conditioner or a compressor. Voice Mail may malfunction because of the noise.
▼Telephones which are compatible with Voice Mail
Voice Mail is compatible with Digital Key Telephones, Digital Cordless telephones, or Single
Line Telephones capable of generating DTMF (PB) dial.
If you intend to access the Voice Mail from outside the office, check whether the telephone
can generate DTMF (PB) dial.
▼Privacy
Before recording a call, always ask for the other party’s permission first.
▼Remaining recording time warning indication
When the remaining recordable time of mailbox falls to 10% or less, or 3% or less, the fol-
lowing warning is given to the indicator of the telephone.
If the above-shown warning is given, listen to the message recorded in the mailbox and then
delete it. If you keep using it without deleting any message, you may run out the remaining
recordable time and fail to record your important conversation.
Cautions

1 - 6
Cautions
GETTING STARTED
If you run out recordable time while recording your conversation on the
telephone or message:
Conversation recorded till then is saved and recording into the mailbox is finished.
Guide for remaining recordable time
The guide for the remaining recordable time while recording voice mail is as follows:
・10%: Short-time Voice Mail…approximately 12 min. Long Voice Mail…approximately
12 hours.
・3%: Short-time Voice Mail…approximately 4 min. Long Voice Mail…approximately 6
hours.
T
i
p
s

1 - 7
Using Voice Mail Efficiently
GETTING STARTED
We recommend setting up Voice Mail control keys on your Digital Key Telephone, DSS con-
sole or Digital Cordless Telephone to allow you to use Voice Mail efficiently.
▼
Setting up a 24-key Digital Key Telephone and DSS console
* The picture (Digital Key Telephone) is using the English type Keys (optional item). Ask your
supplier for details.
Using Voice Mail Efficiently
Using Voice Mail Control Keys
Call
Answer
12
ABC
3
DEF
JKL
4
GHI
6
MNO
8
TUV
7
PQRS
9
WXYZ
0
Recall
Crear Menu
Transfer
Hold
Feature
Speaker
5
JKL
Exit Help
Redial
You can allocate the required function to
any function keys.
Large lamp
(Message lamp)
As mailbox keys, you cannot only allocate
your o n box but also allocate multiple
box keys.
If you set up a specific box key for
someone ho calls you often record, you
can specify the mailbox to hich the calls
ill be saved by just pressing that key.
Volume control keys
You can adjust the handset/speaker
volume.

1 - 8
Functions of Voice Mail Control Keys
GETTING STARTED
The following describes the types and functions of Voice Mail control keys.
Register the required keys such as the call recording key and the mailbox key, on your tele-
phone. For details, refer to “Registering Voice Mail Control Keys” (P.1-10).
Functions of Voice Mail Control Keys
Key name
Function
Code No.
Function Key Lamp Display
Call
Record 69+0 Starting and ending the
manual call recording Recording (destination not
specified) Rapid
red
flash
Recording (after destina-
tion is specified) Steady
red
light
Mailbox 67
+
Mailbox
No.
• Specifying the saving
destination mailbox for
the recorded content
• Checking the saved mes-
sage
When a new message is
saved Rapid
red
flash
After checking a message
(Note)Red
flash
When message registra-
tion control is set Slow
red
flash
After deleting all mes-
sages Off
Delete
/Re-record 69+1 Deleting a recorded con-
versation, and re-recording --
Delete 69+2 Canceling call recording,
and deleting --
Arriving
notifica-
tion
69+3 Notification is sent to noti-
fication destination of the
mailbox where recorded
conversation is stored
(Automated attendant set-
ting is not required.)
--

1 - 9
Functions of Voice Mail Control Keys
GETTING STARTED
Note: When there is more than one new message in the mailbox, checking even
one of them will cause the lamp display to change to steady red light.
Answer-
ing
Machine
70
+
Mailbox
No.
Setting the automated or
busy line attendant When the automated atten-
dant is set Steady
red
light
When the busy line atten-
dant is set Red
flash
Skip 68+0 Skipping a message for-
ward and re-playing --
Back skip 68+1 Skipping a message back-
ward and re-playing --
Answer-
ing
Machine
Answer-
ing mes-
sage
Switch
71
+
Mailbox
No.
Switching the answering
message Answering message No.1 Off
Answering message No.2 Steady
red
light
Answering message No.3 Steady
red
flash
Message lamp (large lamp of the Digital Key Telephone) and mailbox key
on the DSS console
・Message lamp
When there is a new message : rapid green flash
After you have listened to the message : off
・DSS console
When there is a new message : rapid red flash
After you have listened to the message : steady red light
When all messages have been deleted : off
Key name
Function
Code No.
Function Key Lamp Display
T
i
p
s

1 - 10
Functions of Voice Mail Control Keys
GETTING STARTED
This section describes the procedure for allocating Voice Mail functions to the following
keys:
・Function keys of a Digital Key Telephone
・Function keys of a Digital Cordless Telephone
・Keys of a DSS console
▼Registering a function key
1Press .
2Press .
917 is the Service Code (default) for function key setting
(general function level).
3Press the (function key) to allocate
the function to.
4Press the function code number.
Refer to “Functions of Voice Mail Control Keys” (P.1-8) for
details on the function key numbers.
Example: When 690 (function code of the call recording key) is pressed
5Press .
This completes the registration of the Voice Mail control key.
Registering Voice Mail Control Keys
Before attempting to allocate a function to a function key, always place the hand-
set on-hook.
When you want to register multiple Voice Mail function keys
Repeat steps 3 and 4.
Caution
Speaker
-';241)4#/
9 1 7
-';241)4#/-';
.+0'214601
-';241)4#/-';
%108'45#6+104'%14&
Speaker
T
i
p
s

1 - 11
Functions of Voice Mail Control Keys
GETTING STARTED
▼Checking the Registration
1Press .
2Press the (function key).
The function registered to the pressed function key is dis-
played on the screen.
3Press .
The screen returns to the original display.
%*'%-
Help
%*'%-.+0'-';
%108'45#6+104'%14&
Exit

1 - 12
GETTING STARTED

2 - 1
USING THE MAILBOX
Basic Operation ............................ 2-2
Listening to Messages Left
for You ....................................... 2-8
Recording a Message ................. 2-10
Functions to Manage
Your Mailbox ............................ 2-13

2 - 2
Basic Operation
USING THE MAILBOX
The basic operation flow when using the mailbox service is as follows:
1Lift the handset.
2Press .
839 is the Service Code (default) of Voice Service Center.
“This is Voice Service Center. The Mail Box number please”
3Press your mailbox number, and then .
When accessing the mailbox that you have been operating on, you can just press # to proceed to
Step 4.
Example: If your mailbox number is 100, press 100#.
“Password please”
If you have not set a password to your mailbox, proceed to Step 5.
4Input the password, and then press .
Example: If your password is 1234, press 1234#.
“Service code please”
5Press the corresponding dial keys of the service function to use.
If the service function has optional functions, follow the instruction of the voice guidance and press
the corresponding dial keys.
For details, refer to the “Service/Option Code List” (P.2-4).
6Press .
7Hang up.
Basic Operation
Operation Flow
8 3 9
G
u
i
d
a
n
c
e
G
u
i
d
a
n
c
e
G
u
i
d
a
n
c
e

2 - 3
Basic Operation
USING THE MAILBOX
Password
A password can be set to each mailbox. Set a password when you want to use a mailbox for
yourself, etc. For details, refer to “Setting a Password” (P.2-6).
Service Code to call the Voice Service Center
This is a code to call the voice service center, which is decided on installation. Please check
with the system administrator about this code.
System administrator
A system administrator is a member from the customer's side, who manages the using con-
ditions of Voice Mail. The system administrator will consult the installation service to
decide which Voice Mail service to use, etc. Moreover, this person will change the setting if
necessary after Voice Mail operation starts.
If you have any uncertainties when using Voice Mail, please consult your system adminis-
trator.
T
i
p
s
Other manuals for AspireX
1
Table of contents
Other NEC Telephone manuals

NEC
NEC DS1000 User manual

NEC
NEC DS1000 Technical specifications

NEC
NEC Univerge SV9100 User manual

NEC
NEC ITL-8LD-1 - DT730 - 8 Button DESI Less Display IP... User manual

NEC
NEC Aspire User manual

NEC
NEC XEN IPK DIGITAL TELEPHONE Owner's manual

NEC
NEC UX5000 User manual

NEC
NEC Xen IPK II User manual

NEC
NEC AT21 User manual

NEC
NEC Aspila Topaz User manual