manuals.online logo
Brands
  1. Home
  2. •
  3. Brands
  4. •
  5. Novus
  6. •
  7. Transmitter
  8. •
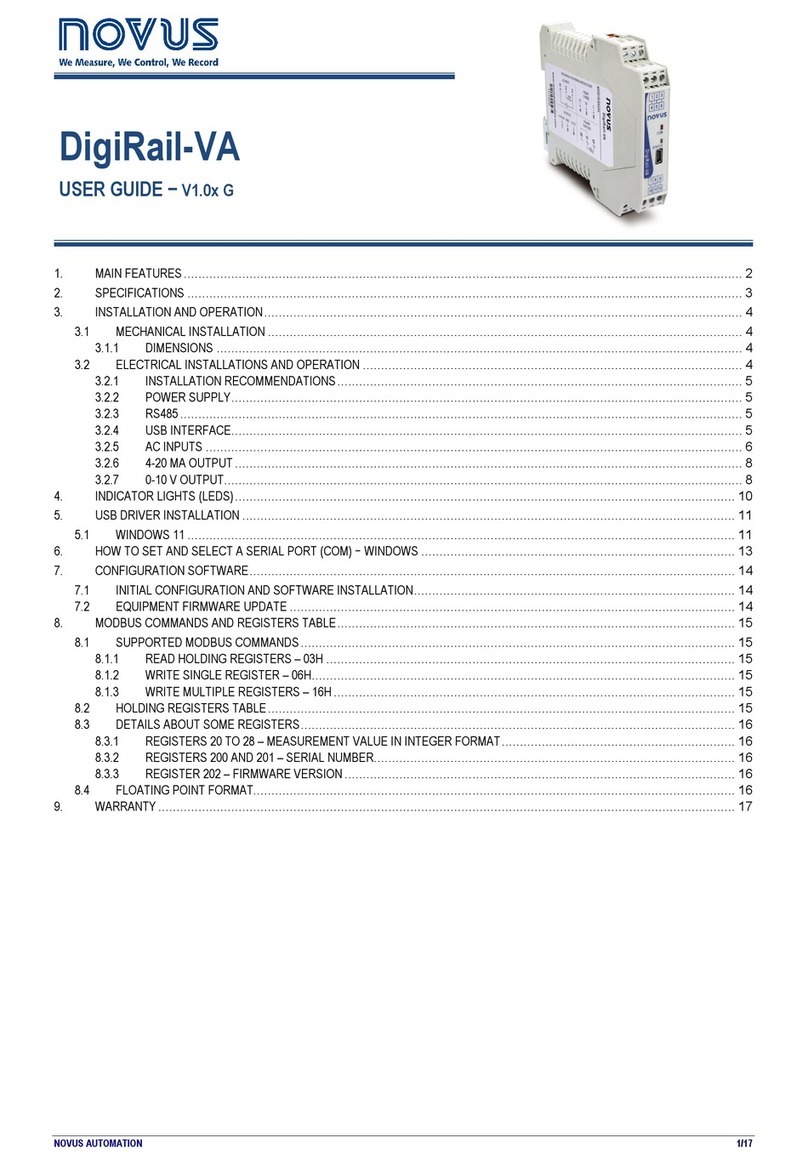
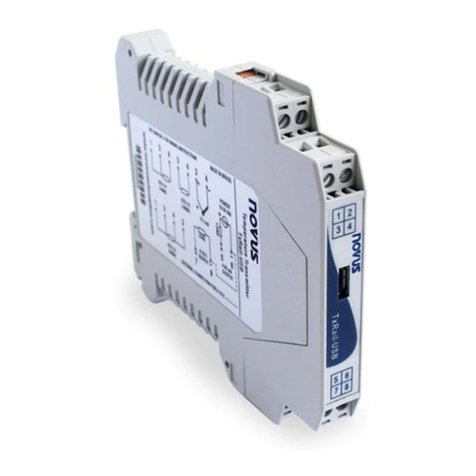
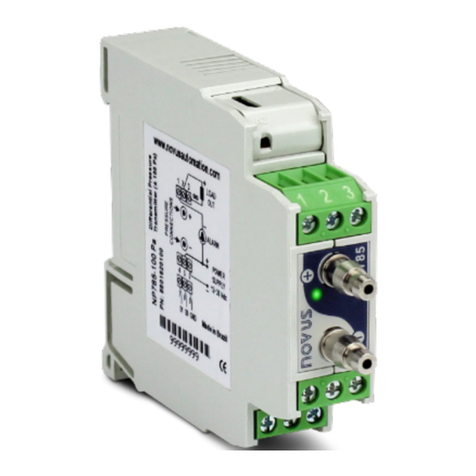
  9. Novus TxIsoPack User manual

Novus TxIsoPack User manual

NOVUS AUTOMATION 1/3
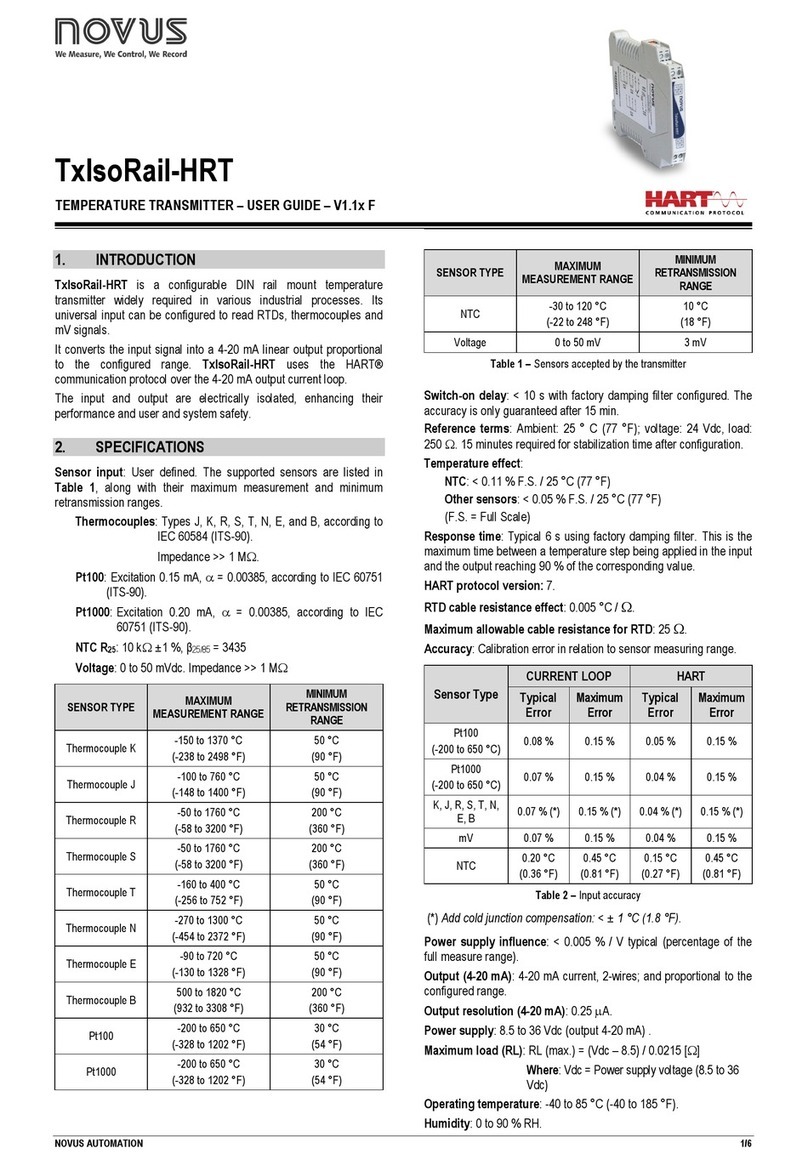
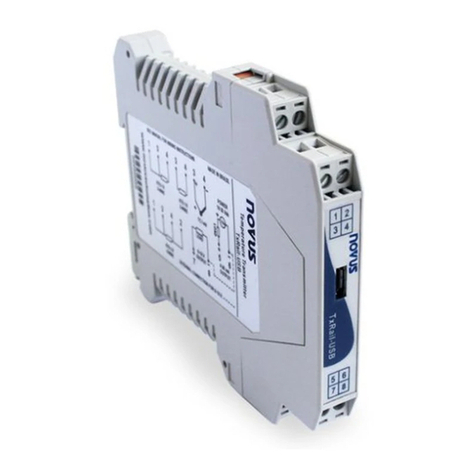
TxIsoPack
TEMPERATURE TRANSMITTER – OPERATING MANUAL V1.1x D
INTRODUCTION
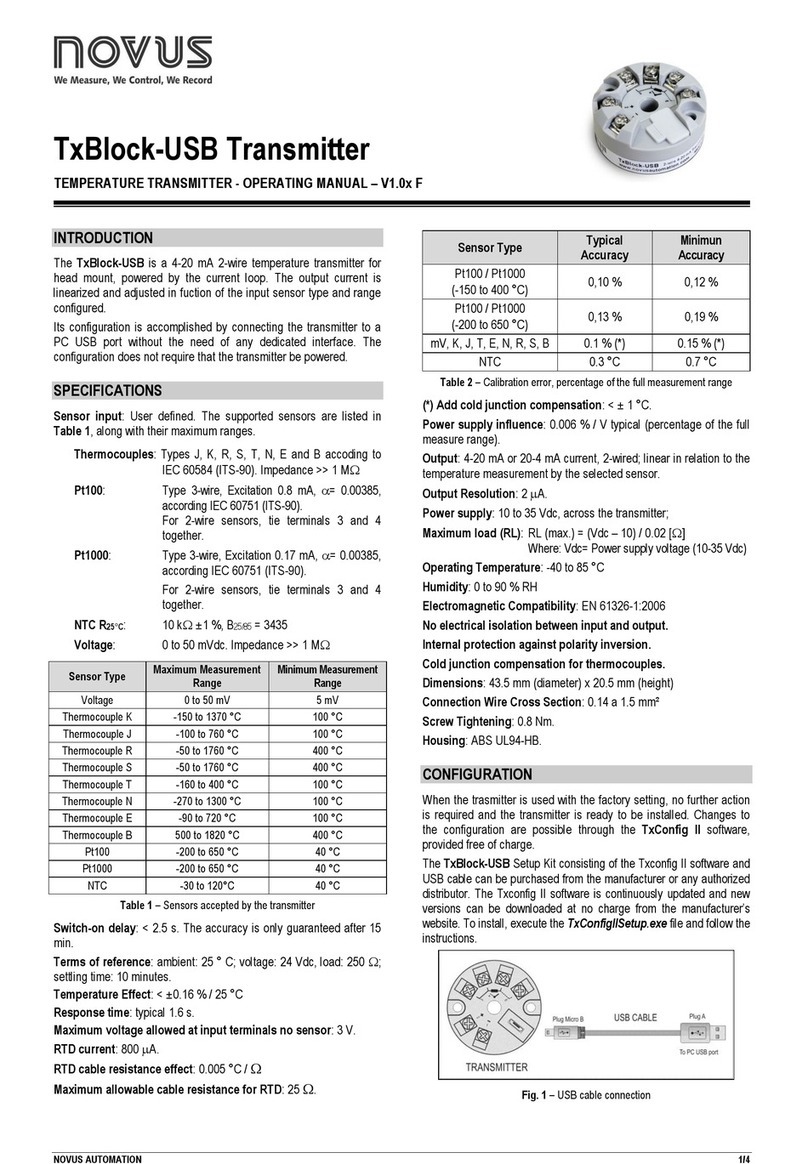
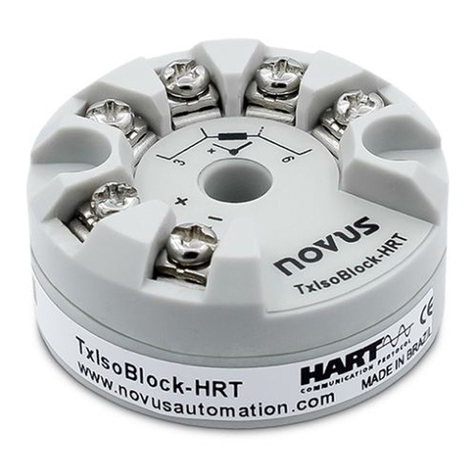
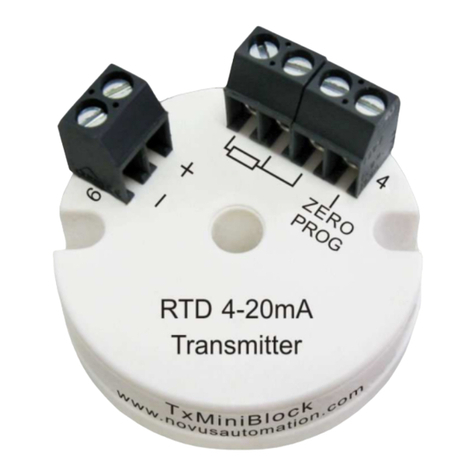
The TxIsoPack is an 4-20 mA 2-wire isolated temperature transmitter, for
head assembly. Powered by the current loop, its configuration is
accomplished by connecting the transmitter directlyto the PC USB interface,
not requiring installation of additionaldrivers.
The output current is linearized and adjusted in fuction of the input sensor
type and range configured.
SPECIFICATIONS
Sensor input: Configurable.
Thermocouples:Types J, K, R, S, T, N, E and B, According to IEC
60584(ITS-90)Impedance>> 1 MΩ
Pt100:Types: 2, 3 and 4 wires, Excitation 0.17 mA, α= 0.00385,
Accordingto IEC60751(ITS-90).
Voltage:0 to 50 mVdc. Impedance >> 1 MΩ
Sensor Type
Range
MinimumMeasurementRange
Thermocouple K
-150 to 1370 °C
100 °C
Thermocouple J -100 to 760 °C 100 °C
Thermocouple R -50 to1760 °C 400 °C
Thermocouple S
-50 to 1760 °C
400 °C
Thermocouple T -160 to 400 °C 100 °C
Thermocouple N -270 to 1300 °C 100 °C
Thermocouple E
-90 to 720 °C
100 °C
Thermocouple B 500 to 1820 °C 400 °C
Pt100 -200 to 650 °C 40 °C
Voltage
0 to 50 mV
5 mV
Table 1 – Sensors maximum measurement ranges
Total accuracy: Maximum error 0.3 % of the maximum range for
thermocouples, 0.2 % forPt100 andvoltage.
Response time:≤500 ms
Isolation: 1000 Vac for 1 minute between input and output.
Output: 4-20 mA or 20-4 mA current, 2-wired; linear in relation to the
temperature measurement by the selected sensor.
Resolution:0.004 mA (12 bits).
Power supply: 12 to35 Vdc, voltage across the transmitter.
Maximum load (RL): RL= (VDC – 12) / 0.02 Ω
Were:VDC = Power supply voltage
Operating temperature: -20 to 75 °C
Humidity: 0 to 90 % RH
Electromagnetic compatibility: EN 50081-2, EN 50082-2
Internal protection against the supply voltage polarity inversion.
Cold junction compensation for thermocouples.
ABS box, diameter de 44 mm and max.height 24 mm.
5-pin USB mini-B 5 connection cable.
CONFIGURATION
When the transmitter is already configured with the sensor and desired
ranges, no intervention is necessary and its installation may be executed
immediately. When it is necessary to change the configuration, it should be
made through theTxConfig software.
USB cable and TxConfig software make up the Transmitter Setup Kit that
can be purchased from the manufacturer or any authorized representative.
The setup software may be updated at no charge at the manufacturer’s
website. To install,execute the file Tx_setup.exe and follow the instructions.
Fig. 1 – USB cable connections
During the setup, the transmitter is powered by the USB, not requiring an
external power supply.
The transmitter setup can also be made by connecting it to the loop, using
the loop power supply. There is no electrical insulation between the
transmitter and the communication port (interface), therefore it is not
recommended to configure it with the sensor inlet connected to the process.
See Fig. 2.
Fig. 2 – USB cable connections – Loop powered
After these connections, the user must run the TxConfig software and, if
necessary, consult the Help topicto helpusing the software.
The USB communication port
(interface) of the
TxIso
Pack is not electrically insulated from the
transmitter’s input.
NOVUS AUTOMATION 2/3
The TxConfig screen in shown in Fig. 3.
Fig. 3 – TxConfig main screen
The fields in the screen mean:
1.Input Sensor:Select the sensor to be used. See Table 1.
2.Measuring Range: Define the transmittermeasurement range.
Range Lower Limit: temperature desiredfor a 4 mA current.
Range Upper Limit: temperature desiredfor a 20 mA current.
When the Lower Limit is set with a value greater than the Upper
Limit value of the output current operates from 20 to 4 mA (the
current decreases as the temperature increases).
Note:The values chosen can not exceed the Sensor Range shown
in this same field, and also may not establish a range with width
(span) smaller than the Min. Range indicated later in this same field.
See Table 1 of this guideline.
3.Sensor Failure: It establishes the output behavior, when the transmitter
indicatesa failure:
Minimum:output currentgoes to 3.8 mA (down-scale), typically used for
refrigeration.
Maximum: output current goes to 20.5 mA (up-scale), typically used for
heating.
4.Device Information: This field contains the data identifying the
transmitter. This information must be submitted to the manufacturer for
anyqueries.
5.Zero Correction: It corrects small deviations presented in the transmitter
outlet, for example, when the sensor is replaced.
6.Send Configuration: It applies the new setup. Once sent, the setup will
be immediatelyadoptedby the transmitter.
7.Read Configuration: Reads the current setup in the transmitter
connected. The screen now presents the current setup that may be
changed bythe user.
Note: The factory default configuration is:
•Sensor Pt100, range0 to 100 °C, 0 °C of zero correction.
•Output at maximum for the sensor failures.
Upon purchase order, the user can definea specific setup.
MECHANICAL INSTALLATION
The TxIsoPack transmitter is suitable to be installed in heads. Vibrations,
moisture and extreme temperatures, electro-magnetic interference, high
voltage andother interferences can permanently damage the unit, and could
cause errorin the measured value.
DIMENSIONS:
Fig. 4 – Transmitter dimensions
ELECTRICAL INSTALLATION
Polyamide enclosure.
Section of the cable used: 0.14 to 1.5 mm².
Recommended torque in the terminal: 0.8Nm.
RECOMMENDATIONS FOR INSTALLATION
•Sensor signals conductors must go through the plant system separate
from powerleads (loop),if possible in grounded conduits.
•The instruments must be powered from the instrumentation power supply
circuit.
•In control and monitoring applications is essential to consider what can
happen when anypart of the system fails.
•It is recommended the use of suppressors in contact coils, solenoids and
any inductive load.
•Use compensation cables in the connections using thermocouples.
ELECTRICAL CONNECTIONS
The figures below show the electrical connections required. The terminals 3, 4,
5 and 6are dedicated to the sensor connection. LOAD represents the 4-20 mA
current measuring device (indicator, controller, recorder, etc.)
PT100 2-WIRES
Note:When the Pt100 2-wires the terminals 3 and 4 mustbe interconnected,
according to the figure below.
Fig. 5– Transmitter electrical connections (Pt100 2-wires)
NOVUS AUTOMATION 3/3
PT100 3-WIRES
Fig. 6 – Transmitter electrical connections (Pt100 3-wires)
PT100 4-WIRES
Fig. 7 – Transmitter electrical connections (Pt100 4-wires)
THERMOCOUPLES
Fig. 8 – Transmitter electrical connections (Thermocouple)
VOLTAGE (0-50 mV)
Fig. 9 – Transmitter electrical connections (0-50 mV)
OPERATION
The transmitter is perfectly factory-calibrated with standardized sensors, not
requiringany adjustment by the user.
The sensor offset can be also changed through the TxConfig software. The
USB connection can be made even with the transmitter connected to the
process and operating without causing errors in the measurement. See item
Zero Correction in the chapter CONFIGURATION of this guideline.
The uermust choose the most suitable sensorand range to the process. The
chosen range must notexceed the maximum range of measurement defined
for the sensor and should not be smaller than the minimum range for the
same sensor.
It is important to note that the accuracy of the transmitteris always based on
the maximum range of the sensor used, even when a mid-range was set.
Example:
•The sensor Pt100 has a max. range of –200 to +650 °C and total
accuracy of 0.2 %, thus we can have an absolute error up to 1.7 °C (
0.2 % of 850 °C).
•The absolute error is the same for a wide range as the maximum (-
200 to 650 °C), to a narrower band User-defined. (For example: 0 to
100 °C.)
Note: When measurements are made at the transmitter, see if the Pt100
excitation current required by the calibrator is compatible with the Pt100
excitation current used in the transmitter: 0.17 mA.
SAFETY INFORMATION
Any control system design should take into account that any part of the
system has the potential to fail. This product is not a protection or safety
device and its alarms are not intended to protect against product failures.
Independent safety devices should be always provided if personnel or
property are at risk.
Product performance and specifications may be affected by its environment
and installation. It’s user’s responsibility to assure proper grounding,
shielding, cable routing and electrical noise filtering, in accordance with local
regulations, EMC standards and good installation practices.
SUPPORT AND MAINTENANCE
This product contains no serviceable parts inside. Contact our local
distributorin case you need authorized service. Fortroubleshooting, visit our
FAQ at www.novusautomation.com.
LIMITED WARRANTY AND LIMITATION OF LIABILITY
NOVUS warrants to the original purchaser that this product is free from
defects in material and workmanship under normal use and service within
one (1) year from the date of shipment from factory or from its official sales
channel to the original purchaser.
NOVUS liability under this warranty shall not in any case exceed the cost of
correcting defects in the product or of supplying replacement product as
herein provided and upon the expiration of the warranty period all such
liability shall terminate.
For complete information on warranty and liability limitations, check
appropriate section in ourweb site: www.novusautomation.com/warranty.

Other Novus Transmitter manuals

Novus RHT-WM User manual

Novus

Novus RHT-WM User manual

Novus NP400 User manual

Novus

Novus NP400 User manual

Novus TxBlock-USB User manual

Novus

Novus TxBlock-USB User manual

Novus NP640 User manual

Novus

Novus NP640 User manual

Novus TEMP-WM User manual

Novus

Novus TEMP-WM User manual

Novus RHT Climate WM User manual

Novus

Novus RHT Climate WM User manual

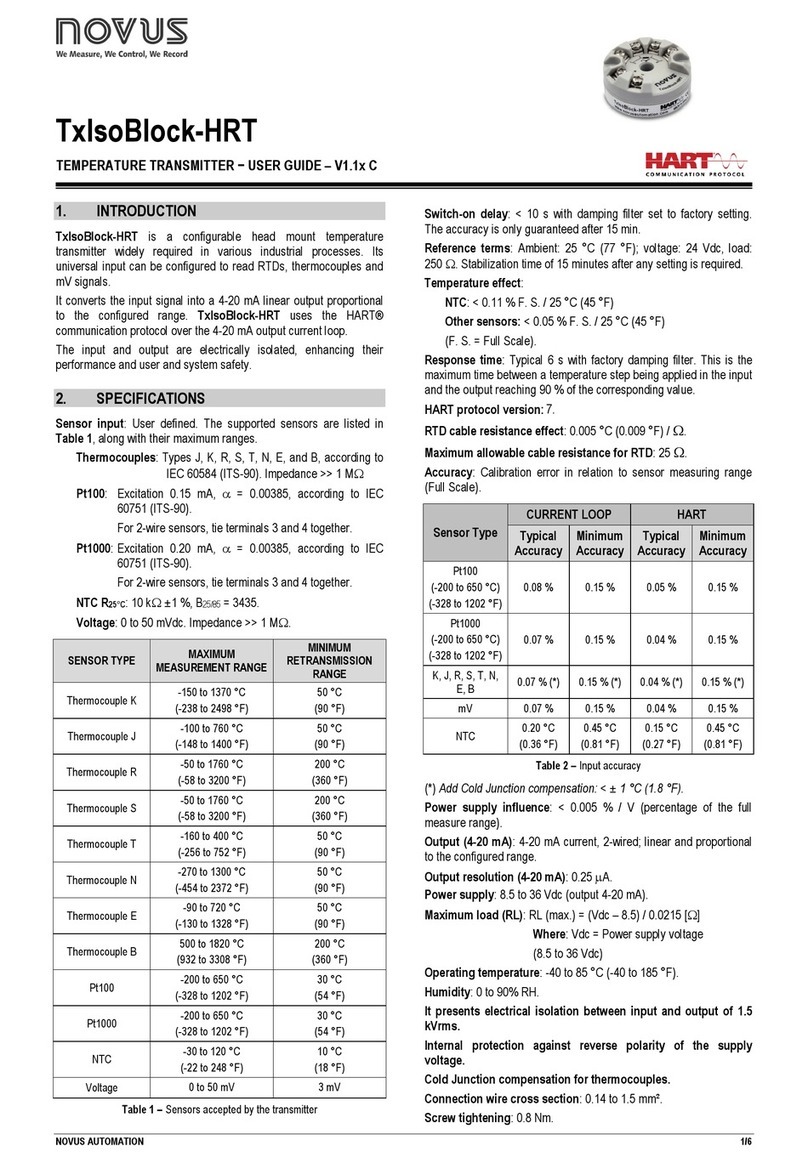
Novus TxIsoBlock-HRT User manual

Novus

Novus TxIsoBlock-HRT User manual

Novus TxBlock-USB User manual

Novus

Novus TxBlock-USB User manual

Novus TxRail User manual

Novus

Novus TxRail User manual

Novus TL400-I User manual

Novus

Novus TL400-I User manual

Novus RHT-XS User manual

Novus

Novus RHT-XS User manual

Novus NP600 User manual

Novus

Novus NP600 User manual

Novus TXMINI-M12-485 User manual

Novus

Novus TXMINI-M12-485 User manual

Novus TxIsoRail-HRT User manual

Novus

Novus TxIsoRail-HRT User manual

Novus TxRail User manual

Novus

Novus TxRail User manual

Novus RHT Climate-WM Series User manual

Novus

Novus RHT Climate-WM Series User manual

Novus TxRail-USB User manual

Novus

Novus TxRail-USB User manual

Novus TxIsoRail User manual

Novus

Novus TxIsoRail User manual

Novus NVPT-131VTP-HD User manual

Novus

Novus NVPT-131VTP-HD User manual

Novus RHT-WM-485-LCD User manual

Novus

Novus RHT-WM-485-LCD User manual

Novus TxRail-USB User manual

Novus

Novus TxRail-USB User manual

Novus RHT-Air User manual

Novus

Novus RHT-Air User manual

Novus NP785 User manual

Novus

Novus NP785 User manual

Novus TXMINI-M12 User manual

Novus

Novus TXMINI-M12 User manual

Popular Transmitter manuals by other brands

Transystem PL-12-1-28ND Operation manual

Transystem

Transystem PL-12-1-28ND Operation manual

Hyundai FMT 212 MP instruction manual

Hyundai

Hyundai FMT 212 MP instruction manual

Vaisala DRYCAP DMT143 user guide

Vaisala

Vaisala DRYCAP DMT143 user guide

Vega VEGABAR 87 Quick setup guide

Vega

Vega VEGABAR 87 Quick setup guide

Marmitek BOOMBOOM 55 user manual

Marmitek

Marmitek BOOMBOOM 55 user manual

GE AquaTrans AT868 Abridged manual

GE

GE AquaTrans AT868 Abridged manual

Ditel Kosmos series quick start guide

Ditel

Ditel Kosmos series quick start guide

Comet System T0213 instruction manual

Comet System

Comet System T0213 instruction manual

CYP PUV-1630TTX Operation manual

CYP

CYP PUV-1630TTX Operation manual

Critical Environment Technologies AST-IS1 installation manual

Critical Environment Technologies

Critical Environment Technologies AST-IS1 installation manual

Hach si792 D series quick start guide

Hach

Hach si792 D series quick start guide

Shure T1 Service manual

Shure

Shure T1 Service manual

Meccanica Fadini VIX 53/1 R quick start guide

Meccanica Fadini

Meccanica Fadini VIX 53/1 R quick start guide

Danfoss MBS 1700 installation guide

Danfoss

Danfoss MBS 1700 installation guide

Zamel RTN-01 Operation

Zamel

Zamel RTN-01 Operation

Aurora HT Series Protocol guide

Aurora

Aurora HT Series Protocol guide

M-system KCEC instruction manual

M-system

M-system KCEC instruction manual

wtw DIQ/S 181 operating manual

wtw

wtw DIQ/S 181 operating manual

manuals.online logo
manuals.online logoBrands
  • About & Mission
  • Contact us
  • Privacy Policy
  • Terms and Conditions

Copyright 2025 Manuals.Online. All Rights Reserved.