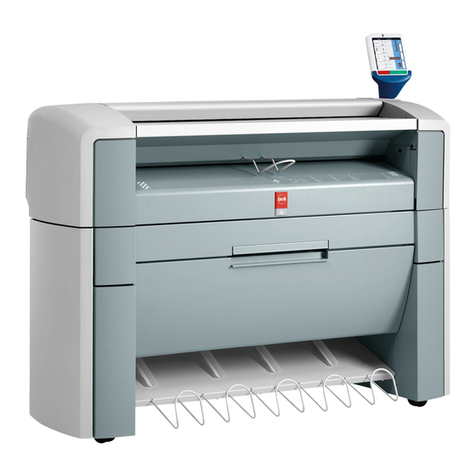
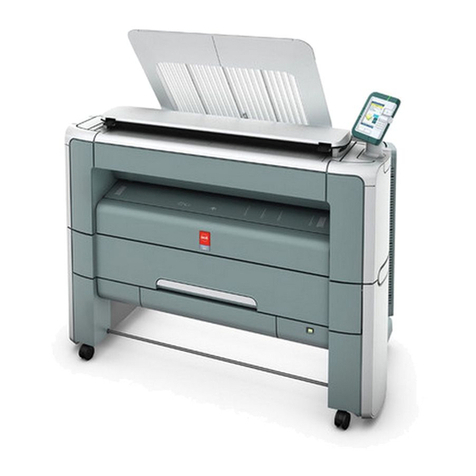
Oce 5250 User manual

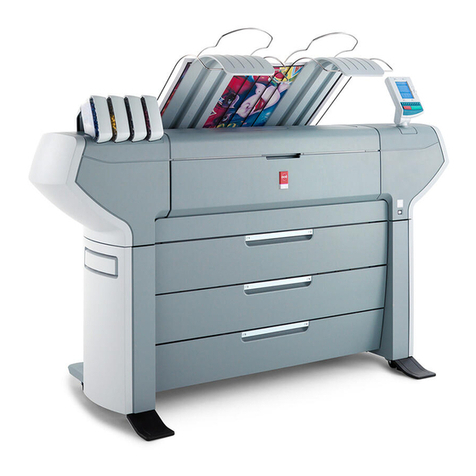
Océ 5250
User manual

Copyright
Océ-Technologies B.V. Venlo, The Netherlands © 2001
All rights reserved. No part of this work may be reproduced, copied, adapted,
or transmitted in any form or by any means without written permission from
Océ.
Océ-Technologies B.V. makes no representation or warranties with respect to
the contents hereof and specifically disclaims any implied warranties of
merchantability or fitness for any particular purpose.
Further, Océ-Technologies B.V. reserves the right to revise this publication and
to make changes from time to time in the content hereof without obligation to
notify any person of such revision or changes.
Edition 1.0
Océ-Technologies B.V.
GB
This manual, which can be kept behind the left-hand door of the copier,
contains a description of the Océ 5250 and the copying that can be done with
it. The introduction (chapter 1) contains a general description of the working
methods for using the copier and it is recommended that you read at least this
chapter.
Safety information
This manual contains the following safety information:
■Appendix B lists ‘Instructions for safe use’. You are advised to read this
information before you start to actually use the copier. Technical safety
information such as safety data sheets can also be found in appendix B.
■Where applicable, cautions and warnings are used throughout this manual to
draw your attention to safety precautions to be taken.

Contents 3
Contents
Chapter 1
Installation of the Océ 5250 printer
Preparing for installation 10
Precautions 10
Required installation space 10
Checking the printer components 12
User documentation CD 15
Operating recommendations 16
General considerations 16
Usingthestand(pedestal) 16
Transporting the printer 16
Unpacking the printer 17
Assembling the stand (pedestal) 17
Removing the printer from the carton 17
Viewing the printer components 18
Carriage 19
Cable connections 20
Installing the printer 21
Plugginginandswitchingontheprinter 26
Using the control panel 27
Menu direction arrows 27
Keys 28
Leds (light emitting diodes) 28
Message display window 29
Using the printer menu 29
Using the flowchart (menu tree) instructions 30
Selecting the display language 31
Connecting the printer 32
Chapter 2
Getting started
Installing the print heads and ink tanks 34
About print heads 34
Preparing to install the print heads 35
Unpacking and installing the print head 36
Installing the ink tank 39
Monitoring ink levels 41
Replacing the ink tank 41

4 Océ 5250 user manual
Selecting a media mode 42
Loading roll media 43
Choosing the media type 48
Loading cut sheet media 49
Printing the menu tree 51
Cancelling a print in progress 52
Setting the colour mode 53
Setting the print quality 54
Setting the number of printed copies 55
Setting the media format 56
Chapter 3
Print management
Rotating a print 58
Scaling a print 59
Autoscaling 60
Mirroring a print 62
Saving media 64
Nesting 64
Setting the media saver timeout 66
Flushing the media saver queues 67
Autopositioning 68
Defining the pen width 70
Making a palette print 71
Setting the pen colours and patterns 72
Setting pen colours 72
Saving pen user configurations 72
Setting the pen patterns 73
Defining the pen priority 74
Chapter 4
Advanced functions
Setting the menu access level 76
Locking the printer menu 77
Setting the short menu 78
Setting the full menu 79
Setting the print timeout 80
Printing the dump configuration 81
Examples of a dump configuration 82
Printing long prints 84

Contents 5
Calibrating the Océ 5250 85
Printing the registration print 86
Printing the X-alignment print 87
Printing the X-accuracy print 89
Choosing between accuracy and smooth area fills 92
Rendering 93
Upgrading the firmware 94
Expanding the printer memory 96
Chapter 5
Print data formats
Setting automatic language sensing 100
Selecting the data format manually 101
Using the transparency mode 102
Setting the print origin 104
HP-GL, HP-GL/2 106
Page advance 106
Line Attribute 107
WorkingwithHP-GL,HP-GL/2format 108
HP-GL commands 108
HP-GL/2 commands 109
Selecting the HP-GL or HP-GL/2 command set 110
HP-RTL commands 111
CalComp parameters 112
Checksum parameter 112
End of message parameter 113
Synch code parameter 114
Double synch parameter 115
CalComp step size 116
CALS and TIFF 117
CALS 117
TIFF 117
PostScript 2 118
PostScript 2 page layout 118
Default PostScript 2 page size 119
Chapter 6
Use of media
Media types 122
Choosing media 123
Storing and handling media 125

6 Océ 5250 user manual
Chapter 7
Maintenance
General cleaning 128
Caring for the wiper blades 130
Replacing the cutter unit 132
Cleaning the print heads 133
Transporting the printer 134
Chapter 8
Troubleshooting
Solving printer operation problems 136
Understanding printer messages 137
Status messages 137
Warnings 138
Error messages 138
Banner messages 142
Service message 143
Improving poor print quality 144
Checking the print head quality 146
Adjusting the carriage height 146
Printing the registration print 147
Print head problems 148
Problems using colour 149
Using the statistics menu 150
Chapter 9
Connection of the Océ 5250
Connecting the printer 152
Connecting to a Centronics port 152
Connecting to an Ethernet port 153
Supported printing protocols 157
Preferred printing solution 157
Printing via LPD 158
Printing via FTP 158
Printing via SMB 159

Contents 7
Appendix A
Glossary
Appendix B
Safety information
Instructions for safe use 168
Safety data sheet for the Océ 5250 170
EPA Energy Star® 171
Appendix C
Miscellaneous
Notation conventions 174
Reader’s comment sheet 175
Addresses of local Océ organisations 177
Appendix D
Technical reference
Product specifications 180
Printer default values 181
Handshake protocols 184
Centronics protocol 184
Centronics port configuration 185
Software commands 186
HP-GL commands 186
HP-GL escape sequences 187
HP-GL/2 commands 188
HP-RTL commands 190
CalComp commands 192
Index 195

8 Océ 5250 user manual

9
Océ 5250
User manual
Chapter 1
Installation of the Océ 5250 printer
■Preparing for installation
■Checking the printer components
■Installing the printer
■Using the control panel
■Selecting the display language
■Connecting the printer

10 Océ 5250 user manual
Preparing for installation
Precautions
■You need two persons to install the Océ 5250.
■First assemble the stand, and then install the Océ 5250.
■Before you start the installation, make sure the power switch of the Océ 5250
is turned to ‘OFF’.
Required installation space
For efficient use of the Océ 5250, plan an adequate space as illustrated below.
[1] Required installation space front view
[2] Required installation space top view
1462mm
600mm
800mm
600mm
600mm

Installation of the Océ 5250 printer 11
[3] Required space when installed on the stand
1170mm
1405mm

12 Océ 5250 user manual
Checking the printer components
Check that all of the following components are included.
[4] Contents of carton 1 (Left) and 2 (Right)
[1]
[3]
[4]
[2]
[5]
[8]
[8]
[8]
[6]
[7]
[8]
[7]
[6]
[7]
8X
8X
2X
1X

Installation of the Océ 5250 printer 13
Contents
Carton 1 Carton 2
1. Océ 5250 6. Collection basket
2. Roll holder 7. Stand legs
3. Stopper 8. Upper & lower cross bars
4. Starter kit
5. Accessory box

14 Océ 5250 user manual
[5] Contents of starter kit (Left) and Accessory box (Right)
Contents
Starter kit Accessory box
1. Assembly instructions / packing list 9. Overlay
2. Equipment, Delivery,
Installation, Quality report (EDIQ)
10. Power cord
3. Centronics cable 11. Cleaner blades
4. Order sheet 12. Installation tool
5. 5 ink tanks
6. 5 print heads
7. User documentation CD
8. Drivers pack CD
InstructionsInstructions
[1]
[4]
[5]
[6]
[7] [8]
[3]
[2]
[9] [10]
[12]
[11]

Installation of the Océ 5250 printer 15
User documentation CD
The Océ 5250 User documentation CD contains the following:
■Assembly instructions/Packing List
■User manual
■Quick reference card (this is a menu tree that you can print out in the desired
format)

16 Océ 5250 user manual
Operating recommendations
General considerations
■choose a stable, clean environment
■maintain the temperature between 5 - 35° C
■maintain a relative humidity between 10% - 90% RH non-condensing
■keep away from direct sunlight
■avoid rapid temperature or humidity changes
■allow sufficient space around the front and back of the printer, to allow easy
operator access and unrestricted media space during printing (see figure 3 on
page 11)
■avoid placing the printer directly in the path of a fan or vent as a high air flow
interferes with the ink flow of the inkjet print head
■keep cables out of the media path
Using the stand (pedestal)
Placethestandonaneven,stablefloorsurface.
Transporting the printer
Keep the printer’s carton and packing materials to facilitate eventual
transportation.
Note: See chapter 7, ‘Maintenance’ on page 127 for instructions on how to
transport the printer.

Installation of the Océ 5250 printer 17
Unpacking the printer
Assembling the stand (pedestal)
Assemble the stand, before you install the printer. For instructions, see
‘Assembly instructions’ in this User Documentation CD.
Removing the printer from the carton
▼
▼▼
▼To remove the printer from the carton
1Open the plastic bag.
2Grip firmly the bottom corners of the printer on both sides, as indicated below.
3Place the printer on the stand.
4Fix the printer to the stand, using the two shoulder screws delivered with the
stand (M6 X 20).
[6] Taking the Océ 5250 out of the carton

18 Océ 5250 user manual
Viewing the printer components
[7] External view of the printer
1Dust cover
2Carriage
3Control panel
4Purge unit (inside)
5Green lever (to release the pinch rollers)
6Platen
7Pinch roller
[1]
[2]
[3]
[4]
[5]
[6]
[7]

Installation of the Océ 5250 printer 19
Carriage
[8] Carriage
1Ink tank
2Print head release tab
3Carriage height adjustment lever
4Print head
5Ink tank release tab
6Cutter unit
[2]
[3]
[1]
[6] [5] [4]

20 Océ 5250 user manual
Cable connections
[9] Cable connections
1Parallel interface connector
2Serial interface connector (reserved for service)
3Ethernet connector
4Leds
5Power cord connector
6Power switch
[1]
[2]
[3]
[4]
[5]
[6]
Table of contents
Other Oce Printer manuals

Oce
Oce PlotWave 350 User manual

Oce
Oce ColorWave 600 User manual

Oce
Oce VarioPrint i Series User manual

Oce
Oce Arizona 6160 XTS User manual

Oce
Oce VarioStream 8000 User manual

Oce
Oce CS9265 User manual

Oce
Oce CS9350 User manual

Oce
Oce CS2024 User manual

Oce
Oce OP1018 User manual

Oce
Oce ColorWave 810 Installation and operating manual