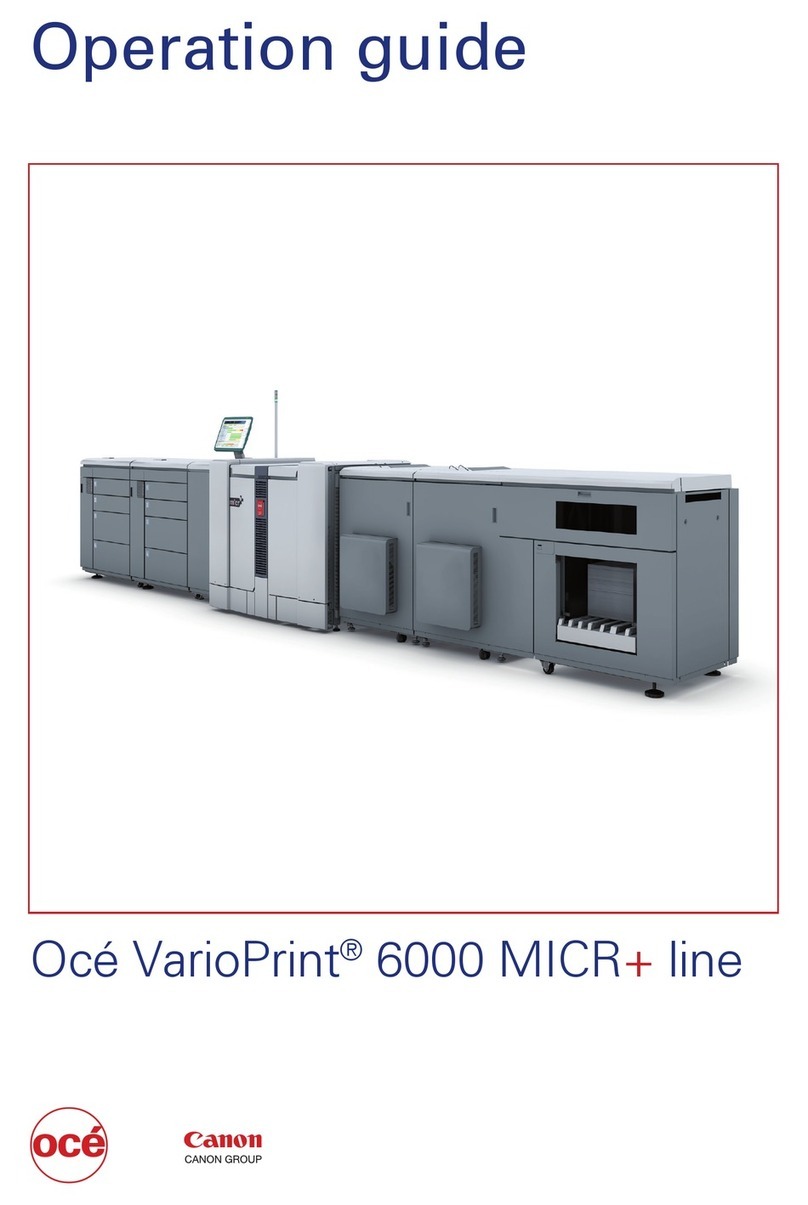
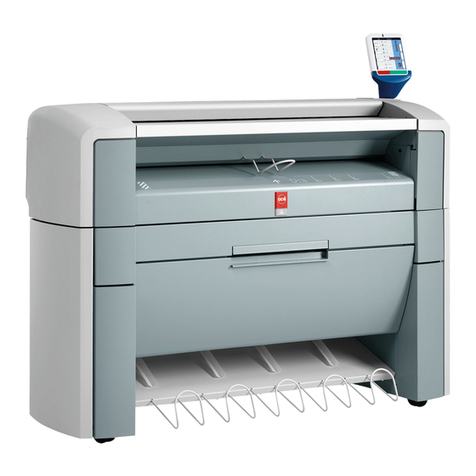
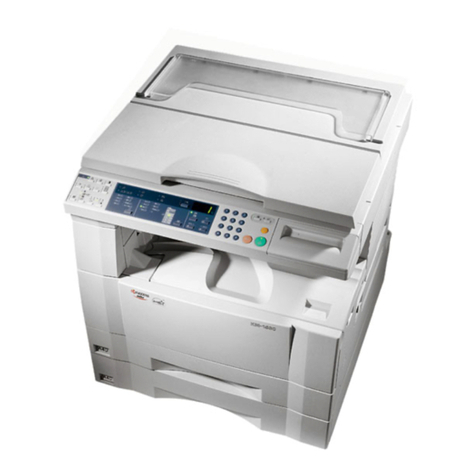
Oce CS 5090 User manual

Océ CS 5090
User Manual

Copyright
Océ-Technologies B.V. Venlo, The Netherlands © 2001
All rights reserved. No part of this work may be reproduced, copied, adapted,
or transmitted in any form or by any means without written permission from
Océ.
Océ-Technologies B.V. makes no representation or warranties with respect to
the contents hereof and specifically disclaims any implied warranties of
merchantability or fitness for any particular purpose.
Further, Océ-Technologies B.V. reserves the right to revise this publication and
to make changes from time to time in the content hereof without obligation to
notify any person of such revision or changes.
Code number 7114136
Edition 2.0 6/5/01
Océ-Technologies B.V.
GB
Trademarks
Products in this manual are referred to by their trade names.
In most, if not all cases, these designations are claimed as
trademarks or registered trademarks of their respective
companies.

Contents 3
Contents
Chapter 1
Introduction
How to use this manual 10
Printing with Océ CS 5090 12
Graphic reproductions 13
Choice of print mode 14
Ink cartridge preparation and alignment 14
Chapter 2
Getting started
Operate the CS 5090 16
Start up checklist 16
Locate the control panel 16
Choose menu functions 17
Set the language 17
Load media 18
Use the power media feed and take-up system 18
Load roll media 19
Use the take-up roll 19
Use the second feed roll 21
Load sheet media 22
Use the carriage 23
Move the carriage 23
Install cutter 24
Fill the ink reservoirs 25
Install ink cartridges 26
Cartridge sets 27
Inspect cartridges 28
Place cartridges 29
Prime the ink delivery lines 30
Run a colour test 35
Print the prime pattern 36
Cartridge recognition 38
Align cartridges 39
Paper axis calibration 39
Define calibration units 39

4 Océ 5090 User Manual
Colour deadband calibration 40
Cartridges calibration 41
Operate the printer 43
Chapter 3
Control panel
Main menu at a glance 46
Menu tree 47
Use the default settings 48
Save user options 50
Adjust the LCD contrast 51
Access printer information 52
Get cartridge information 52
Chapter 4
E-Connect
Prerequisites 54
Connection 55
Configuration 57
Configuration of the E-connect printserver 57
Chapter 5
Printing with HP-GL/2
Overview 60
Access the HP-GL/2 menu options 60
Select the palette 61
Set the ’Control’ function 62
Rotate a print 63
Make reprints 63
Ink reduction 64
Nesting 64
Apply the ink limit 65
Print an HP-GL/2 test file 66
Chapter 6
Handling ink and media
Choose paper options 68
Supply Type 68
Media standard 68

Contents 5
Rollfeed media: sizes and maximum printing areas 69
Sheet media: sizes and maximum printing areas 71
Set margins 73
Set auto-load delay 75
Select auto-cut 75
Select auto-cut delay 76
Delay status 76
Save media 77
Choose "feed media" options 78
Detect the "end of media" 78
Use the media counter 79
Ink 81
Refill ink reservoirs 81
Use the dryer 81
Select auto-wipe 83
Change ink types 83
Remove and store ink cartridges 84
Remove reservoirs 85
Install new cartridges 86
Refill ink cartridges 87
Purge ink delivery lines 89
Select ink preheat 89
Chapter 7
Quality
Choose a print mode 92
Select cartridge sets 94
Select quality modes 94
Select a colour mode 95
Select resolution (dpi) 95
Set print passes 96
Set carriage speed 96
Select the print direction 97
Chapter 8
Firmware downloads
Overall 100
Check the firmware version 101
Upgrade the firmware 102
Chapter 9

6 Océ 5090 User Manual
Maintenance and cleaning
Periodic cleaning 106
Materials to use for cleaning 107
Clean the ink cartridge jet plate 107
Clean the service station 108
Clean the Pinch Rollers and Lower Drive Rollers 110
Clean the slide shaft 111
Clean the encoder strip 112
Clean trailing cables 113
Clean flex cables 113
Clean carriage bushings 114
Clean platen vacuum holes 115
Maintain the Océ Prime tool 116
Transport the printer 116
Chapter 10
Error handling and troubleshooting
Error handling 118
Unrecognized cartridge 118
Check the quality of ink cartridges 119
Run the prime test 119
Compensate for electrically defective jets 121
Clear clogged jets 122
Compensate manually for clogged jets 123
Troubleshooting 125
Troubleshooting areas 125
Isolating problems 125
Printer behaviour 126
Print quality 131
Data transfer 136
Application software 139
Calling for assistance 140
Appendix A
Glossary
Appendix B
Safety information
General safety information 146
Radio interference (EMC) 146
Instructions for safe use 146

Contents 7
Safety data sheets 148
Appendix C
Miscellaneous
Notation conventions 150
Reader’s comment sheet 151
Addresses of local Océ organisations 153
Appendix D
Technical specifications
Océ CS 5090 printer specifications 156
Appendix E
Supplies
Caring for inks and media 160
Inks and ink cartridges 160
Caring for your media 161
Inks for Océ CS 5090 printers 162
Océ Standard Colour Inks accessory kits 162
Océ Standard Colour Inks replacement cartridges 162
Océ Standard Colour Inks litre kit 163
Océ Graphic Colour Inks accessory kit 164
Océ Graphic Colour Inks replacement cartridges 164
Océ Graphic Colour Inks litre kit 165
Océ Outdoor Inks accessory kits 166
Océ Outdoor Colour Inks replacement cartridges 166
Océ Outdoor Colour Ink litre kit 167
Media for Océ CS 5090 printers 168
Assortment 170
Miscellaneous Océ CS 5090 accessories 171
Warranty Inkjet Cartridges for Océ 5350-600, CS 5050/5070/5090 172
Priming 173
Causes of the most common problems 174
Return Shipments of defective cartridges 174
Index 175

8 Océ 5090 User Manual

9
Océ CS 5090
User Manual
Chapter 1
Introduction
The Océ CS 5090 are wide-format colour printers that give
professional quality output with all the brilliance and gloss
of liquid ink. The Océ CS 5090 printers reduce production
time while maintaining exceptional graphics quality.

10 Océ CS 5090 User Manual
How to use this manual
There are a number of notation conventions used in this manual. This
consistent style enables you to quickly become conversant with the use of this
manual and consequently the Océ CS 5090.
Description Each section or subsection contains a description of the feature or
operation identified in the title. It might also include possible applications, as
well as any guidelines that you should bear in mind.
Procedures A description is followed by a procedure. A procedure always
begins with a phrase which briefly describes the procedure, followed by a
series of numbered steps that take you, step by step, through all phases of
performing the operation.
Figures and tables Figures and tables are titled and numbered sequentially
throughout this manual. Figures include pictures of product components,
screendumps, examples, and diagrams of concepts discussed in the
description.
Videos Several pages of the manual include short Quick Time videos
illustrating some manipulations or procedures described in the manual. Those
videos are represented with a small screen displaying the first image of the
movie:
All you need to do is to click on the screen. A new page is displayed with the
video on the right and the text on the left. Click the image to launch the video.
If you want to stop the video before the end, click anywhere on the page.
When the video is finished, click ’Back’ to go back to the manual.
Attention getters There are several types of information to which we draw
your attention. This information is classified as follows:

Introduction 11
Note: In a ‘Note’, information is given about matters which ensure the proper
functioning of the machine or application, but useful advice concerning its
operation may also be given.
Attention: The information that follows ‘Attention’ is given to prevent
something (your copy or original, the copier or printer, data files etc.)
being damaged.
Caution: The information that follows ‘Caution’ is given to prevent you
suffering personal injury.

12 Océ CS 5090 User Manual
Printing with Océ CS 5090
The Océ CS 5090 wide format inkjet printers can reproduce graphics up to the
length of a roll of media. Large format colour printing combines the technical
sophistication of the Océ CS 5090 series with the unique qualities of Océ
proprietary inks and media (coated canvas, vinyl, film, paper, etc.)
The Océ CS 5090 printers are 8-cartridge printers, which means that you can
print either with the left four cartridges, the right four cartridges or all eight
cartridges.
With the CS5090 8-colours, you can choose between two different modes:
■The Productivity mode (two sets of cartridges using 4 colours, CMYK). It
offers a great improvement in terms of print speed and flexibility since you
can use different types of ink: Standard Colour in the four left cartridges and
Outdoor Colour in the four right, for instance.
■The Quality mode (one set of 8 different colours, CMYK CLMLCMMM1). It
offers a real improvement in the tonal gradation of your prints thanks to the
diluted colours, Light Cyan and Magenta, Medium Cyan and Magenta.
1. L: Light, M:Medium

Introduction 13
Graphic reproductions
The Océ CS 5090 addresses the following printing needs:
[1] Front view Océ CS 5090 printer
■ Posters ■ Signs ■ Fine art
■ Banners ■ Displays ■ Proofing
■ DTP ■ Imposition proofing ■ Textile design
■ Packaging prototypes ■ Point of purchase ■ Exhibits
2269

14 Océ CS 5090 User Manual
Choice of print mode
There are several modes of printing, which are compromises between image
quality and speed. When printing heavy renderings, maps, or art graphics,
choose one of the quality printing modes. Certain types of media also require
quality printing modes.
To select the appropriate printing mode for a specific print job, refer to ‘Set
print passes’ on page 96.
Ink cartridge preparation and alignment
Cartridge maintenance and alignment are key factors in printer performance,
which in turn affects colour accuracy and image quality. Use the following
recommendations to keep your cartridges in optimal working condition:
■Keep the printer service stations clean so that the heads stay clean.
■Use a loupe to evaluate the registration of test patterns to achieve the best
possible accuracy.
■Align and check cartridges to make sure all nozzles work properly.
■Re-align all cartridges when you adjust, move, or replace a cartridge, since
even small, one-pixel errors can affect both colour and image quality.

15
Océ CS 5090
User Manual
Chapter 2
Getting started
This section explains the initial setup procedure of the Océ
CS 5090:
■operate the printer
■load media
■use the carriage
■fill ink reservoirs
■install, prime, and calibrate ink cartridges

16 Océ CS 5090 User Manual
Operate the CS 5090
Before printing, make sure that you are familiar with the start-up checklist and
the main menu functions of the control panel.
Start up checklist
To start the CS 5090, check the following:
■The power cord is plugged into the electrical outlet.
■The printer connects to your computer using a parallel cable.
■Turn on the printer before attempting to print. When you switch on the
printer, carriage moves to the left and checks if there is media loaded. If it is
the case, media size is automatically determined.
Note: In Roll/Sheet mode, the leading edge of the media is detected.
Locate the control panel
You can locate the control panel on the right-hand side of the printer. It
includes seven buttons and a display indicating modes and settings, as
illustrated below. For a complete summary of all printer options, see ‘Main
menu at a glance’ on page 46.
[2] Océ CS 5090 control panel
2271
Load Media
Cut
Pause
Reset
Feed Media Menu
Set Up Menu
Utility Menu
!
!!
!Click for Video

Getting started 17
Choose menu functions
There are two types of menus:
■action menus provide a list of additional menus or immediate tasks to
perform.
■selection menus let you view and modify printer settings.
▼
▼▼
▼To select menu functions
1To select a function, press the button displayed next to the function.
The display lists options available for the selected function.
2Press the Next Option or Prev. Option buttons to display the selections.
3When the selection you want displays, press the button for that option and
press OK.
4Depending on the type of menu, you can return to the previous menu level by
pressing the OK or Exit button.
5Press Exit consecutively to return to the main menu.
6Press the Cancel button to restore the previous setting and exit the menu.
Set the language
The Océ CS 5090 can display menu items in English, German, French, Italian,
Portuguese, Korean, Japanese, and simplified and traditional Chinese.
▼
▼▼
▼To set a language
1Press Setup/User Setup/Language.
2Select the language you want.
3Press OK.

18 Océ CS 5090 User Manual
Load media
You can use either roll media or cut sheets. By default, the printer accepts roll
media. To ensure straight paper loading and avoid skewing, hold the media
parallel to the platen line. Use the load lines on the platen as a guide. The
printer has sensors which detect the presence of media and activate the feed
and take-up mechanisms.
The roll media core must have an inside diameter of 5 cm and a maximum
outside diameter of 15 cm. If your media has an inside diameter of 8 cm, use
the core adapter provided. If you want to store prints on the take-up roll, you
will need to have extra cores available.
Caution: The Océ CS 5090 printers (60” version) can use media up to 60"
(1,52 m) wide. The media roll can be heavy, so have someone help you to
load it. Before printing, check that you have a take-up roll core available
that is the same width as the media roll you are loading.
Attention: If your roll media has wrinkled or damaged edges, cut off the
damaged part of the roll prior to loading to prevent the media from
jamming in the printer. Load only media with a perfectly horizontal edge
into the printer. Take care that your fingerprints do not go on the printing
side of glossy media paper.
Use the power media feed and take-up system
The power media feed and take-up system facilitates long, unattended print
jobs by automatically unwinding and rewinding media as prints are generated.
It includes a feed roll, a take-up roll, and sensors which prevent media from
touching the floor.
When the unit is first turned on, the feeder may turn for a few seconds. If the
take-up turns, it indicates that the sensor is blocked. Clear anything blocking
the sensor before proceeding.

Getting started 19
Load roll media
▼
▼▼
▼To load roll media
1Slide the rolled media onto the media (upper) roller, orienting the paper as
shown.
2Slide the media guide into the roll core, and tighten the guide to secure the roll
by turning the knob clockwise.
3Standing behind the printer, insert the media's leading edge into the back of the
printer. The printer automatically detects the presence of the media and
forwards it.
4Press Load Media to move the media into printing position.
[3] Loading media
Use the take-up roll
The take-up roll facilitates unattended print jobs by automatically winding
printed media onto a core. In this mode, the automatic c.utter is disabled. When
using this option, be sure that the media sensor on the printer's right leg is not
blocked.
▼
▼▼
▼To install the take-up roll
1Install an empty core onto the take-up guides. Be sure that the core width
matches the width of the media you are using.
2Slide the roll guide onto the media core, and secure it by tightening the locking
mechanism. If you moved the sensor mounting bracket before loading the roll
media, be sure to return it to its normal position.
3Since media cores can be narrower than the media, position the media guide at
3 mm (1/8”) from the end of the core and lock it into place.
!
!!
!Click for Video
!
!!
!Click for Video

20 Océ CS 5090 User Manual
4Press Feed Media/Forward to advance enough media to allow its leading edge
to come to the center of the take-up roll.
[4] Locking the take-up roll
5Using at least three pieces of tape, attach the leading edge of the media to the
take-up roll at the left, right, and center of the core.
6As printing progresses, the media loops down to the front of the take-up core
until the sensor detects it on the printer stand leg. The take-up rolls then
activate to roll the media.
Note: Be sure not to block the sensor!
[5] Sensors on the printer stand
▼
▼▼
▼To set the take-up mode
1Press Setup /Paper Option, then Supply Type/Take-up.
2Press OK. This enables the take-up roll and disables the cutter.
2273f
Table of contents
Other Oce Printer manuals

Oce
Oce TDS700 User manual

Oce
Oce Arizona T220UV User manual

Oce
Oce Arizona 250 GT User manual

Oce
Oce Arizona 350 GT User manual

Oce
Oce TCS300 User manual

Oce
Oce fx2080 User manual

Oce
Oce VarioPrint 6000 MICR series User manual

Oce
Oce Arizona 550 GT User manual

Oce
Oce 5250 User manual

Oce
Oce CS9065 Installation and operation manual

Oce
Oce Arizona T220UV Operating instructions

Oce
Oce VarioLink 3550pd User manual

Oce
Oce VarioPrint 6160 User manual

Oce
Oce PlotWave 900 User manual

Oce
Oce Arizona 318 GL User manual

Oce
Oce CS9265 User manual

Oce
Oce Arizona T220 User manual

Oce
Oce CS2136 User manual

Oce
Oce 3121 Operating manual

Oce
Oce PlotWave 750 User manual