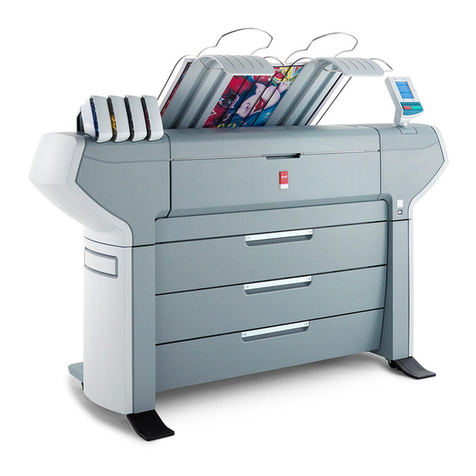
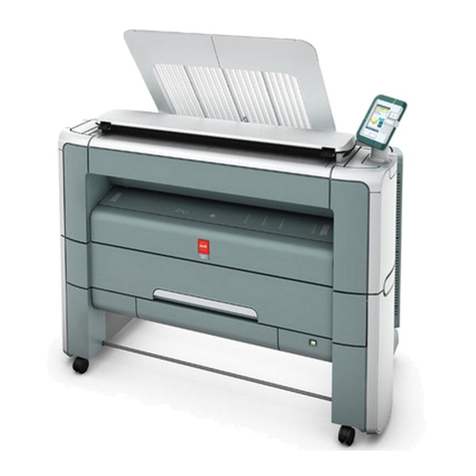
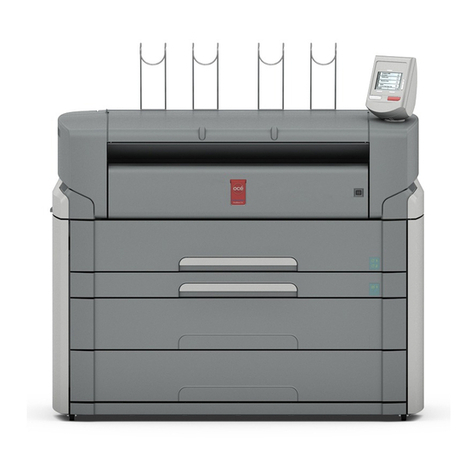
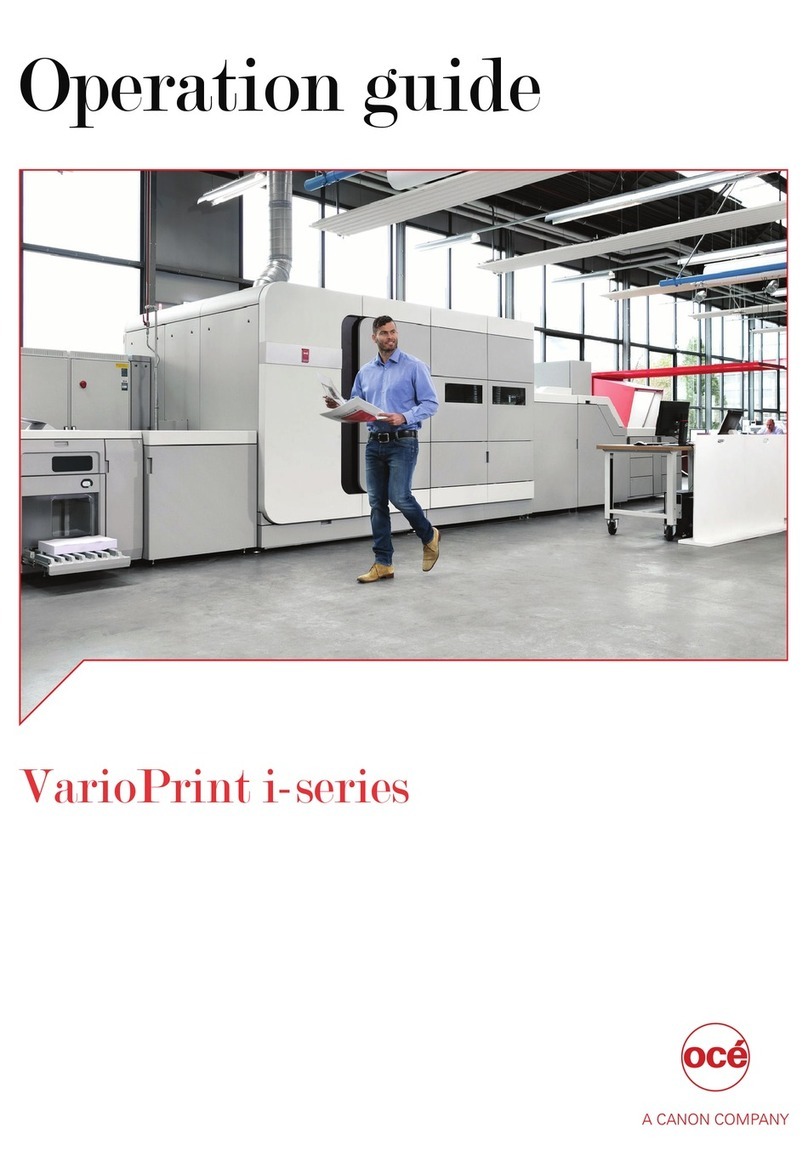
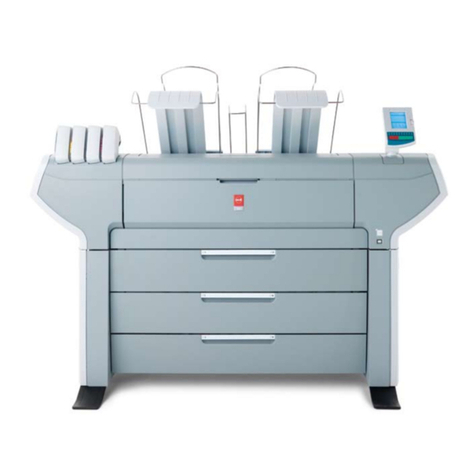
Oce Colorado 1640 User manual

Operation guide
Océ Colorado 1640

Copyright and Trademarks
Copyright
Copyright 2018 Océ.
Illustrations and specifications do not necessarily apply to products and services offered in each
local market. No part of this publication may be reproduced, copied, adapted or transmitted,
transcribed, stored in a retrieval system, or translated into any language or computer language in
any form or by any means, electronic, mechanical, optical, chemical, manual, or otherwise,
without the prior written permission of Océ.
OCÉ MAKES NO WARRANTY OF ANY KIND WITH REGARD TO THE CONTENTS OF THIS
PUBLICATION, EITHER EXPRESS OR IMPLIED, EXCEPT AS PROVIDED HEREIN, INCLUDING
WITHOUT LIMITATION, THEREOF, WARRANTIES AS TO MARKETABILITY, MERCHANTABILITY,
FITNESS FOR A PARTICULAR PURPOSE OF USE OR NON-INFRINGEMENT. OCÉ SHALL NOT BE
LIABLE FOR ANY DIRECT, INCIDENTAL, OR CONSEQUENTIAL DAMAGES OF ANY NATURE, OR
LOSSES OR EXPENSES RESULTING FROM THE USE OF THE CONTENTS OF THIS PUBLICATION.
Océ reserves the right to revise this publication and to make changes from time to time in the
content hereof without obligation to notify any person of such revision or changes.
Language
Original instructions that are in American English.
Trademarks
Océ, Océ Colorado, Océ UVgel are registered trademarks of Océ-Technologies B.V. Océ is a
Canon company.
Windows are trademarks or registered trademarks of Microsoft Corp. incorporated in the United
States and/or other countries.
All other trademarks are the property of their respective owners.
Edition 2018-03
Software version 1.2 US

Contents
Chapter 1
Introduction.........................................................................................................................7
About this guide .............................................................................................................................................. 8
About the users................................................................................................................................................ 9
About the Océ Colorado 1640....................................................................................................................... 10
Safe use...........................................................................................................................................................11
Notes for the reader....................................................................................................................................... 12
Available documentation...............................................................................................................................14
Chapter 2
Explore the system...........................................................................................................15
The components of the printer - media output side....................................................................................16
The components of the roll winder...............................................................................................................17
The components of the printer sides............................................................................................................18
The components of the printer - media input side...................................................................................... 19
The components of the media drawer......................................................................................................... 20
The components of the printer - top cover open.........................................................................................22
Chapter 3
Handle the media..............................................................................................................23
General workflow for using media............................................................................................................... 24
Configure media in the RIP............................................................................................................................25
Manage media profiles in Onyx..............................................................................................................25
Install a downloaded media profile in Onyx..........................................................................................26
Create a new media profile in Onyx.......................................................................................................28
Copy an existing media profile and edit it in Onyx...............................................................................31
Sync and delete media types in Onyx....................................................................................................34
Manage media profiles in Caldera..........................................................................................................36
Install a downloaded media profile in Caldera......................................................................................37
Create a new media profile in Caldera...................................................................................................40
Copy an existing media profile in Caldera and edit it...........................................................................45
Sync and delete media types in Caldera................................................................................................50
Choose a media category........................................................................................................................53
Change the media settings......................................................................................................................55
Select a print mode .................................................................................................................................61
Prepare media for printing............................................................................................................................ 62
Load a media roll (position 1)................................................................................................................. 62
Load a media roll (position 2)................................................................................................................. 69
Calibrate the media..................................................................................................................................74
Add a leading or trailing strip................................................................................................................. 75
Load a take-up roll core onto the roll winder........................................................................................ 76
Print with or without winding........................................................................................................................78
Winding options.......................................................................................................................................78
Print and wind without a tension bar.....................................................................................................79
Print and wind with a tension bar...........................................................................................................82
Print and wind with a locked tension bar ..............................................................................................86
Print without winding.............................................................................................................................. 90
Cut and unload media....................................................................................................................................92
Cut the media........................................................................................................................................... 92
Contents
3

Cut the media (manual)...........................................................................................................................94
Unload a take-up media roll from the roll winder.................................................................................96
Unload a media roll from the drawer.....................................................................................................99
Chapter 4
Print a job........................................................................................................................ 103
General workflow for printing a job............................................................................................................104
Print a job......................................................................................................................................................105
Perform actions on a submitted job........................................................................................................... 107
Status on the operator panel.......................................................................................................................108
Use the PRISMAsync Remote Control app................................................................................................ 109
Chapter 5
Maintain the system.......................................................................................................111
Maintain the printheads...............................................................................................................................112
Guidelines for printhead maintenance.................................................................................................112
Start automatic maintenance................................................................................................................114
Start manual maintenance....................................................................................................................115
Clean the maintenance station, wiper and clean wall........................................................................ 117
Clean the matrix plate............................................................................................................................121
Maintain the printer......................................................................................................................................126
Refill ink.................................................................................................................................................. 126
Replace the maintenance tray...............................................................................................................129
Replace the wiper...................................................................................................................................135
Replace the knife....................................................................................................................................138
Replace the filters (optional)................................................................................................................. 142
Replace the lubricators..........................................................................................................................145
Refill the chiller.......................................................................................................................................151
Vacuum the chiller................................................................................................................................. 155
Clean the ink unit................................................................................................................................... 158
List of Océ Colorado 1640 maintenance materials.................................................................................... 160
Chapter 6
Improve quality...............................................................................................................163
General workflow for improving quality.................................................................................................... 164
Print a printhead quality check chart.......................................................................................................... 165
Analyze the printhead quality check chart................................................................................................. 166
Calibrate the printhead................................................................................................................................ 167
Calibrate the printhead carriage..................................................................................................................168
Chapter 7
Configure the network and security settings.............................................................. 169
Configure the network................................................................................................................................. 170
Configure remote assistance.......................................................................................................................172
Open the settings editor.............................................................................................................................. 173
Log in as a System administrator .............................................................................................................. 174
Change the System administrator password.............................................................................................176
Configure a mail server for password recovery........................................................................................ 177
Troubleshoot the mail server configuration.............................................................................................. 179
Recover the System administrator password............................................................................................180
Security in the system..................................................................................................................................181
Certificates overview....................................................................................................................................182
Import a trusted certificate.......................................................................................................................... 183
Enable the use of HTTPS............................................................................................................................. 184
Troubleshoot the use of HTTPS.................................................................................................................. 186
Change the HTTPS security settings...........................................................................................................188
Install Windows updates..............................................................................................................................189
Contents
4

Configure PRISMAsync Remote Control.................................................................................................... 190
Test PRISMAsync Remote Control..............................................................................................................192
Manage users for PRISMAsync Remote Control....................................................................................... 194
Make a backup..............................................................................................................................................195
Restore a backup.......................................................................................................................................... 196
Enable system installation from USB......................................................................................................... 197
Chapter 8
Troubleshooting and support........................................................................................199
Tips and tricks...............................................................................................................................................200
General support............................................................................................................................................202
Change the regional settings................................................................................................................ 202
Set the energy save modes...................................................................................................................203
Download an account log file............................................................................................................... 204
Move the printer.....................................................................................................................................207
Turn the printer on and off....................................................................................................................208
General troubleshooting..............................................................................................................................209
Stop the printer...................................................................................................................................... 209
Restart the printer.................................................................................................................................. 210
Turn the printer on after a power cut...................................................................................................211
Remove media from the paper path.................................................................................................... 212
Cancel the replacement of a maintenance tray...................................................................................216
Solve specific quality problems.................................................................................................................. 217
Color banding.........................................................................................................................................217
Gloss banding........................................................................................................................................ 218
Banding at swath boundary .................................................................................................................220
Banding within swaths.......................................................................................................................... 222
Wrinkles in black.................................................................................................................................... 224
Graininess...............................................................................................................................................225
Unsharp lines and text...........................................................................................................................227
Fisheye....................................................................................................................................................229
Smudging............................................................................................................................................... 230
Adhesion.................................................................................................................................................231
Media touches........................................................................................................................................232
Solve specific media transport problems...................................................................................................233
Bulging media........................................................................................................................................ 233
Wrinkling media.....................................................................................................................................234
Waves in media......................................................................................................................................235
Curling media.........................................................................................................................................236
Drifting media.........................................................................................................................................238
Clean ink pollution on the printer............................................................................................................... 239
Guidelines for cleaning uncured ink.....................................................................................................239
Clean the media cover...........................................................................................................................240
Clean the platen..................................................................................................................................... 242
Clean the guide plate and replace the foams and roller assy............................................................ 244
Index.................................................................................................................................247
Contents
5

Contents
6

Chapter 1
Introduction

About this guide
Introduction
The guide addresses the Océ Colorado 1640 and is written for the printer operator.
It describes the complete workflow of the printer: from setup to the operation, maintenance and
troubleshooting of the machine.
Process Actions Reference
Before using the sys‐
tem
Components of the printer
Explore the system
on page 15
Daily use Use the RIP software
Configure media in the RIP
on
page 25
Load, wind, and cut media
Handle the media
on page 23
Print a job
Print a job
on page 105
Improve quality
Improve quality
on page 163
Maintenance Clean and maintain the print-
heads
Maintain the printheads
on page 112
Maintain the rest of the printer
Maintain the printer
on page 126
Network and security Network and security options
Configure the network and security
settings
on page 169
Troubleshooting Clear jams, stop the printer
General troubleshooting
on
page 209
Clean polluted parts
Clean ink pollution on the printer
on
page 239
Operator skill level
This guide describes safeguards for the protection of an instructed person. Instructed person is a
term applied to persons who have been instructed and trained by a skilled person, or who are
supervised by a skilled person, to identify energy sources that may cause pain and to take
precautions to avoid unintentional contact with or exposure to those energy sources.
About this guide
8Chapter 1 - Introduction

About the users
Introduction
There are various types of users who can use the Océ Colorado 1640 each with its own role in the
complete workflow.
The various roles can be filled in by the same person or by multiple people. This manual is
mainly written for the Printer operator.
Prepress operator
• Receives and prepares job
• Uses design suites and RIP front ends to prepare the specific jobs
• Delivers 'ready to print jobs' to the printer operator
Media specialist
• Creates media profiles for new media or applications
• Manages media types and media profiles
Printer operator
• Operates the RIP to process and print jobs
• Manages the jobs, such as pausing, resuming and deleting jobs, loading, winding and cutting
media etc.
• Operates the printer and takes care of the daily use
• Maintains the printer, such as cleaning the matrix plate, maintenance station, refilling ink etc.
System administrator
• Configures and manages the network
• Configures and manages the security settings
• Keeps the system up-to-date and secure
• Controls access
NOTE
This guide describes safeguards for the protection of an instructed person. Instructed person is a
term applied to persons who have been instructed and trained by a skilled person, or who are
supervised by a skilled person, to identify energy sources that may cause pain and to take
precautions to avoid unintentional contact with or exposure to those energy sources.
About the users
Chapter 1 - Introduction 9

About the Océ Colorado 1640
Introduction
The Océ Colorado 1640 is a 64 inch roll to roll production printer that uses a unique UV gel ink
technology.
About the Océ Colorado 1640
10 Chapter 1 - Introduction

Safe use
Introduction
When you operate the Océ Colorado 1640 you have to take note of the safety precautions and
follow the guidelines.
Safety documents
Before you operate the printer read the following documents and follow the instructions:
• The safety manual
• The MSDS - safety data sheets
For more information, see
Available documentation
on page 14.
Stickers
Take note of the safety and precaution stickers in and on the machine. You can find an
explanation of all the stickers in the safety manual.
Working with UVgel ink
The Océ Colorado 1640 UVgel ink needs to be handled with care. Follow the instructions in this
manual to work with ink safely and read all the warnings before you start the procedure. When
you have to clean ink protect yourself and follow the prescribed procedure. For more information,
see
Guidelines for cleaning uncured ink
on page 239.
Safe use
Chapter 1 - Introduction 11

Notes for the reader
Typography
This manual uses the following typography to indicate elements that are part of the user
interface.
Typography Indicates
[Text between square brackets] Name of a button, tile, setting, value, or other
option of the user interface
<Text between angle brackets> • Name of a key on a keyboard
• Name of a variable: item that varies accord-
ing to the context
Text displayed in courier font • File path
• Command Prompt comment
[Text] →[displayed in] →[menucascade] Names of options to be used in a fixed order
Safety symbols
Before you use this product, make sure you read and understand the safety information that
belongs to the product. Find the safety information on
"http://downloads.oce.com"
. Also be sure
to follow all warnings and instructions marked on the product.
This manual uses the following safety symbols to indicate hazards and precautions.
Symbol Type of symbol Indicates
WARNING Indicates a warning concerning operations that may lead to
death or injury to persons if not performed correctly. To use
the machine safely, always pay attention to these warnings.
CAUTION Indicates a caution concerning operations that may lead to in-
jury to persons if not performed correctly. To use the ma-
chine safely, always pay attention to these cautions.
This indication can concern hazards that have a specific CAU-
TION symbol. The 'hot surface', 'electric shock', 'moving
parts' and 'laser beam' cautions are listed below.
CAUTION Hot surface
Indicates a caution concerning operations that may lead to in-
jury to persons if not performed correctly. To use the ma-
chine safely, always pay attention to these cautions.
CAUTION Electric shock
Indicates a caution concerning operations that may lead to in-
jury to persons if not performed correctly. To use the ma-
chine safely, always pay attention to these cautions.
CAUTION Moving parts
Indicates a caution concerning operations that may lead to in-
jury to persons if not performed correctly. To use the ma-
chine safely, always pay attention to these cautions. 4
Notes for the reader
12 Chapter 1 - Introduction

Symbol Type of symbol Indicates
CAUTION Laser beam
Indicates a caution concerning operations that may lead to in-
jury to persons if not performed correctly. To use the ma-
chine safely, always pay attention to these cautions.
IMPORTANT Indicates an operational requirement or restriction. Read
these items carefully in order to prevent damage to equip-
ment, software, data, media, or property.
NOTE Indicates a clarification of an operation or contains additional
explanations for a procedure. Reading these notes is highly
recommended.
Body protection symbols
This manual uses the following body protection symbols to indicate that it is important to protect
yourself before performing a specific task or action.
Symbol Type of symbol Indicates
IMPORTANT Hand protection
Wear the mentioned type of gloves when you perform this
task or action.
IMPORTANT Eye protection
Use the mentioned type of eye protection when you perform
this task or action.
IMPORTANT Body protection
Wear the mentioned type of body protection when you per-
form this task or action.
IMPORTANT Foot protection
Wear the mentioned type of safety footwear when you per-
form this task or action.
Notes for the reader
Chapter 1 - Introduction 13

Available documentation
Introduction
This manual is part of a complete documentation set. The following table shows a complete
overview of the available documentation.
Available documentation
NOTE
For up-to-date documentation: visit the Océ downloads website
"http://downloads.oce.com"
,
select your printer and language, and find all the support information.
Documentation Available
Operation guide - User manual • On the downloads website under the prod-
uct name.
• Available as a PDF file in multiple languag-
es.
Online help • Embedded in the application via a weblink.
• Available in multiple languages.
Safety guide • On the downloads website under the prod-
uct name.
• Available as a PDF file in multiple languag-
es.
MSDS - Safety data sheet • On the downloads website under the prod-
uct name.
• Available as a PDF file.
Care and Use poster • On the downloads website under the prod-
uct name.
• Available as a PDF file.
Available documentation
14 Chapter 1 - Introduction

Chapter 2
Explore the system

The components of the printer - media output side
Introduction
From the media output side you can access the operator panel, access the roll winder, collect
your print, or replace the knife.
74 65321
Number Component
1 Knife compartment
2 Guide plate
3 Take-up media roll
4 Power switch
5 Roll winder
6 Operator panel
7 On/off button
The components of the printer - media output side
16 Chapter 2 - Explore the system

The components of the roll winder
Introduction
The roll winder is located on the media output side and can be used to wind the printed media.
21 3 4
Number Component
1 Power switch winder
2 Guide plate
3 Take-up media shaft
4 Tension bar
The components of the roll winder
Chapter 2 - Explore the system 17

The components of the printer sides
Introduction
On both printer sides you can perform maintenance actions.
Filter configuration (optional)
21 4
Exhaust configuration
23 4
Number Component
1 Filter fan (filter configuration)
2 Chiller
3 Exhaust (exhaust configuration)
4 Ink bottle
The components of the printer sides
18 Chapter 2 - Explore the system

The components of the printer - media input side
Introduction
From the media input side you can load media, open the top cover, get access to the
maintenance tray and printhead maintenance.
5 64321
Number Component
1 Manual maintenance door
2 Top cover
3 Media cover
4 Media drawer
5 Maintenance drawer
6 Maintenance tray
The components of the printer - media input side
Chapter 2 - Explore the system 19

The components of the media drawer
Introduction
You can open the media drawer on the media input side to load your media rolls.
1 2 3
Number Component
1 Roll loading station
2 Media roll (position 1)
3 Media roll (position 2)
1
2
3
Number Component
1 Locking mechanism 4
The components of the media drawer
20 Chapter 2 - Explore the system
Other manuals for Colorado 1640
1
Table of contents
Other Oce Printer manuals
Popular Printer manuals by other brands

Fujitsu
Fujitsu DL3300 user manual

Brother
Brother QL-570VM - B/W Direct Thermal Printer user guide

Printronix
Printronix T8000 Administrator's manual

Honeywell
Honeywell IMPACT IHR810 user manual

Epson
Epson U220B - TM Two-color Dot-matrix Printer Technical reference guide

Star Micronics
Star Micronics TSP100ECO Specifications