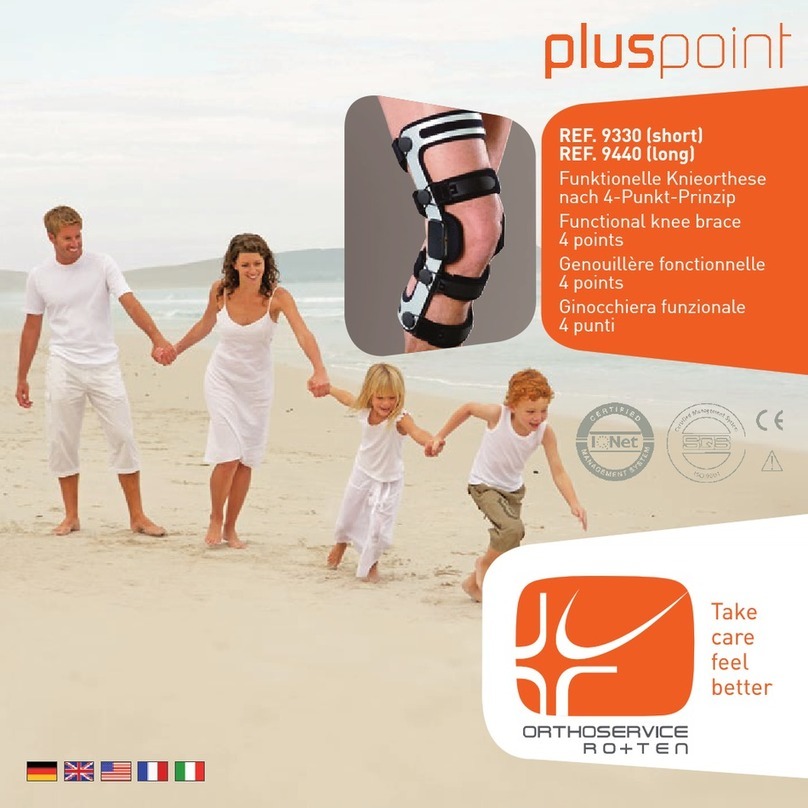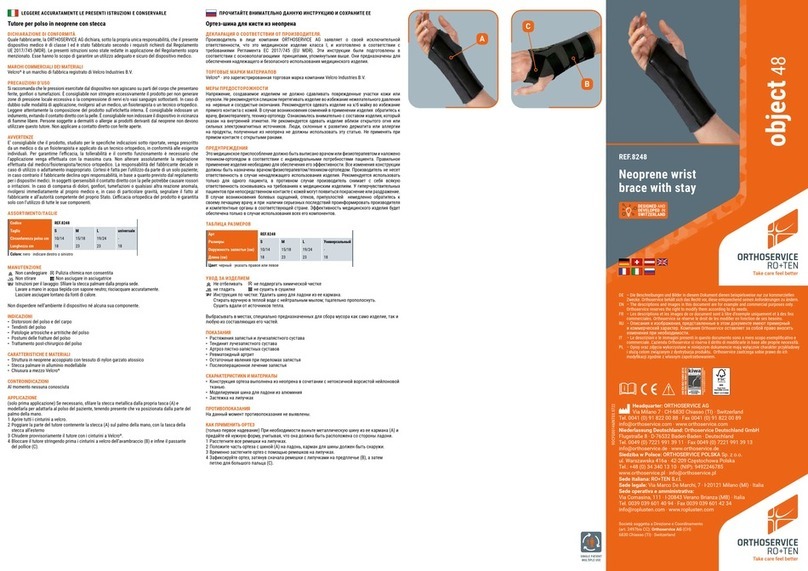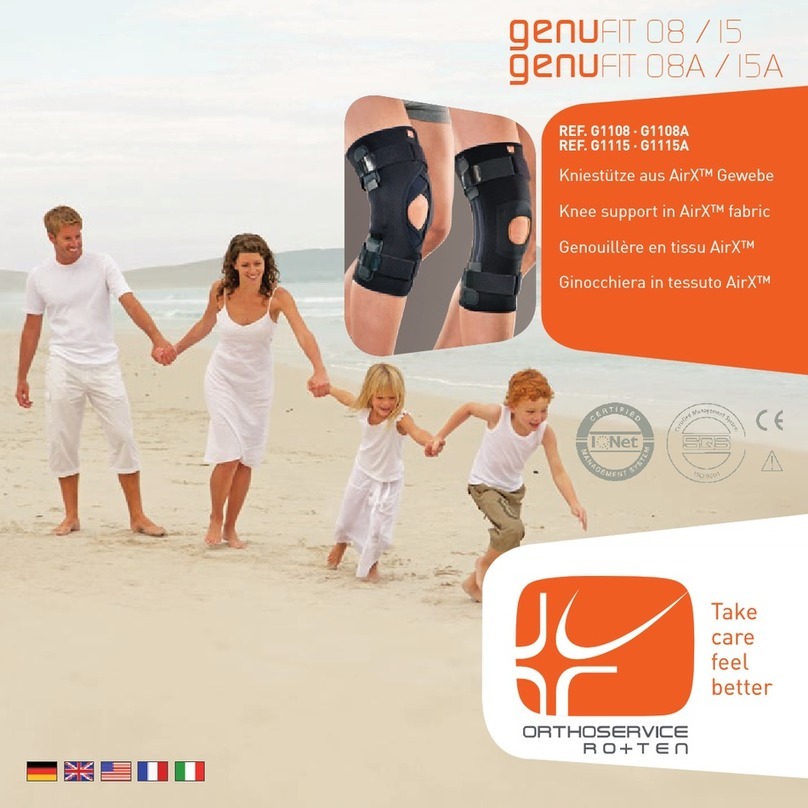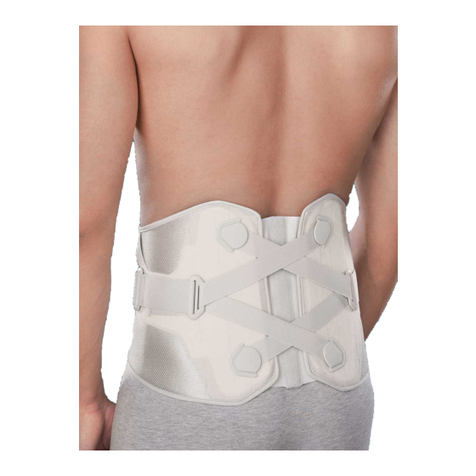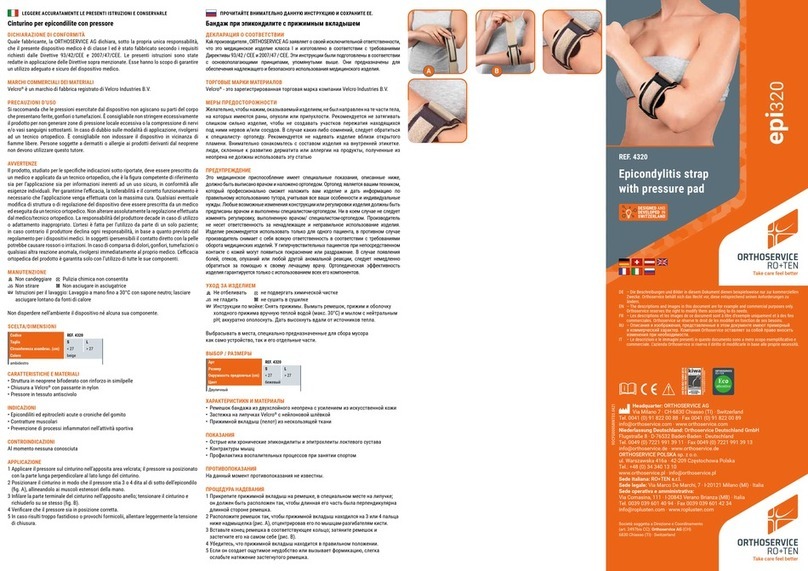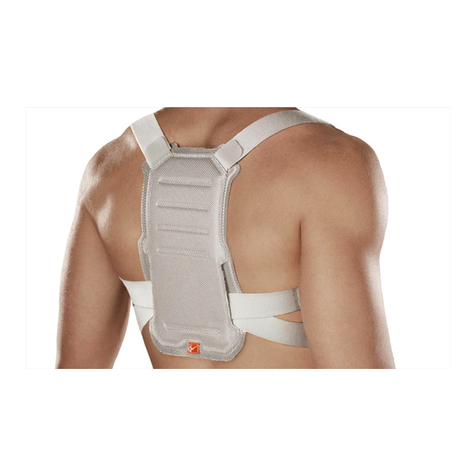
Rücken-Lenden-Orthese SAT
KONFORMITÄTSERKLÄRUNG
Die ORTHOSERVICE AG erklärt, in seiner Funktion als Hersteller, in alleiniger Verantwortung, dass dieses
vorliegende Medizinprodukt der Klasse I angehört und gemäß den Anforderungen der EU-Verordnung 2017/745
(MDR) hergestellt wurde. Die vorliegende Anleitung wurde unter Anwendung der vorgenannten Verordnung
erstellt. Sie dient dazu, den ordnungsgemäßen und sicheren Gebrauch des Medizinprodukts zu gewährleisten.
WARENMARKEN DER MATERIALIEN
Velcro®ist eine eingetragene Warenmarke von Velcro Industries B.V.
VORSICHTSMASSNAHMEN FÜR DIE ANWENDUNG
Es wird empfohlen, dass der vom Produkt ausgeübte Druck nicht auf die Teile des Körpers einwirkt,
die Verletzungen, Schwellungen oder Tumeszenzen aufweisen. Es ist ratsam, das Produkt nicht zu
fest anzuziehen, um keine übermäßigen, lokalen Druckstellen zu erzeugen und keine Kompression
der darunterliegenden Nerven und/oder Blutgefäße auszulösen. Es ist ratsam, ein Kleidungsstück
zu tragen, das den direkten Kontakt mit der Haut vermeidet. Bei Bedenken zur Anwendung des
Produkts bitte an einen Arzt, Physiotherapeuten oder Orthopädietechniker wenden. Bitte sorgfältig
das Innenetikett mit der Material-Zusammensetzung des Produkts lesen. Es ist ratsam, das
Produkt nicht in der Nähe von offenen Flammen oder starken elektromagnetischen Feldern zu
tragen. Nicht bei direktem Kontakt mit offenen Wunden auftragen.
ANWENDUNGSHINWEISE
Es ist ratsam, dass das Produkt, das für die unten aufgeführten spezischen Indikationen bestimmt ist,
von einem Arzt oder Physiotherapeuten verschrieben und von einem Orthopädietechniker entsprechend
den individuellen Bedürfnissen angepasst wird. Um die Wirksamkeit, Verträglichkeit und korrekte
Funktionalität zu gewährleisten, muss die Applikation mit größter Sorgfalt durchgeführt werden.
Keinesfalls darf die vom Arzt/Physiotherapeuten/Orthopädietechniker vorgenommene Einstellung
verändert werden. Bei nicht bestimmungsgemäßer Anwendung oder Einstellung erlischt die Haftung
des Herstellers. Die Orthese ist nur für den Gebrauch durch einen einzigen Patienten bestimmt,
andernfalls übernimmt der Hersteller keine Haftung gemäß der Verordnung für Medizinprodukte. Bei
überempndlichen Personen kann es bei direktem Hautkontakt zu Rötungen oder Reizungen kommen.
Bei Auftreten von Schmerzen, Schwellungen, Tumeszenzen oder anderen anormalen Reaktionen
bitte sofort an den eigenen Arzt wenden und, in besonders schwerwiegenden Fällen, die Tatsache
dem Hersteller und der zuständige Behörde in eigenen Land melden. Die orthopädische Wirksamkeit
des Produktes ist nur dann gewährleistet, wenn alle seine Komponenten verwendet werden.
AUSWAHL/GRÖSSEN
PFLEGE
Nicht bleichen Keine chemische Reinigung
Nicht bügeln Nicht im Trockner trocknen
Waschanweisung: Handwäsche bis 30° C mit neutraler Seife, nicht in der Nähe von
Wärmequellen trocknen.
Das Produkt und seine Bestandteile nach dem Gebrauch sachgerecht entsorgen.
INDIKATIONEN
• Folgebeschwerden von dorsal-lumbalen Frakturen
• Osteomalazie mit Frakturen
• Durch Osteoporose bedingte dorsal-lumbale Wirbelsinterung
• Wirbelsinterung durch sekundäre lokale Metastasen
• Spondylitis
• Spondylodiszitis
• Krummer Rücken und dorsale Hyperkyphosis
KONTRAINDIKATIONEN
Zur Zeit keine bekannt
EIGENSCHAFTEN
• Orthese aus atmungsaktivem, halbstarrem Gewebe (3% Elastan)
• Hinteres Gestell aus Aluminiumlegierung (herausnehmbar)
• Fixierung mit breiten elastischen Bandagen für gezielten Druck und optimale Stabilisierung des
Lendenbereichs
• Schultergurte /verstellbar) mit beweglichen Polstern
• Starre, feste Gurte um das Becken
• Vorderer Klettverschluss
ERSTMALIGES ANLEGEN DURCH DEN ARZT/ORTHOPÄDIETECHNIKER
1 Bei Bedarf die mit Klettband xierten Taschen hinten unten öffnen, das Metallgestell aus dem
Gewebe des Orthese ziehen (Abb. A), entsprechend formen und wieder einstecken.
2 Orthese öffnen und die Klettverschlüsse der elastischen Gurte an den seitlichen Bandagen
provisorisch verschliessen (Abb. B). Die Enden der Schulterriemen an den entsprechenden
Stellen mit Klettband an der Beckenbandage xieren (Abb. C).
3 Die Arme durch die Schulterriemen stecken (Abb. D).
4 Orthese schliessen, indem der Daumen in die entsprechende Öffnung gesteckt wird, gut mit
dem mittleren Klettband xieren (Abb. E). Sicherstellen, dass der vordere Verschluss genau
mittig liegt.
5 Die Klettverschlüsse an der vorderen elastischen Bandage xieren und das Orthese spannen
(Abb. F).
6 Dann den Beckengurt durch den entsprechenden Ring ziehen, spannen und verschliessen (Abb. G).
7 Die Länge der Schulterriemen mit den Schnallen justieren (Abb. H) und die Schutzriemen für
Schultern und Achseln positionieren (Abb. I).
8 Die Enden der Schulterriemen nach aussen ziehen (Abb. L) und mit dem Klettband vorne
verschliessen.
ANLEGE FÜR DEN PATIENTEN
1 Das Orthese öffnen und die Klettbänder der elastischen Gurte an den seitlichen Bandagen
provisorisch befestigen (Abb. M). Die Enden der Schulterriemen an den entsprechenden Stellen
mit Klettband an der Beckenbandage xieren (Abb. N).
2 Die Arme durch die Schulterriemen stecken (Abb. O).
3 Orthese schliessen, indem der Daumen in die entsprechende Öffnung gesteckt wird, gut mit
dem mittleren Klettband xieren (Abb. P). Sicherstellen, dass der vordere Verschluss genau
mittig liegt.
4 Die Klettverschlüsse an der vorderen elastischen Bandage xieren und das Orthese spannen
(Abb. Q).
5 Dann den Beckengurt durch den entsprechenden Ring ziehen, spannen und verschliessen (Abb. R).
6 Die Enden der Schulterriemen nach aussen ziehen (Abb. S) und mit dem Klettband vorne
verschliessen.
Dorso-lumbar brace with SAT orthosis
DECLARATION OF CONFORMITY
As the manufacturer, ORTHOSERVICE AG declares, under its sole responsibility, that this is a
class I medical device that has been manufactured and assessed, according to the EU Regulation
2017/745 (MDR). These instructions have been drawn up in application of the aforementioned
Regulation. They are intended to ensure an adequate and safe use of the medcal device.
TRADEMARKS OF MATERIALS
Velcro®is a registered trademark of Velcro Industries B.V.
SAFETY PRECAUTIONS
We recommend that the pressure exerted by the device does not act on parts of the body with
wounds, swelling, or welts. It is advisable to not over tighten the device so as to avoid generating
areas of excessive local pressure or the compression of underlying nerves and/or blood vessels.
Furthermore, we recommend wearing a garment to avoid direct contact with the skin. If in doubt
on how to apply the device, contact a doctor, physiotherapist, or an orthopedic technician. Read
the product composition on the internal label carefully. We recommend to not wear the device in
the proximity of free ames or strong electromagneticelds. Do not apply in direct contact with
open wounds.
WARNINGS
It is advisable that the device, designed for the specic indications as set out below, be prescribed
by a doctor or a physiotherapist and applied by an orthopedic technician, according to the specic
needs of the patient. To ensure effectiveness, tolerability, and proper functioning, the application
must be carried out with the utmost care. Never alter the adjustment made by the doctor/
physiotherapist/ or orthopedic technician. The responsibilities of the manufacturer shall lapse
in case of inappropriate use or adaptation. The orthosis is made and to be used by only one
patient. Should the orthosis be inappropriately used, the manufacturer declines all responsibility,
as provided by the regulation for medical devices.In hypersensitive individuals, direct contact with
the skin may cause redness and irritation. In case of pain, swelling, welts, or any other adverse
reaction, contact your doctor immediately, and in case of a particularly severe adverse event,
report the incident to the manufacturer and the competent authority of your country.
The effectiveness of the orthopedic product is only guaranteed when all the components are
properly in use.
SELECTION/SIZE
MAINTENANCE
Do not bleach No chemical cleaning
Do not iron Do not tumble-dry
Washing instructions: hand wash at max. 30° C with neutral soap (a sponge is
recommended); do not dry in the vicinity of heat sources.
Do not dispose of the product or any of its components into the environment.
INDICATIONS
• Recovery from fractures of the dorso-lumbar spine
• Osteomalacia
• Dorso-lumbar vertebrae compression fractures caused by osteoporosis
• Vertebral compression fractures caused by metastases
• Spondylitis
• Spondylodiscitis
• Roundback and hyperkyphosis
CONTRAINDICATIONS
Currently no known
CHARACTERISTICS AND MATERIALS
• A semi-rigid breathable fabric orthosis (3% elastane).
• Aluminium alloy back frame (removable).
• The traction system with wide elasticated straps provides targeted pressure and optimal
stabilisation of the lumbar spine.
• The shoulder straps are adjustable and have moveable padding.
• A rigid pelvic band with non-stretch straps.
• Front Velcro®fastening.
PUTTING ON THE APPLIANCE ADAPTING FOR THE DOCTOR/TECHNICIAN
1 If necessary, open the lower Velcro®pocket at the back and remove the metal frame from the
fabric orthosis (g. A). Mould the fame to the desired shape and slide it back into the orthosis.
2 Undo the orthosis and attach the Velcro®straps of the elastic straps to the side strips for the
time being (g. B). Attach the ends of the shoulder straps to the Velcro®areas provided on the
pelvic band (g. C).
3 Slide the arms through the shoulders straps and put on the orthosis (g. D).
4 Close the orthosis by inserting a thumb in the loop and securely fastening the central Velcro®
fastener (g. E). Check that the front fastening is properly centred.
5 Start to tighten the orthosis by fastening the Velcro®on the elastic straps to the Velcro®strip
at the front (g. F).
6 Next pass the belt of the pelvic band through the ring provided, pull it tight and fasten it back
on itself (g. G).
7 Adjust the length of shoulder straps using the loops provided (g. H). Position the shoulder
straps so they protect the shoulders and armpits (g. I).
8 Fasten the ends of the shoulder straps by pulling them outwards (g. L) and then fastening
them with Velcro®to the front.
PUTTING ON THE APPLIANCE FOR THE PATIENT
1 Undo the orthosis and attach the Velcro®straps of the elastic straps to the side strips for the
time being (g. M). Attach the ends of the shoulder straps to the Velcro®areas provided on the
pelvic band (g. N).
2 Slide the arms through the shoulders straps and put on the orthosis (g. O).
3 Close the orthosis by inserting a thumb in the loop and securely fastening the central Velcro®
fastener (g. P). Check that the front fastening is properly centred.
4 Start to tighten the orthosis by fastening the Velcro®on the elastic straps to the Velcro®strip
at the front (g. Q).
5 Next pass the belt of the pelvic band through the ring provided, pull it tight and fasten it back
on itself (g. R).
6 Fasten the ends of the shoulder straps by pulling them outwards (g. S) and then fastening
them with Velcro®to the front.
Orthèse dorso-lombaire avec SAT
DÉCLARATION DE CONFORMITÉ
En qualité de fabricant, ORTHOSERVICE AG déclare sous sa responsabilité exclusive que ce
produit est un dispositif médical de Classe I et qu’il a été réalisé conformément aux conditions
requises par le Règlement UE 2017/745 (MDR). Ces instructions ont été rédigées en accord avec
ledit règlement et ont pour but de garantir l’utilisation correcte et sûre du dispositif médical.
MARQUES DES MATÉRIAUX
Velcro® est une marque déposée de l’entreprise Velcro Industries B.V.
PRÉCAUTIONS D’UTILISATION
Veiller à ce que la pression exercée par le dispositif n’agisse pas sur les parties du corps présentant
des lésions, enures ou tuméfactions. Il est conseillé de ne pas trop serrer le produit, an de ne
générer aucune zone de pression locale excessive et d’éviter la compression des nerfs et/ou des
vaisseaux sanguins. Il est préférable de porter l’orthèse sur un vêtement, en évitant le contact direct
avec la peau. En cas de doute sur les modes d’application, contacter un médecin, un kinésithérapeute
ou un technicien orthopédiste. Lire attentivement la composition du produit sur l’étiquette située
à l’intérieur. Il est recommandé de ne pas porter le dispositif à proximité de ammes nues ou de
champs électromagnétiques puissants. Ne pas appliquer en contact direct avec des plaies ouvertes.
AVERTISSEMENTS
Le produit étant spéciquement conçu pour les indications reportées ci-dessous, il est conseillé
de l’utiliser sur prescription d’un médecin ou d’un kinésithérapeute et de le faire appliquer par un
technicien orthopédiste, conformément aux exigences individuelles. An de garantir son ecacité,
sa capacité à être toléré et son bon fonctionnement, le produit doit absolument être appliqué avec
le plus grand soin. Ne modier en aucun cas le réglage effectué par le médecin/kinésithérapeute/
technicien orthopédiste. En cas d’utilisation ou d’adaptation inappropriée, le fabricant ne sera pas
tenu responsable. L’utilisation de l’orthèse est prévue pour un seul patient à la fois; dans le cas
contraire, le fabricant décline toute responsabilité, conformément aux dispositions du règlement
relatif aux dispositifs médicaux. Pour les sujets hypersensibles, le contact direct avec la peau pourrait
causer des rougeurs ou des irritations. En cas d’apparition de douleurs, enures, tuméfactions ou
en cas de toute autre réaction anormale, s’adresser immédiatement à son médecin et, en cas de
problème particulièrement grave, signaler le fait au fabricant et à l’autorité compétente de son pays.
L’ecacité orthopédique du produit n’est garantie que lorsqu’il est utilisé avec tous ses composants.
SÉLECTION/TAILLES
ENTRETIEN
Ne pas blanchir Pas de nettoyage chimique
Ne pas repasser Ne pas sécher en séchoir
Instructions de lavage: lavage à la main jusqu’à 30° C avec du savon neutre.
Laisser sécher loin de toute source de chaleur.
L’orthèse et ses composants doivent être éliminés en respectant les normes
environnementales.
INDICATIONS
• Résultats de fractures dorso-lombaires
• Fractures dues à des problèmes d’ostéomalacie
• Tassements vertébraux dorso-lombaires sur base ostéoporotique
• Tassements vertébraux provenant de localisations métastatiques secondaires
• Spondylites
• Spondylodiscites
• Dos courbé et hypercyphose dorsale
CARACTÉRISTIQUES ET MATÉRIAUX
• Structure du orthèse en tissu respirant semi-rigide (3% élasthanne)
• Cadre postérieur en alliage d’aluminium (extractible)
• Système de traction à larges bandes élastiques, pour une pression ciblée et une stabilisation
optimale des lombaires
• Bandoulières constituées de tendeurs (réglables) avec doublure mobile
• Prise rigide au niveau du bassin avec sangles anélastiques de xation
• Fermeture antérieure en Velcro®
CONTRE-INDICATIONS
Aucune connue à ce jour
ENFILAGE ADAPTATION POUR LE MÉDECIN / L’ORTHOPÉDISTE - ORTHÉSISTE
1 Si nécessaire, ouvrir la poche postérieure Velcro® du bas et retirer le cadre métallique du
orthèse en toile (g. A). Modeler le cadre selon les exigences et le réinsérer dans le orthèse.
2 Ouvrir le orthèse et xer provisoirement les bandes Velcro® des tendeurs élastiques sur les
bandes latérales (g. B). Fixer les extrémités des bandoulières dans les zones Velcro®de la
prise du bassin (g. C).
3 Enler le orthèse en passant les bras dans les bandoulières (g. D).
4 Fermer le orthèse en insérant le pouce dans la boucle et xer correctement avec la fermeture
Velcro® centrale (g. E). S’assurer que la fermeture antérieure est bien centrée.
5 Serrer le orthèse en accrochant les bandes Velcro® des tendeurs élastiques sur la bande
Velcro® antérieure (g. F).
6 Enler ensuite la sangle de la prise du bassin dans l’anneau prévu à cet effet, la tendre et la
refermer sur elle-même (g. G).
7 Régler la longueur des bandoulières grâce aux passants prévus à cet effet (g. H) et
positionner les épaulettes an de protéger les épaules et les aisselles (g. I).
8 Fermer les extrémités des bandoulières en les tendant vers l’extérieur (g. L) puis en les
xant avec le Velcro® sur la fermeture antérieure.
ENFILAGE POUR LE PATIENT
1 Ouvrir le orthèse et xer provisoirement les bandes Velcro® des tendeurs élastiques sur les
bandes latérales (g. M). Fixer les extrémités des bandoulières dans les zones Velcro®de la
prise du bassin (g. N).
2 Enler le orthèse en passant les bras dans les bandoulières (g. O).
3 Fermer le orthèse en insérant le pouce dans la boucle et xer correctement avec la fermeture
Velcro® centrale (g. P). S’assurer que la fermeture antérieure est bien centrée.
4 Serrer le orthèse en accrochant les bandes Velcro® des tendeurs élastiques sur la bande
Velcro® antérieure (g. Q).
5 Enler ensuite la sangle de la prise du bassin dans l’anneau prévu à cet effet, la tendre et la
refermer sur elle-même (g. R).
6 Fermer les extrémités des bandoulières en les tendant vers l’extérieur (g. S) puis en les
xant avec le Velcro® sur la fermeture antérieure.
BITTE DIE VORLIEGENDE ANLEITUNG SORGFÄLTIG LESEN UND AUFBEWAHREN PLEASE READ THESE INSTRUCTIONS CAREFULLY AND KEEP THEM LIRE ATTENTIVEMENT CES INSTRUCTIONS ET LES CONSERVE
Artikelnummer REF.2709
Größen XS S M L XL XXL
Beckenumfang cm
70/80 80/90 90/100 100/110 110/120 120/130
Rückenhöhe cm 40
40 45 45 50 50
Farbe beige
Code REF.2709
Size XS S M L XL XXL
Pelvis circumference cm
70/80 80/90 90/100 100/110 110/120 120/130
Height at back cm 40
40 45 45 50 50
Colour beige
Code REF.2709
Mesure XS S M L XL XXL
Tour de bassin cm
70/80 80/90 90/100 100/110 110/120 120/130
Hauteur partie postérieure cm 40
40 45 45 50 50
Couleur beige
SINGLE PATIENT
MULTIPLE USE
1
B
E
H
M
S
P
D
A
G
L
R
O
C
F
I
N
Q
