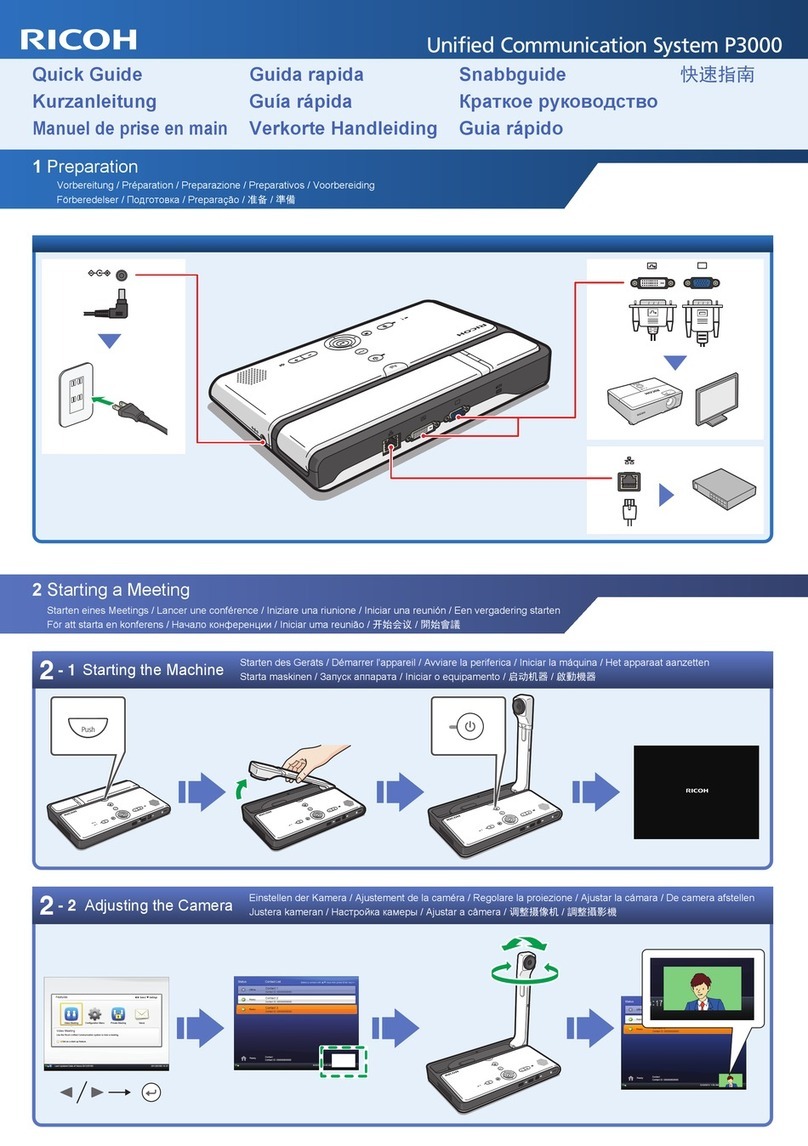
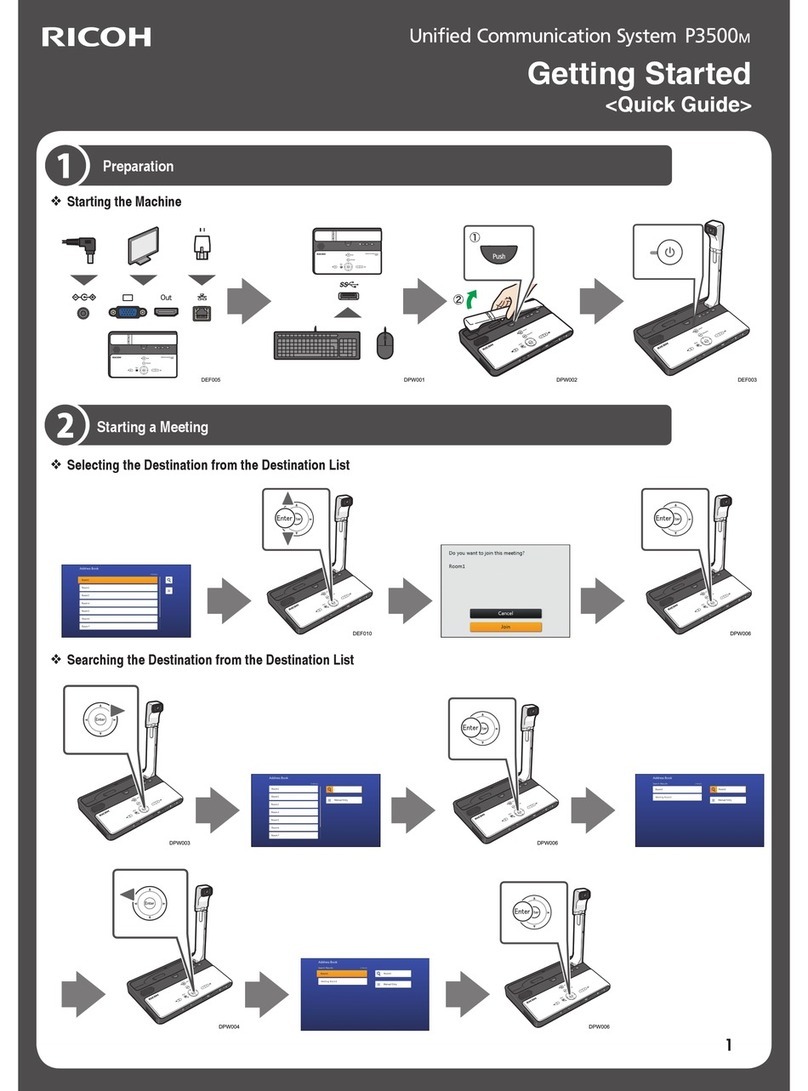
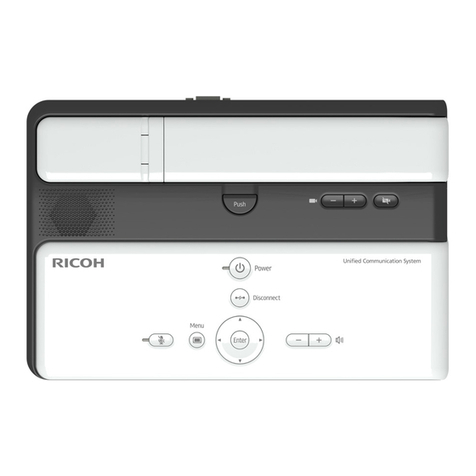
Ricoh G5000H User manual

1
Operating Instructions
Read this manual carefully before you use this service and keep it handy for future reference.
About This Book
This book describes how to use the Video Conference Gateway function to connect to meeting systems other than the RICOH
Unified Communication System.
The procedure for using this function depends on the device you are using. For details about how to use this
function, see the "Device Reference" (PDF file) and "Features Reference" (PDF file) for your device. The latest
"Device Reference" and "Features Reference" can be downloaded from the RICOH home page.
Adobe®Reader®must be installed in order to view the manuals as PDF files.
About the Video Conference Gateway Function
The Video Conference Gateway function uses a dedicated gateway server to connect a terminal or multi-point communica-
tion unit (MCU) in a meeting system that supports H.323 or SIP.
You can start a meeting by entering the destination address you want to call, or by registering the destination address
and name to the destination list before making a call. We recommend that you register destinations you often call to the
destination list.
Your device can only call the destination device. It cannot receive calls from another meeting system.
When using the Video Conference Gateway function, the device cannot receive calls from another contact in
the RICOH Unified Communication System.
The destination addresses and names registered in the destination list are stored in the memory of your device.
•
•
•
•
•
TO THE MAXIMUM EXTENT PERMITTED BY APPLICABLE LAW:
THE SUPPLIER SHALL NOT BE LIABLE FOR THE RESULT OF OPERATION OF THIS SOFTWARE OR THE USE OF THIS
DOCUMENT.
THE SUPPLIER SHALL NOT BE LIABLE TO YOU FOR ANY CONSEQUENTIAL, INCIDENTAL OR INDIRECT DAMAGES
(INCLUDING, BUT NOT LIMITED TO, DAMAGES FOR LOSS OF PROFITS, BUSINESS INTERRUPTION OR LOSS OF
BUSINESS INFORMATION, AND THE LIKE) CAUSED BY FAILURE OF THIS SOFTWARE OR LOSS OF DOCUMENTS OR
DATA, NOR FOR ANY OTHER DAMAGES ARISING OUT OF THE USE OF THIS SOFTWARE, IF THE SUPPLIER HAS BEEN
ADVISED OF THE POSSIBILITY OF SUCH DAMAGES.
Some illustrations or explanations in this guide may differ from your product due to improvement or change in the product.
The contents of this document are subject to change without notice.
No part of this document may be duplicated, replicated, reproduced in any form, modified or quoted without prior consent of the
supplier.
•
•
•
•
•
•

2
C o n firming the Destination Address to Connect
Confirm the destination address before making a call.
The destination address depends on the environment and settings of the destination.
Check the environment and settings of the destination, and then check the information below. Select the information that
matches the environment and settings of the destination.
You can only use a destination address that is 36 alphanumeric characters or less.
When using H.323
IP address of the destination device
Fully Qualified Domain Name (FQDN) of the destination device
IP address and the meeting ID of the MCU
Fully Qualified Domain Name (FQDN) and meeting ID of the MCU
When using SIP
IP address and device name of the destination device
IP address and the meeting ID of the MCU
Displaying the Video Conference Gateway Screen
1. Turn on your device.
The Features screen is displayed.
2. Press the cursor keys to select [Video Conference Gateway], and then press the [Enter] key.
When the Video Conference Gateway screen appears, the device status is indicated as "Offline" on the screens of
the other RICOH Unified Communication System contacts.
Video Conference Gateway screen
1
2
DCD002
1. Connect Without Registering Destination
Directly enter the destination address to call.
2. Destination list
Register destination addresses and names.
You can call any of the destination addresses you have registered.
You can also edit and delete the registered destination addresses and names.
•
•
•
•
•
•
•
•

3
Directly Entering the Destination to Call
1. Press the cursor keys to select [Connect Without Registering Destination], and then press the
[Enter] key.
2. Enter the destination address.
Enter the destination address you confirmed in page 2 “Confirming the Destination Address to Connect”.
For details about how to enter the destination address, see “Entering Characters", Features Reference.
The following table lists examples of entering the destination address for each of the cases above:
When using H.323
Destina-
tion Input format Input example
Information of the destination Input
Device
<IP address> IP address: 192.168.1.2 192.168.1.2
<FQDN> FQDN: mydomain.com mydomain.com
MCU *1
<IP address>,<Meeting ID> IP address: 192.168.1.2
Meeting ID: 2001 192.168.1.2,2001
<FQDN>,<Meeting ID> FQDN: mydomain.com
Meeting ID: 2001 mydomain.com,2001
*1 A comma (,) must be entered between the IP address / FQDN and the meeting ID.
When using SIP*1
Destina-
tion Input format Input example
Information of the destination Input
Device <Device name>@<IP address> Device name: ricoh
IP address: 192.168.1.2 ricoh@192.168.1.2
MCU <Meeting ID>@<IP address> Meeting ID: 9001
IP address: 192.168.1.2 9001@192.168.1.2
*1 The device name can be omitted. In this case, only "@<IP address>" is entered.
3. Press the cursor keys to select [Connect], and then press the [Enter] key.
A call is made to the destination. When the destination answers the call, the meeting starts.

4
The entered destination address is held until the system returns to the Features screen.
Registering the Destination before Making a Call
1. Press the cursor keys to select [Connect and Register Destination], and then press the [Enter]
key.
2. Enter the destination address.
Enter the destination address you confirmed in page 2 “Confirming the Destination Address to Con-
nect”.
For details about how to enter the destination address, see "Entering Characters", Features Reference.
An example of how to enter the destination address is given in Step 2 of "Directly Entering the Destina-
tion to Call".
3. After you enter the destination address, press the cursor keys to select [ ], and then press
the [Enter] key.
The cursor moves to [Destination Name].
When you select [ ] or [ ] at the beginning or end of the character string you have just entered, and
then press the [Enter] key, the cursor moves to the previous or next [Destination Name].
4. Enter the destination name as needed.
Enter the destination name. The destination name can be no more than 64 alphanumeric characters.
•

5
5. Press the cursor keys to select [Connect], and then press the [Enter] key.
The entered destination address is registered and the destination is called immediately.
When the destination answers the call, the meeting starts.
To enter the destination address without making a call, press the cursor keys to select [Register], and
then press the [Enter] key.
Calling a Registered Destination
1.
Press the cursor keys to select the destination you want to call, and then press the [Enter] key.
2. Press the cursor keys to select [Connect], and then press the [Enter] key.
A call is made to the destination. When the destination answers the call, the meeting starts.
Editing or Deleting a Registered Destination
1. Press the cursor keys to select the destination whose information you want to edit or delete,
and then press the [Enter] key.
2. Edit or delete the registered destination address or name.
For details about how to enter data to change the destination address or name, see "Entering Charac-
ters", Features Reference.
To delete the destination, use the cursor keys to select [Clear All], and then press the [Enter] key.
3. Press the cursor keys to select [Register], and then press the [Enter] key.
What You Can Do During the Meeting
When you use the Video Conference Gateway function to have a meeting, the following functions on your device can be
used:
Changing the screen layout
Adjusting the volume
Sharing the computer screen
For details about how to use these functions, see "What You Can Do During the Meeting", Features Reference.
The Meeting Information screen and Bandwidth Status cannot be displayed.
If the destination meeting system supports sharing of computer screens, you can also display computer screens of
the destination.
Leaving
The same operation as that for leaving a meeting in RICOH Unified Communication System is performed. For details
about how to use the device, see "Leaving a Meeting", Features Reference.
To exit the Video Conference Gateway screen and return to the Features screen, press the [Menu] key, press the cursor
keys to select [Features], and then press the [Enter] key.
•
•
•
•
•

6
EN GB EN US EN AU
© 2012, 2013 Ricoh Co., Ltd.
E0A0-8552A
Troubleshooting
Problem Causes Solutions
The following message is displayed
on the screen: "The Video Conference
Gateway function is unavailable. For
further information please refer to the
manual." and the Video Conference
Gateway function cannot be used.
The service for using the Video Confer-
ence Gateway function is not installed.
Install the service.
For details, contact your local dealer.
Cannot connect to the destination. You are using the device in a place
where the Video Conference Gateway
function cannot be used.
Move to a place where the Video Con-
ference Gateway function can be used.
Cannot connect to the destination. The destination address you entered is
incorrect.
Check the destination address and
enter the correct information.
Cannot connect to the destination. The destination does not answer
the call.
The destination has refused the
call.
•
•
Check with the destination user.
Cannot connect to the destination. The destination is currently connected
to another device.
It is possible for multiple devices to join
a meeting at the same time. However,
this depends on the destination meeting
system or the availability of a MCU.
Check with the destination user.
Cannot connect to the destination. An error might have occurred on the
destination meeting system.
Check with the destination user.
Cannot share a computer screen. The destination meeting system
does not support the sharing of
computer screens.
You cannot start sharing
a computer screen if the
destination is already sharing
another computer screen.
•
•
Check with the destination user.
Wait until the destination is
finished sharing the other
computer screen, then try again.
•
•
For details about problems with your device, see "Troubleshooting", Device Reference.
For details about problems with network, see "Troubleshooting", Features Reference.
Trademarks
Adobe and Reader are either registered trademarks or trademarks of Adobe Systems Incorporated in the United States
and/or other countries.
•
•
Table of contents
Other Ricoh Conference System manuals
Popular Conference System manuals by other brands

Tieline
Tieline Genie Distribution user manual

Crestron
Crestron UC-B31-Z quick start

RADVision
RADVision SCOPIA VC240 manual

Current Thinking
Current Thinking VoCALL Compact Installation and maintenance manual

Redline Communications
Redline Communications RedCONNEX AN-80i PTP user manual

Tely
Tely HD Base Edition quick start guide