Installation guide for PR4xxDR-SET Rev.E.doc
3. INSTALLATION
3.1 Installation guidelines
The enclosure should be mounted by qualified installer with adequate certificates and
authorizations for 230VAC and low voltage installations.
Power transformer is designed for continuous operations and is equipped with overload protection.
The final user should be informed by installer of method for disconnection of 230VAC power supply
(e.g. marking of dedicated fuse in switchgear). Electrical installation must be completed in
accordance with valid regulations and standards. Apply 3 wire cable for power supply circuit
(230VAC) including yellow-green PE protective conductor.
PR4xxDR-SET is designed for indoor operation, in accordance with environmental class I (temp.
+5°C - +40°C, humidity: 10..95% (without condensation). Metal enclosure of the set can be
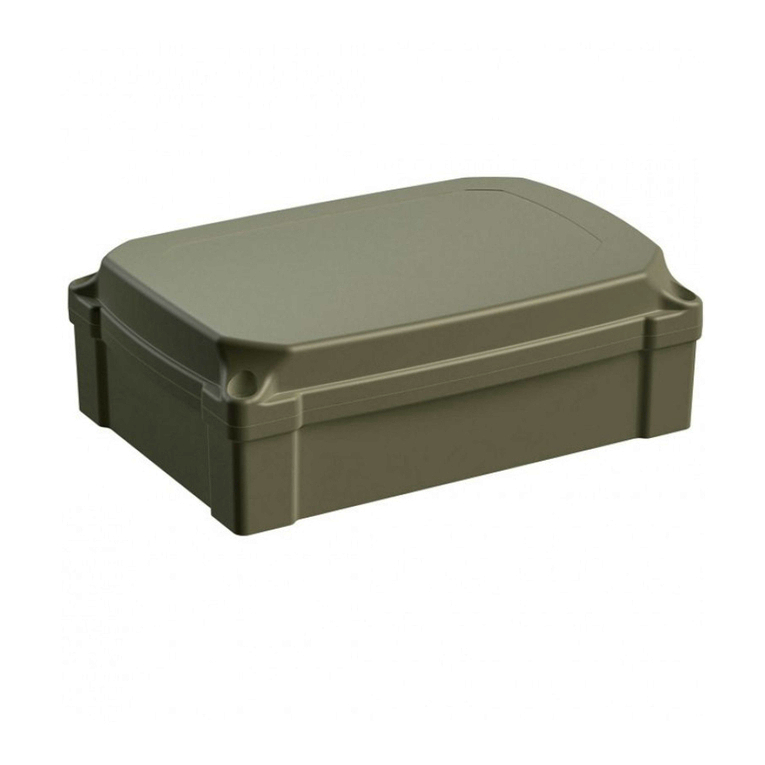
installed either in vertical (wall) or in horizontal position (ceiling).
Note : In case of ceiling mounting please pay attention to proper back-up battery fastening. In
order to ensure firm and solid fastening please use cable ties enclosed to the set. In case of
improper battery fastening method, battery can unintentionally drop out of the enclosure and cause
serious injury.
While choosing a place for installation, please make sure that ventilating holes, placed at top and
bottom of the enclosure, are not covered.
Note: Prior to starting installation and maintenance works it is necessary to ensure that 230VAC
power supply is disconnected. Any works inside the enclosure should be done with disconnected
230VAC voltage. It is forbidden to use power supply unit without proper and effective electric shock
protection. Otherwise it may cause damage to devices and injuries (electric shock).
3.2 Installation
Installation of the set should be done according to the following procedure:
Install back part of the enclosure in desired place and bring power supply and signal cables into
the enclosure.
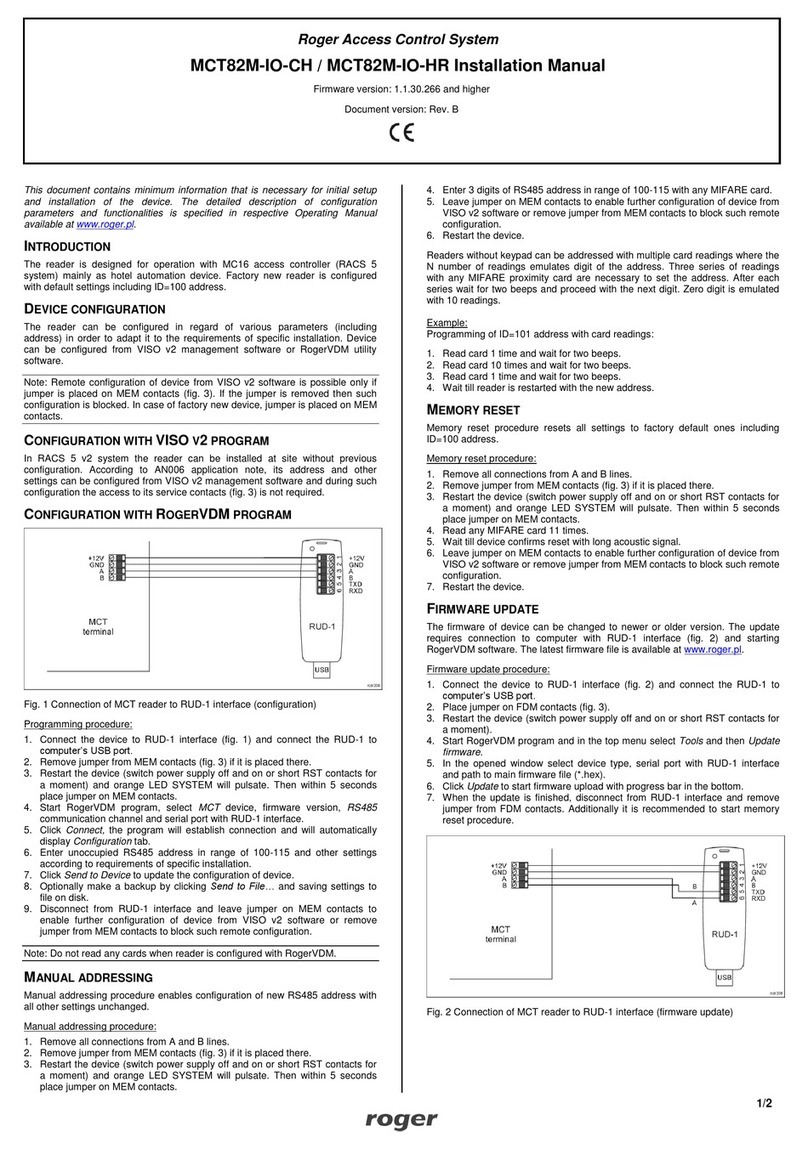
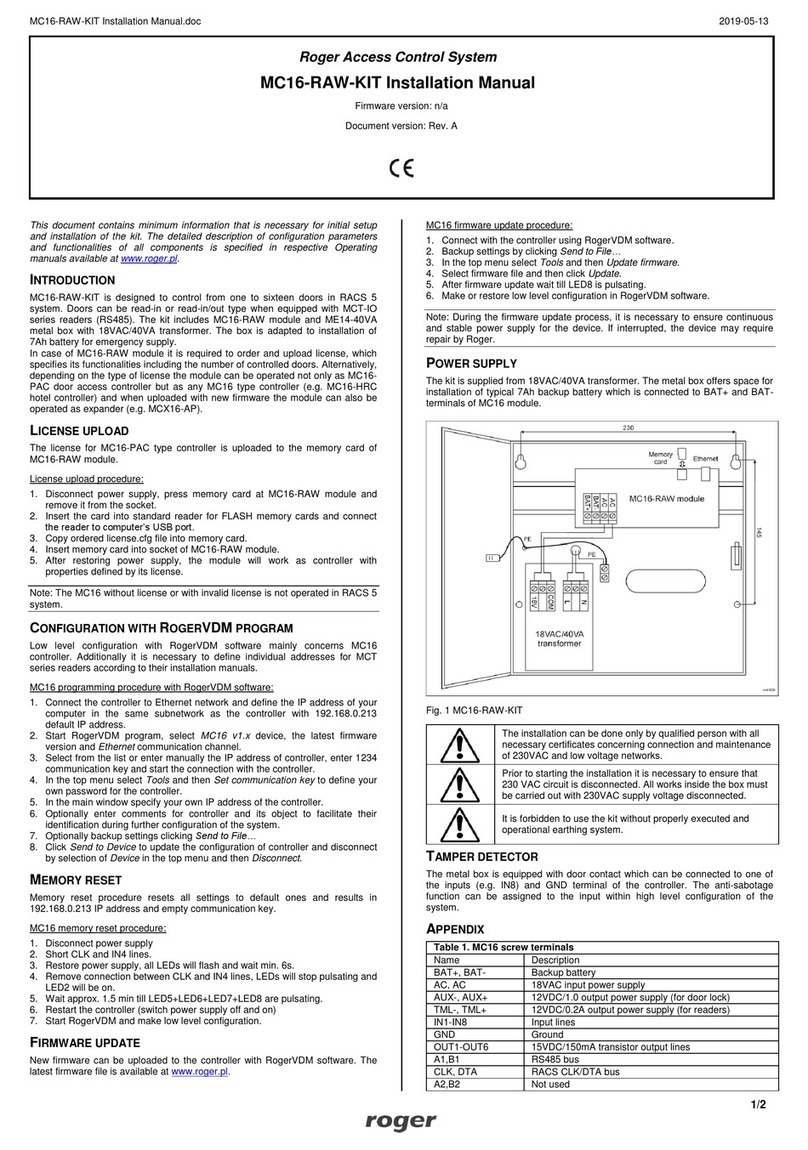
Connect 230VAC power supply cables to L-N connectors of PS-10ACDR transformer module (see
also Installation guide for PS-10ACDR).
Connect PE cable (yellow-green). The enclosure is equipped with a set of cables for connecting
ground. One of cables, terminated with block terminal should be connected with PE cable power
supply, while the second one, terminated with flat push connector (female) should be connected
with front part of the enclosure using complementary flat push connector (male) attached to
one of sides of the enclosure.
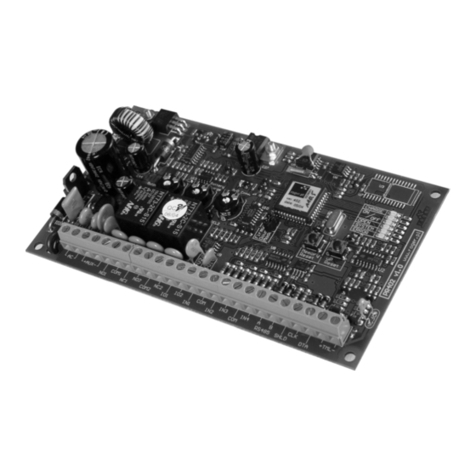
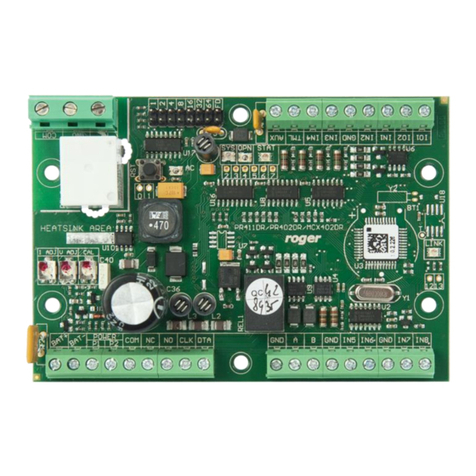
Connect output terminals of PS-10ACDR transformer with P! and P2 terminals of PR4xxDR
access controller.
Make all remaining cable connections according to desired access controller configuration.
Note: Due to limited output power of PS-10ACDR transformer, the maximal current at AUX output
of PR4xxDR controller in PR4xxDR-SET equals to 0.8A. This AUX output is sometimes used for
providing power supply to door strike or magnetic lock.
Install backup battery in its place (see Fig.1) and then attach it to the enclosure with enclosed
cable ties, using special hooks of the enclosure. Cable ties should be connected in a loop
maintaining the battery in stable position (see Fig.2). Check if the battery is firmly installed.
Connect backup battery and mains voltage.
Configure PR4xxDR access controller according to desired work scenario (see adequate manuals
for PRxx2/PRxx1 access controllers).
