manuals.online logo
Brands
  1. Home
  2. •
  3. Brands
  4. •
  5. Sauder
  6. •
  7. Indoor Furnishing
  8. •
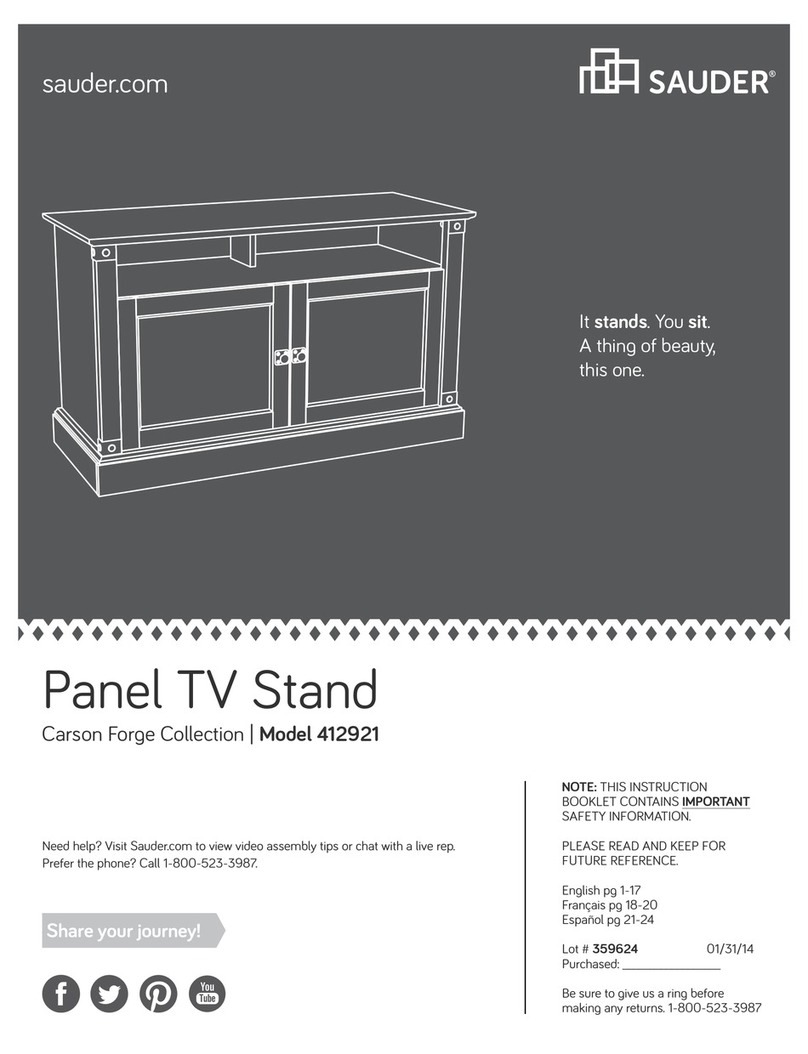
  9. Sauder Rollingwood 431439 User manual

Sauder Rollingwood 431439 User manual

sauder.com
NOTE: THIS INSTRUCTION
BOOKLET CONTAINS IMPORTANT
SAFETY INFORMATION.
PLEASE READ AND KEEP FOR
FUTURE REFERENCE.
sauder.com
CONTACT US FIRST
BEFORE MAKING ANY RETURNS TO THE STORE.
sauder.com
CONTACT US FIRST
BEFORE MAKING ANY RETURNS TO THE RETAILER.
Visit sauder.com/service to order replacement parts, view video assembly tips, or chat with a live rep.
Prefer the phone? Give us a ring at 1-800-445-1527.
Customer Service is available Monday-Friday - 9 a.m. to 5:30 p.m. EST (except holidays)
Sauder.com
Share your journey!
English pg 1-39
Français pg 40-44
Español pg 45-49
Lot # 580092 03/24/22
Purchased: __________________
Library Base
Rollingwood Collection | Model 431439
For things 'n such.
Part Identification
Hardware Identification
Hardware Usage Guide
Assembly Steps
Français
Español
Safety
Warranty
No. 2 Phillips Screwdriver
Tip Shown Actual Size
Table of Contents Assembly Tools Required
Hammer
Not actual size
3
4
5
6-39
40-44
45-49
50
51
Page 2 www.sauder.com/service 431439
Part Identification
åWhile not all parts are labeled, some of the parts will have a label or an inked letter on the edge
to help distinguish similar parts from each other. Use this part identification to help identify similar parts.
Now you know
our ABCs.
A TOP (1)
B BOTTOM (1)
C BACK (1)
D LEFT END (1)
E RIGHT END (1)
G DOOR (2)
H ADJUSTABLE SHELF (1)
L FRONT END MOLDING (2)
M REAR END MOLDING (2)
O TOP MOLDING (1)
Q RIGHT DRAWER SIDE (1)
T DRAWER FRONT (1)
U LEFT DRAWER SIDE (1)
W DRAWER BACK (1)
X DRAWER BOTTOM (1)
Y DRAWER BRACE (1)
Z SHELF MOLDING (1)
AA SIDE SKIRT (2)
BB
RIGHT FRONT/LEFT REAR SKIRT (2)
CC
LEFT FRONT/RIGHT REAR SKIRT (2)
Page 3www.sauder.com/service431439
A
M
B
C
D
E
G
H
L
M
O
AA CC
BB
T
U
W
X
Z
G
AA
CC
BB
L
Q
Y
Hardware Identification
åScrews are shown actual size. You may receive extra hardware with your unit.
Page 4 www.sauder.com/service 431439
(EXTENSION SET SHOWN SEPARATED)
1EXTENSION
RAIL - 2 2EXTENSION
SLIDE - 2
LARGE HIDDEN
CAM - 32
3
WOOD
DOWEL - 32
5SMALL HIDDEN
CAM - 6
69RUBBER
SLEEVE - 4
8METAL PIN - 4
4CAM SCREW - 32
1/2" PAN HEAD SCREW - 12
21
20 3/4" MACHINE SCREW - 4
LARGE APPLIQUE
CARD - 6
15 17 NAIL - 20
14 BUMPER CARD - 1 SMALL APPLIQUE
CARD - 1
16
PULL - 2
10 KNOB - 1
11 HINGE
BRACKET - 4
12 HINGE - 4
13
1/2" FLAT HEAD SCREW - 8
22
1-1/2" FLAT HEAD SCREW - 10
18 1-3/16" MACHINE SCREW - 1
19
DRAWER CAM
SCREW - 6
7
Hardware Usage Guide
HOW TO USE A HIDDEN CAM & CAM SCREW OR CAM DOWEL
NOTE: Various CAM SCREWS or a CAM DOWEL may be used.
Cam Screws Cam Dowel
Turn the CAM SCREW or
gently tap the CAM DOWEL
until the shoulder is against
the surface of the part.
1.
Hidden Cam
Arrow
Push a HIDDEN CAM into
the part. The arrow in the
HIDDEN CAM must point
toward the hole in the
edge of the board.
Hole
2.
3.
1
2
Insert the CAM SCREW or CAM DOWEL into the
HIDDEN CAM. Tighten the HIDDEN CAM.
Page 5www.sauder.com/service431439
Step 1 Look for this icon. It means a video assembly tip is
available at www.sauder.com/service/tips
Find the numbered video or scan the QR code.
å Assemble your unit on a carpeted floor or on the empty carton to
avoid scratching your unit or the floor.
å Push seven LARGE HIDDEN CAMS (3) into the RIGHT END (E).
å Insert eight WOOD DOWELS (5) into the edges of the RIGHT END (E).
Page 6 www.sauder.com/service 431439
5
5
1
3
Arrow
3
Arrow
Arrow
3
(7 used)
E
5
5(8 used)
å Fasten two HINGE BRACKETS (12) to the RIGHT END (E)
exactly as shown. Use the SCREWS in the BRACKETS.
Step 2
Page 7www.sauder.com/service431439
12
E
Remember:
Righty tighty.
Lefty loosey.
Step 3
Page 8 www.sauder.com/service 431439
4
1
4
å Turn five CAM SCREWS (4) into one FRONT END
MOLDING (L) and one REAR END MOLDING (M).
L
M
Step 4
Page 9www.sauder.com/service431439
E
å Fasten the END MOLDINGS (L and M) to the RIGHT
END (E). Tighten five HIDDEN CAMS.
å NOTE: Be sure the WOOD DOWELS in the END insert
into the MOLDINGS.
1
These surfaces should be even.
L
M
Step 5
Page 10 www.sauder.com/service 431439
å Separate the EXTENSION SLIDES (2) from the EXTENSION RAILS (1) as shown in the upper diagram
below. Be prepared, the parts are greasy.
å Fasten one EXTENSION RAIL (1) to the RIGHT END (E). Use three 1/2" PAN HEAD SCREWS (21).
å NOTE: For the EXTENSION RAIL, turn a SCREW into the hole shown in the enlarged diagram. Then, slide
the inner cartridge of the EXTENSION RAIL in to find the other holes that line up with the holes in the
END. Turn a SCREW into these holes.
å NOTE: The EXTENSION SLIDES will be used later for the DRAWER.
7
Push the black lever and pull the SLIDE from the RAIL.
12
1/2" PAN HEAD SCREW
(3 used in this step)
21
E
1
Open end
The HINGE BRACKETS
must be here.
å Turn seven CAM SCREWS (4) into the TOP (A).
å Push three LARGE HIDDEN CAMS (3) into the TOP MOLDING (O).
å Insert two WOOD DOWELS (5) into the TOP MOLDING (O).
Step 6
Page 11www.sauder.com/service431439
5
4
Arrow
3
1
O
A
å Fasten the TOP MOLDING (O) to the TOP (A). Tighten
three HIDDEN CAMS.
å NOTE: Be sure the WOOD DOWELS in the MOLDING
insert into the TOP.
Step 7
Page 12 www.sauder.com/service 431439
O
A
1
Surface with HIDDEN CAMS
å Fasten the RIGHT END (E) to the TOP (A). Tighten two
HIDDEN CAMS.
å NOTE: Be sure the WOOD DOWELS in the END insert
into the TOP.
Step 8
Page 13www.sauder.com/service431439
Do not stand the unit upright without the
BACK fastened. The unit may collapse.
Caution
1
A
E
Surface with HIDDEN CAMS
Step 9
Page 14 www.sauder.com/service 431439
å Push seven LARGE HIDDEN CAMS (3) into the LEFT END (D).
å Insert eight WOOD DOWELS (5) into the edges of the LEFT END (D).
5
5
1
3
Arrow
3
Arrow
Arrow
3
(7 used)
D
5
5
(8 used)
å Fasten two HINGE BRACKETS (12) to the LEFT END (D)
exactly as shown. Use the SCREWS in the BRACKETS.
Step 10
Page 15www.sauder.com/service431439
12
D
Step 11
Page 16 www.sauder.com/service 431439
4
1
4
å Turn five CAM SCREWS (4) into the remaining FRONT
END MOLDING (L) and REAR END MOLDING (M).
L
M
Step 12
Page 17www.sauder.com/service431439
D
å Fasten the END MOLDINGS (L and M) to the LEFT
END (D). Tighten five HIDDEN CAMS.
å NOTE: Be sure the WOOD DOWELS in the END insert
into the MOLDINGS.
1
These surfaces should be even.
L
M
Step 13
Page 18 www.sauder.com/service 431439
7
å Fasten the remaining EXTENSION RAIL (1) to the LEFT
END (D). Use three 1/2" PAN HEAD SCREWS (21).
å NOTE: For the EXTENSION RAIL, turn a SCREW into
the hole shown in the enlarged diagram. Then, slide the
inner cartridge of the EXTENSION RAIL in to find the
other holes that line up with the holes in the END. Turn a
SCREW into these holes.
1/2" PAN HEAD SCREW
(3 used in this step)
21
1
Open end D
å Fasten the LEFT END (D) to the TOP (A). Tighten two
HIDDEN CAMS.
å NOTE: Be sure the WOOD DOWELS in the END insert
into the TOP.
Step 14
Page 19www.sauder.com/service431439
1
D
A
Surface without HIDDEN CAMS
Step 15
Page 20 www.sauder.com/service 431439
B
1
4
å Turn eight CAMS SCREWS (4) into the BOTTOM (B).
Don't worry. It isn't
Rome. This can be built
in a day.

Other Sauder Indoor Furnishing manuals
Sauder 414724 User manual

Sauder

Sauder 414724 User manual

Sauder Harbor View 402902 User manual

Sauder

Sauder Harbor View 402902 User manual

Sauder 409110 User manual

Sauder

Sauder 409110 User manual

Sauder Shoal Creek 411201 User manual

Sauder

Sauder Shoal Creek 411201 User manual

Sauder 410147 User manual

Sauder

Sauder 410147 User manual

Sauder Dakota Pass 418268 User manual

Sauder

Sauder Dakota Pass 418268 User manual

Sauder 433242 User manual

Sauder

Sauder 433242 User manual

Sauder 413072 User manual

Sauder

Sauder 413072 User manual

Sauder Harvey Park 420284 User manual

Sauder

Sauder Harvey Park 420284 User manual

Sauder Registry Row Series User manual

Sauder

Sauder Registry Row Series User manual

Sauder 409942 User manual

Sauder

Sauder 409942 User manual

Sauder Camarin Series User manual

Sauder

Sauder Camarin Series User manual
Sauder 403785 User manual

Sauder

Sauder 403785 User manual

Sauder North Avenue 422313 User manual

Sauder

Sauder North Avenue 422313 User manual

Sauder worksense MASON PEAK Credenza 427805 User manual

Sauder

Sauder worksense MASON PEAK Credenza 427805 User manual

Sauder 423392 User manual

Sauder

Sauder 423392 User manual

Sauder Dixon Dowel Stool Short User manual

Sauder

Sauder Dixon Dowel Stool Short User manual

Sauder Rock Glen 425773 User manual

Sauder

Sauder Rock Glen 425773 User manual

Sauder Cannery Bridge 429556 User manual

Sauder

Sauder Cannery Bridge 429556 User manual

Sauder Shoal Creek 418655 User manual

Sauder

Sauder Shoal Creek 418655 User manual

Sauder 402159 User manual

Sauder

Sauder 402159 User manual

Sauder Briarbrook Credenza 430074 User manual

Sauder

Sauder Briarbrook Credenza 430074 User manual

Sauder 414720 User manual

Sauder

Sauder 414720 User manual

Sauder Litter Box Hutch User manual

Sauder

Sauder Litter Box Hutch User manual

Popular Indoor Furnishing manuals by other brands

Alice's Home Mika IMKDESK120WD manual

Alice's Home

Alice's Home Mika IMKDESK120WD manual

HiB NOVUM Camber quick start guide

HiB

HiB NOVUM Camber quick start guide

Argos Amelie 247/9873 Assembly instructions

Argos

Argos Amelie 247/9873 Assembly instructions

Moderno ALDO Assembly instructions

Moderno

Moderno ALDO Assembly instructions

Argos Home Grey And Chrome Tidy Rail With Two Rails... Simple Assembly Instructions

Argos Home

Argos Home Grey And Chrome Tidy Rail With Two Rails... Simple Assembly Instructions

Polini kids Fun 1000 Masha and the Bear quick start guide

Polini kids

Polini kids Fun 1000 Masha and the Bear quick start guide

Baxton Studio 0047-9 Assembly instructions

Baxton Studio

Baxton Studio 0047-9 Assembly instructions

Tcil CAMA CASAL SERRANO Assembly instructions

Tcil

Tcil CAMA CASAL SERRANO Assembly instructions

Blumfeldt Murnau manual

Blumfeldt

Blumfeldt Murnau manual

Crestron Green Light GLPS-HDSW-FT Design guide

Crestron

Crestron Green Light GLPS-HDSW-FT Design guide

Discovery Telecom 2111-2810-0210M quick start guide

Discovery Telecom

Discovery Telecom 2111-2810-0210M quick start guide

LevelUp Ottoman Gaming Chair user manual

LevelUp

LevelUp Ottoman Gaming Chair user manual

Acme Furniture Buck II OF00017 Assembly instructions

Acme Furniture

Acme Furniture Buck II OF00017 Assembly instructions

CareCo Sorrento RR03057 Instructions and user set-up guide

CareCo

CareCo Sorrento RR03057 Instructions and user set-up guide

DentalEZ Heritage Generation Stool user manual

DentalEZ

DentalEZ Heritage Generation Stool user manual

VIPACK STHSGB14 Instructions for use

VIPACK

VIPACK STHSGB14 Instructions for use

Garden Treasures SD10-0952B manual

Garden Treasures

Garden Treasures SD10-0952B manual

Bestar 80163-1130 Assembly instructions

Bestar

Bestar 80163-1130 Assembly instructions

manuals.online logo
manuals.online logoBrands
  • About & Mission
  • Contact us
  • Privacy Policy
  • Terms and Conditions

Copyright 2025 Manuals.Online. All Rights Reserved.