manuals.online logo
Brands
  1. Home
  2. •
  3. Brands
  4. •
  5. Saxby Lighting
  6. •
  7. Lighting Equipment
  8. •
  9. Saxby Lighting Sight ECO User manual

Saxby Lighting Sight ECO User manual

www.saxbylighting.com
Instruction manual
91358
Sight ECO
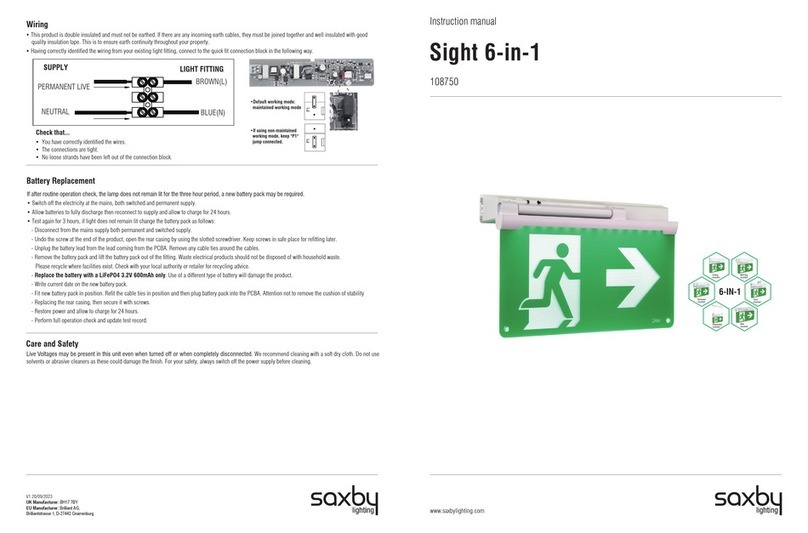
Battery Replacement
Technical data
220-240 V~, 50 Hz
Supply
Voltage:
The light source of this luminaire is not replaceable; when the light source reaches its end of life the whole
luminaire shall be replaced.
If after routine operation check, the lamp does not remain lit for thethree hours period, a new battery pack may be required.
• Switch off the electricity at the mains, both switched and permanent supply.
• Allow batteries to fully discharged then reconnect to supply and allow to charge for 24 hours.
• Test again for 3 hours, if light does not remain lit change the battery pack as follows:
- Disconnect from the mains supply both permanent and switched supply.
- Undo two screws to remove the cover then open 4 clips with slotted screwdriver
to separate the rear casing from the product. Keep screws in safe place for refitting later.
- Unplug the battery lead from the lead coming from the PCB. Remove any cable ties around the cables.
- Remove the battery pack and lift the battery pack out of the fitting. Waste electrical products should not be disposed of
with household waste. Please recycle where facilities exist. Check with your local authority or retailer for recycling advice.
- Replace the battery with a 3.6V 800mAh Ni-Cd only. Use of a different type of battery will damage the product.
- Write current date on the new battery pack.
- Fit new battery pack in position and re-secure using the screws set aside earlier. Refit the cable ties in position and then
plug battery pack into the PCB.
- Plug battery pack into circuit board.
- Close and secure gear tray.
- Replace diffuser.
- Restore power and allow to charge for 24 hours.
- Perform full operation check and update test record.
Bulb
Type:
3W LED (SMD), 6500K
Duration: 3 hours (180 minutes)
Operating Temperature: -20ºC to 45 ºC
Maximum Operatin Humidity: 10-90%
Change over Time: Approximately 1s
Battery Specification: 3.6V 800mAh Ni-Cd
Battery Charge Time: 24 hours
Battery warranty: 2 years
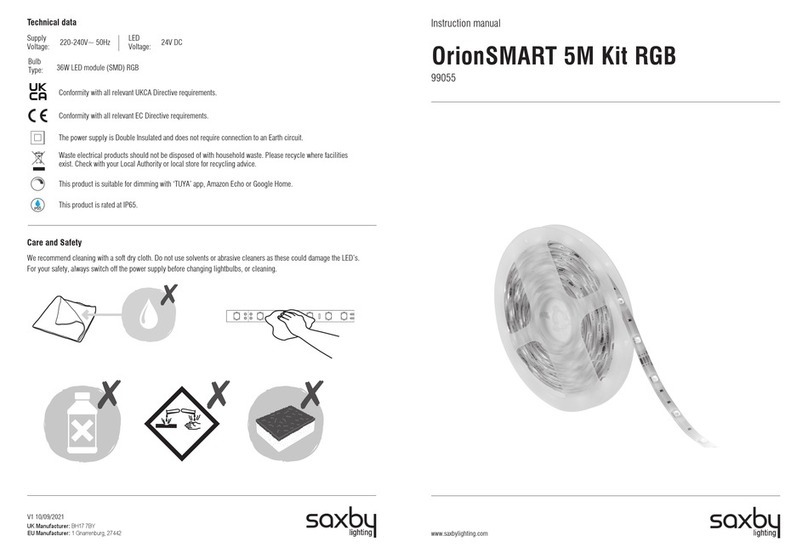
We recommend cleaning with a soft dry cloth. Do not use solvents or abrasive cleaners as these could damage the finish.
For your safety, always switch off the power supply before cleaning.
Care and Safety
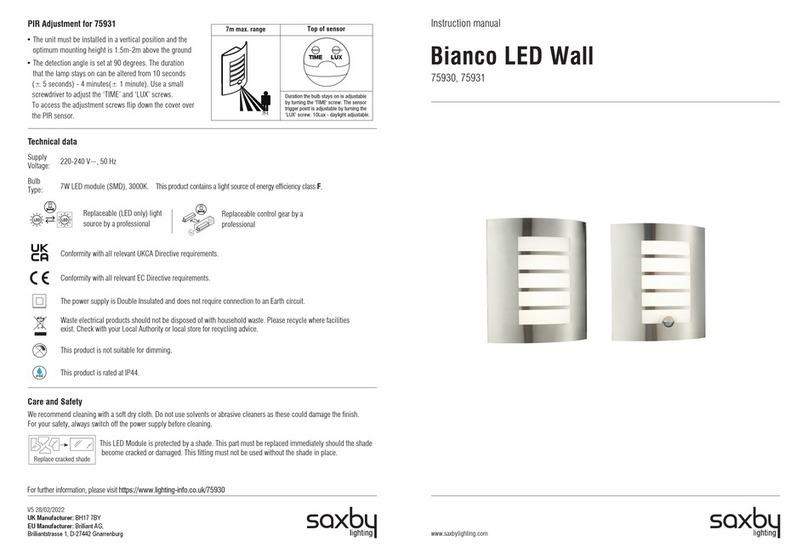
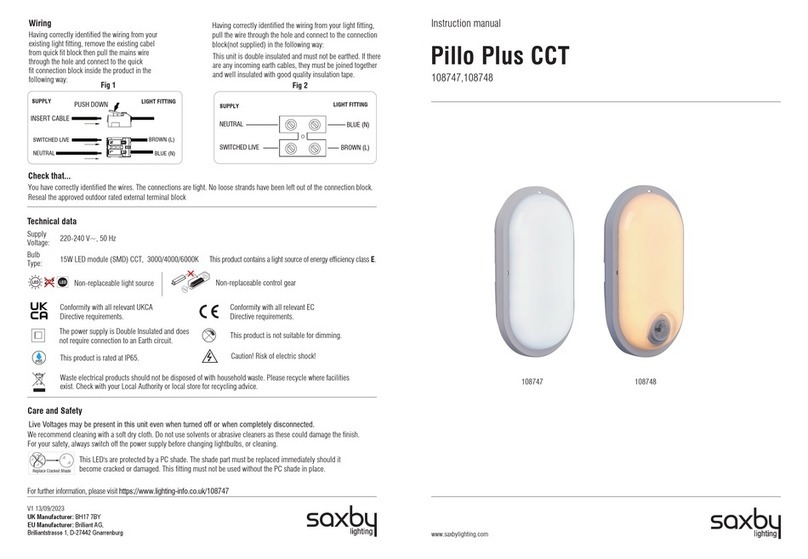
Conformity with all relevant EC Directive requirements.
The power supply is Double Insulated and does not require connection to an Earth circuit.
Waste electrical products should not be disposed of with household waste. Please recycle where facilities
exist. Check with your Local Authority or local store for recycling advice.
Live Voltages may be present in this unit even when turned off or when completely disconnected.
This bulb is protected by a shade. This part must be replaced immediately should the shade become
cracked or damaged. This fitting must not be used without the shade in place.
Replace Cracked Shade
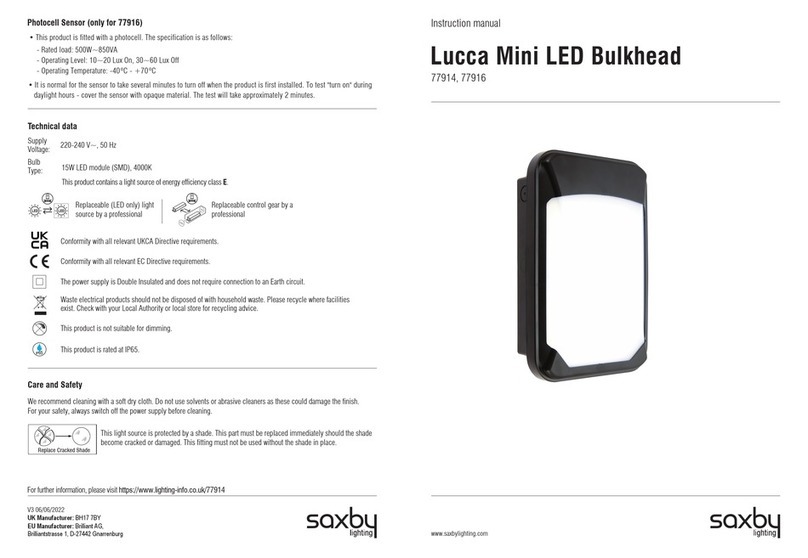
This product is rated at IK08.
IK08
Conformity with all relevant UKCA Directive requirements.
V2 13/10/2021
EU Manufacturer: 1 Gnarrenburg, 27442
UK Manufacturer: BH17 7BY
This product is rated at IP65.
IP
65
Warning
Please read these instructions carefully before commencing any work
This unit must be fitted by a competent and qualified electrician.
Install in accordance with the IEE Wiring regulations and current Building Regulations.
Check the pack and make sure you have all the parts listed.
To prevent electrocution switch off at the mains supply before installing or maintaining this fitting. Ensure other persons
cannot restore the electrical supply without your knowledge.
This light fitting should be connected to a fused circuit.
If replacing an existing fitting, make a careful note of the connections.
These products should not be fitted to PIR circuits or short duration timed switches.
This product is not suitable for dimming.
Waste electrical products should not be disposed of with household waste. Please recycle where facilities exist. Check with
your local authority or retailer for recycling advice.
Thank you for purchasing this light fitting. Please read the instructions carefully before use to ensure safe and satisfactory
operation of this product. Please retain these instructions for future reference.
Layout
This light fitting is double insulated and does
not require connection to an Earth circuit.
Plan the desired layout of these fittings carefully, ensuring the cables will reach the distances between each light fitting.
Avoid locating any cables in positions that would cause a hazard. Position cables away from areas where they may be
at risk from being cut, trapped or damaged
The mains supply cable must have a minimum cross section area of 1.0mm2.
This product is designed to be fitted into a suspended ceiling or wall mounted.
Installation
Exising fittings must be completely removed before installation of a new product. Before removing the existing fitting, carefully
note the position of each set of wires.
Note that the switch is turned off before installation.
After deciding the layout of the light fittings ensure that the cables are long enough to connect to desired positions.
•Undo two screws to remove the cover then open 4 clips with slotted screwdriver
to separate the rear casing from the product. Keep screws in safe place for refitting later.
• Choose the cable entryhole on therear casing and drill out the conduit knockout accordingly.
• Thisunit can bemounted on thewall or ceiling. After deciding themounted way accordingly, Using therear casing
as a template mark theposition todrill out the fixing holes. Take care to avoid damaging any concealed wiring and
pipes. The correct fixings should be used, depending upon the surface to be mounted.
•Fixtherear casing intotheposition with theinstallation plugs and screws.
• Pull the cable through the cable entryhole and seal tomaintain theIPrating. and wire as detailed Wiring Diagram.
• Re-clip the front panel in place and re-secure the diffuser using the screws. Ensure that the seal is correctly fitted.
• Replace fuse or circuit breaker and switch on. Your light is now ready for use.
6
Wiring
• This product is double insulated and must not be earthed. If there are any incoming earth cables, they must be joined together
and well insulated with good quality insulation tape. This is to ensure earth continuity throughout your property.
• Having correctly identified the wiring from your existing light fitting, connect to the quick fit connection block in the following
way, using the supplied link cables where necessary.
LIGHT FITTING
SUPPLY
INSERT CABLE
PUSH DOWN
Check that...
• You have correctly identified the wires.
• The connections are tight.
• No loose strands have been left out of the connection block.
PL SL N
LINK CABLE
Maintained (Unswitched) Wiring: The product is on
permanently and comes on during a power failure.
PERMANENT LIVE
NEUTRAL BLUE(N)
BLACK(L)
BROWN(L)
LIGHT FITTING
SUPPLY
Non-Maintained Wiring: The product is normally off and
comes on during a power failure.
PL SL N
PERMANENT LIVE
NEUTRAL BLUE(N)
BLACK(L)
BROWN(L)
LIGHT FITTING
SUPPLY
Maintained (Switched) Wiring: The product is used as a
normal light - switch on/off, light turns on/off. comes on
during a power failure.
PL SL N
PERMANENT LIVE
NEUTRAL BLUE(N)
BLACK(L)
BROWN(L)
SWITCH LIVE
LIGHT FITTINGSUPPLY
12
or or or
3
140mm
4
5
See Wiring
diagram
This manual suits for next models

1

Other Saxby Lighting Lighting Equipment manuals

Saxby Lighting Square Wall 39627 Manual

Saxby Lighting

Saxby Lighting Square Wall 39627 Manual

Saxby Lighting Tribeca Wall Manual

Saxby Lighting

Saxby Lighting Tribeca Wall Manual

Saxby Lighting Sight Twin Spot Manual

Saxby Lighting

Saxby Lighting Sight Twin Spot Manual

Saxby Lighting Picco User manual

Saxby Lighting

Saxby Lighting Picco User manual

Saxby Lighting Lucca Mini User manual

Saxby Lighting

Saxby Lighting Lucca Mini User manual

Saxby Lighting OrionPRO LED IP20 User manual

Saxby Lighting

Saxby Lighting OrionPRO LED IP20 User manual

Saxby Lighting 78965 User manual

Saxby Lighting

Saxby Lighting 78965 User manual

Saxby Lighting Surge PIR User manual

Saxby Lighting

Saxby Lighting Surge PIR User manual

Saxby Lighting Orion20 User manual

Saxby Lighting

Saxby Lighting Orion20 User manual

Saxby Lighting 75430 User manual

Saxby Lighting

Saxby Lighting 75430 User manual

Saxby Lighting 73721 Manual

Saxby Lighting

Saxby Lighting 73721 Manual

Saxby Lighting Lucca Wall User manual

Saxby Lighting

Saxby Lighting Lucca Wall User manual

Saxby Lighting 43810 Manual

Saxby Lighting

Saxby Lighting 43810 Manual

Saxby Lighting Odyssey Spike User manual

Saxby Lighting

Saxby Lighting Odyssey Spike User manual

Saxby Lighting IkonPRO CCT User manual

Saxby Lighting

Saxby Lighting IkonPRO CCT User manual

Saxby Lighting 76768 Manual

Saxby Lighting

Saxby Lighting 76768 Manual

Saxby Lighting Icarus Twin Wall EL-40054 Manual

Saxby Lighting

Saxby Lighting Icarus Twin Wall EL-40054 Manual

Saxby Lighting OrionSMART User manual

Saxby Lighting

Saxby Lighting OrionSMART User manual

Saxby Lighting Aqualine 24V Manual

Saxby Lighting

Saxby Lighting Aqualine 24V Manual

Saxby Lighting 101626 User manual

Saxby Lighting

Saxby Lighting 101626 User manual

Saxby Lighting IkonPRO RGB LED Kit User manual

Saxby Lighting

Saxby Lighting IkonPRO RGB LED Kit User manual

Saxby Lighting Varone 55702 Manual

Saxby Lighting

Saxby Lighting Varone 55702 Manual

Saxby Lighting 73347 User manual

Saxby Lighting

Saxby Lighting 73347 User manual

Saxby Lighting 79192 User manual

Saxby Lighting

Saxby Lighting 79192 User manual

Popular Lighting Equipment manuals by other brands

Ledino Laim 10A instruction manual

Ledino

Ledino Laim 10A instruction manual

Equinox Systems Fusion Orbit MKII user manual

Equinox Systems

Equinox Systems Fusion Orbit MKII user manual

Zafferano Poldina Instructions for use

Zafferano

Zafferano Poldina Instructions for use

Chroma Color Block 2 Plus Nano user manual

Chroma

Chroma Color Block 2 Plus Nano user manual

Zodiac EZ SALT manual

Zodiac

Zodiac EZ SALT manual

SSLUCE SF1202WE1TB-8 user manual

SSLUCE

SSLUCE SF1202WE1TB-8 user manual

BAYLED TETRA PRL-2 RGB installation guide

BAYLED

BAYLED TETRA PRL-2 RGB installation guide

Lightolier Lytecaster 2004ICV specification

Lightolier

Lightolier Lytecaster 2004ICV specification

Ledj Libretto Mini WW Profile user manual

Ledj

Ledj Libretto Mini WW Profile user manual

Anova BALIZA V16 Instruction and user's manual

Anova

Anova BALIZA V16 Instruction and user's manual

Kessil H80 Tuna Flora owner's manual

Kessil

Kessil H80 Tuna Flora owner's manual

US Energy Sciences reflect-a-light KSH Series Installation procedures

US Energy Sciences

US Energy Sciences reflect-a-light KSH Series Installation procedures

Bestway 58330 owner's manual

Bestway

Bestway 58330 owner's manual

King Technology Pool Frog 6100 instruction manual

King Technology

King Technology Pool Frog 6100 instruction manual

Uplus Lighting COB400 ZOOM user manual

Uplus Lighting

Uplus Lighting COB400 ZOOM user manual

Magneti Marelli 007935030070 owner's manual

Magneti Marelli

Magneti Marelli 007935030070 owner's manual

ML Accessories CABBCCW Installation & maintenance manual

ML Accessories

ML Accessories CABBCCW Installation & maintenance manual

Star Headlight & Lantern ULB34 quick start guide

Star Headlight & Lantern

Star Headlight & Lantern ULB34 quick start guide

manuals.online logo
manuals.online logoBrands
  • About & Mission
  • Contact us
  • Privacy Policy
  • Terms and Conditions

Copyright 2025 Manuals.Online. All Rights Reserved.