manuals.online logo
Brands
  1. Home
  2. •
  3. Brands
  4. •
  5. Saxby Lighting
  6. •
  7. Lighting Equipment
  8. •
  9. Saxby Lighting Lucca Mini User manual

Saxby Lighting Lucca Mini User manual

www.saxbylighting.com
Instruction manual
77914, 77916
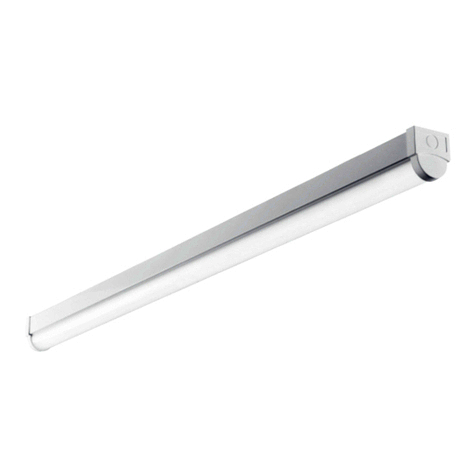
Lucca Mini LED Bulkhead
Photocell Sensor (only for 77916)
- Rated load: 500W~850VA
- Operating Level: 10~20 Lux On, 30~60 Lux Off
- Operating Temperature: -40ºC - +70 ºC
•This product is fitted with a photocell. The specification is as follows:
• It is normal for the sensor to take several minutes to turn off when the product is first installed. To test "turn on"during
daylight hours - cover the sensor with opaque material. The test will take approximately 2 minutes.
V3 06/06/2022
EU Manufacturer: Brilliant AG,
Brilliantstrasse 1, D-27442 Gnarrenburg
UK Manufacturer: BH17 7BY
Technical data
220-240 V~, 50 Hz
Supply
Voltage:
We recommend cleaning with a soft dry cloth. Do not use solvents or abrasive cleaners as these could damage the finish.
For your safety, always switch off the power supply before cleaning.
Care and Safety
This light source is protected by a shade. This part must be replaced immediately should the shade
become cracked or damaged. This fitting must not be used without the shade in place.
Replace Cracked Shade
Conformity with all relevant EC Directive requirements.
The power supply is Double Insulated and does not require connection to an Earth circuit.
Waste electrical products should not be disposed of with household waste. Please recycle where facilities
exist. Check with your Local Authority or local store for recycling advice.
This product is rated at IP65.
IP
65
This product is not suitable for dimming.
Conformity with all relevant UKCA Directive requirements.
For further information, please visit https://www.lighting-info.co.uk/77914
Replaceable control gear by a
professional
Replaceable (LED only) light
source by a professional
Bulb
Type:
This product contains a light source of energy efficiency class E.
15W LED module (SMD), 4000K
Warning
Please read these instructions carefully before commencing any work.
This unit must be fitted by a competent and qualified electrician.
Check the pack and make sure you have all the parts listed.
Install in accordance with the IEE Wiring regulations and current Building Regulations.
To prevent electrocution switch off at mains supply before installing or maintaining this fitting. Ensure other persons cannot
restore the electrical supply without your knowledge. If you are in any doubt, please consult a qualified electrician.
This light fitting should be connected to a circuit with a 30mA RCD fitted.
If replacing an existing fitting, make a careful note of the connections.
This product contains non-replaceable parts and cannot be serviced. If damage occurs the part should be scrapped.
Waste electrical products should not be disposed of with household waste. Please recycle where facilities exist. Check with
your local authority or retailer for recycling advice.
Thank you for purchasing this light fitting. Please read the instructions carefully before use to ensure safe and satisfactory
operation of this product. Please retain these instructions for future reference.
Layout
Plan the desired layout of these fittings carefully, ensuring the cables will reach the distance between the junction
box and the light fitting.
Avoid locating any cables in positions that would cause a hazard. Position cables and outdoor rated junction boxes
(not supplied) away from areas where they may be at risk from being cut, trapped or damaged.
We recommend that you use H05RN-F specification cable (not supplied) which is an outdoor grade, rubber sheathed cable.
The mains supply cable must have a minimum cross sectional area of 1.0mm2
Cables must be protected using suitable conduit or plastic trunking.
The products can be wall or ceiling mounted. If wall mounting ensure that the power supply is at the bottom.
Installation
Wiring
This power supply is Double Insulated and does
not require connection to an Earth circuit. • Gently pull the casing away from the shade and set aside.
• Remove the 4 fixing screws and detach the shade. Keep safe for refitting later.
• Hold the product in place and mark the position of the holes. Ensure the wall is capable of holding the weight of the
product, or if fitting to a ceiling, ensure there is a joist at the point of fixing to support the weight of the product.
• Knock out the chosen fixing holes.
• Fix into position. Take care to avoid damaging any concealed wiring and pipes. The correct fixings should be used for
brick, cavity walls or plasterboard.
• Pierce a hole in the grommet, and pull the cable through.
• Wire as detailed wiring.
Check that...
• You have correctly identified the wires.
• The connections are tight.
• No loose strands have been left out
of the connection block.
INSERT CABLE
PUSH DOWN
EARTH (TO TERMINATE)
• This product is double insulated and must not be earthed. If there are any incoming earth cables, they must be
terminated in the spare terminal of the connection block.
• Having correctly identified the wiring from your existing light fitting, connect to the quick fit connection block in the
following way:
Commissioning
• Ensure that the screws and cable entry points are sealed to maintain the IP rating of the product.
• Refit the shade, ensuring that the seals are correctly located.
• Gently push your chosen casing onto the shade until it clips in place.
• Replace fuse or circuit breaker and switch on. Your light is now ready for use.
Existing fittings must be completely removed before installation of a new product. Before removing the existing fitting, carefully
note the position of each set of wires.
Note that the switch is turned off before installation.
Ensure that the screws and cable entry points are sealed to maintain the IP rating of the product.

This manual suits for next models

2

Other Saxby Lighting Lighting Equipment manuals

Saxby Lighting OrionSMART User manual

Saxby Lighting

Saxby Lighting OrionSMART User manual

Saxby Lighting 13929 User manual

Saxby Lighting

Saxby Lighting 13929 User manual

Saxby Lighting E27 LED GLS Manual

Saxby Lighting

Saxby Lighting E27 LED GLS Manual

Saxby Lighting 73796 User manual

Saxby Lighting

Saxby Lighting 73796 User manual

Saxby Lighting Lucca Wall User manual

Saxby Lighting

Saxby Lighting Lucca Wall User manual

Saxby Lighting 13801 User manual

Saxby Lighting

Saxby Lighting 13801 User manual

Saxby Lighting 72641 Manual

Saxby Lighting

Saxby Lighting 72641 Manual

Saxby Lighting Aqualine Kit Manual

Saxby Lighting

Saxby Lighting Aqualine Kit Manual

Saxby Lighting 103253 User manual

Saxby Lighting

Saxby Lighting 103253 User manual

Saxby Lighting Sight Plus User manual

Saxby Lighting

Saxby Lighting Sight Plus User manual

Saxby Lighting 73347 User manual

Saxby Lighting

Saxby Lighting 73347 User manual

Saxby Lighting 75272 Manual

Saxby Lighting

Saxby Lighting 75272 Manual

Saxby Lighting 46393 Manual

Saxby Lighting

Saxby Lighting 46393 Manual

Saxby Lighting 73666 Manual

Saxby Lighting

Saxby Lighting 73666 Manual

Saxby Lighting 48700 Manual

Saxby Lighting

Saxby Lighting 48700 Manual

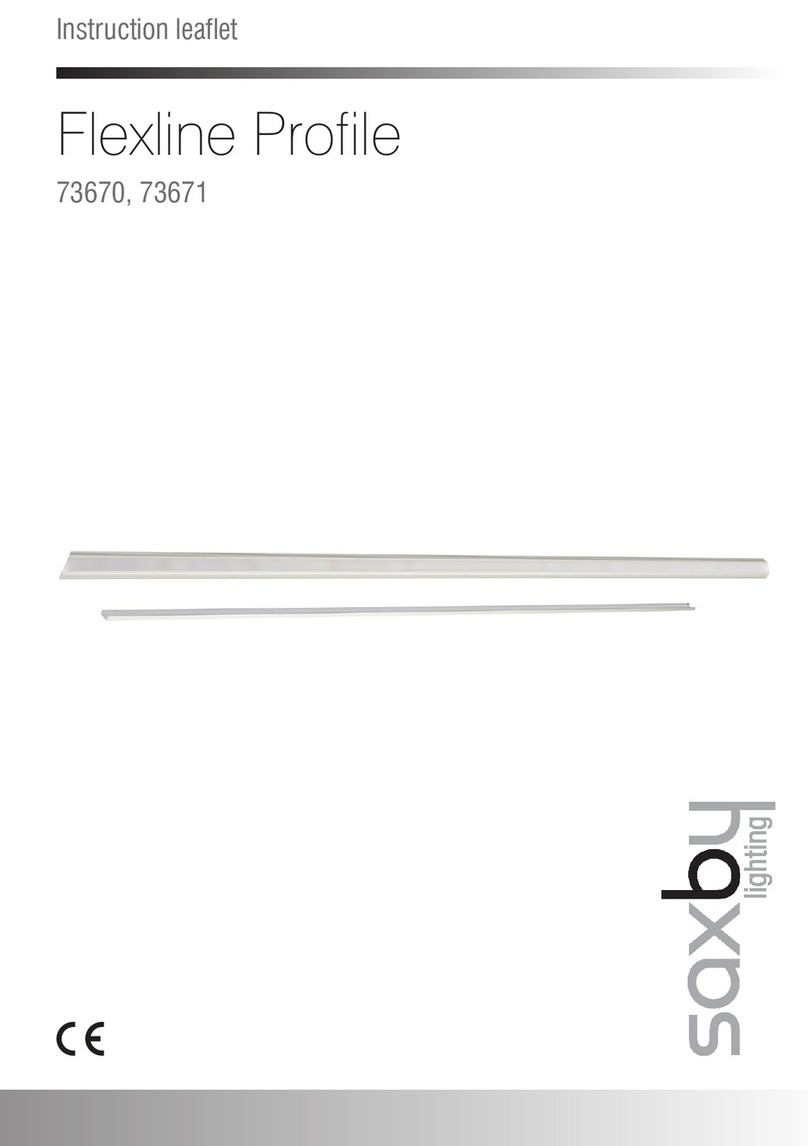
Saxby Lighting Flexline 73670 Manual

Saxby Lighting

Saxby Lighting Flexline 73670 Manual

Saxby Lighting Reeve 2 Manual

Saxby Lighting

Saxby Lighting Reeve 2 Manual

Saxby Lighting Varone 55702 Manual

Saxby Lighting

Saxby Lighting Varone 55702 Manual

Saxby Lighting Pillo Plus CCT User manual

Saxby Lighting

Saxby Lighting Pillo Plus CCT User manual

Saxby Lighting 78965 User manual

Saxby Lighting

Saxby Lighting 78965 User manual

Saxby Lighting Sight Plus Manual

Saxby Lighting

Saxby Lighting Sight Plus Manual

Saxby Lighting 13889 User manual

Saxby Lighting

Saxby Lighting 13889 User manual

Saxby Lighting Odyssey Spike Manual

Saxby Lighting

Saxby Lighting Odyssey Spike Manual

Saxby Lighting Sight ECO User manual

Saxby Lighting

Saxby Lighting Sight ECO User manual

Popular Lighting Equipment manuals by other brands

Falconeyes DSL-200T instruction manual

Falconeyes

Falconeyes DSL-200T instruction manual

San Marina Pools AR700 Installation and maintenance manual

San Marina Pools

San Marina Pools AR700 Installation and maintenance manual

Show Tec Compact Par 7 Tri Product guide

Show Tec

Show Tec Compact Par 7 Tri Product guide

LIVARNO LUX 14126405L Operation and safety notes

LIVARNO LUX

LIVARNO LUX 14126405L Operation and safety notes

Martin MAC 600 user manual

Martin

Martin MAC 600 user manual

HIKOKI UB 18DC Handling instructions

HIKOKI

HIKOKI UB 18DC Handling instructions

superbrightleds PLLD4 Series user manual

superbrightleds

superbrightleds PLLD4 Series user manual

ProLights ECLIPSEJZIP user manual

ProLights

ProLights ECLIPSEJZIP user manual

Chauvet Intimidator COLOR LED Features & specification

Chauvet

Chauvet Intimidator COLOR LED Features & specification

KaVo 9010 Instructions for use

KaVo

KaVo 9010 Instructions for use

Velleman HQ Power DOTWASH 1212 user manual

Velleman

Velleman HQ Power DOTWASH 1212 user manual

ORACLE LIGHTING OWP-FC-311-LED instructions

ORACLE LIGHTING

ORACLE LIGHTING OWP-FC-311-LED instructions

Velleman CLP1 manual

Velleman

Velleman CLP1 manual

MOB MO9382 user manual

MOB

MOB MO9382 user manual

RAB STL110H/L instructions

RAB

RAB STL110H/L instructions

WOOX R9077 quick start guide

WOOX

WOOX R9077 quick start guide

roblight FL 1300 XT-2 C user manual

roblight

roblight FL 1300 XT-2 C user manual

ViSAGE VIS245 STAGE DESK 48 manual

ViSAGE

ViSAGE VIS245 STAGE DESK 48 manual

manuals.online logo
manuals.online logoBrands
  • About & Mission
  • Contact us
  • Privacy Policy
  • Terms and Conditions

Copyright 2025 Manuals.Online. All Rights Reserved.