Thank you for purchasing this light fitting. Please read the instructions carefully before use to ensure safe and satisfactory
operation of this product. Please retain these instructions for future reference.
Warning
This is a Class 1 product and must be earthed.
Please read these instructions carefully before
commencing any work.
This unit must be fitted by a competent and qualified
electrician.
InstallinaccordancewithIEEWiringregulationsand
currentBuildingRegulations.
To prevent electrocution switch off at mains supply
before installing or maintaining this fitting. Ensure other
persons cannot restore the electrical supply without your
knowledge.
This light fitting should be connected to a fused circuit.
If replacing an existing fitting, make a careful note of the
connections.
This product is not suitable for dimming.
Wasteelectricalproductsshouldnotbedisposedofwith
household waste. Please recycle where facilities exist.
Check with your local authority or retailer for recycling
advice.
TheseproductsshouldnotbefittedtoPIRcircuitsorshort
duration timed switches.
Specification
Layout
• Themainssupplycablemusthaveaminimumcrosssectionalareaof1.0mm²
• Thisproductcanbeceilingorwallmounted.
Check that...
• You have correctly identified the wires
• The connections are tight
• No loose strands have been left out of
the connection block.
Voltage: 240V ~ 50Hz
Lamp:1WLED(SMD3014)
IP rating: 20
Duration:3hours(180minutes)
Operating Temperature : -5˚C to 50˚C
MaximumOperatingHumidity :10-90%
Change over Time: Approximately 1s
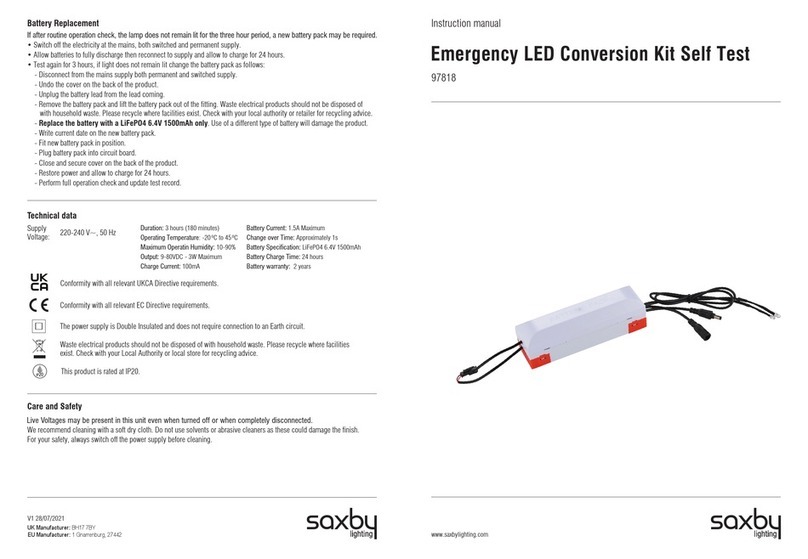
BatterySpecification:3.6V800mAhNi-Cad
Battery Charge Time: 24 hours
• Thisunitworksinmaintainedmode.Thelightwillremain
lit all the time and in the event of a power failure will
remain on. The unit will charge automatically.
• Locateconnectoronbatteryleadandconnectto
connection point on PCB. The connection point is located
on the end of the PCB. Ensure connection is secure.
• VerifythattheLEDisilluminated;thisconfirmsthatthe
batteries are charging.
• Chargethebatteryforatleast24hoursbeforefirstuse.
• IftheLEDisnotilluminatedthentheremaybenoa.c.
supply, the battery has not been connected properly or
the internal circuit may have failed.
• Thebatteryshouldbere-chargedandcheckedevery
three months.
• Thebatteryshouldbedischargedandthedurationofthe
lamp in emergency mode checked every six months.
Operation
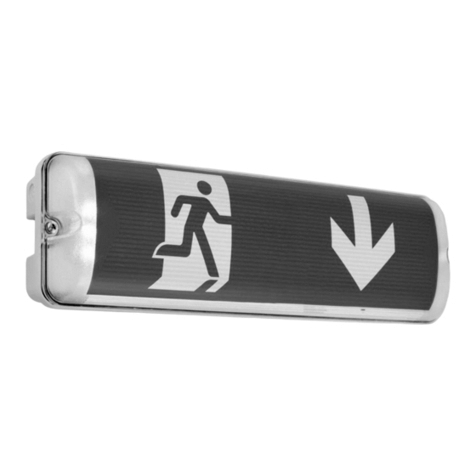
This product is multifunctional and can be ceiling mounted
in two positions, suspended and recessed, and also wall
mounted with the guide panel hanging down. Choose your
preferred location and follow the relevant instructions
listed below and referring to the corresponding drawings.
Existing fittings must be completely removed before
installation of a new product. Before removing the existing
fitting, carefully note the position of each set of wires.
• Forsuspendedceilingmounting(DrawingA):usingthe
ceiling cover as a template , mark and drill the fixing
holes. Take care to avoid damaging concealed wiring
andpipes.Wireasdetailedoverleafandthenattachthe
ceilingcoverinplacewiththesuppliedscrews.Make
sure the suspension cables are secured in place.
Installation
Commissioning
SW
NEUTRAL
EARTH (GREEN/YELLOW)
PERMANENT LIVE
SWITCHED LIVE
BLUE (N)
GREEN/YELLOW
BROWN (L)
BROWN (L1)
SUPPLY LIGHT FITTING
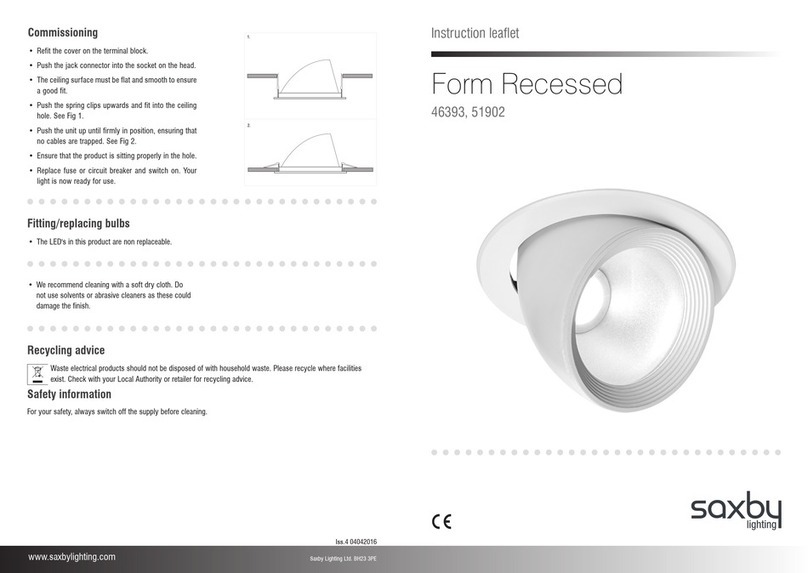
• Forrecessedceilingmounting(DrawingB):Cutaholeintheceilingusingan
appropriatetool.Cutoutsizeis360x60mm.Minimumceilingvoiddepthis
100mm. It is recommended to cut the hole slightly smaller than needed, then
file the hole until the recessed unit fits snugly. Fit the spring clips and slide the
recessed cover over the product from the bottom upwards until the cover clips
inplace.Wireasdetailedbelowandpushthespringclipsupwardsandfitinto
the ceiling recess hole.
• Forwallmounting1(DrawingC):Removethetwoscrewsontopoftheproduct
and arrange angled brackets in place on product. Tighten the angled brackets
in place using the removed screws. Using the brackets as templates, mark
and drill the fixing holes. Take care to avoid damaging any concealed wiring
andpipes.Wireasdetailedbelow,thenattachtheproductwiththebracketsto
the wall
• Forverticalwallmounting2(DrawingD):usingthesuppliedcornerbracketas
a template, mark and drill the fixing hole. Attach the bracket to the wall. Take
care to avoid damaging any concealed wiring and pipes. Push light fitting cable
through corner bracket hole and wire as detailed below. Attach the fitting to the
bracket with the supplied screw.
Wiring
Maintained Wiring:
Having correctly identified the wiring from your existing light fitting, pull the wire through the hole and connect to the
connection block inside the product in the following way:
• T h i s p r o d u c t i s s u p p l i e d w i t h 2 s i d e a n d 2 d o w n a r r o w s . A t t a c h t h e m o n t o t h e c l e a r P C s h a d e i n t h e d e s i r e d o r i e n t a t i o n .
Removetheclearprotectivefilmoncetheyareaffixedinplace.
• Replacefuseorcircuitbreakerandswitchon.Yourlightisnowreadyforuse.

