Rev. 2013.08.19 3
OVERVIEW
This manual covers Installation, Setup, Programming and Service instructions. It is extremely
important that this manual be read thoroughly prior to commissioning the OFFICE DELI unit in the
field. This will ensure a satisfactory long-term performance.
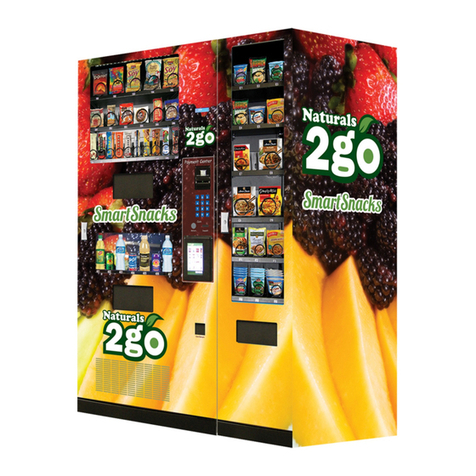
The OFFICE DELI unit consists of three (3) separate cabinets that are installed together via
mechanical means and connected via electrical connections to operate as ONE unit.
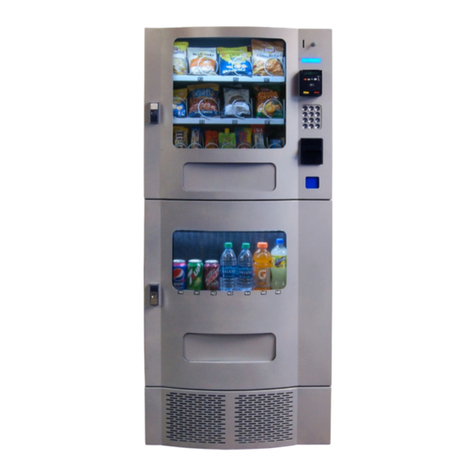
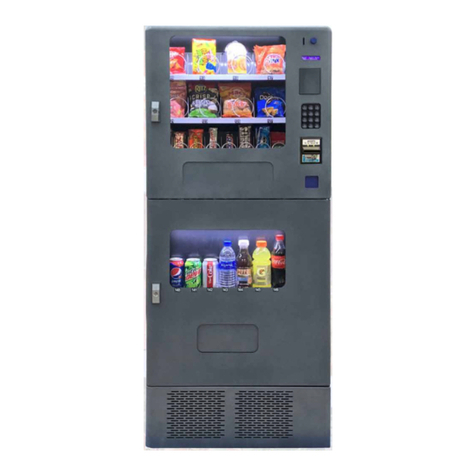
The Snack Vendor (OD16S) consists of three (3) trays. The first and second trays have 4 selections
each (Tray 1 – B1 through B4, Tray 2 – B5 through B8). The third tray has 8 selections (C1 through
C8). The top two trays are normally used for products that are wider such as chips, pastries etc. and
the third tray is used for Confectionary items such as candy bars. The Snack Vendor (OD16S) also
houses all the payment mechanisms and electronic Vending Machine Controller (VMC) on the right
side of the cabinet, as shown in Figure 19. The payment mechanisms, electronic components (such
as VMC) and transformer are installed on a vertical shelf that slides out for easy access. The
connectors to connect the Beverage Unit (OD8RD) and Entrée Unit (OD14F) are also provided in this
vertical shelf of the Snack Vendor (OD16S).
The Beverage Vendor (OD8RD) consists of Product Delivery systems consisting of a teeter-totter
style mechanism and a vertical drop system. The Beverage Vendor also houses the removable
Refrigeration System. The cabinet of the Beverage Vendor has a delivery system that has 6
selections for Cans and 2 selections for Bottles. The Cans are loaded in the chutes (D1, D2, D3, D4,
D5 and D8) and the Bottles are loaded in Vertical Drop System columns (D6 & D7). The loading
instructions are given in subsequent sections. The refrigeration system is installed at the bottom of
the Beverage Vendor and there is a foamed separation between the cabinet interior and the
refrigeration system. The installation, setup and functionality of the refrigeration system is explained
in the section titled Refrigeration.
The Entrée Unit (OD14F) consists of 7 trays with 2 selections each (Tray 1 – A1 & A2, Tray 2 – A3 &
A4, Tray 3 – A5 & A6, Tray 4 – A7 & A8, Tray 5 – A9 & A10, Tray 6 – B9 & B10, Tray 7 – C9 & C10).
RECEIVING, INSPECTION, UNPACKING AND TESTING
After you have received your Office Deli, inspect all three individual vendor components. Note: Any
damages that may have occurred during shipping must be reported to the delivery carrier
immediately. Reporting damages and the seeking of restitution is the responsibility of the equipment
owner. The factory is willing to assist you in this process in any way possible. Feel free to contact
Seaga Customer Care with questions you may have on this process. Once you have your Office Deli
located, we suggest that you keep this manual for future reference.
The Office Deli Unit is placed on a wooden pallet and stretch-wrapped. Please exercise caution while
cutting into the stretch-wrap with a sharp tool such as a utility knife, as it may cause scratch marks on
the machine.
The Snack, Beverage and Entrée Units are boxed in three (3) separate cardboard boxes. The Snack
Unit box is placed on top of the Beverage Unit while the Entrée Unit is located on the side of
Snack/Beverage Units. After removing the stretch wrap, remove the Snack Unit and place it aside.
USE EXTREME CAUTION AS THE TOP OF THE BOX IS NOT ATTACHED TO THE BOTTOM OF
THE BOX. The top of both the snack and beverage units slide up for removal. Remove the Beverage
Unit from its box and place it in the desired vending location. Remove the Snack Unit from its box and
place it on top of the Beverage Unit carefully. Please use proper lifting and safety precautions while
placing the Snack Unit on top of Beverage Unit. Remove the Entrée Unit from its box and place it to
the left side of the Snack/Beverage Units.
