manuals.online logo
Brands
  1. Home
  2. •
  3. Brands
  4. •
  5. Sealey
  6. •
  7. Tools Storage
  8. •
  9. Sealey AP1200M User manual

Sealey AP1200M User manual

REF. DESCRIPTION QUANTITY
1 Workbench Top 1
2 Long Support Bar 2
3 Workbench Legs 4
4 Short Support Bar 2
5 Oil Drainage Bowl 1
6 Drawer 1
7 Swivel Wheel 1
8 Locking Swivel Wheel 1
9 Male and Female
Ball Bearing Sliders 2
10 Large Bolts 24
11 Small Bolts 8
12 Washers 32
13 Screws 6
14 Nuts 16
AP1200M - 1 - 110507
12
3
4
78
56
9
11
10
13
2
INSTRUCTIONS FOR:
MOBILE WORKBENCH WITH OIL DRAIN
Model: AP1200M
Thank you for purchasing a Sealey product. Manufactured to a high standard this product will, if used according to these instructions and
properly maintained, give you years of trouble free performance.
1. SAFETY INSTRUCTIONS
IMPORTANT: PLEASE READ THESE INSTRUCTIONS CAREFULLY. NOTE THE SAFE OPERATIONAL REQUIREMENTS, WARNINGS & CAUTIONS.
USE THE PRODUCT CORRECTLY AND WITH CARE FOR THE PURPOSE FOR WHICH IT IS INTENDED. FAILURE TO DO SO MAY CAUSE
DAMAGE OR PERSONAL INJURY, AND WILL INVALIDATE THE WARRANTY. PLEASE KEEP INSTRUCTIONS SAFE FOR FUTURE USE.
2. CONTENTS
1.1 GENERAL SAFETY
!Dispose of waste fluids in accordance with local authority regulations.
"WARNING! Ensure Health & Safety, local authority, and general workshop practice regulations
are adhered to when using this bench.
!Locate bench in a suitable working area.
!Keep the work area clean, uncluttered and ensure there is adequate lighting.
"WARNING! Use bench on level and solid ground, preferably concrete. Avoid tarmacadam
since the bench may sink into the surface.
!Keep the bench clean and tidy in accordance with good workshop practice.
!Keep children and unauthorised persons away from the working area.
"WARNING! This bench is not electrically insulated and is therefore not suitable for electrical
repairs of any sort.
#DO NOT use the bench for any purpose other than that for which it is designed.
#DO NOT do work on the bench without the workpiece being adequately secured. Use clamps
or a vice (not included) to secure the workpiece. Available from your Sealey dealer.
#DO NOT use the bench out of doors.
#DO NOT get the bench wet or use in damp or wet locations or areas where there is condensation.
#DO NOT clean the bench with any solvents which may damage the paint surface.
"WARNING! This is a heavy product, assistance will be needed during assembly.
2.1 Remove all parts and fixings from the box. Ensure that you have adequate help to remove the bench top from the box (It is too heavy
for one person to lift safely).
2.2 Check the contents against the parts listed below. Should there be any damaged or missing parts contact your supplier immediately.
1
Screw into place
fig. 5
3. ASSEMBLY
"WARNING! This is a heavy product - you will need assistance when assembling.
3.1 Turn the top of the workbench upside down, this will make the assembly easier (fig.1).
3.2 Attach one leg to the workbench top, see fig. 2 and 3. Then attach the short support bar (fig. 2 and 3) secure the second leg to the bar and
bench top. Do this at each end of the bench.
Note! If you secure the legs or construct the legs and support bar first you will struggle to fit the legs into the bench top.
3.3 When the legs and short support bars are secure attach the longer support bars at the height required. See fig. 4.
3.4 While the work bench is upside down screw in the sliders, making sure they are attached the correct way around. Attach with the 6 small screws,
x 3 on each slider, see fig. 5.
3.5 Screw in the 4 wheels clockwise, see fig. 7. Make sure that the wheels are on the correct legs, shown in fig. 6.
3.6 Turn the workbench over to an upright position, make sure you have assistance - this is a heavy product!
3.7 When the workbench is upright lock the wheels and slide in the drawer. To insert the drawer slot the inner slide (fig. 8a) into the middle slide
(fig. 8b) and push the the drawer all the way in. To take the drawer out push down or lift up the spring lock (fig. 8c) on the inner slide and pull the
drawer away from the workbench.
3.8 Finally slot in the bowl and position it under the drain. Put the bench in its desired location and lock the wheels.
AP1200M - 1 - 110507
fig. 2 fig. 3
fig. 4
fig. 1
fig. 6
01284 757500
01284 703534 sales@sealey.co.uk
Sole UK Distributor
Sealey Group,
Bury St. Edmunds, Suffolk.
www.sealey.co.uk
Web
email
fig. 7 fig. 8
NOTE: It is our policy to continually improve products and as such we reserve the right to alter data, specifications and component parts without prior notice.
IMPORTANT: No liability is accepted for incorrect use of this product.
WARRANTY: Guarantee is 12 months from purchase date, proof of which will be required for any claim.
INFORMATION: For a copy of our catalogue and latest promotions call us on 01284 757525 and leave your full name, address and postcode.

Other Sealey Tools Storage manuals

Sealey API16 User manual

Sealey

Sealey API16 User manual

Sealey PCT1 User manual

Sealey

Sealey PCT1 User manual

Sealey CX1042D User manual

Sealey

Sealey CX1042D User manual

Sealey AP12160 User manual

Sealey

Sealey AP12160 User manual

Sealey PTSR2 User manual

Sealey

Sealey PTSR2 User manual

Sealey PTB66004 User manual

Sealey

Sealey PTB66004 User manual

Sealey AP28102BR User manual

Sealey

Sealey AP28102BR User manual

Sealey AP0618.V3 User manual

Sealey

Sealey AP0618.V3 User manual

Sealey PTB91508 User manual

Sealey

Sealey PTB91508 User manual

Sealey AP4206BE User manual

Sealey

Sealey AP4206BE User manual

Sealey APLHT User manual

Sealey

Sealey APLHT User manual

Sealey PTB66004 User manual

Sealey

Sealey PTB66004 User manual

Sealey AP420913T User manual

Sealey

Sealey AP420913T User manual

Sealey SM30.V2 User manual

Sealey

Sealey SM30.V2 User manual

Sealey AP2513B.V4 User manual

Sealey

Sealey AP2513B.V4 User manual

Sealey AP7210SS User manual

Sealey

Sealey AP7210SS User manual

Sealey APMS20 User manual

Sealey

Sealey APMS20 User manual

Sealey APMS58 User manual

Sealey

Sealey APMS58 User manual

Sealey P0618.V2 User manual

Sealey

Sealey P0618.V2 User manual

Sealey APMS22 User manual

Sealey

Sealey APMS22 User manual
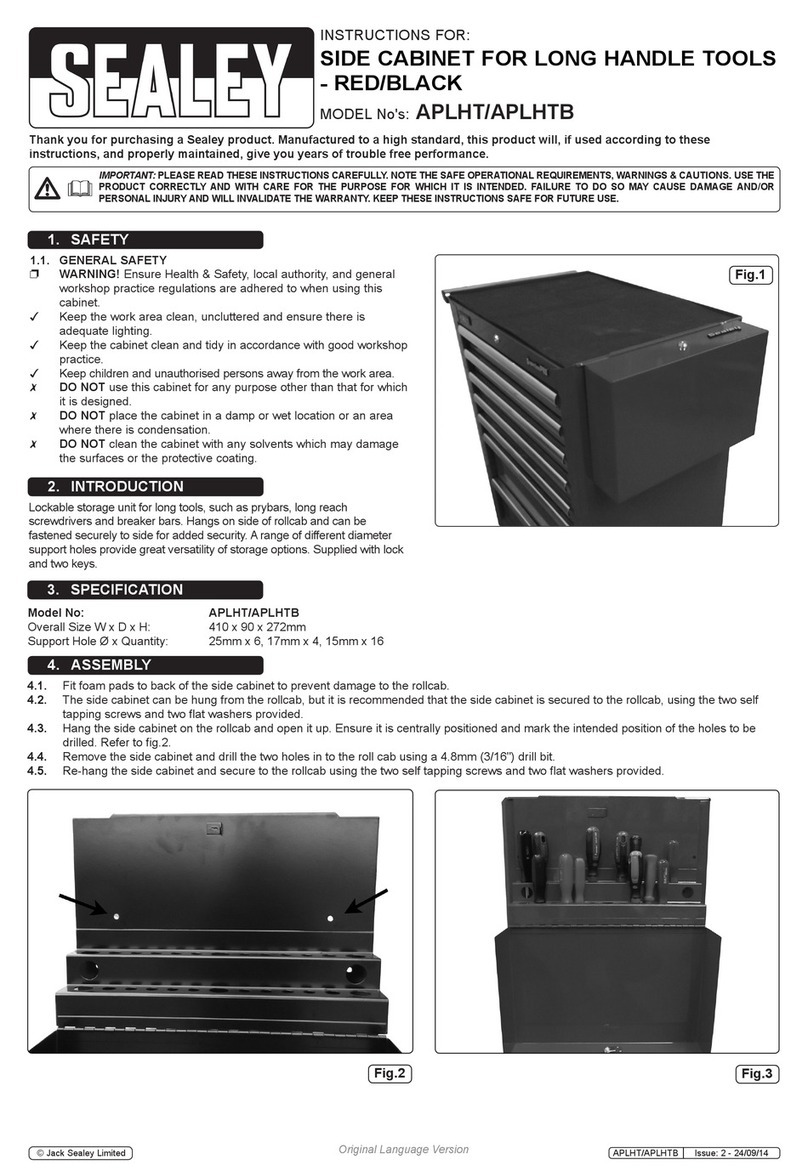
Sealey AP1210 User manual

Sealey

Sealey AP1210 User manual

Sealey AP6310BE.V2 User manual

Sealey

Sealey AP6310BE.V2 User manual

Sealey APMS01 User manual

Sealey

Sealey APMS01 User manual

Sealey APMS13 User manual

Sealey

Sealey APMS13 User manual

Popular Tools Storage manuals by other brands

kincrome TOOL CHEST Operation manual

kincrome

kincrome TOOL CHEST Operation manual

kupper 12110 Series Assembly instruction

kupper

kupper 12110 Series Assembly instruction

Craftsman BALL BEARING SERIES Operator's manual

Craftsman

Craftsman BALL BEARING SERIES Operator's manual

Craftsman Accessory Operator's manual

Craftsman

Craftsman Accessory Operator's manual

Tramontina PRO 44954/045 Assembly instructions

Tramontina PRO

Tramontina PRO 44954/045 Assembly instructions

CMT INDUSTRIO CMT7E User and maintenance manual

CMT

CMT INDUSTRIO CMT7E User and maintenance manual

Ranger design 84-U0048 installation guide

Ranger design

Ranger design 84-U0048 installation guide

Craftsman 706.132880 Operator's manual

Craftsman

Craftsman 706.132880 Operator's manual

CustomCrimp BE Series Operator's manual

CustomCrimp

CustomCrimp BE Series Operator's manual

MasterForce 245-1676 Operator's manual

MasterForce

MasterForce 245-1676 Operator's manual

U.S. General 39213 installation instructions

U.S. General

U.S. General 39213 installation instructions

ICON ITSTC56 Series Owner's manual & safety instructions

ICON

ICON ITSTC56 Series Owner's manual & safety instructions

Wolfcraft 6156 owner's manual

Wolfcraft

Wolfcraft 6156 owner's manual

Harbor Freight Tools U.S. GENERAL 64166 Owner's manual & safety instructions

Harbor Freight Tools

Harbor Freight Tools U.S. GENERAL 64166 Owner's manual & safety instructions

Petzl CARITOOL L quick start guide

Petzl

Petzl CARITOOL L quick start guide

Borroughs 100 Series Assembly instructions

Borroughs

Borroughs 100 Series Assembly instructions

Husky 75811AHR Use and care guide

Husky

Husky 75811AHR Use and care guide

Hilka HDPT104 Assembly instructions

Hilka

Hilka HDPT104 Assembly instructions

manuals.online logo
manuals.online logoBrands
  • About & Mission
  • Contact us
  • Privacy Policy
  • Terms and Conditions

Copyright 2025 Manuals.Online. All Rights Reserved.