manuals.online logo
Brands
  1. Home
  2. •
  3. Brands
  4. •
  5. Sealey
  6. •
  7. Tools Storage
  8. •
  9. Sealey AP0615 User manual

Sealey AP0615 User manual

This manual suits for next models

1

Other Sealey Tools Storage manuals

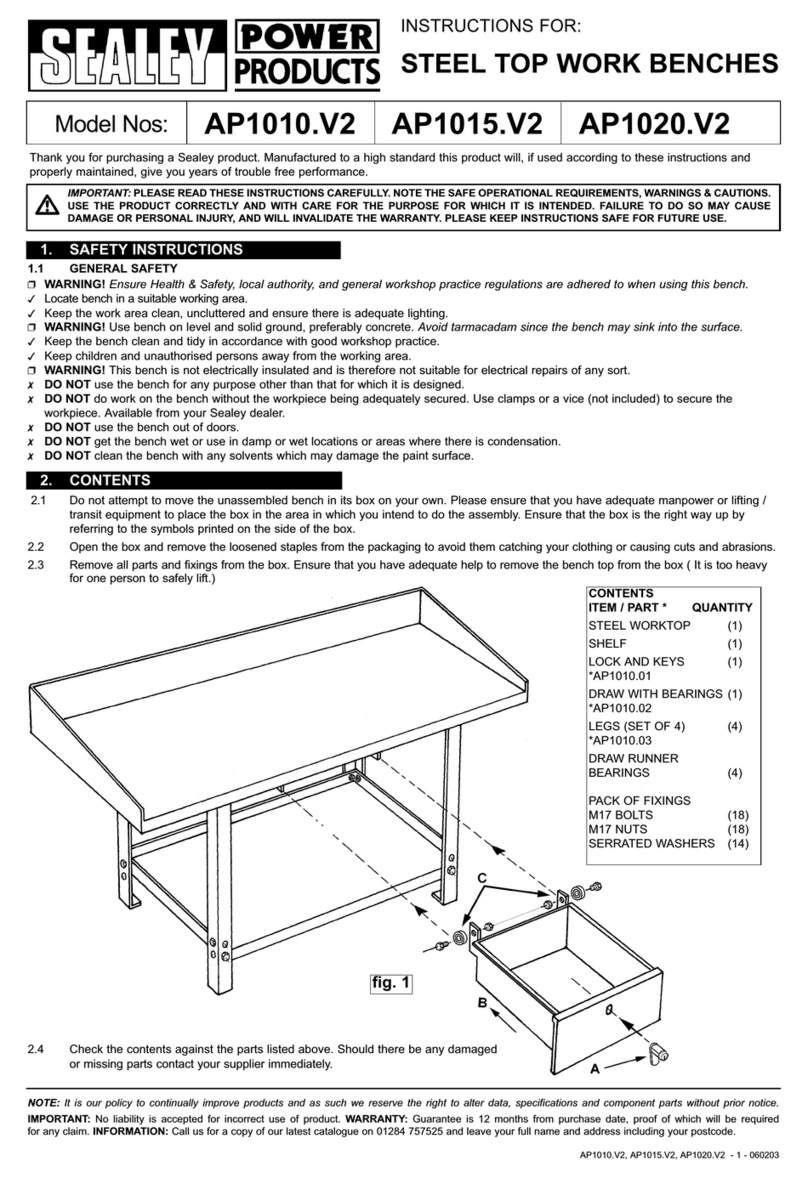
Sealey POWER PRODUCTS AP1010.V2 User manual

Sealey

Sealey POWER PRODUCTS AP1010.V2 User manual

Sealey AP2200BB.V2 User manual

Sealey

Sealey AP2200BB.V2 User manual

Sealey AP1248SS.V2 User manual

Sealey

Sealey AP1248SS.V2 User manual

Sealey AP2416 User manual

Sealey

Sealey AP2416 User manual

Sealey AP26479TBRG User manual

Sealey

Sealey AP26479TBRG User manual

Sealey AP26059TBRG User manual

Sealey

Sealey AP26059TBRG User manual

Sealey AP2020 User manual

Sealey

Sealey AP2020 User manual

Sealey AP2418.V2 User manual

Sealey

Sealey AP2418.V2 User manual

Sealey AP420913T User manual

Sealey

Sealey AP420913T User manual

Sealey AP28102BR User manual

Sealey

Sealey AP28102BR User manual

Sealey SL1D.V2 User manual

Sealey

Sealey SL1D.V2 User manual

Sealey P0618.V2 User manual

Sealey

Sealey P0618.V2 User manual

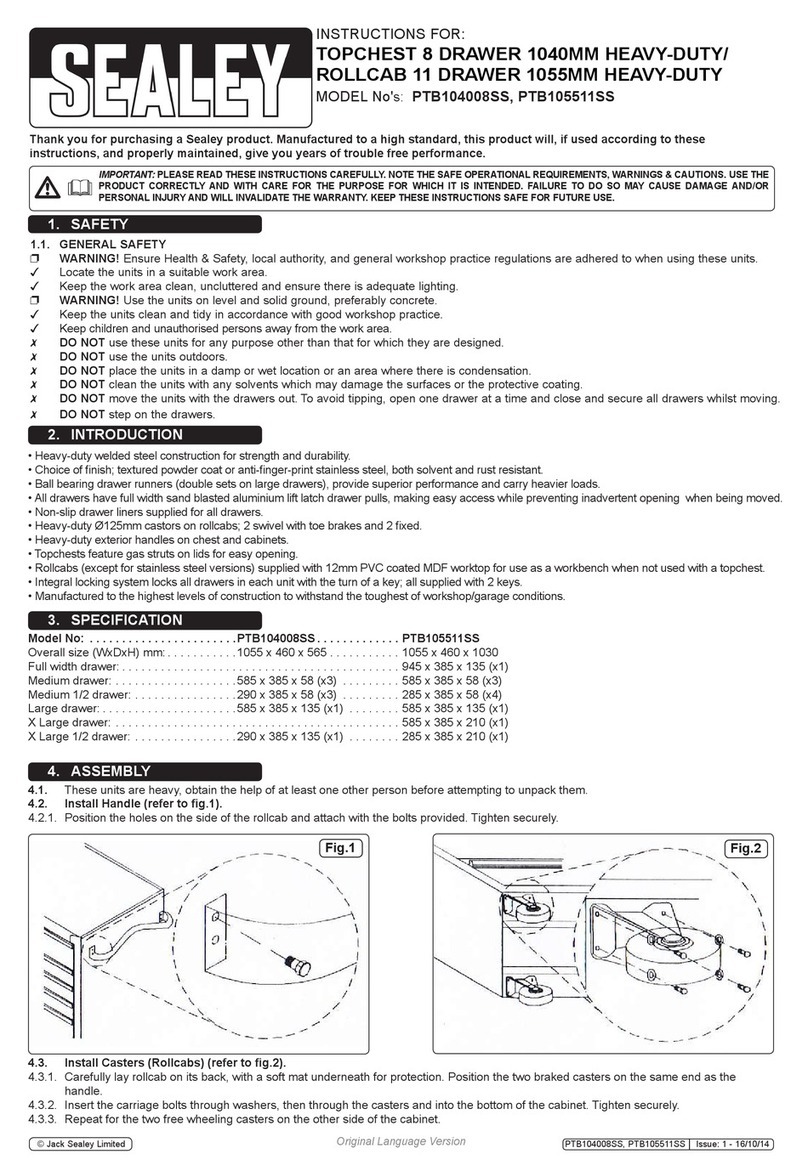
Sealey PTB104008SS User manual

Sealey

Sealey PTB104008SS User manual

Sealey AP3020 User manual

Sealey

Sealey AP3020 User manual

Sealey AP12160 User manual

Sealey

Sealey AP12160 User manual

Sealey AP930M User manual

Sealey

Sealey AP930M User manual

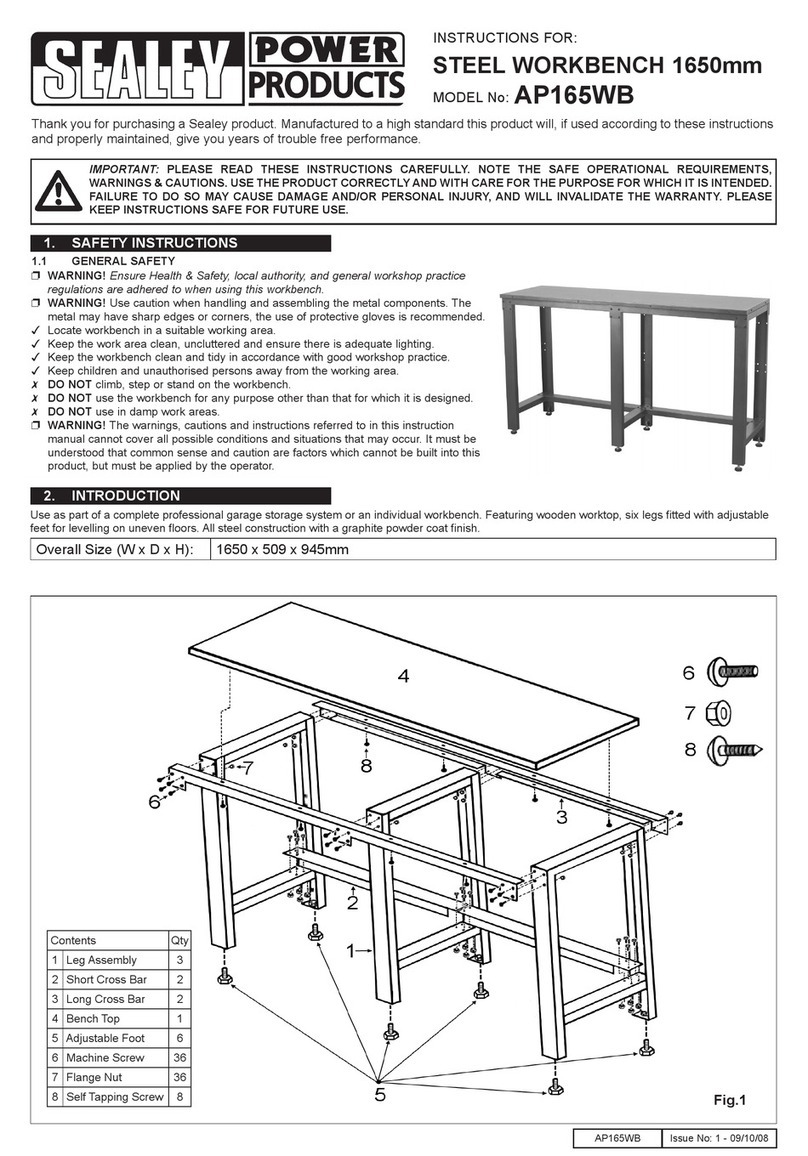
Sealey AP6115BE User manual

Sealey

Sealey AP6115BE User manual

Sealey AP1640 User manual

Sealey

Sealey AP1640 User manual

Sealey AP26059TO User manual

Sealey

Sealey AP26059TO User manual

Sealey AP1520.V2 User manual

Sealey

Sealey AP1520.V2 User manual

Sealey CX103 User manual

Sealey

Sealey CX103 User manual

Sealey PTB660TR User manual

Sealey

Sealey PTB660TR User manual

Sealey APMS01 User manual

Sealey

Sealey APMS01 User manual

Sealey PTB181510 User manual

Sealey

Sealey PTB181510 User manual

Popular Tools Storage manuals by other brands

Vestil WT-2424 owner's manual

Vestil

Vestil WT-2424 owner's manual

Kendall Howard ESDW-9630-1000 owner's manual

Kendall Howard

Kendall Howard ESDW-9630-1000 owner's manual

Ryobi RWB03 Original instructions

Ryobi

Ryobi RWB03 Original instructions

Husky H27CH5TR4BGK Use and care guide

Husky

Husky H27CH5TR4BGK Use and care guide

Scheppach ts 2100 Translation from original manual

Scheppach

Scheppach ts 2100 Translation from original manual

DIVERSIFIED WOODCRAFTS SHAIN GSB-6024 Assembly instruction

DIVERSIFIED WOODCRAFTS

DIVERSIFIED WOODCRAFTS SHAIN GSB-6024 Assembly instruction

Cassese CS200 CART user & parts manual

Cassese

Cassese CS200 CART user & parts manual

Cornwell Tools CTB360AKBK Assembly instructions

Cornwell Tools

Cornwell Tools CTB360AKBK Assembly instructions

Workzone 99609 Assembly instructions

Workzone

Workzone 99609 Assembly instructions

Stanley STST83800-1 instruction manual

Stanley

Stanley STST83800-1 instruction manual

Perel ROLLER SHUTTER STORAGE CABINET Assembly instructions

Perel

Perel ROLLER SHUTTER STORAGE CABINET Assembly instructions

BGS technic 4107 manual

BGS technic

BGS technic 4107 manual

Tennsco RXHS-962484 Assembly Instructions/Parts Manual

Tennsco

Tennsco RXHS-962484 Assembly Instructions/Parts Manual

Grizzly T1240 owner's manual

Grizzly

Grizzly T1240 owner's manual

Rubi 66924 manual

Rubi

Rubi 66924 manual

Draper 77020 instructions

Draper

Draper 77020 instructions

Batavia CROC LOCK COMPACT Translation of the original instructions

Batavia

Batavia CROC LOCK COMPACT Translation of the original instructions

Pinnacle GOS196 quick start guide

Pinnacle

Pinnacle GOS196 quick start guide

manuals.online logo
manuals.online logoBrands
  • About & Mission
  • Contact us
  • Privacy Policy
  • Terms and Conditions

Copyright 2025 Manuals.Online. All Rights Reserved.

INSTRUCTIONS FOR: STEEL WORKBENCH
WITH WOOD COMPOSITE TOP
MODELS: AP0615, AP0620
Thank you for purchasing a Sealey product. Manufactured to a high standard this product will, if used according to these instructions and
properly maintained, give you years of trouble free performance.
1. SAFETY INSTRUCTIONS
2. INTRODUCTION & SPECIFICATION
IMPORTANT: PLEASE READ THESE INSTRUCTIONS CAREFULLY. NOTE THE SAFE OPERATIONAL REQUIREMENTS, WARNINGS & CAUTIONS.
USE THE PRODUCT CORRECTLY AND WITH CARE FOR THE PURPOSE FOR WHICH IT IS INTENDED. FAILURE TO DO SO MAY CAUSE
DAMAGE OR PERSONAL INJURY, AND WILL INVALIDATE THE WARRANTY. PLEASE KEEP INSTRUCTIONS SAFE FOR FUTURE USE.
3. CONTENTS
4. ASSEMBLY
1.1 GENERAL SAFETY
!WARNING! Ensure Health & Safety, local authority, and
general workshop practice regulations are adhered to when
using this bench.
"Locate bench in a suitable working area.
"Keep the work area clean, uncluttered and ensure there is
adequate lighting.
!WARNING! Use bench on level and solid ground, preferably
concrete. Avoid tarmacadam since the bench may sink into the
surface.
"Keep the bench clean and tidy in accordance with good
workshop practice.
"Keep children and unauthorised persons away from the
working area.
#DO NOT use the bench for any purpose other than that for
which it is designed.
#DO NOT do work on the bench without the workpiece being
adequately secured. Use clamps or a vice (not included but
available from your Sealey dealer) to secure the workpiece.
#DO NOT use the bench out of doors.
#DO NOT get the bench wet or use in damp or wet locations or
areas where there is condensation.
#DO NOT clean the bench with any solvents which may
damage the paint surface.
3.1 Do not attempt to move the unassembled bench in its box on
your own. Two people will be required to carry the box to the
assembly area.
3.2 Remove all parts and fixings from the box. Ensure that you
have adequate help to remove the bench top from the box ( It
is too heavy for one person to lift safely.)
3.4 Check the contents against the parts listed below. Should
there be any damaged or missing parts contact your supplier
immediately.
AP0615, AP0620 - 1 - 230207
ITEM . . . . . . . . . . . . . . . . . . . . . . . . . . . . . .QUANTITY
Wood Composite Worktop . . . . . . . . . . . . . . . . . . . . . . . .(1)
Support Frame . . . . . . . . . . . . . . . . . . . . . . . . . . . . . . . . .(1)
Legs . . . . . . . . . . . . . . . . . . . . . . . . . . . . . . . . . . . . . . . .(4)
Leg Crosspieces . . . . . . . . . . . . . . . . . . . . . . . . . . . . . . .(2)
Leg Tie Piece . . . . . . . . . . . . . . . . . . . . . . . . . . . . . . . . . .(1)
Leg Braces . . . . . . . . . . . . . . . . . . . . . . . . . . . . . . . . . . .(2)
M14 x 25mm Bolts . . . . . . . . . . . . . . . . . . . . . . . . . . . . .(18)
M14 Nuts . . . . . . . . . . . . . . . . . . . . . . . . . . . . . . . . . . . .(18)
Washers . . . . . . . . . . . . . . . . . . . . . . . . . . . . . . . . . . . .(18)
Hex Head Wood Screws M11x36mm . . . . . . . . . . . . . . . .(6)
35mm Thick wood composite top, with beech-effect laminate, and
epoxy coated steel frame. Available in two sizes.
Model No: AP0615 Size (H x W x L): 880 x 610 x 1500mm
Model No: AP0620 Size (H x W x L): 880 x 610 x 2000mm
4.1 Place a protective layer onto the floor e.g. the cardboard packing
from this product. Lay the worktop face down onto the protective
layer. Lay the support frame onto the top and align the six holes
in the frame with the six pre-drilled holes in the worktop (see
Fig.1). Fasten the frame to the top using the 6 M11 x 36mm hex
headed woodscrews provided.
4.2 Make up two end frames ensuring that the leg crosspiece that joins
the two legs together is the right way round as shown in Fig.2.
Fig. 1
Fig.2
01284 757500
01284 703534 sales@sealey.co.uk
Sole UK Distributor
Sealey Group,
Bury St. Edmunds, Suffolk.
www.sealey.co.uk
Web
email
NOTE: It is our policy to continually improve products and as such we reserve the right to alter data, specifications and component parts without prior notice.
IMPORTANT: No liability is accepted for incorrect use of this product.
WARRANTY: Guarantee is 12 months from purchase date, proof of which will be required for any claim.
INFORMATION: For a copy of our catalogue and latest promotions call us on 01284 757525 and leave your full name, address and postcode.
4.3 Attach the leg frames to the support frame using two M14 x 25mm
bolts with washers and nuts for each leg (see Fig.3) To help with
the alignment of the holes tighten the outside bolts first then insert
the end bolts and leave them finger tight.
4.5 Attach the two leg braces between the legs and the main support
frame using the nuts bolts and washers supplied as indicated in Fig.5.
Now tighten all nuts and bolts previously left finger tight.
4.6 At least two people are required to turn the assembled
workbench upright and into position for use.
4.4 Lay the leg tie-bar centrally from one leg crosspiece to the other
and align the holes. Insert a bolt at each end and fix with a washer and nut
as shown in Fig.4.
AP0615, AP0620 - 1 - 230207
Fig.3
Fig.4
Fig.5