manuals.online logo
Brands
  1. Home
  2. •
  3. Brands
  4. •
  5. Sealey
  6. •
  7. Tools Storage
  8. •
  9. Sealey PTSR2 User manual

Sealey PTSR2 User manual

Other Sealey Tools Storage manuals

Sealey AP2030BB User manual

Sealey

Sealey AP2030BB User manual

Sealey POWER PRODUCTS AP1010.V2 User manual

Sealey

Sealey POWER PRODUCTS AP1010.V2 User manual

Sealey FWB1.V3 User manual

Sealey

Sealey FWB1.V3 User manual

Sealey AP0618.V4 User manual

Sealey

Sealey AP0618.V4 User manual

Sealey AP1200M User manual

Sealey

Sealey AP1200M User manual

Sealey AP26059TBRG User manual

Sealey

Sealey AP26059TBRG User manual

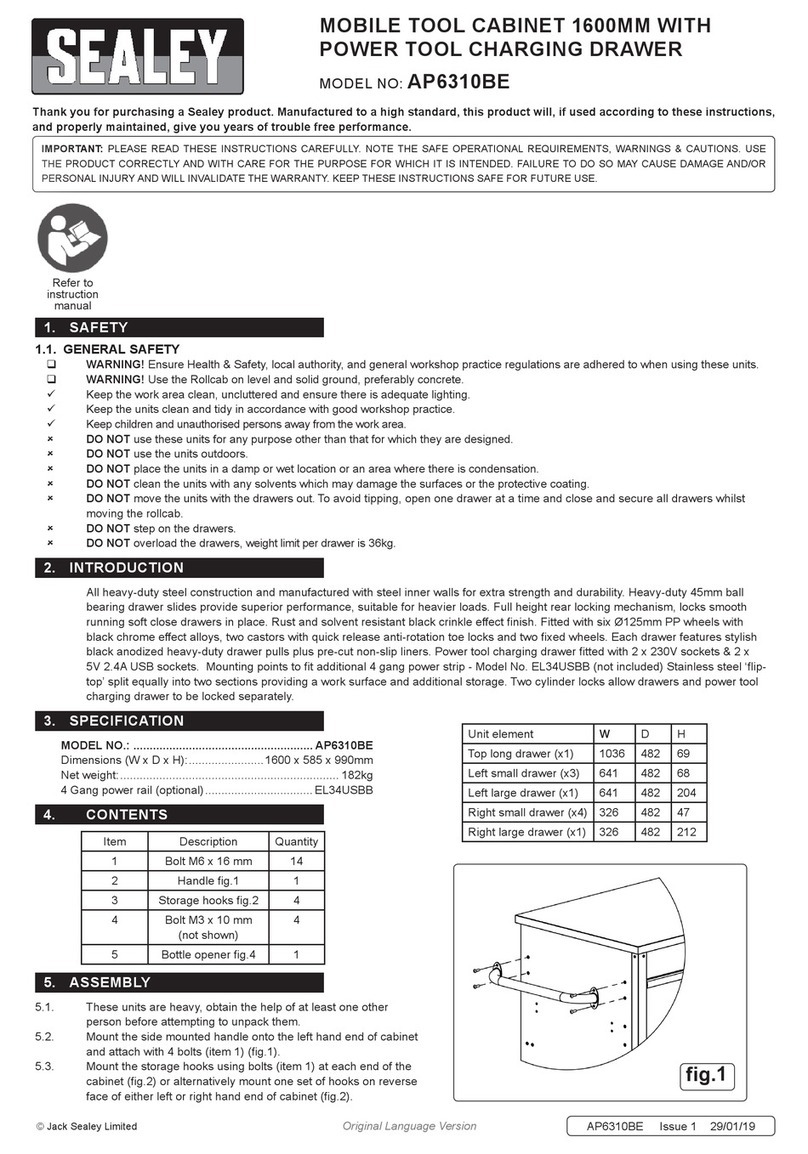
Sealey AP6310BE User manual

Sealey

Sealey AP6310BE User manual

Sealey CX102 User manual

Sealey

Sealey CX102 User manual

Sealey APMS22 User manual

Sealey

Sealey APMS22 User manual

Sealey AP26059TW User manual

Sealey

Sealey AP26059TW User manual

Sealey APMSV Series User manual

Sealey

Sealey APMSV Series User manual

Sealey AP2416.V2 User manual

Sealey

Sealey AP2416.V2 User manual

Sealey SCR92 User manual

Sealey

Sealey SCR92 User manual

Sealey AP12160 User manual

Sealey

Sealey AP12160 User manual

Sealey AP2200BB.V2 Series User manual

Sealey

Sealey AP2200BB.V2 Series User manual

Sealey AP2405 User manual

Sealey

Sealey AP2405 User manual

Sealey PTB141007 User manual

Sealey

Sealey PTB141007 User manual

Sealey AP22DFC User manual

Sealey

Sealey AP22DFC User manual

Sealey AP12600 User manual

Sealey

Sealey AP12600 User manual

Sealey AP2405 User manual

Sealey

Sealey AP2405 User manual

Sealey APMS01 User manual

Sealey

Sealey APMS01 User manual

Sealey AP1205 User manual

Sealey

Sealey AP1205 User manual

Sealey PTB91508 User manual

Sealey

Sealey PTB91508 User manual

Sealey AP165WB User manual

Sealey

Sealey AP165WB User manual

Popular Tools Storage manuals by other brands

Vestil WT-2424 owner's manual

Vestil

Vestil WT-2424 owner's manual

Kendall Howard ESDW-9630-1000 owner's manual

Kendall Howard

Kendall Howard ESDW-9630-1000 owner's manual

Ryobi RWB03 Original instructions

Ryobi

Ryobi RWB03 Original instructions

Husky H27CH5TR4BGK Use and care guide

Husky

Husky H27CH5TR4BGK Use and care guide

Scheppach ts 2100 Translation from original manual

Scheppach

Scheppach ts 2100 Translation from original manual

DIVERSIFIED WOODCRAFTS SHAIN GSB-6024 Assembly instruction

DIVERSIFIED WOODCRAFTS

DIVERSIFIED WOODCRAFTS SHAIN GSB-6024 Assembly instruction

Cassese CS200 CART user & parts manual

Cassese

Cassese CS200 CART user & parts manual

Cornwell Tools CTB360AKBK Assembly instructions

Cornwell Tools

Cornwell Tools CTB360AKBK Assembly instructions

Workzone 99609 Assembly instructions

Workzone

Workzone 99609 Assembly instructions

Stanley STST83800-1 instruction manual

Stanley

Stanley STST83800-1 instruction manual

Perel ROLLER SHUTTER STORAGE CABINET Assembly instructions

Perel

Perel ROLLER SHUTTER STORAGE CABINET Assembly instructions

BGS technic 4107 manual

BGS technic

BGS technic 4107 manual

Tennsco RXHS-962484 Assembly Instructions/Parts Manual

Tennsco

Tennsco RXHS-962484 Assembly Instructions/Parts Manual

Grizzly T1240 owner's manual

Grizzly

Grizzly T1240 owner's manual

Rubi 66924 manual

Rubi

Rubi 66924 manual

Draper 77020 instructions

Draper

Draper 77020 instructions

Batavia CROC LOCK COMPACT Translation of the original instructions

Batavia

Batavia CROC LOCK COMPACT Translation of the original instructions

Pinnacle GOS196 quick start guide

Pinnacle

Pinnacle GOS196 quick start guide

manuals.online logo
manuals.online logoBrands
  • About & Mission
  • Contact us
  • Privacy Policy
  • Terms and Conditions

Copyright 2025 Manuals.Online. All Rights Reserved.

POWER TOOL STORAGE RACK - 2 BAY
MODEL NO: PTSR2
Thank you for purchasing a Sealey product. Manufactured to a high standard, this product will, if used according to these instructions,
and properly maintained, give you years of trouble free performance.
IMPORTANT: PLEASE READ THESE INSTRUCTIONS CAREFULLY. NOTE THE SAFE OPERATIONAL REQUIREMENTS, WARNINGS & CAUTIONS. USE
THE PRODUCT CORRECTLY AND WITH CARE FOR THE PURPOSE FOR WHICH IT IS INTENDED. FAILURE TO DO SO MAY CAUSE DAMAGE AND/OR
PERSONAL INJURY AND WILL INVALIDATE THE WARRANTY. KEEP THESE INSTRUCTIONS SAFE FOR FUTURE USE.
1. SAFETY
WARNING! Ensure Health & Safety, and local authority regulations are adhered to when assembling and using this tool rack.
9Locate tool rack in a suitable area where it will not be an obstruction.
9Keep the general area clean, uncluttered and ensure there is adequate lighting.
WARNING! Mount tool rack on a at and solid wall such as breeze block that is strong enough to hold fully laden tool rack.
9 The tool rack should be rmly secured to the wall in a suitable location with xings provided.
8DO NOT attempt to wall mount the tool rack on your own. Obtain assistance or use manual handling equipment.
9Wall mount the tool rack at such a height that minimises the risk of injury when used.
9Keep children and unauthorised persons away from the storage area.
8DO NOT use the tool rack for any purpose other than that for which it is designed.
8DO NOT site the tool rack out of doors.
8DO NOT get the tool rack wet or use in damp or wet locations or areas where there is condensation.
8DO NOT clean the tool rack with any solvents or abrasives which may damage the coated surface.
8DO NOT overload the tool rack when wall mounted.
8 Ensure that the tool rack is properly and rmly assembled and installed before loading it.
2. INTRODUCTION
Wall mountable rack specically designed for the storage of power tools.
Stores up to two power tools. Shelf space for power tool battery and chargers.
Open fronted bays make tools easily accessible. Supplied at-packed.
3. SPECIFICATION
Model no .....................................................................PTSR2
Dimensions (W x D x H)..........................246 x 230 x 300mm
Power tool storage bays.......................................................2
4. CONTENTS
1 Nut x9 2 Bolt x9 3 Self tapping screw x4 4 Drywall anchor x4
5. ASSEMBLY
Refer to
instruction
manual
PTSR2 Issue:1 05/02/21
Original Language Version
© Jack Sealey Limited
Wear protective
gloves
Attach the two side panels to the bottom shelf
using 2x nuts and 2x bolts per side.
Attach two side panels to the top shelf using
2x bolts per side. Note: the ange on the
top shelf should face downwards with the
centre hole on the side of the ange facing
forwards.
Position the support bar so the slot passes
through the tab on the bottom shelf with the
power toll slots. Secure the bar by lining up
the hole at the top of the support bar with the
corresponding hole on the top shelf.
The support bar should be positioned behind the
front edge of the top shelf. Secure using bolt and
nut.

6. INSTALLATION
6.1. Rack can be installed onto a peg board (using nuts and bolts) or a wall.
6.2. If installing into a wall, ensure wall (and xings) are able to support the weight
of the rack and any tools stored upon it.
6.3. Hold rack in place to mark and then pre-drill holes.
6.4. Use xings appropriate to the wall being used to x the rack to.
7. MAINTENANCE
7.1. Regularly check xings and mountings are rmly tted and that the rigidity and
security of the rack is not compromised.
7.2. Wipe clean with damp cloth.
8DO NOT use chemical or abrasive cleaners as this may result in damage to the
surface.
.
Original Language Version
© Jack Sealey Limited PTSR2 Issue:1 05/02/21
Sealey Group, Kempson Way, Suffolk Business Park, Bury St Edmunds, Suffolk. IP32 7AR
01284 757500 01284 703534 sales@sealey.co.uk www.sealey.co.uk
ENVIRONMENT PROTECTION
Recycle unwanted materials instead of disposing of them as waste. All tools, accessories and packaging should be sorted, taken to
a recycling centre and disposed of in a manner which is compatible with the environment. When the product becomes completely
unserviceable and requires disposal, drain any fluids (if applicable) into approved containers and dispose of the product and fluids
according to local regulations.
Note: It is our policy to continually improve products and as such we reserve the right to alter data, specifications and component parts without prior
notice.
Important: No Liability is accepted for incorrect use of this product.
Warranty: Guarantee is 12 months from purchase date, proof of which is required for any claim.