Sharp AR-5127 User manual

AR-5127 Series
PRINTER OPERATION MANUAL
INTRODUCTION
CONTENTS
INDEX

2
CONTENTS INDEX TOP OF CHAPTER 2
INTRODUCTION
This manual describes the printer feature of the AR-
5127 digital laser copier/printer.
NOTES:
zThis manual describes only the printer feature. For
information about copier functions, maintenance,
supplies, related topics and specifications of the
printer feature, refer to the operation manual.
zThis manual assumes that you have a practical
knowledge of your operating system (Windows 95,
Windows 98, Windows Me, Windows NT 4.0,
Windows 2000, or Windows XP).
zFor information on the functions and procedures for
using your operating system, refer to your operating
system's manual or online Help.
zIn this manual, screen images and operating
procedures are mainly for Windows XP.
zThis manual refers to AR-5127 digital laser copier/
printer with the printer feature installed simply as the
"printer".
Warning:
This product is a class A product. If it is operated in
households, offices or similar surroundings, it can
produce radio interferences at other appliances, so
that the user has to take adequate countermeasures.

3
CONTENTS INDEX TOP OF CHAPTER 3
HOW TO USE THIS MANUAL
In this manual, the following buttons are displayed at the
bottom of each page. Click these buttons to move
quickly to your desired page.
Displays the Contents of this manual. From the Contents
you can jump to various pages.
Displays the Index of this manual. From the Index you
can jump to various pages.
Takes you forward page by page.
Takes you back page by page.
Takes you to the beginning of the chapter.
This manual uses a link function that allows you to jump
to a related page. If you click green, underlined text, the
related page will be displayed.
Example:
☞NORMAL PRINTING
To return to the previous link, click the button on the
menu bar of Acrobat Reader. In the Contents and Index
sections, the linked areas are not underlined.
How to print out this manual
In order to print out a hard copy of this manual for your
reference, click the 'File' menu of Acrobat Reader and
select 'Print'. After specifying the printer setting, click the
'Print' ('OK' in operating systems other than Windows
2000/XP) button to print.
For details on the operation and the functions of Acrobat
Reader, see the Acrobat Reader's help.
CONTENTS
INDEX
TOP OF CHAPTER

4
CONTENTS INDEX TOP OF CHAPTER 44
CONTENTS
INTRODUCTION 2
HOW TO USE THIS MANUAL 3
PRINTING FROM A COMPUTER
NORMAL PRINTING 5
Supplementary notes on printing 7
USING THE OPERATION PANEL
OPERATION PANEL 8
Display 9
Indicators 10
Operation keys 11
CONFIGURING SETTINGS FROM THE OPERATION PANEL
12
Procedure for selecting basic menu settings 12
TROUBLESHOOTING
OUTLINE OF TROUBLESHOOTING 13
PRINTER DOES NOT PRINT 15
IMPROPER PRINTING OPERATION 18
PRINT QUALITY PROBLEMS 21
PRINTER DRIVER PROBLEMS 22
NOTICE PAGE PRINTED 23
ERROR MESSAGES SHOWN DURING PRINTING 24
UNINSTALLING THE PRINTER DRIVER 25
SHARING PRINTER
SHARING THE PRINTER USING WINDOWS NETWORKING
26
SHARED PRINTER SETTINGS 27
On the computer to which the printer is directly connected
27
CLIENT SETTINGS 28
GENERAL INFORMATION
PRINTER DRIVER FEATURES 31
GLOSSARY 34
KEY OPERATOR PROGRAMS
KEY OPERATOR PROGRAMS 35
LIST OF KEY OPERATOR PROGRAMS 36
USING THE KEY OPERATOR PROGRAMS 37
Basic procedure for accessing key operator programs 37
INDEX 39

PRINTING FROM A COMPUTER
5
CONTENTS INDEX TOP OF CHAPTER 5
NORMAL PRINTING (1)
In most cases, it is not necessary to use the operation
panel when printing documents from your computer.
When a document is sent to the printer from the
computer, the printer will automatically print the
document. However, following the procedure specified
below can help ensure that documents are printed
accurately. The procedure assumes that the printer has
been properly connected to a computer, and that a
printer driver has been installed.
For more information regarding the printer operation
panel:
☞USING THE OPERATION PANEL
1Check the operation panel to confirm that the
ONLINE indicator is lit.
zIf the ONLINE indicator is not lit, press the PRINT key
to select the print mode and then press the key to
set the printer to the online condition.
Ready to print.
ONLINE
OFFLINE

PRINTING FROM A COMPUTER
6
CONTENTS INDEX TOP OF CHAPTER 6
NORMAL PRINTING (2)
2Check the paper tray(s) to ensure that the
desired paper is loaded.
3
Using the computer and any appropriate application
software, load the document to be printed, set any
desired features using the installed printer driver,
and give the command to print the document.
zIf necessary, refer to the documentation for the
computer and/or the application software for help on
issuing the necessary commands.
zFor details of the printer driver settings, see the
printer driver help.
4The printer will print the document.
zIf an optional Job Separator Tray Kit is installed,
printed sheets will be delivered to the job separator
tray. (This setting can be changed using the key
operator program or 'Output' setting in the printer
driver.)
To cancel a print job
To interrupt a print job when the printer is printing, press
the key in the print mode to select "OFFLINE". The
printer will enter the offline mode and stop printing. To
resume printing, press the key to select the online
mode. To cancel the print job, press the CLEAR key.
NOTE:
Depending on the computer's processing speed and
the machine's I/O timeout setting, it may take time for
the cancellation to take effect. In some cases, the
cancellation may take effect more quickly if the print
job is cancelled from the computer.

PRINTING FROM A COMPUTER
7
CONTENTS INDEX TOP OF CHAPTER 7
NORMAL PRINTING (3)
Supplementary notes on printing
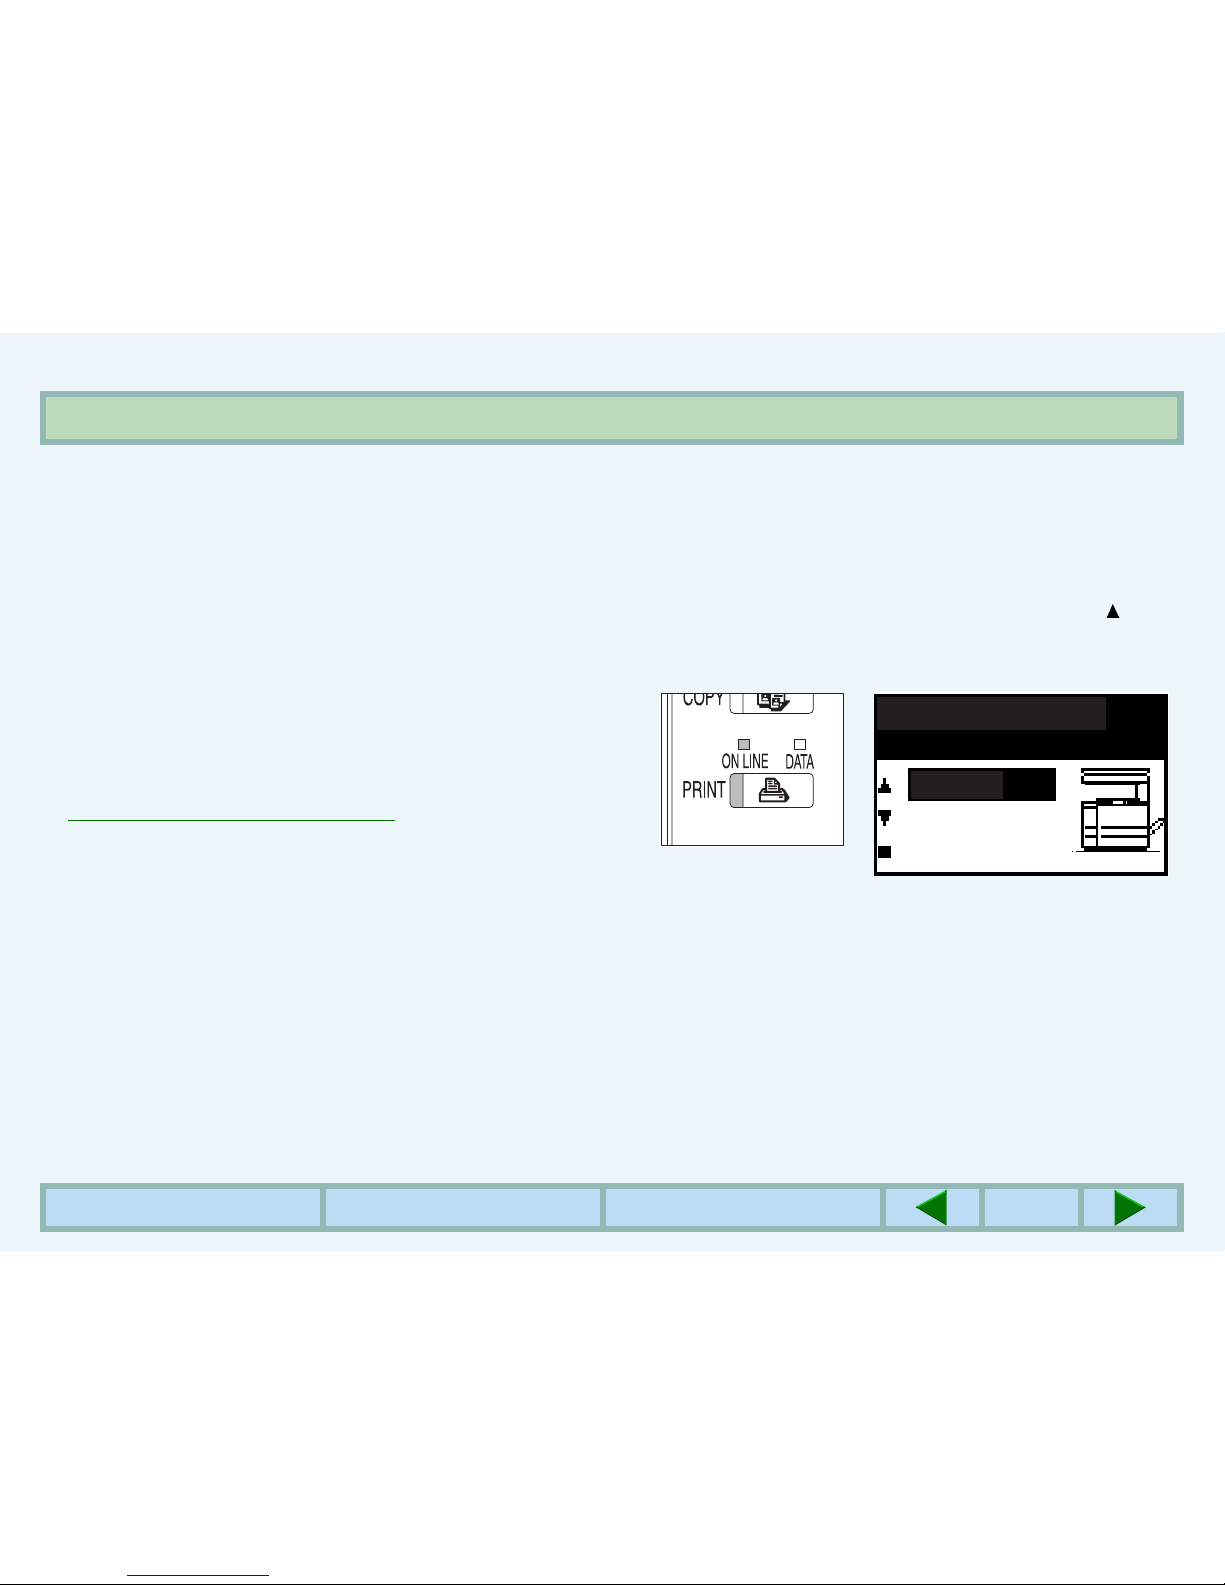
zIf you try to start printing before the printer is turned on
or while the message "Warming up. Please wait." is
displayed, immediately after the printer is turned on,
incorrect printing may result. Be sure to wait until the
printer is online before sending a print job.
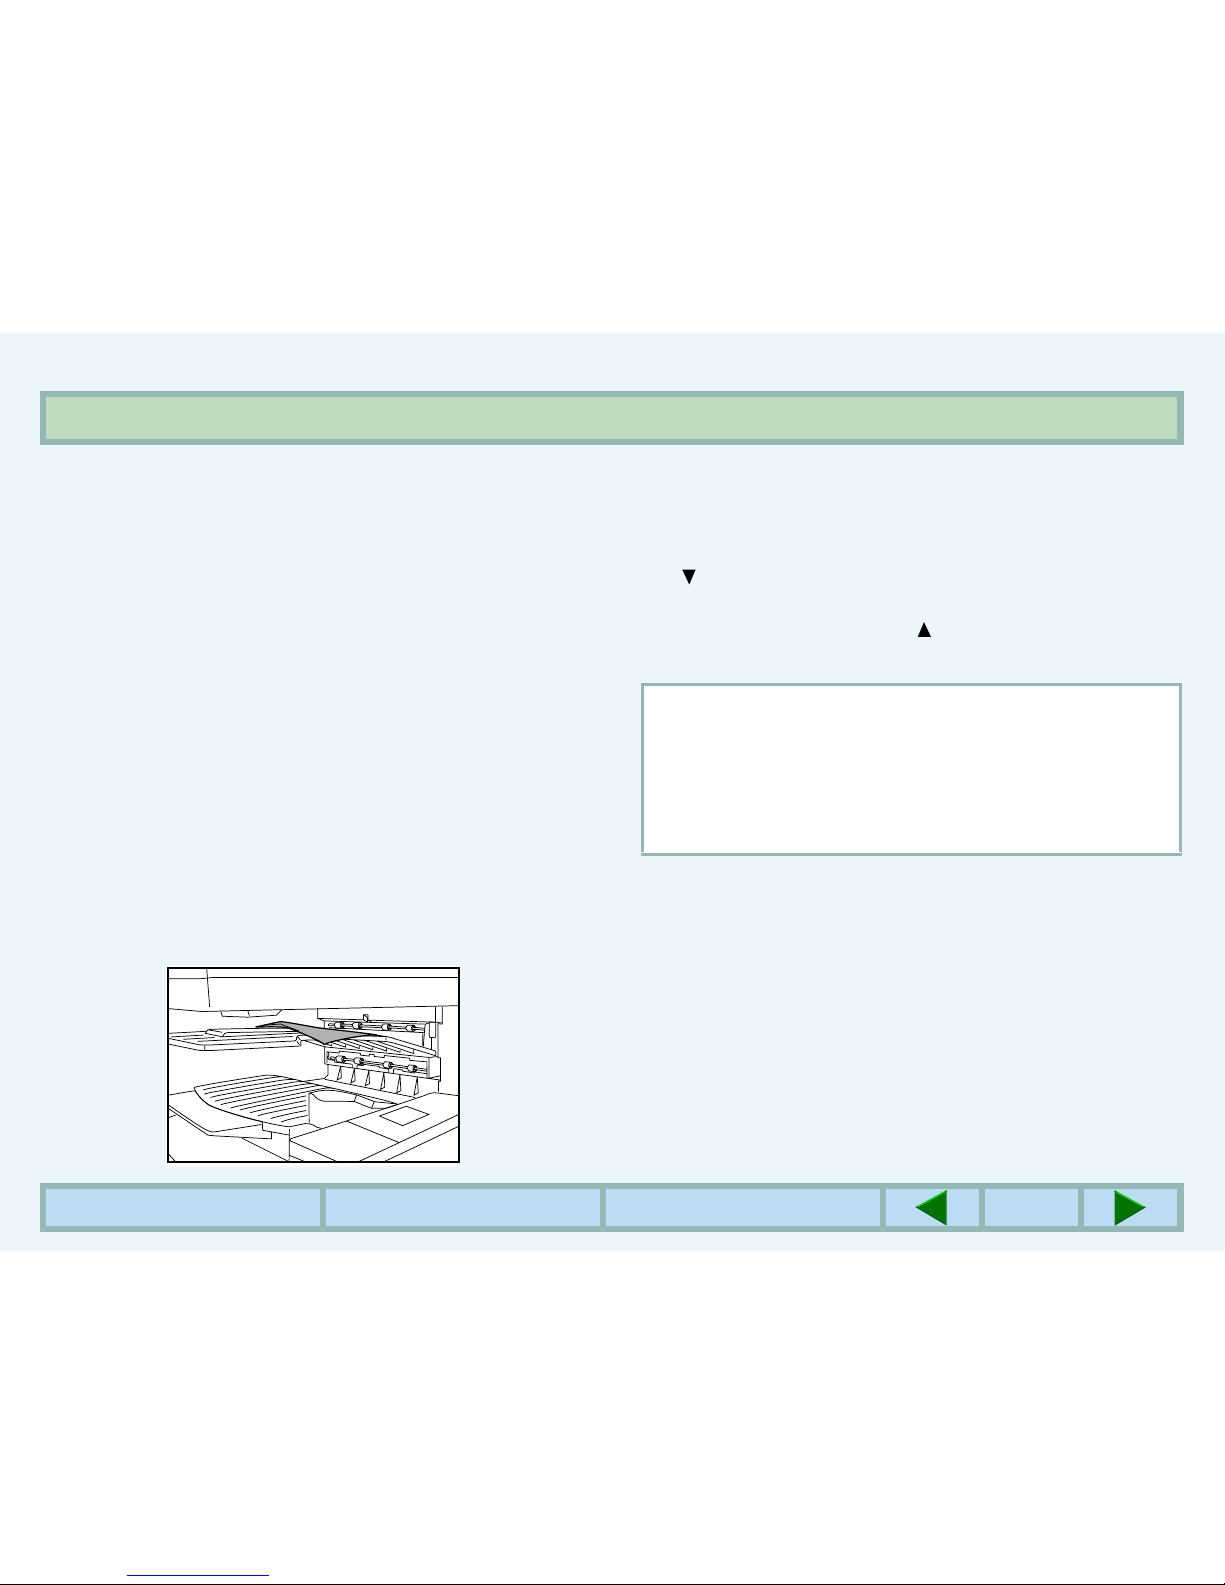
zAlways check the message in the display before
adding A4, B5 or 8-1/2" x 11" (letter) paper to the
bypass tray during a print job. If 'R' is added to the
paper size indication, for example "Add A4R paper.",
set the paper narrow side first into the feed slot. If 'R' is
not added to the paper size indication, set the paper
longest side first into the feed slot.
zIf paper needs replenishing in the middle of a print job,
be sure to set the paper in the same orientation. If the
orientation is changed in the middle of a print job,
incorrect printing may result. Image rotation will not
occur in the middle of a print job.
zWhen setting A5 or 5-1/2" x 8-1/2" (invoice) size paper
in a paper tray or in the bypass tray, be sure to set the
paper longest side first into the feed slot, otherwise
incorrect printing may result.
zWhen setting A6, B6, 7-1/4" x 10-1/2" (executive), DL,
C5 or COM10 in the bypass tray, be sure to set the
paper narrow side first into the feed slot. If not,
incorrect printing may result.
zIf any paper tray is open when a print job is sent to the
printer, incorrect printing may result. Ensure that all
paper trays and covers are closed before printing.
z"BYPASS MANUAL" cannot be specified in the middle
of a job. It will be regarded as "BYPASS TRAY"
(automatic feeding).

USING THE OPERATION PANEL
8
CONTENTS INDEX TOP OF CHAPTER 8
OPERATION PANEL (1)
The operation panel is used to set the display contrast, paper size, and other parameters. The operation panel also lets
you use key operator programs to adjust printer settings.
☞CONFIGURING SETTINGS FROM THE OPERATION PANEL
Operation panel keys and the printer basic screen are shown below.
You can jump to their description by clicking the underlined text.
The display may be different depending on the configuration of optional equipment.
The key names and the key icons may be different for users in different countries and regions.
Indicators Display
☞☞
Operation keys
☞
For description of operation keys used in the print mode:
Ready to print.
ONLINE
OFFLINE

USING THE OPERATION PANEL
9
CONTENTS INDEX TOP OF CHAPTER 9
OPERATION PANEL (2)
Display
The display in the print mode is composed of three
sections: message display, status information, and
machine image.
Message display
Messages are displayed regarding the printer status and
operation.
Status information
The online or offline mode is indicated. Also the selected
paper size is indicated when a print job is executed.
Machine image
The configuration of optional equipment is indicated.
Also the selected paper tray is indicated when a print job
is executed.
When any problem occurs or when accessing the key
operator programs, the display will vary depending on
the situation.

USING THE OPERATION PANEL
10
CONTENTS INDEX TOP OF CHAPTER 10
OPERATION PANEL (3)
Indicators
The indicators show printer status as described below:
ONLINE indicator
* You cannot change settings if the DATA indicator is
lit. To clear the DATA indicator, press the key to
select ONLINE and wait for the print job to finish.
DATA indicator
Lit Indicates that the printer is online and
data can be transferred and printed.
Extinguished Indicates that the printer is offline and
data cannot be transferred or printed.
Make settings from the operation
panel in this mode.*
Lit Indicates that there is print data
remaining in memory but printing has
been stopped.
Blinking Indicates that there is print data
remaining in memory and printing is
being performed.
Extinguished Indicates that there is no data
remaining in memory or being
received.

USING THE OPERATION PANEL
11
CONTENTS INDEX TOP OF CHAPTER 11
OPERATION PANEL (4)
Operation keys
To make printer settings from the operation panel, use
the operation keys which have the following functions:
PRINT key Press to select the PRINT
mode.
and keys Press to change between the
online and offline modes and
select an item in the printer
setting screen.
and keys Use to move the setting item
horizontally in some key
operator programs.
SPECIAL
FUNCTION key
Press to display the screen for
setting the key operator
programs, display contrast or
paper size from the basic
screen of the PRINT mode. If
pressed in the DISPLAY
CONTRAST screen, you will
return to the basic screen of
PRINT mode. If pressed in the
PAPER SIZE SET screen, a
message appears confirming
the paper size in the tray.
OK key Press to confirm the selected
setting or entered data in the
PRINT mode.
BACK key Press to return the display to
the previous screen.
CLEAR key If pressed in the offline mode
while data remains in memory,
the current print data will be
cleared. Also used to clear an
entry in the configuration
setting if a mistake is made.
CLEAR ALL key Press to cancel setting and
return to the basic screen.
Numeric keys Used to enter numbers such
as key operator codes.
NOTE:
Except for the PRINT key and keys, these keys are
available only when the printer is not executing a print
job and no print data remains.

USING THE OPERATION PANEL
12
CONTENTS INDEX TOP OF CHAPTER 12
CONFIGURING SETTINGS FROM THE OPERATION PANEL
Procedure for selecting basic menu settings
The printer operation panel is used to adjust print
settings.
Follow these steps to adjust the print settings from the
operation panel.
1Press the PRINT key to select the print mode.
zMake sure the PRINT indicator lights up and the
basic screen is displayed on the display.
2Press the SPECIAL FUNCTION key.
3Use the key or key to select "PAPER SIZE
SET", "DISPLAY CONTRAST", or "KEY
OPERATOR PRG.", and press the OK key.
zThe paper size and display contrast settings are
adjusted using the same procedure as in COPY
mode. For this procedure, see the Operation Manual
for the machine.
zFor details on the key operator programs,
☞KEY OPERATOR PROGRAMS
SPECIAL FUNCTION
DISPLAY CONTRAST
PAPER SIZE SET
KEY OPERATOR PRG.

TROUBLESHOOTING
13
CONTENTS INDEX TOP OF CHAPTER 13
OUTLINE OF TROUBLESHOOTING (1)
This chapter describes how to solve printer problems.
Refer to the relevant section based on the problem.
If a notice page is printed, refer to the section entitled
"NOTICE PAGE PRINTED" to clear a memory error.
☞NOTICE PAGE PRINTED
If an error message appears in the message display,
follow the troubleshooting instructions in the message.
☞ERROR MESSAGES SHOWN DURING PRINTING
In other cases, find your problem in the list on the next
page and read the relevant solution by clicking the
underlined text. If a problem persists after checking the
list, please consult your authorized SHARP dealer.
For problems inside the printer, such as paper feeding
errors and paper misfeeds, see the operation manual.
For problems occurring in the paper tray, read the
description of "Types and sizes of copy paper", "Loading
copy paper", and "Storage of supplies". For misfeed
problems, read the section of "Misfeed removal".

TROUBLESHOOTING
14
CONTENTS INDEX TOP OF CHAPTER 14
OUTLINE OF TROUBLESHOOTING (2)
PRINTER DOES NOT PRINT
zThe printer does not operate.
zThe printer is on but data is not received (DATA
indicator does not blink).
zThe printer is on, data has been received (DATA
indicator was blinking) but is not printed.
IMPROPER PRINTING OPERATION
zPrinting is slow.
zPrinted characters (or graphics) are different from
those on screen (garbled characters).
zThe printer does not print the full image.
zPaper specified from application is not used.
zStapling cannot be performed.
zPrinter write error occurs.
PRINT QUALITY PROBLEMS
zPrint quality problem occurs, such as blurred or
stained printout, character voids, dirty background,
dropouts or double printing.
PRINTER DRIVER PROBLEMS
zThe printer driver is uninstallable.
zThe printer cannot be selected from computer.
zThe printer driver does not operate correctly.
UNINSTALLING THE PRINTER DRIVER

TROUBLESHOOTING
15
CONTENTS INDEX TOP OF CHAPTER 15
PRINTER DOES NOT PRINT (1)
The printer does not operate.
Check: Printer plugged in?
Solution: Plug the printer into a grounded outlet.
Check: Power switch on?
Solution: Turn the power switch on.

TROUBLESHOOTING
16
CONTENTS INDEX TOP OF CHAPTER 16
PRINTER DOES NOT PRINT (2)
The printer is on but data is not received (DATA
indicator does not blink).
☞NORMAL PRINTING
Check: Printer set to the ONLINE mode?
Solution: Select the PRINT mode and use the
key to select the ONLINE mode.
Check: Correct printer cable properly connected
between the printer and your computer?
Solution: Check both ends of the printer cable and
make sure you have a solid connection.
Try a known good cable. For information
on cables, see "SPECIFICATIONS" in
the Operation Manual for the machine.
Check: Correct printer driver installed?
Solution: Install the appropriate printer driver. For
the procedure for installing the printer
driver, see the separate "AR-5127 Series
SOFTWARE SETUP" manual.
Check: Is the port configured correctly?
Solution: It is possible that there is a problem with
the port configuration, for example
another printer driver may be using the
port. Open the printer driver properties
and correctly configure the port that you
are using.
Check: Is the correct printer selected?
Solution: From the application, select the correct
printer.

TROUBLESHOOTING
17
CONTENTS INDEX TOP OF CHAPTER 17
PRINTER DOES NOT PRINT (3)
The printer is on, data has been received (DATA
indicator was blinking) but is not printed.
If a notice page is printed or an error message appears,
see the message.
☞NOTICE PAGE PRINTED
☞ERROR MESSAGES SHOWN DURING PRINTING
Check: Copy job being performed?
Solution: Wait until the copy job is complete. You
can also change jobs in the job status
screen. To change jobs, press the JOB
STATUS key on the machine's operation
panel and select "JOB OUTPUT".
Check: Is the "I/O TIMEOUT" setting too short?
Solution: Select a longer "I/O TIMEOUT" setting.

TROUBLESHOOTING
18
CONTENTS INDEX TOP OF CHAPTER 18
IMPROPER PRINTING OPERATION (1)
Printing is slow. Printed characters (or graphics) are different from
those on screen (garbled characters).
Check: Simultaneous use of two or more
application software programs?
Solution: Start printing after quitting all unused
application software programs.
Check: Is an appropriate print quality selected in
the printer driver?
Solution: When the print quality setting in the
printer driver is 'Normal' or 'Photo', slow
printing sometimes results. Open the
printer driver setup screen and select
'Draft' for the print quality.
Check:
Computer running out of memory (RAM)?
Solution: Add memory (RAM) to the computer.
Check: Interface cable not connected properly?
Solution: Securely plug the interface cable into the
connectors of the printer and computer.
Check: Interface cable not conforming to
specification?
Solution: For the specifications of the interface
cable, see "SPECIFICATIONS" in the
Operation Manual for the machine.

TROUBLESHOOTING
19
CONTENTS INDEX TOP OF CHAPTER 19
IMPROPER PRINTING OPERATION (2)
The printer does not print the full image.
Check: Page layout too complex?
Solution: Simplify the page layout.
Check: Is an appropriate print quality selected in
the printer driver?
Solution: When the print quality setting in the
printer driver is 'Normal' or 'Photo', slow
printing sometimes results. Open the
printer driver setup screen and select
'Draft' for the print quality.
Check: Wrong page orientation setting for
printing?
Solution: Change the page orientation with the
printer driver.
Check: Simultaneous use of two or more
application software programs?
Solution: Start printing after quitting all unused
application software programs.
Check: Paper size loaded in machine larger than
that specified on used application
software or printer driver?
Solution: Load the machine with paper of correct
size.
Check: Computer running out of memory (RAM)?
Solution: Add memory (RAM) to the computer.

TROUBLESHOOTING
20
CONTENTS INDEX TOP OF CHAPTER 20
IMPROPER PRINTING OPERATION (3)
Paper specified from application is not used.
Stapling cannot be performed.
Printer write error occurs.
Check: Is the paper selection setting in the
printer driver appropriate?
Solution: Place the desired size of paper in the
printer paper tray, and set the paper
selection setting in the printer driver to
'Auto Select'.
Check: Different sized papers used?
Solution: Stapling cannot be performed on different
sized papers.
Check: Paper size acceptable for stapling?
Solution: Check the acceptable paper sizes for
stapling referring to the operation
manual.
Check: Timeout time too short?
Solution: Open the printer driver properties and
select a longer timeout setting.
NOTE:
Even if a longer time is set, a printer write error may
occur when copying is being performed.
Other manuals for AR-5127
1
Table of contents
Other Sharp Printer manuals

Sharp
Sharp MX-2640N Quick start guide

Sharp
Sharp MZ-80P6 User manual

Sharp
Sharp FO 4400 - B/W Laser - All-in-One User manual

Sharp
Sharp DX-B450P User manual

Sharp
Sharp AR-215 User manual

Sharp
Sharp AR-M351N User manual

Sharp
Sharp MX-B427PW User manual

Sharp
Sharp CE-140P User manual

Sharp
Sharp AJ-2105 User manual

Sharp
Sharp AR-M450N User manual

Sharp
Sharp BP-FR12U User manual

Sharp
Sharp MX-B400P User manual

Sharp
Sharp MZ-1P16 User manual

Sharp
Sharp AR-235 User manual

Sharp
Sharp MZ-80P5 User manual

Sharp
Sharp AR-PE2 User manual

Sharp
Sharp AR-200M User manual

Sharp
Sharp MX-2301N User manual

Sharp
Sharp MX-C400P Installation and operating manual

Sharp
Sharp MX-C400P User manual