manuals.online logo
Brands
  1. Home
  2. •
  3. Brands
  4. •
  5. Target
  6. •
  7. Indoor Furnishing
  8. •
  9. Target Wiley Side Table TGZLTBKDWH User manual

Target Wiley Side Table TGZLTBKDWH User manual

>>
wiley
side table
assembly instructions
style # TGZLTBKDWH (true white)
dpci # 249-17-0585
tcin # 53546345
style # TGZLTBKDBL (orion blue)
dpci # 249-17-0496
tcin # 53546346
style # TGZLTBKDGY (gray)
dpci # 249-17-0497
tcin # 53546341
2
Congratulations on your latest Target purchase.
Now what? Don’t start sweating over this box of parts. This will be easy. We did the hard work for you.
All you need to do is follow our simple instructions and you’ll be on your way to transforming your
room in no time. Good luck—though we’re condent you won’t need it.
before you begin
1. Check for damaged or missing parts. Call 1-855-MYTGTHOME (855-698-4846) to order missing supplies.
2. Use the carton as a working surface to prevent product damage during assembly.
3. Read through and review assembly steps.
4. Gather all tools prior to assembly.
tools needed
3
table of contents
introduction 2
hardware 4
parts list 5
how to use the cam lock system 6
assembly 7-18
QUESTIONS? Just call 1-855-MYTGTHOME (855-698-4846) for parts and service. For faster service, have the style number and dpci number ready when calling.
4
TOP
hardware
(H1) x 20
wooden dowel
(H2) x 14
cam bolt
(H3) x 14
cam
(H4) x 4
long at head screw
(H5) x 8
short at head screw
(H6) x 2
corner block
(H7) x 1
knob
(H8) x 1
knob bolt
(H9) x 8
bolt
(H10) x 8
lock washer
(H11) x 8
washer
(H12) x 1
allen wrench
(H13) x 4
mounting plate
(H14) x 8
conrmat screw
(H15) x 4
pan head screw
(H16) x 1
at head wrench
5
exploded diagram
ITEM DESCRIPTION QUANTITY
A top panel 1
B left side panel 1
C right side panel 1
D bottom panel 1
E back panel 1
F drawer face 1
Gleft drawer side 1
Hright drawer side 1
Idrawer back 1
Jdrawer bottom 1
Kxed shelf 1
L foot 4
how to use the cam lock system
1.
Screw cam bolt into panel
2.
Align cam bolt(s) with cross-bored
hole(s) and insert all the way until
panels are ush
3.
Push cam into panel - arrow feature
on cam top points to panel edge
4.
Rotate cam(s) clockwise 180° to
lock panels together
5.
Panels should be tight against each
other and connection should be rigid
6
5.4.
1. 3.
2.
7
step 1: attach top panel and back panel.
(H1) x 2
wooden dowel
(H2) x 2
cam bolt
(H3) x 2
cam
1.1. Carefully tap small wooden dowels into place. Leave 1/2” of the dowels sticking out.
1.2. Screw-In cam bolts must be screwed down ush.
1.3. Refer to page 6 for instructions on how to use the cam lock system.
1.4. Do not over tighten bolts.
1.1. Carefully tap small wooden dowels into place. Leave 1/2” of the dowels sticking out.
8
step 2: attach bottom panel.
(H1) x 2
wooden dowel
(H2) x 2
cam bolt
(H3) x 2
cam
2.1. Carefully tap small wooden dowels into place. Leave 1/2” of the dowels sticking out.
2.2. Screw-In cam bolts must be screwed down ush.
2.3. Refer to page 6 for instructions on how to use the cam lock system.
2.4. Do not over tighten bolts.
2.1.
Carefully tap small wooden dowels into place. Leave 1/2” of the dowels sticking out.
9
step 3: attach left side panel.
(H1) x 6
wooden dowel
(H2) x 5
cam bolt
(H3) x 5
cam
(H16) x 1
at head wrench
3.1. Carefully tap small wooden dowels into place. Leave 1/2” of the dowels sticking out.
3.2. Screw-In cam bolts must be screwed down ush.
3.3. Refer to page 6 for instructions on how to use the cam lock system.
3.4. Do not over tighten bolts.
(H1) x 6
wooden dowel
(H2) x 5
cam bolt
(H3) x 5
cam
(H16) x 1
at head wrench
3.1. Carefully tap small wooden dowels into place. Leave 1/2” of the dowels sticking out.
3.2.
3.3.
3.4.
Screw-In cam bolts must be screwed down ush.
Refer to page 6 for instructions on how to use the cam lock system.
Do not over tighten bolts.
10
step 4: attach right side panel.
(H1) x 6
wooden dowel
(H2) x 5
cam bolt
(H3) x 5
cam
(H16) x 1
at head wrench
4.1. Carefully tap small wooden dowels into place. Leave 1/2” of the dowels sticking out.
4.2. Screw-In cam bolts must be screwed down ush.
4.3. Refer to page 6 for instructions on how to use the cam lock system.
4.4. Do not over tighten bolts.
4.1. Carefully tap small wooden dowels into place. Leave 1/2” of the dowels sticking out.
4.2. Screw-In cam bolts must be screwed down ush.
4.3. Refer to page 6 for instructions on how to use the cam lock system.
11
step 5: attach left and right drawer sides to drawer face.
(H1) x 4
wooden dowel
(H5) x 8
short at head
screw
(H6) x 2
corner block
5.1. Carefully tap small wooden dowels into place. Leave 1/2” of the dowels sticking out.
5.2. Align screws with pre-drilled holes.
5.3. Do not over tighten screws.
wooden dowel short at head
screw
(H6) x 2(H5) x 8(H1) x 4
corner block
12
step 6: install drawer bottom and attach drawer back.
(H4) x 4
long at head
screw
6.1. Align screws with pre-drilled holes.
6.2. Do not over tighten screws.
13
step 7: install drawer into case.
(H7) x 1
knob
(H8) x 1
knob bolt
7.1. Do not over tighten bolts.
14
TOP
x4
step 8: attach mounting plate to foot.
(H13) x 4
mounting plate
(H14) x 8
conrmat screw
8.1. Align screws with pre-drilled holes.
8.2. Do not over tighten screws.
15
step 9: install x2 feet to bottom of case.
(H9) x 4
bolt
(H10) x 4
lock washer
(H11) x 4
washer
(H12) x 1
allen wrench
9.1. Align bolts with pre-drilled holes.
9.2. Do not over tighten bolts.
16
step 10: attach xed shelf to feet and align remaining feet.
17
step 11: install remaining feet to bottom of case.
(H9) x 4
bolt
(H10) x 4
lock washer
(H11) x 4
washer
(H12) x 1
allen wrench
11.1. Align bolts with pre-drilled holes.
11.2. Do not over tighten bolts.
18
step 12: secure xed shelf to feet.
(H15) x 4
pan head screw
12.1. Align screws with pre-drilled holes.
12.2. Do not over tighten screws.
1. This unit has been designed for the weight shown. Exceeding this recommended weight could result in
excessive “sagging” of the top. Extreme overloading can cause failure of the top and possible injury.
2. Furniture Care Instructions: Dust with a clean, lint-free cloth. Use a spray furniture polish as needed.
19
10 lbs.
15 lbs.
25 lbs.
QUESTIONS?
Just call 1-855-MYTGTHOME (855-698-4846) for parts and service. For faster service, have the style number and DPCI number ready when calling.
© 2018 Target. The Bullseye Design is a trademark of Target Brands, Inc. All rights reserved.

This manual suits for next models

2

Other Target Indoor Furnishing manuals
Target 4274 User manual

Target

Target 4274 User manual

Target CAPRI 1800 User manual

Target

Target CAPRI 1800 User manual

Target DSDTRDSKBK User manual

Target

Target DSDTRDSKBK User manual

Target Southport FTS70837A User manual

Target

Target Southport FTS70837A User manual

Target lemoor UPBRSOKD01 User manual

Target

Target lemoor UPBRSOKD01 User manual

Target Fairglen TGFGCDSKWH User manual

Target

Target Fairglen TGFGCDSKWH User manual

Target Halsted FRS80712GST4 User manual

Target

Target Halsted FRS80712GST4 User manual

Target verken UPSMSTKD01 User manual

Target

Target verken UPSMSTKD01 User manual

Target BALI SINGLE SEATER User manual

Target

Target BALI SINGLE SEATER User manual

Target 6-Cube User manual

Target

Target 6-Cube User manual

Target HAVERHILL 58 MEDIA STAND 4 DOORS User manual

Target

Target HAVERHILL 58 MEDIA STAND 4 DOORS User manual

Target 249-14-0039 User manual

Target

Target 249-14-0039 User manual

Target Made By Design Horizontal Bookcase User manual

Target

Target Made By Design Horizontal Bookcase User manual

Target Berkshire FRS81033A User manual

Target

Target Berkshire FRS81033A User manual

Target copley C005501T User manual

Target

Target copley C005501T User manual

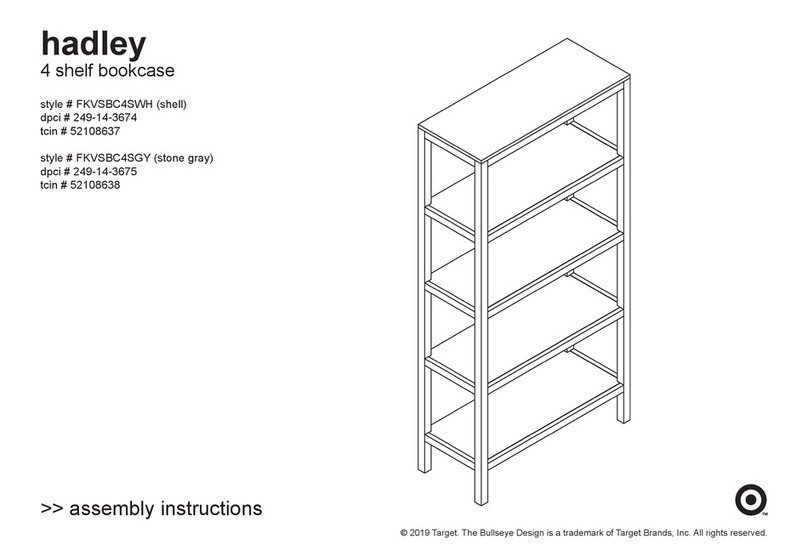
Target Hadley FKVSBC4SWH User manual

Target

Target Hadley FKVSBC4SWH User manual
Target CAPRI User manual

Target

Target CAPRI User manual

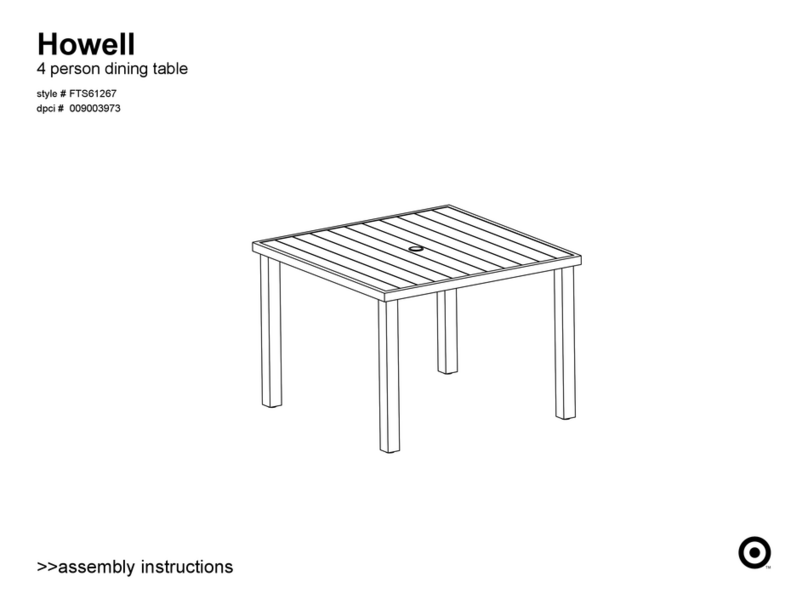
Target Howell FCS60615ST User manual

Target

Target Howell FCS60615ST User manual

Target Warwick FKWWCB2DBR User manual

Target

Target Warwick FKWWCB2DBR User manual

Target MYKONOS 1800 User manual

Target

Target MYKONOS 1800 User manual

Target Halsted FRS80921A User manual

Target

Target Halsted FRS80921A User manual

Target warwick 249-10-0090 User manual

Target

Target warwick 249-10-0090 User manual

Target Narrow bookcase canarrbkes User manual

Target

Target Narrow bookcase canarrbkes User manual

Target BK2SHLFXEB User manual

Target

Target BK2SHLFXEB User manual
Popular Indoor Furnishing manuals by other brands

Twoey inside 3810 quick start guide

Twoey inside

Twoey inside 3810 quick start guide

Hülsta now! 4020 Assembly instruction

Hülsta

Hülsta now! 4020 Assembly instruction

Costway KC55961 manual

Costway

Costway KC55961 manual

HJH office 673951 Assembly instruction

HJH office

HJH office 673951 Assembly instruction

Coaster 721868 Assembly instructions

Coaster

Coaster 721868 Assembly instructions

ROOMS TO GO SH278KBGE-1 Assembly instruction

ROOMS TO GO

ROOMS TO GO SH278KBGE-1 Assembly instruction

Whalen Bayside Furnishings CSC72BK-6 manual

Whalen

Whalen Bayside Furnishings CSC72BK-6 manual

deVRIES PURE Baltic XL ALU Instructions & Care

deVRIES

deVRIES PURE Baltic XL ALU Instructions & Care

Extremis Virus manual

Extremis

Extremis Virus manual

DeFehr MONACO COLLECTION Assembly instruction

DeFehr

DeFehr MONACO COLLECTION Assembly instruction

Seconique NEVADA SLIDING DOOR BEDSIDE Assembly instructions

Seconique

Seconique NEVADA SLIDING DOOR BEDSIDE Assembly instructions

Amart Furniture LOCKLYN 72725 Assembly instruction

Amart Furniture

Amart Furniture LOCKLYN 72725 Assembly instruction

KidKraft Brighton 26612B Assembly instructions

KidKraft

KidKraft Brighton 26612B Assembly instructions

FIAM. Livit MIRAGE MI/A Product information

FIAM.

FIAM. Livit MIRAGE MI/A Product information

Costway JV10616 manual

Costway

Costway JV10616 manual

HOMECHO HMC-MW-058 manual

HOMECHO

HOMECHO HMC-MW-058 manual

Bolia Care Series Product Care Guide

Bolia

Bolia Care Series Product Care Guide

Valerie objects etage small aluminium V9019001 instruction manual

Valerie objects

Valerie objects etage small aluminium V9019001 instruction manual

manuals.online logo
manuals.online logoBrands
  • About & Mission
  • Contact us
  • Privacy Policy
  • Terms and Conditions

Copyright 2025 Manuals.Online. All Rights Reserved.