manuals.online logo
Brands
  1. Home
  2. •
  3. Brands
  4. •
  5. Teknion
  6. •
  7. Indoor Furnishing
  8. •
  9. Teknion height-adjustable bench Operating and maintenance instructions

Teknion height-adjustable bench Operating and maintenance instructions

Single-Sided Worksurface (HWBWBS),Single-Sided Worksurface w/Radius Corners (HWBWJS),Single-Sided Frame (HWBFYS)
Single-Sided Frame (HWBFYS2F), Single-Sided Base Link (HWBFBS) and Single-Sided Weldment Cover (HWBFSC)
Section:
Description: Page No:
Date:
Rev. No: 1
FRAME SINGLE-SIDED HAB
HEIGHT ADJUSTABLE BENCH
Oct 2022
1 of 19
HABH_113
height-adjustable bench
Installation Guides
A1
B2
B1
C1or C2
E1
D1
C11
F2
F1
G1
G2
Part and Product Identification
Section:
Description: Page No:
Date:
Rev. No: 1
FRAME SINGLE-SIDED HAB
HEIGHT ADJUSTABLE BENCH
Oct 2022
2 of 19
HABH_113
height-adjustable bench
Installation Guides
A1 - Single-Sided Worksurface
(HWBWBS) x1 OR
A2 - Single-Sided Worksurface
w/Radius Corners
(HWBWJS) x1
Single-Sided Frame (HWBFYS) x1
B - Worksurface Frame
(N01-5703-X) x1
B1 - Leg Mount Bracket
(N09-9873-X) x2
B2 - 2 Point Stiffner
(A16-11193) x1
C - Leg Kit Bifma Range
(N01-5918) x1
C3 - Keypad,
hiSpace Table
(D06-4276) x1
C5 -Right- Angle
Connector
Cable, 1m Lg
(D06-4277) x2
C6 - Cable Clamp
(B02-0558) x10
B3 - #10 x 0.875" LG. Screw,
Quad.Pan Washer
(E07-0077) x28
C7 -5x25mm
Wood Screw
(E01-1415) x2
C8 -3x20mm
Wood Screw
(E01-1470) x3
C4 - Control Box
w/Anti Collision
(D06-4275) x1
C9 -3.5x15mm
Wood Screw
(E01-1417) x10
C10 -3m Power
Cord
(D06-4136) x1
C11 -Cam Handle
(N09-9814) x2
D1 -Foot Assembly,
hiSpace Table
(N09-5790\24) x2
D2 -M6x16 SHCS
(E04-0096) x8
E2 -M8x25mm
Flat SHS
(E01-1410) x4
E1 -Frame
Connecting Tube
Assembly R/L
(N01-5966) x2
D - YS Feet (Pair),
HiSpace Table
(N09-5784\24) x1
E - Frame
Connecting
Tube Kit
(X01-4215) x1
F2 - Base Link Cover, SS
(A16-9991) x1
F - Single-Sided
Base Link
(HWBFBS) x1
F1 - Base Link, SS
(A16-9990) x1
F3 - M6 x 16mm Screw Chrome
(E01-1409) x4
G -Single-Sided
Weldment Cover
(HWBFSC)x1
G1 - Connecting
Tube Cover
(N01-5047L) x 1
G2 - Connecting
Tube Cover
(N01-5047R) x 1
G3 - M6x16mm
(E01-1409) x 2
C12 -Toggle Switch
(N01-7336) x1
C1 - Leg L/R
(N01-7983) x2
C2 - Leg L/R
(N01-7764) x2
STEP 2: Attach the Reinforcement Bars to the Worksurface.STEP 1: Place Worksurface upside down on the floor and Attach Leg Mount Brackets as
shown.
Section:
Description: Page No:
Date:
ATTACH LEG MOUNT BRACKETS ATTACH REINFORCEMENT BAR
HABH_113
3 of 19
Oct 2022
FRAME SINGLE-SIDED HAB
HEIGHT ADJUSTABLE BENCH
height-adjustable bench
Installation Guides
A
B1
B3
B3
NOTE: Do not over tighten
NOTE: Worksurface upside down
NOTE: Do not over tighten
B2
STEP 4A: Push Legs towards the outer side of the Worksurface.STEP 3A: Attach Legs to the Leg Mounts by lining up with holes shown above
Section:
Description: Page No:
Date:
ATTACH LEGS TO BRACKET SECURE LEGS TO BRACKET - 1
HABH_113
4 0f 19
Oct 2022
FRAME SINGLE-SIDED HAB
HEIGHT ADJUSTABLE BENCH
height-adjustable bench
Installation Guides
C1
NOTE: Brackets will face away from
User towards back of worksurface
NOTE: C1 Leg (N01-7983) is for
Height adjustable bench (HWBFYS)
STEP 4B: Push Legs towards the outer side of the Worksurface.STEP 3B: Attach Legs to the Leg Mounts by lining up with holes shown above
Section:
Description: Page No:
Date:
ATTACH LEGS TO BRACKET SECURE LEGS TO BRACKET - 1
HABH_113
5 of 19
Oct 2022
FRAME SINGLE-SIDED HAB
HEIGHT ADJUSTABLE BENCH
height-adjustable bench
Installation Guides
NOTE: Brackets will face away from
User towards back of worksurface
NOTE: C2 Leg (N01-7764) is for
Fixed bench (HWBFYS2F)
C2
STEP 6: Insert Pin as shown to lock Cam Handle.STEP 5: Install Cam Handle into Bracket and turn towards Leg to lock.
Section:
Description: Page No:
Date:
SECURE LEGS TO BRACKET - 2 SECURE LEGS TO BRACKET - 3
HABH_113
6 0f 19
Oct 2022
FRAME SINGLE-SIDED HAB
HEIGHT ADJUSTABLE BENCH
height-adjustable bench
Installation Guides
C11
STEP 8: Fasten the Frame Connecting Tubes using the provided screwsSTEP 7: Attach the Frame Connecting Tubes to the Brackets on the Leg Assembly.
Section:
Description: Page No:
Date:
ATTACH FRAME CONNECTING TUBES SECURE FRAME CONNECTING TUBES
HABH_113
7 0f 19
Oct 2022
FRAME SINGLE-SIDED HAB
HEIGHT ADJUSTABLE BENCH
height-adjustable bench
Installation Guides
E1
E2
NOTE: Each Bracket should have
holes pointing inward.
Section:
Description: Page No:
Date:
ATTACH FEET TO LEGS
Oct 2022
8 0f 19
HABH_113
FRAME SINGLE-SIDED HAB
HEIGHT ADJUSTABLE BENCH
height-adjustable bench
Installation Guides
STEP 9: Attach Legs to Feet using provided screws
NOTE: Position Feet in this
direction for 30" Depth.
NOTE: Position Feet to this direction
for 24" Depth
D1
D2
Section:
Description: Page No:
Date:
ATTACH CONTROL BOX TO WORKSURFACE
Oct 2022
9 0f 19
HABH_113
FRAME SINGLE-SIDED HAB
HEIGHT ADJUSTABLE BENCH
height-adjustable bench
Installation Guides
STEP 10: Attach Control Box to Worksurface and fasten using provided screws. If Felt Cover Organizer is specified refer to guide HABH_317 before installing the Control Box.
C4
C7
NOTE: Do not over tighten
NOTE: If Felt Cover Organizer is specified refer to guide
HABH_317 before installing the Control Box.
NOTE: Don't have to attach control box for fixed height
(HWBFYS2F)
Section:
Description: Page No:
Date:
ATTACH CONNECTOR
Oct 2022
10 0f 19
HABH_113
FRAME SINGLE-SIDED HAB
HEIGHT ADJUSTABLE BENCH
height-adjustable bench
Installation Guides
STEP 11: Attach the Control Box to the Legs using Connector Cable as shown.
C5
NOTE: Don't have to Attach connector for fixed height (HWBFYS2F)
Section:
Description: Page No:
Date:
ATTACH SWITCH AND WIRE MANAGEMENT
Oct 2022
11 0f 19
HABH_113
FRAME SINGLE-SIDED HAB
HEIGHT ADJUSTABLE BENCH
height-adjustable bench
Installation Guides
STEP 12a: Secure Keypad to Worksurface and connect to Control Box using attached cable. Attach Power Cord to Control Box.
C3
C8
C10
C2
NOTE: Do not over tighten NOTE: Don't have to Attach
keypad for fixed height
(HWBFYS2F)
NOTE: Either Keypad or Toggle switch can be attached according to customer's need
Section:
Description: Page No:
Date:
ATTACH SWITCH AND WIRE MANAGEMENT
Oct 2022
12 of 19
HABH_113
FRAME SINGLE-SIDED HAB
HEIGHT ADJUSTABLE BENCH
height-adjustable bench
Installation Guides
STEP 12b: Secure Toggle switch to Worksurface and connect to Control Box using attached cable. Attach Power Cord to Control Box.
NOTE: Do not over tighten
C8
C12
NOTE: Don't have to Attach
Toggle switch for fixed height
(HWBFYS2F)
NOTE: Either Keypad or Toggle switch can be attached according to customer's need
Section:
Description: Page No:
Date:
SECURE LOOSE WIRE
Oct 2022
13 0f 19
HABH_113
FRAME SINGLE-SIDED HAB
HEIGHT ADJUSTABLE BENCH
height-adjustable bench
Installation Guides
STEP 13: Secure loose wires to Worksurface using Cable Clamps.
C9
C6
NOTE: Do not over tighten
NOTE: Don't have to Secure loose wire for fixed height (HWBFYS2F)
Section:
Description: Page No:
Date:
FLIP OVER TABLE
Oct 2022
14 0f 19
HABH_113
FRAME SINGLE-SIDED HAB
HEIGHT ADJUSTABLE BENCH
height-adjustable bench
Installation Guides
STEP 14: Flip over the Table
NOTE: Please make sure to have at
least two people for this step
Section:
Description: Page No:
Date:
LINKING ASSEMBLYS: ALIGN WORKSURFACES
Oct 2022
15 0f 19
HABH_113
FRAME SINGLE-SIDED HAB
HEIGHT ADJUSTABLE BENCH
height-adjustable bench
Installation Guides
STEP 15: Bring over 2nd Assembly and Align Worksurfaces so that they are 2" apart.
2"
Section:
Description: Page No:
Date:
ROUGH LEVELING
Oct 2022
16 0f 19
HABH_113
FRAME SINGLE-SIDED HAB
HEIGHT ADJUSTABLE BENCH
height-adjustable bench
Installation Guides
STEP 16: Ensure Bench is level. Rotate Levelers as needed to adjust height. This step will be repeated after Base Link is installed.
Level
NOTE: If the difference in floor elevation
between frames is >1-1/8" they cannot be
linked.
NOTE: If the difference in
elevation is >10mm use
Single-Sided Leveler Extension
Blocks (SOLD SEPARATELY) to
increase leveling range.
Single-Sided Leveler
Extension Block
(HWBFWK)
NOT INCLUDED
STEP 18: Attach the Base Link Cover to the Base Link by placing it on the bracket and
snapping in place.
STEP 17: Attach Base Link to underside of Frame Connecting Tubes and secure using
provided screws.
Section:
Description: Page No:
Date:
ATTACH BASE LINK ATTACH BASE LINK COVER
HABH_113
17 0f 19
Oct 2022
FRAME SINGLE-SIDED HAB
HEIGHT ADJUSTABLE BENCH
height-adjustable bench
Installation Guides
F1
F2
F3
Section:
Description: Page No:
Date:
LEVELING BENCH - FINAL ADJUSTMENTS
Oct 2022
18 0f 19
HABH_113
FRAME SINGLE-SIDED HAB
HEIGHT ADJUSTABLE BENCH
height-adjustable bench
Installation Guides
STEP 19: Repeat Step 16 to ensure entire Bench is level for both Width and Depth.
Laser Level
NOTE: It is recommended to use a laser level tool to check
final alignment.
NOTE: The unit must be levelled at the exact location of use.
Section:
Description: Page No:
Date:
ATTACH SINGLE SIDED WELDMENT COVER
Oct 2022
19 0f 19
HABH_113
SINGLE SIDED WELDMENT COVER
HEIGHT ADJUSTABLE BENCH
height-adjustable bench
Installation Guides
STEP 20: Attach Single sided weldment covers and secure with fasteners.
G2
G1
G3
NOTE: Weldment Covers are used to cap off the horizontal bar
on a single-sided frame when no corridor screen is used.

Other Teknion Indoor Furnishing manuals
Teknion BM_R User manual

Teknion

Teknion BM_R User manual

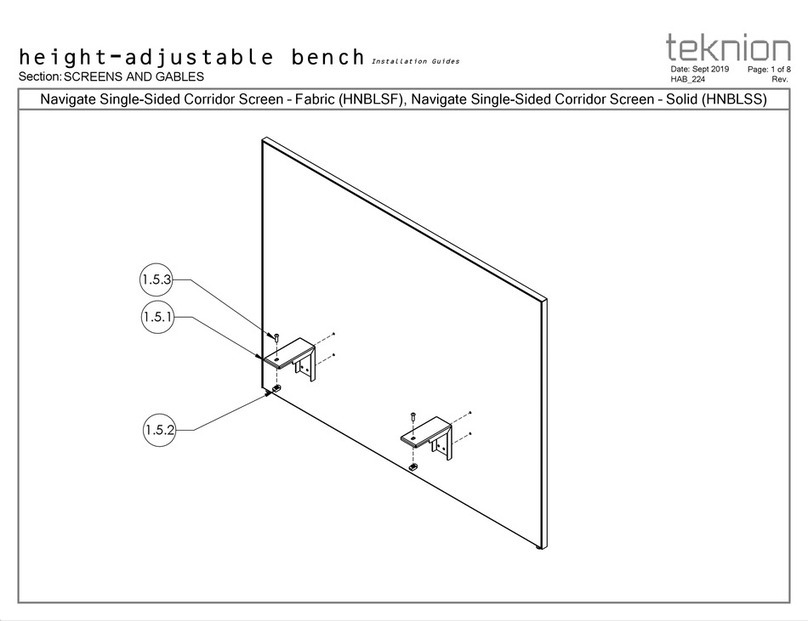
Teknion HNBLSF Operating and maintenance instructions
Teknion

Teknion HNBLSF Operating and maintenance instructions

Teknion BSMLHR User manual

Teknion

Teknion BSMLHR User manual

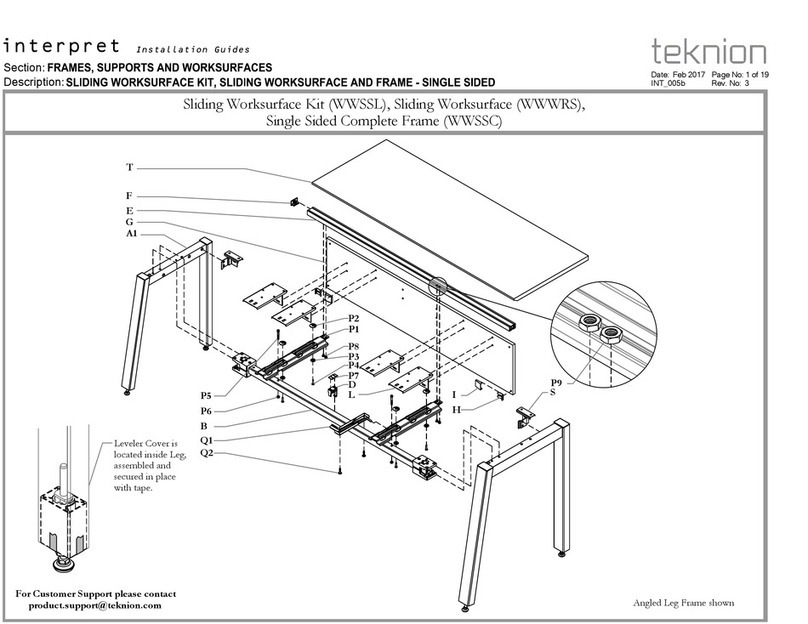
Teknion Interpret User manual

Teknion

Teknion Interpret User manual
Teknion Interpret User manual

Teknion

Teknion Interpret User manual

Teknion Interpret User manual

Teknion

Teknion Interpret User manual
Teknion hiSpace Technical manual

Teknion

Teknion hiSpace Technical manual
Teknion Leverage Operating and maintenance instructions

Teknion

Teknion Leverage Operating and maintenance instructions
Teknion hiSpace User manual

Teknion

Teknion hiSpace User manual

Teknion Complements Series Operating and maintenance instructions

Teknion

Teknion Complements Series Operating and maintenance instructions

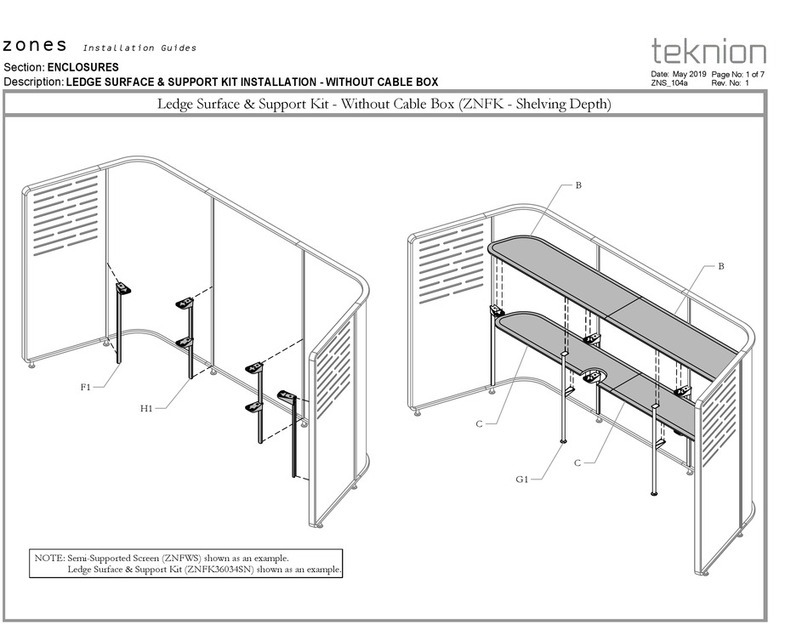
Teknion Ledge Surface & Support Kit - Without Cable... Operating and maintenance instructions

Teknion

Teknion Ledge Surface & Support Kit - Without Cable... Operating and maintenance instructions
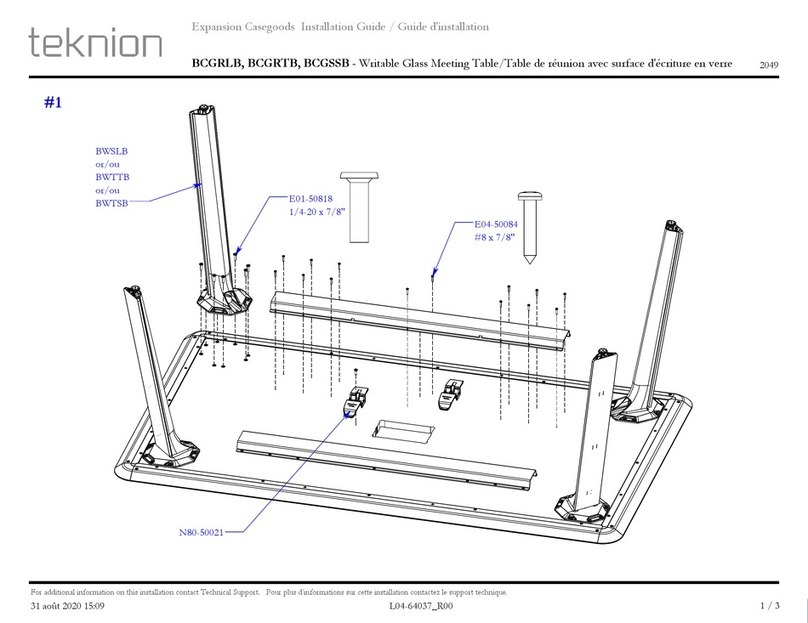
Teknion BCGRLB User manual

Teknion

Teknion BCGRLB User manual

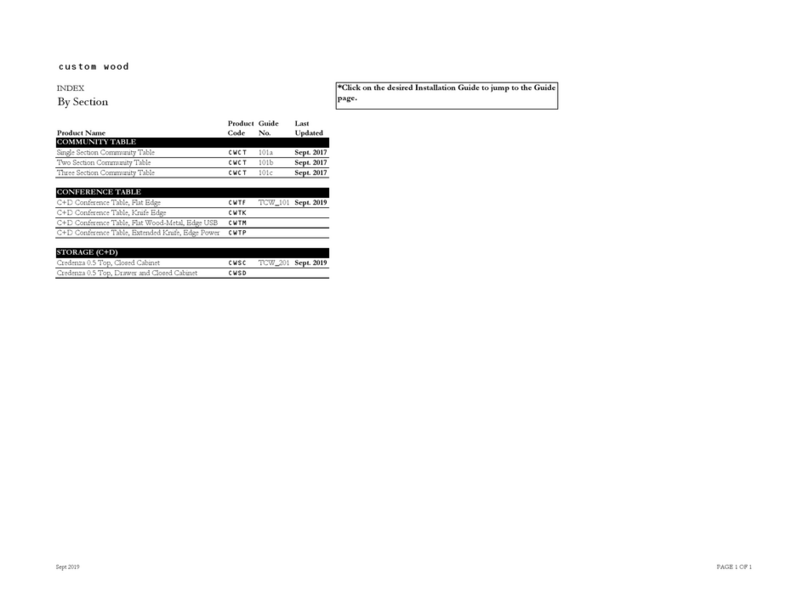
Teknion Custom wood CWCT Series Operating and maintenance instructions

Teknion

Teknion Custom wood CWCT Series Operating and maintenance instructions

Teknion District User manual

Teknion

Teknion District User manual

Teknion BGATHB User manual

Teknion

Teknion BGATHB User manual
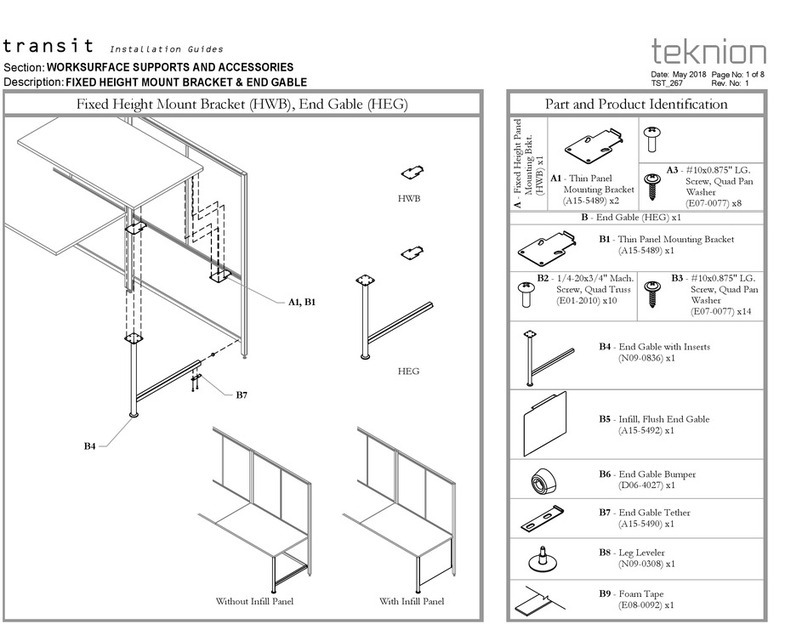
Teknion transit Operating and maintenance instructions
Teknion

Teknion transit Operating and maintenance instructions

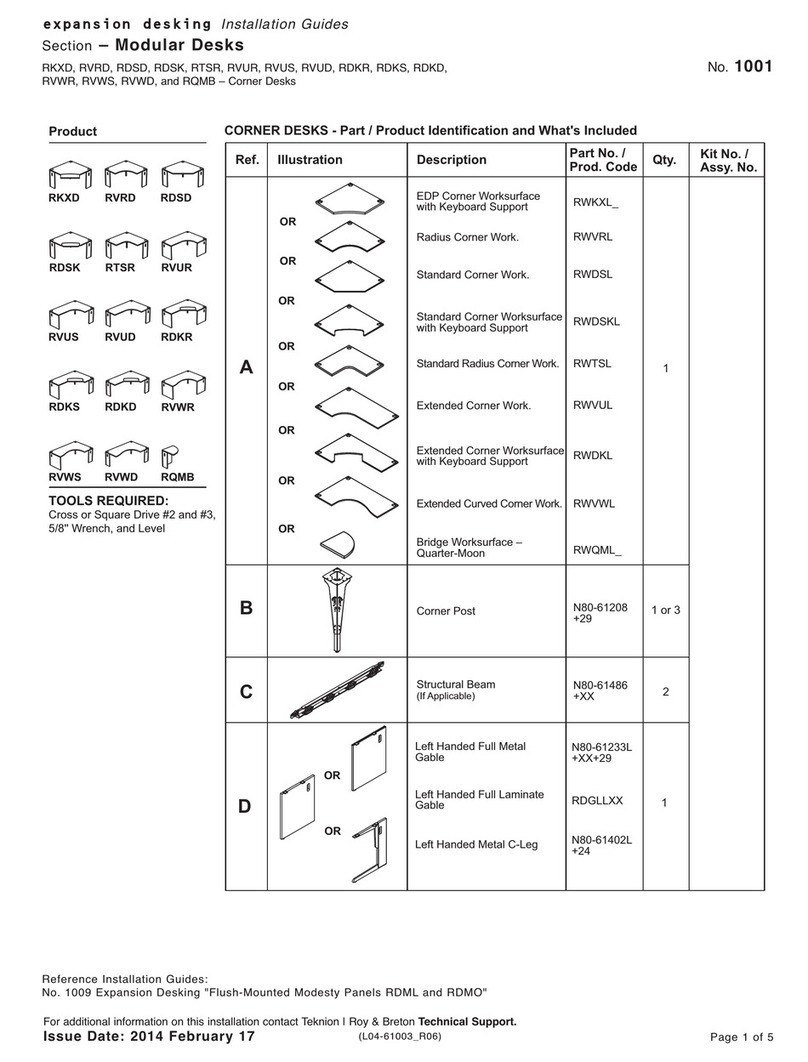
Teknion RKXD Operating and maintenance instructions

Teknion

Teknion RKXD Operating and maintenance instructions

Teknion Interpret Operating and maintenance instructions

Teknion

Teknion Interpret Operating and maintenance instructions

Teknion Casegoods BC MHRB User manual

Teknion

Teknion Casegoods BC MHRB User manual
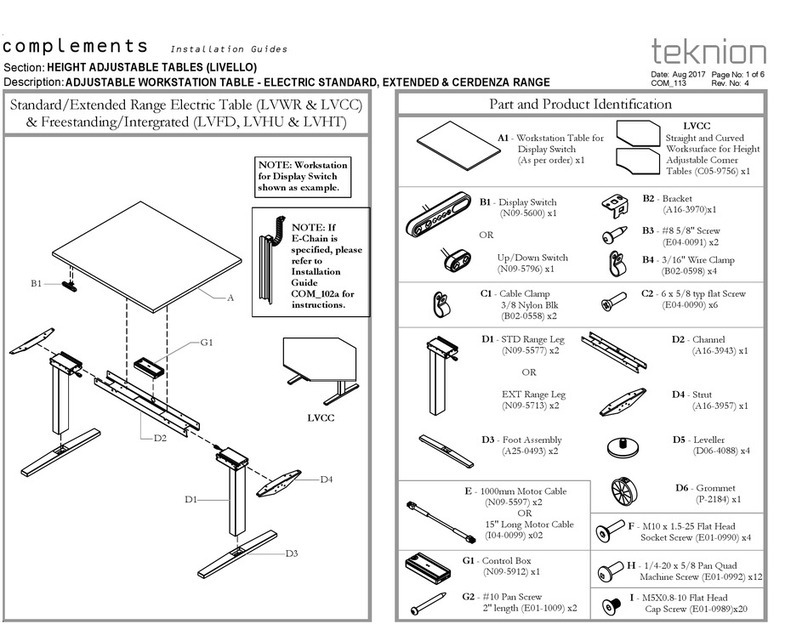
Teknion complements LIVELLO Operating and maintenance instructions

Teknion

Teknion complements LIVELLO Operating and maintenance instructions

Teknion RMSRL Operating and maintenance instructions

Teknion

Teknion RMSRL Operating and maintenance instructions

Teknion Dossier Operating and maintenance instructions

Teknion

Teknion Dossier Operating and maintenance instructions

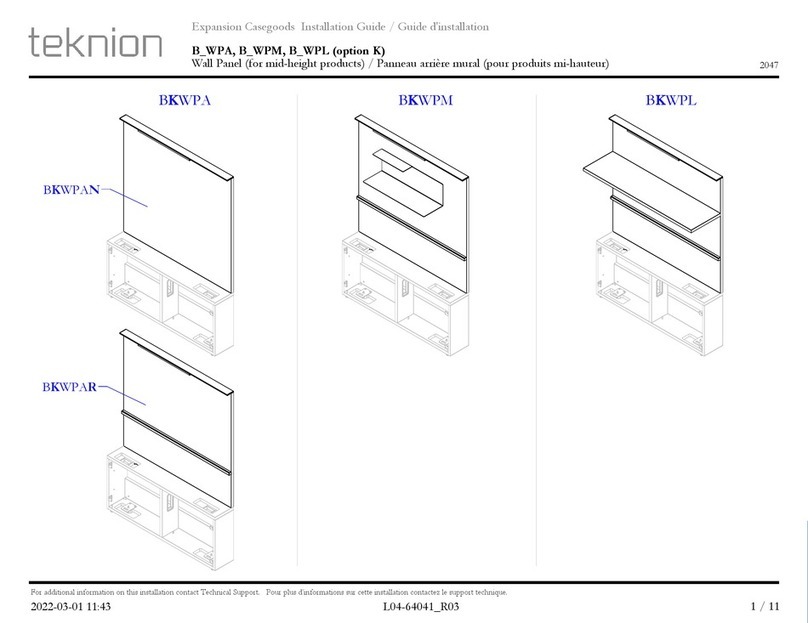
Teknion B WPA Series User manual

Teknion

Teknion B WPA Series User manual

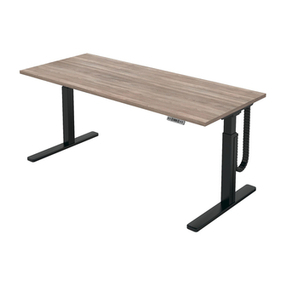
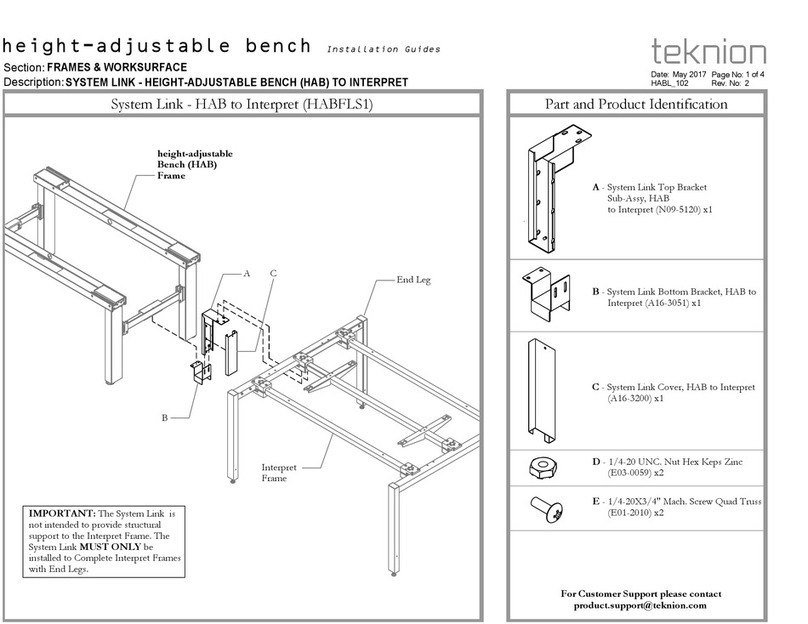
Teknion height-adjustable bench Operating and maintenance instructions

Teknion

Teknion height-adjustable bench Operating and maintenance instructions

Popular Indoor Furnishing manuals by other brands
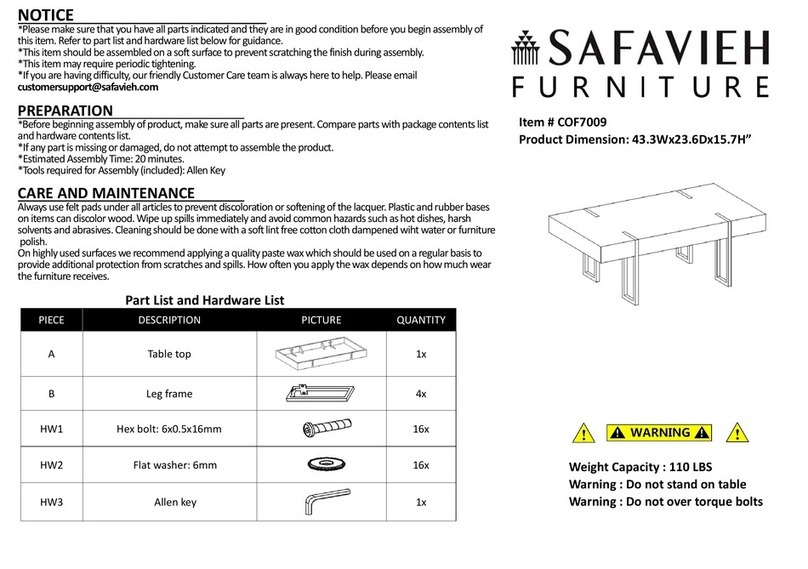
Safavieh Furniture Aberton COF7009 manual

Safavieh Furniture

Safavieh Furniture Aberton COF7009 manual

Oxybul éveil & jeux IZIBUL 333281 manual
Oxybul éveil & jeux

Oxybul éveil & jeux IZIBUL 333281 manual

Next 903594 Assembly instructions

Next

Next 903594 Assembly instructions

Whittier Wood Furniture Addi 2420DUETb Assembly instructions

Whittier Wood Furniture

Whittier Wood Furniture Addi 2420DUETb Assembly instructions
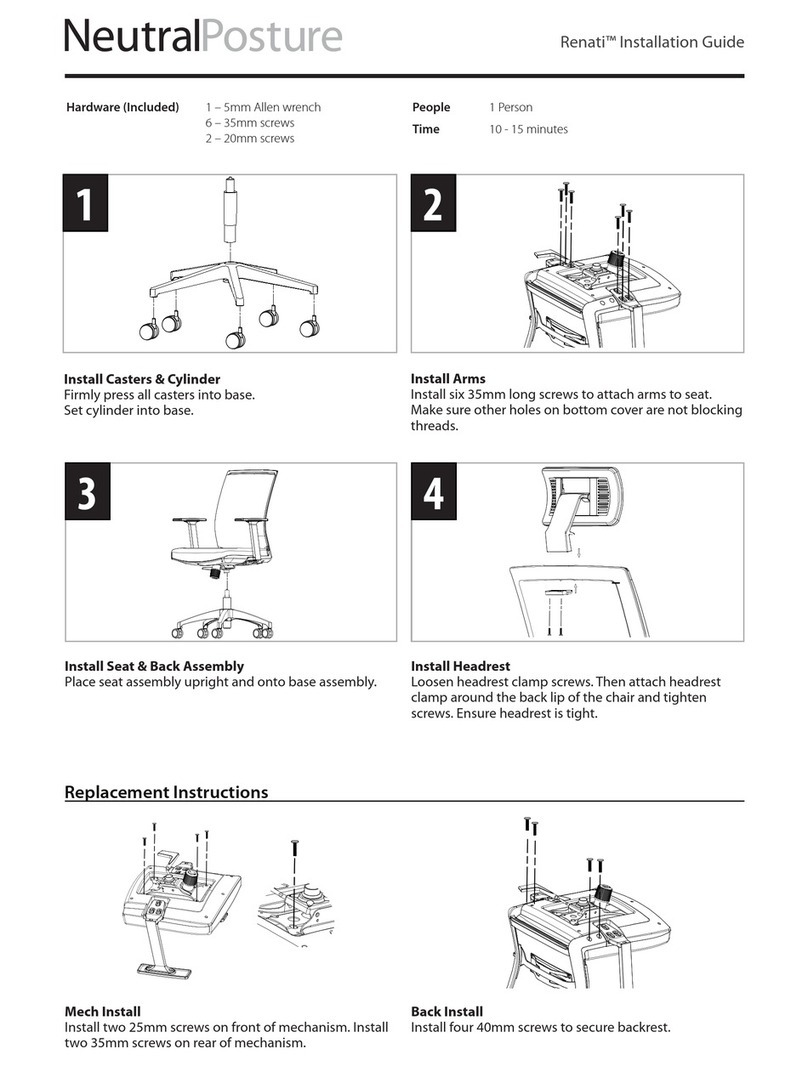
Neutral Posture Renati installation guide
Neutral Posture

Neutral Posture Renati installation guide

atmosphera ABU quick start guide

atmosphera

atmosphera ABU quick start guide
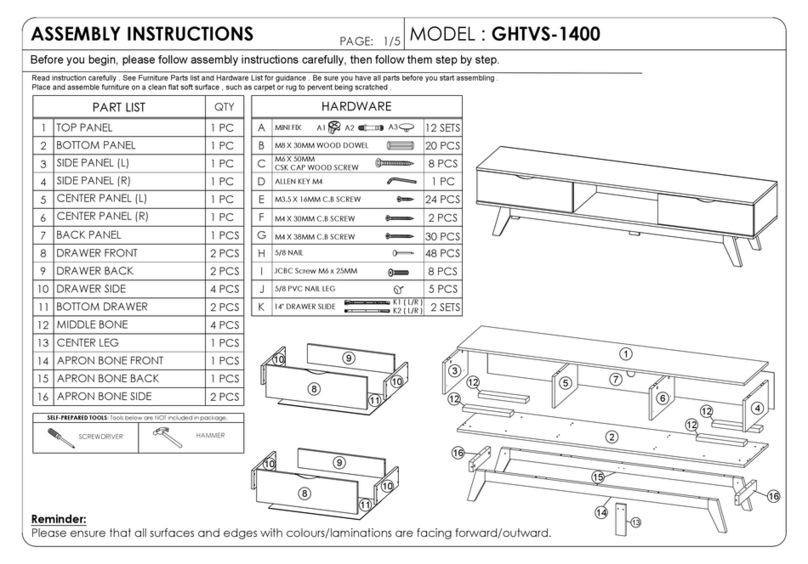
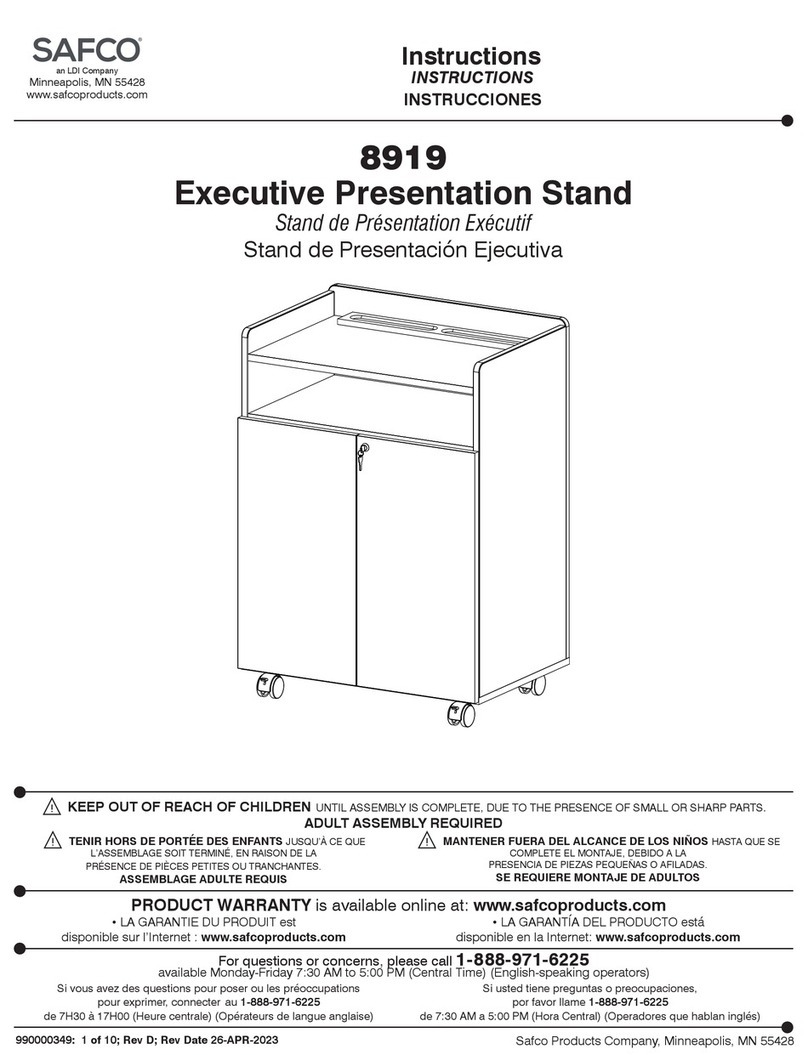
LDI SAFCO 8919 instructions

LDI

LDI SAFCO 8919 instructions

Philips LAA61ARWC/12 Specification sheet

Philips

Philips LAA61ARWC/12 Specification sheet

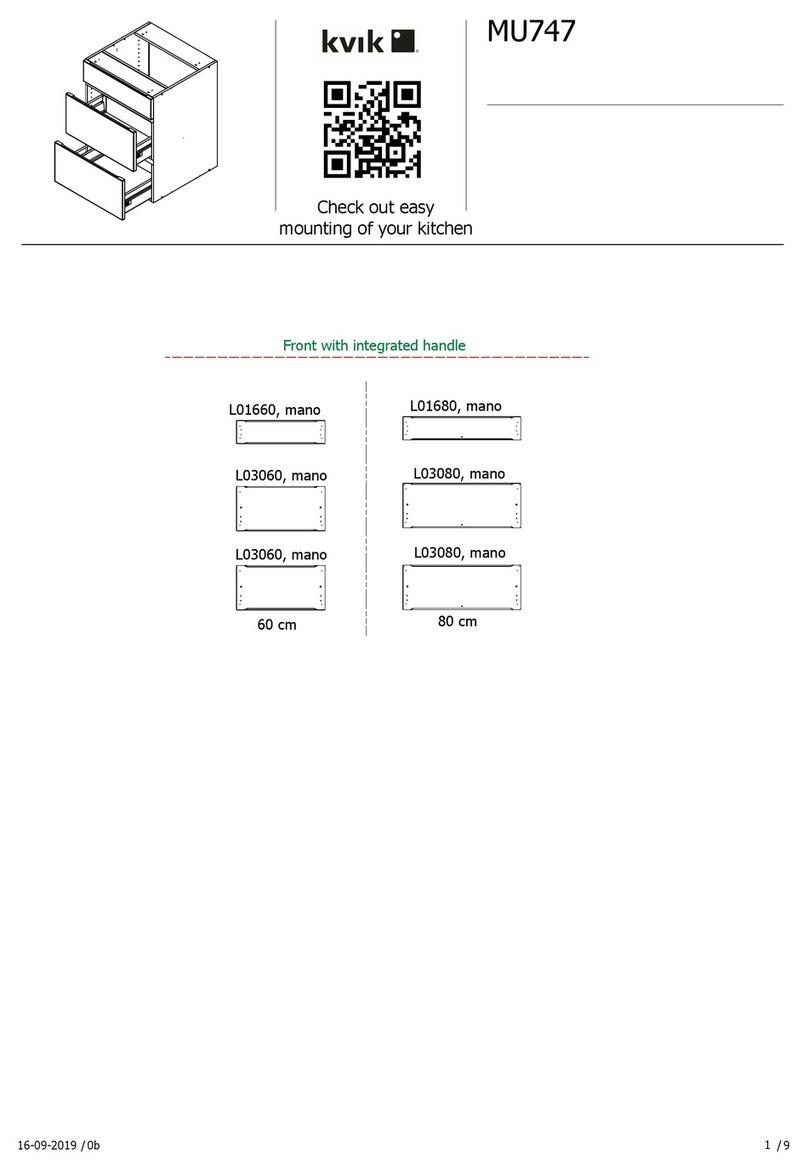
Kvik MU747 manual

Kvik

Kvik MU747 manual

Lafayette Parasol Cellular Shade INSTALLATION AND CARE INSTRUCTIONS

Lafayette

Lafayette Parasol Cellular Shade INSTALLATION AND CARE INSTRUCTIONS

2K FURNITURE DESIGN B8026K Assembly instructions

2K FURNITURE DESIGN

2K FURNITURE DESIGN B8026K Assembly instructions

Argos Arvika 357/6823 Assembly instructions

Argos

Argos Arvika 357/6823 Assembly instructions

overstock GHTVS-1400 Assembly instructions

overstock

overstock GHTVS-1400 Assembly instructions

Costway HU10061 user manual

Costway

Costway HU10061 user manual

Placa & Ponto SW010-NOC Assembly instructions
Placa & Ponto

Placa & Ponto SW010-NOC Assembly instructions

A.R.T. Furniture WILLIAMSBURG 223205 Assembly instructions

A.R.T. Furniture

A.R.T. Furniture WILLIAMSBURG 223205 Assembly instructions
Whalen Industrial Audio Tower instruction manual
Whalen

Whalen Industrial Audio Tower instruction manual

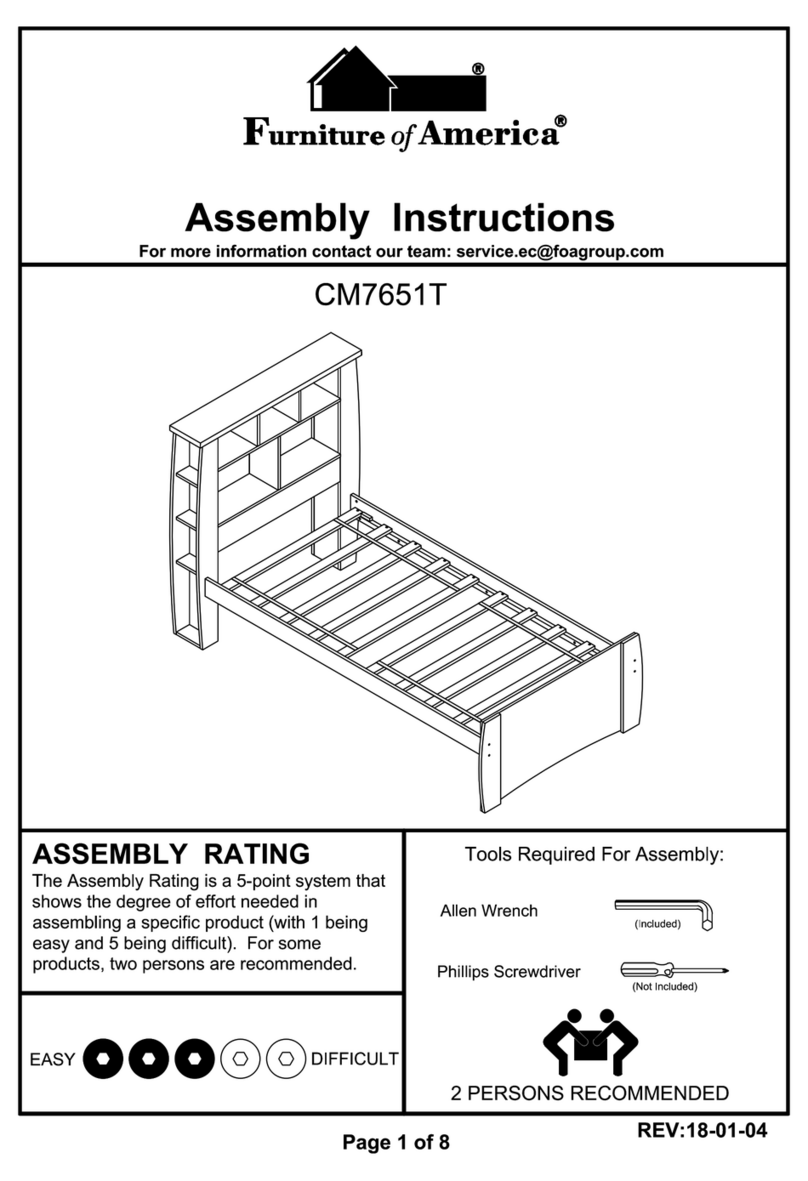
Furniture of America Marlee CM7651T Assembly instructions

Furniture of America

Furniture of America Marlee CM7651T Assembly instructions

manuals.online logo
manuals.online logoBrands
  • About & Mission
  • Contact us
  • Privacy Policy
  • Terms and Conditions

Copyright 2025 Manuals.Online. All Rights Reserved.