manuals.online logo
Brands
  1. Home
  2. •
  3. Brands
  4. •
  5. teko
  6. •
  7. Security Sensor
  8. •
  9. teko Astra-7 User manual

teko Astra-7 User manual

Other teko Security Sensor manuals
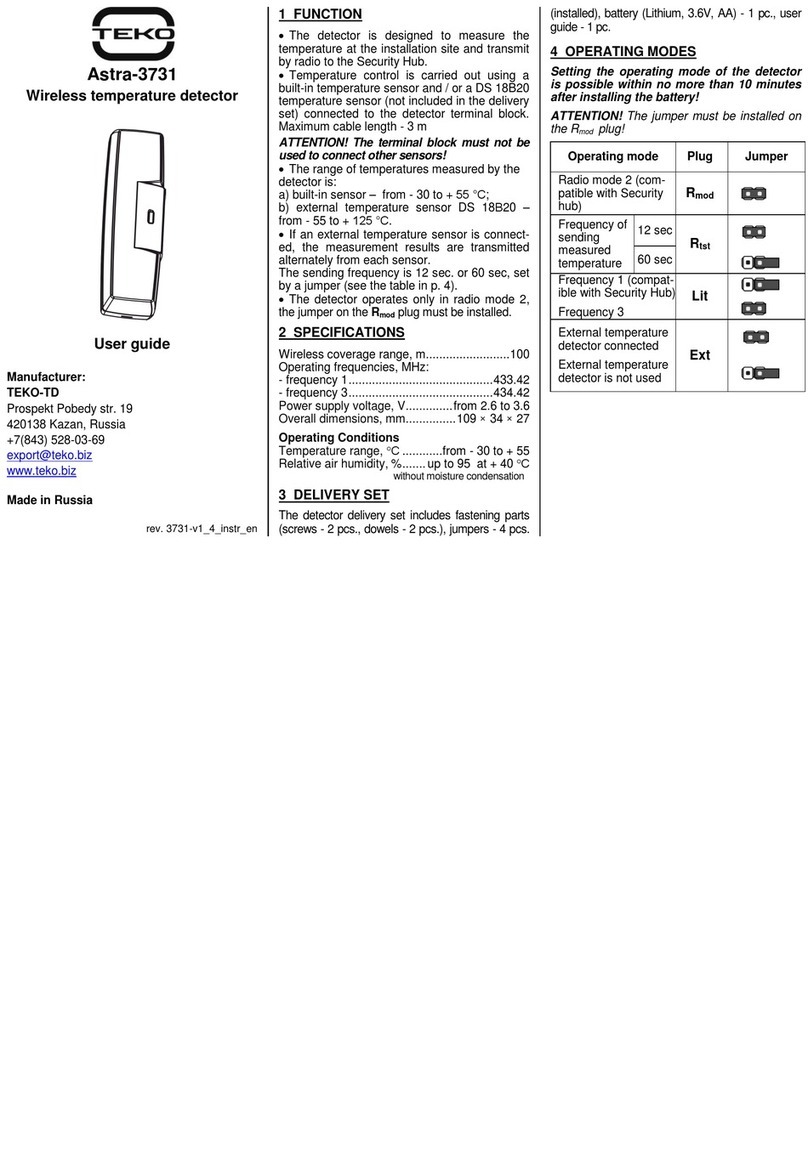
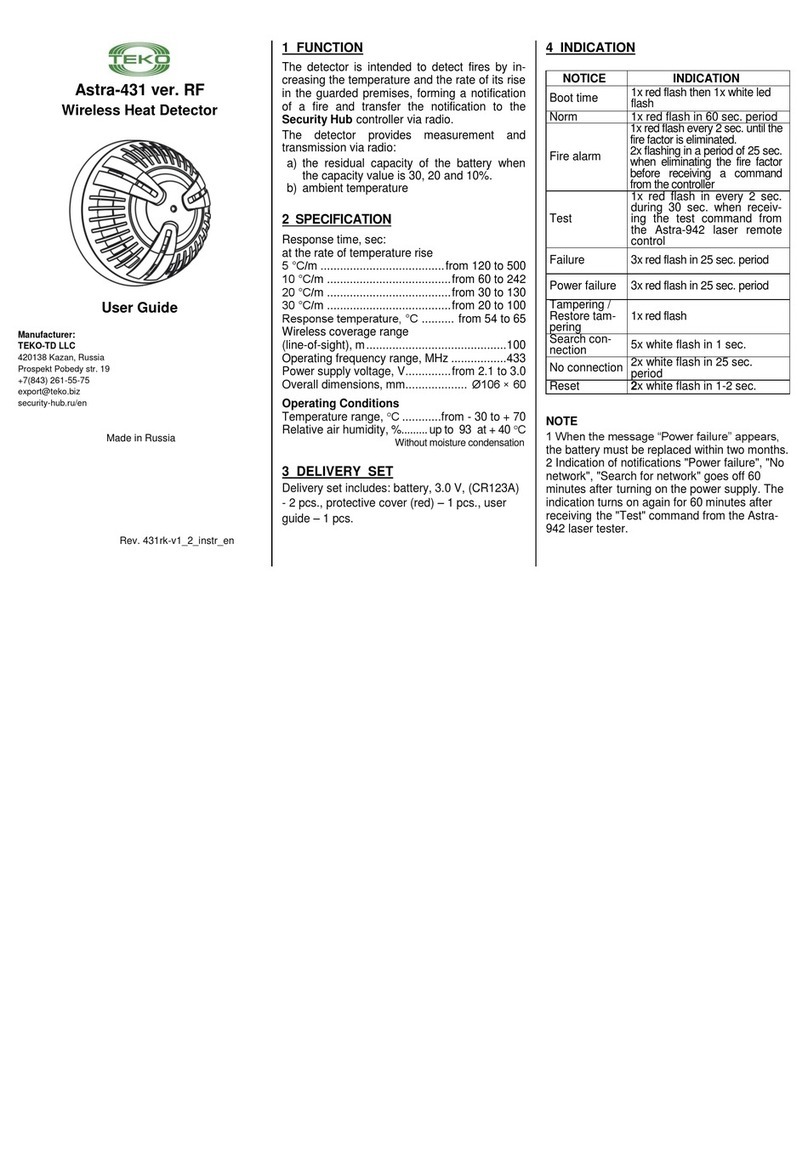
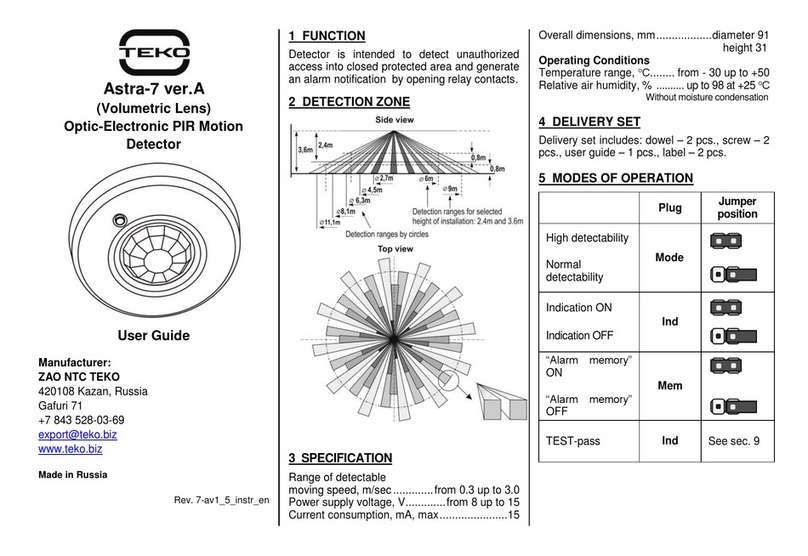
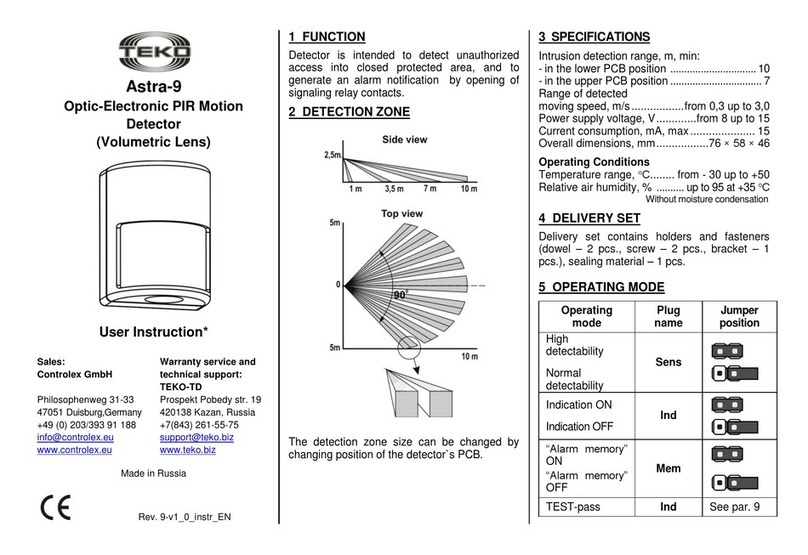
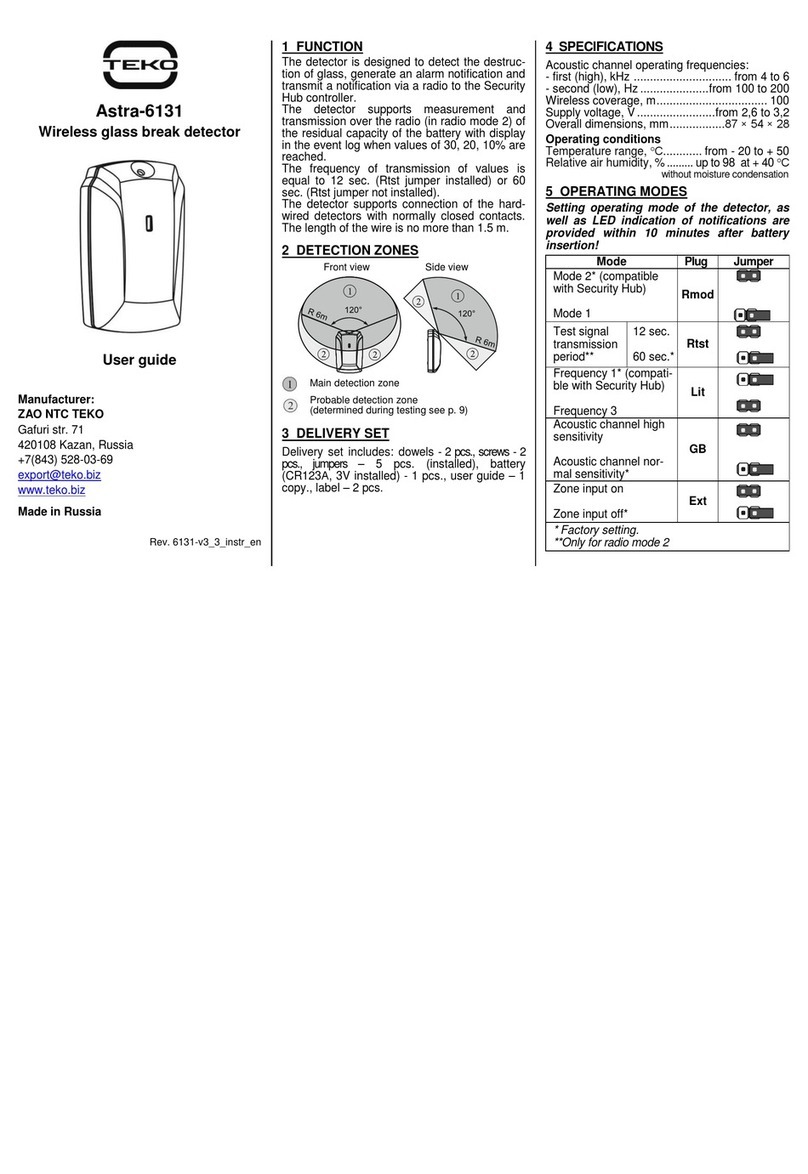
teko Astra-GB Installation instructions

teko

teko Astra-GB Installation instructions

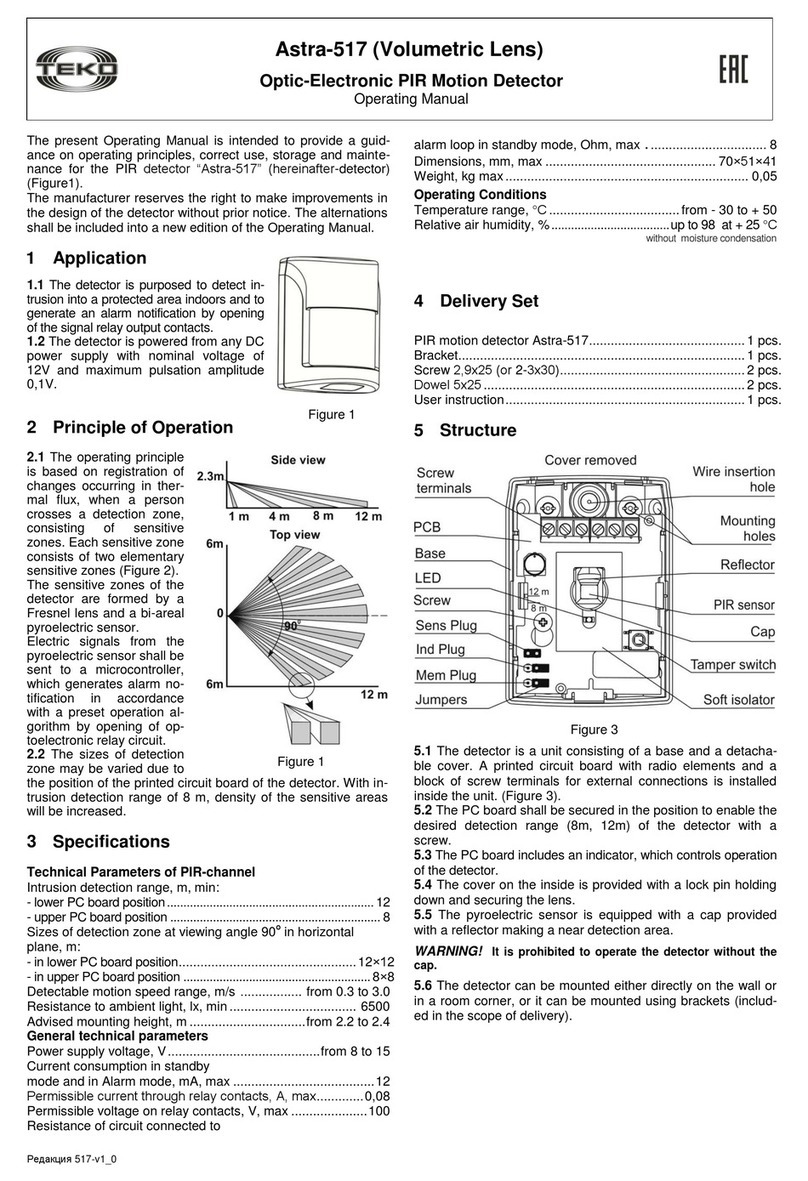
teko Astra-517 User manual

teko

teko Astra-517 User manual

teko Astra-621 User manual

teko

teko Astra-621 User manual

teko Astra-MA User manual

teko

teko Astra-MA User manual

teko Astra-9 User manual

teko

teko Astra-9 User manual

teko Astra-361 Installation instructions

teko

teko Astra-361 Installation instructions

teko Astra-551 User manual

teko

teko Astra-551 User manual

teko Astra-6131 User manual

teko

teko Astra-6131 User manual

teko Astra-GB User manual

teko

teko Astra-GB User manual

teko Astra-531 DC Installation instructions

teko

teko Astra-531 DC Installation instructions

teko Astra-621 User manual

teko

teko Astra-621 User manual

teko Astra-531 User manual

teko

teko Astra-531 User manual

teko Astra-5 ver.A User manual

teko

teko Astra-5 ver.A User manual

teko Astra-531 PIR Installation instructions

teko

teko Astra-531 PIR Installation instructions

teko Astra-3221 User manual

teko

teko Astra-3221 User manual

teko Astra-43A User manual

teko

teko Astra-43A User manual

teko Astra-612 User manual

teko

teko Astra-612 User manual

teko Astra-515 ver.A User manual

teko

teko Astra-515 ver.A User manual

teko Astra-R TRC User manual

teko

teko Astra-R TRC User manual

teko Astra-621 RF User manual

teko

teko Astra-621 RF User manual

teko Astra-5131 User manual

teko

teko Astra-5131 User manual

teko Astra-8 User manual

teko

teko Astra-8 User manual
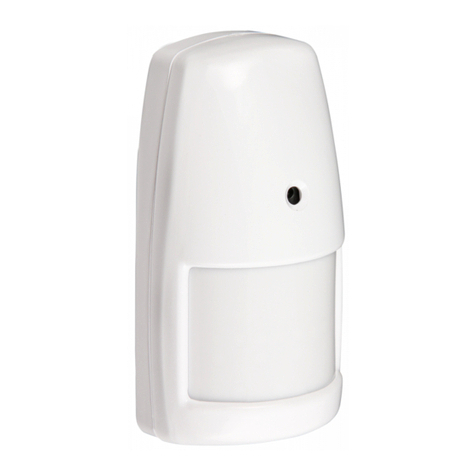
teko Astra-5131 User manual

teko

teko Astra-5131 User manual
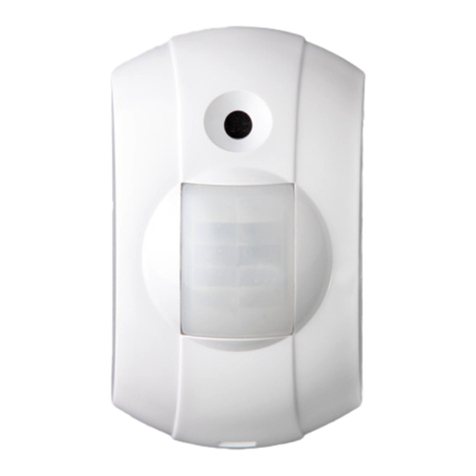
teko Astra-7 ver.A User manual

teko

teko Astra-7 ver.A User manual
Popular Security Sensor manuals by other brands

Honeywell Home PROSiXCOCN Installation and setup guide

Honeywell Home

Honeywell Home PROSiXCOCN Installation and setup guide

Duevi SIRPZ-RB-868 Operation

Duevi

Duevi SIRPZ-RB-868 Operation

RKI 65-2483RK Operator's manual

RKI

RKI 65-2483RK Operator's manual

Nortech PD160 Enhanced Series user manual

Nortech

Nortech PD160 Enhanced Series user manual

Omron K8AC-H2 manual

Omron

Omron K8AC-H2 manual

Agilent Technologies G8610 Series Quick reference card

Agilent Technologies

Agilent Technologies G8610 Series Quick reference card

Shinko SE2EA-1-0-0 instruction manual

Shinko

Shinko SE2EA-1-0-0 instruction manual

Det-Tronics X Series instructions

Det-Tronics

Det-Tronics X Series instructions

ACR Electronics COBHAM RCL-300A Product support manual

ACR Electronics

ACR Electronics COBHAM RCL-300A Product support manual

TOOLCRAFT 1712612 operating instructions

TOOLCRAFT

TOOLCRAFT 1712612 operating instructions

Elkron IM600 Installation, programming and functions manual

Elkron

Elkron IM600 Installation, programming and functions manual

Bosch WEU PDO 6 Original instructions

Bosch

Bosch WEU PDO 6 Original instructions

THORLABS PDA10JT user guide

THORLABS

THORLABS PDA10JT user guide

Waeco UV-DETECT operating manual

Waeco

Waeco UV-DETECT operating manual

Intermatic IOS-DSIMF manual

Intermatic

Intermatic IOS-DSIMF manual

Siemens AZL66 Series manual

Siemens

Siemens AZL66 Series manual

BTI Profiline Multi Finder operating instructions

BTI

BTI Profiline Multi Finder operating instructions

Challenger SL01 instruction manual

Challenger

Challenger SL01 instruction manual

manuals.online logo
manuals.online logoBrands
  • About & Mission
  • Contact us
  • Privacy Policy
  • Terms and Conditions

Copyright 2025 Manuals.Online. All Rights Reserved.

Astra-7 ver.RF
Wireless Optic-Electronic
PIR Motion Detector
User Guide
Manufacturer:
TEKO-TD
Prospekt Pobedy str. 19
420138 Kazan, Russia
+7(843) 528-03-69
[email protected]z www.teko.biz www.teko.biz/en
Made in Russia
Ver. 7-rkv1_2_instr
1 FUNCTION
The detector is intended for detection of an
intrusion into a secure space of an enclosed
area, forming an alarm notification and
transmitting alarm signal to the Security Hub
via radio.
The detector provides measurement and
transmission via radio:
a) the residual capacity of the battery in Mode
2(see below) when the capacity value is 30,
20 and 10%.
b) ambient temperature
The transmission interval is 12 s (with Rtst plug
jumpered) or 60 s (with Rtst plug opened).
2 DETECTION ZONE
3 SPECIFICATION
Range of detectable
moving speed, m/s......................from 0.3 to 3.0
Wireless coverage range
(line-of-sight), m...........................................300
Operating frequency range, MHz .................433
Power supply voltage, V..............from 2.8 to 3.6
Overall dimensions, mm.........................108×31
Operation conditions
Temperature range, °С............ from - 20 to + 50
Relative air humidity, % ...........up to 98 at + 25 °С
Without moisture condensation
4 DELIVERY SET
Detector delivery set includes: dowel –2 pcs.,
screw –2 pcs., jumper –3 pcs., battery (3.6 V,
Lithium, size AA) - 1 pcs.
5 MODES OF OPERATION
Plug
Jumper
Mode 2* (registration with
Security Hub)
Mode 1
Rmod
Radio supervi-
sion time**
less than
10 min.
Rtst
more than
10 min
Lit.1 (433,42MHz)(registration
with Security Hub)
Lit.3 (434,42MHz)
Lit
High detectability
Normal detectability
PIR
* Factory setting.
** For Mode 2 only
Setting operation mode of the detecto ,as
well as LED indication of notifications are
possible within no more than 10 minutes
after battery insertion!
6 REGISTRATION PROCEDURE
1) For operating with Security Hub set the fre-
quency Lit.1 and operating Mode 2.
2) Start registration on the Security Hub mobile
app or web app. Registration starts for 45-60 sec.
3) Insert battery into the detector:
Make sure that the registration is successful
Security Hub mobile app. If registration fails,
repeat the procedure.
7INSTALLATION PLACE
1) Recommended installation height is 2.4-3.6 m.
2) The detector should be installed on the ceiling
(or other surface) strictly horizontally.
To eliminate false alarms
It is recommended to close all doors,
air-vents, switch off fans, air-conditioners and
other sources of intense air flows in premises
during protection period.
8INSTALLATION PROCEDURE
1) Remove cover by
turning it counter
clockwise
2) Remove PCB
3) Mount the base on a ceiling
Attention! For safe extrusion of the caps fix the
detector base on a hard flat surface.
4) Install PCB.
5) Install the cover by turning it clockwise
6) Perform TEST pass (see section 9).
9 TEST PASS
1) Install jumper on PIR plug.
2) Power up the detector. LED starts flashing
once per 2 sec. during 60 sec.
3) Assemble the detector.
4) To detect the
sensitive zones carry out
TEST-pass in the
secured zone with the
speed of 0,3 and 3 m/s .
Stop upon detection
(LED lights up for 1
sec.), mark position, then
make 2 steps back and continue moving
forward.
Repeat TEST-pass inversely.
10 WARRANTY
The operation warranty period is 5 years from
the date of operation start-up but no longer than
5 years 6 months from the date of manufactur-
ing subject to the requirements of Operating
Manual.