manuals.online logo
Brands
  1. Home
  2. •
  3. Brands
  4. •
  5. teko
  6. •
  7. Security Sensor
  8. •
  9. teko Astra-6131 User manual

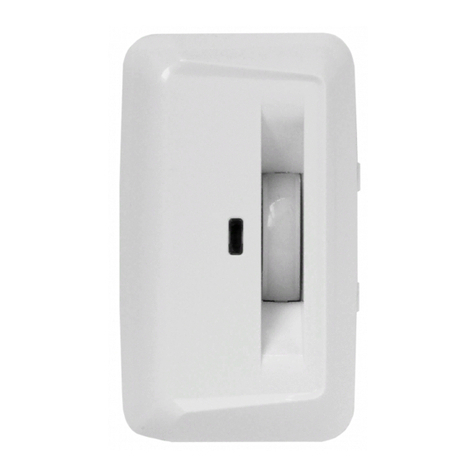
teko Astra-6131 User manual

Other teko Security Sensor manuals

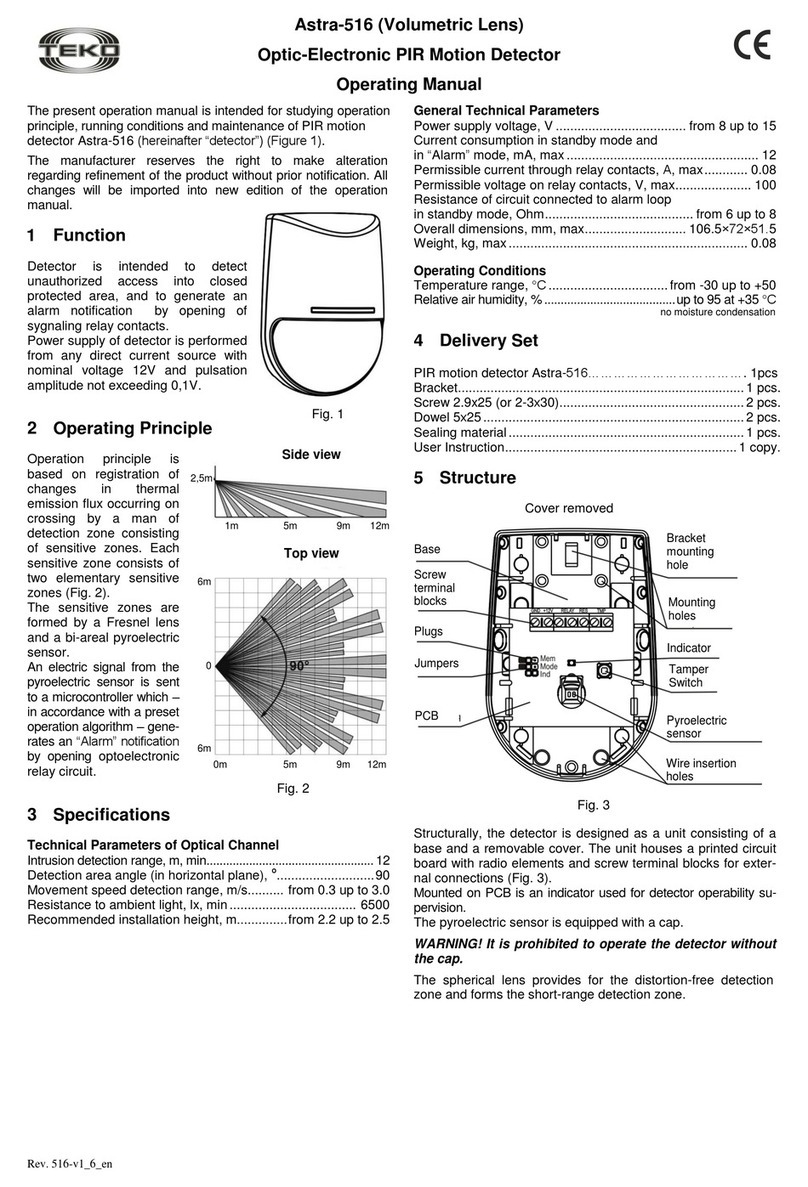
teko Astra-517 ver.P User manual

teko

teko Astra-517 ver.P User manual

teko Astra-9 Installation instructions

teko

teko Astra-9 Installation instructions

teko Astra-A ILS User manual

teko

teko Astra-A ILS User manual

teko Astra-5131 User manual

teko

teko Astra-5131 User manual

teko Astra-361 User manual

teko

teko Astra-361 User manual

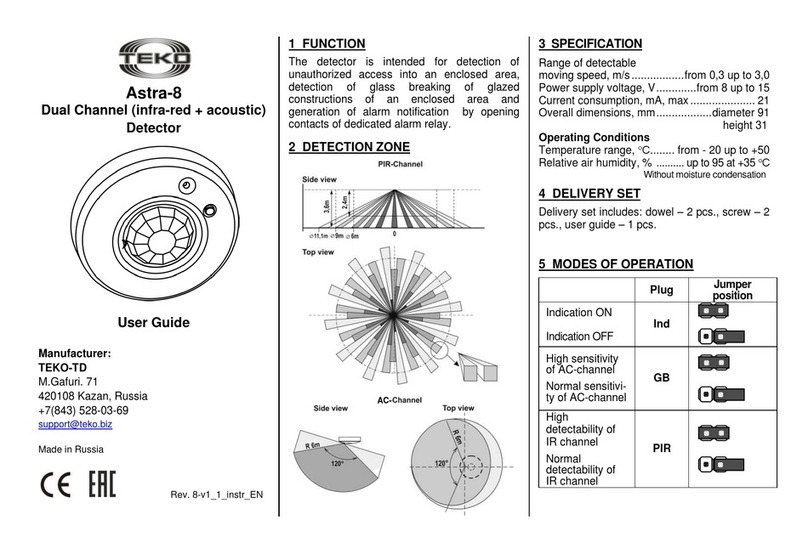
teko Astra-8 User manual

teko

teko Astra-8 User manual

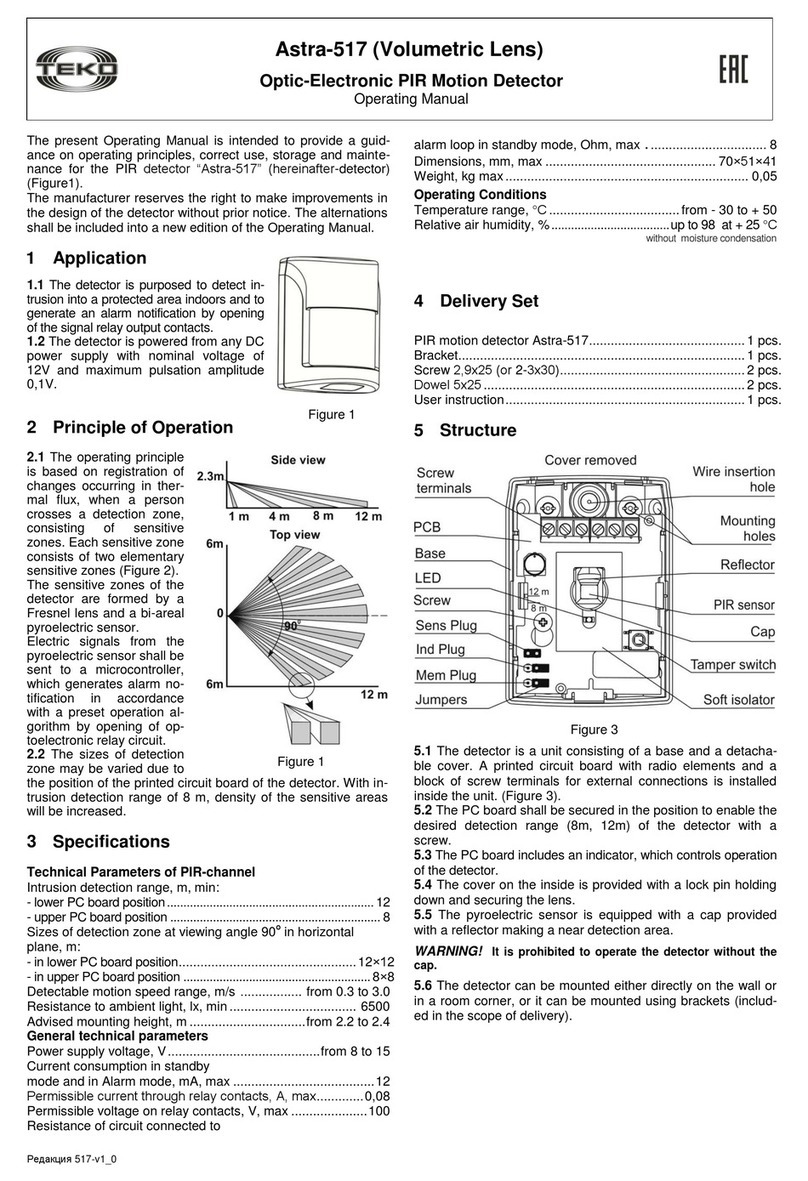
teko Astra-517 User manual

teko

teko Astra-517 User manual

teko Astra-551 User manual

teko

teko Astra-551 User manual

teko Astra-621 RF User manual

teko

teko Astra-621 RF User manual

teko Astra-5131 User manual

teko

teko Astra-5131 User manual

teko Astra-9 User manual

teko

teko Astra-9 User manual

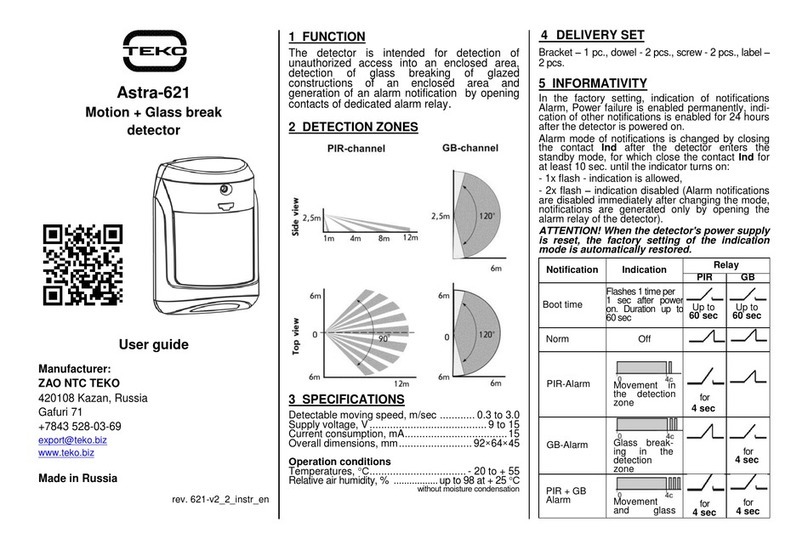
teko Astra-621 User manual

teko

teko Astra-621 User manual

teko Astra-621 User manual

teko

teko Astra-621 User manual

teko Astra-5121 User manual

teko

teko Astra-5121 User manual

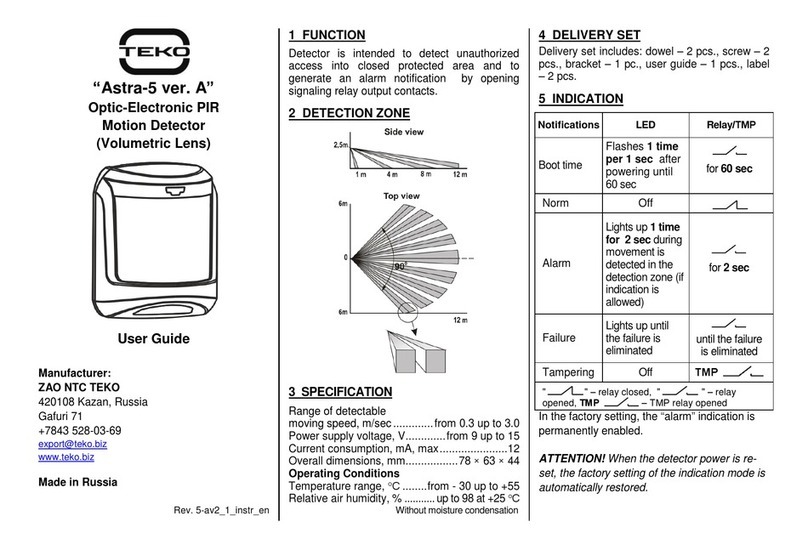
teko Astra-5 Ver.A User manual

teko

teko Astra-5 Ver.A User manual

teko Astra-MA User manual

teko

teko Astra-MA User manual

teko Astra-621 User manual

teko

teko Astra-621 User manual

teko Astra-516 User manual

teko

teko Astra-516 User manual

teko Astra-5 ver.A User manual

teko

teko Astra-5 ver.A User manual

teko Astra-531 AC Installation instructions

teko

teko Astra-531 AC Installation instructions

teko Astra-Z-3645 User manual

teko

teko Astra-Z-3645 User manual

teko Astra-551 User manual

teko

teko Astra-551 User manual

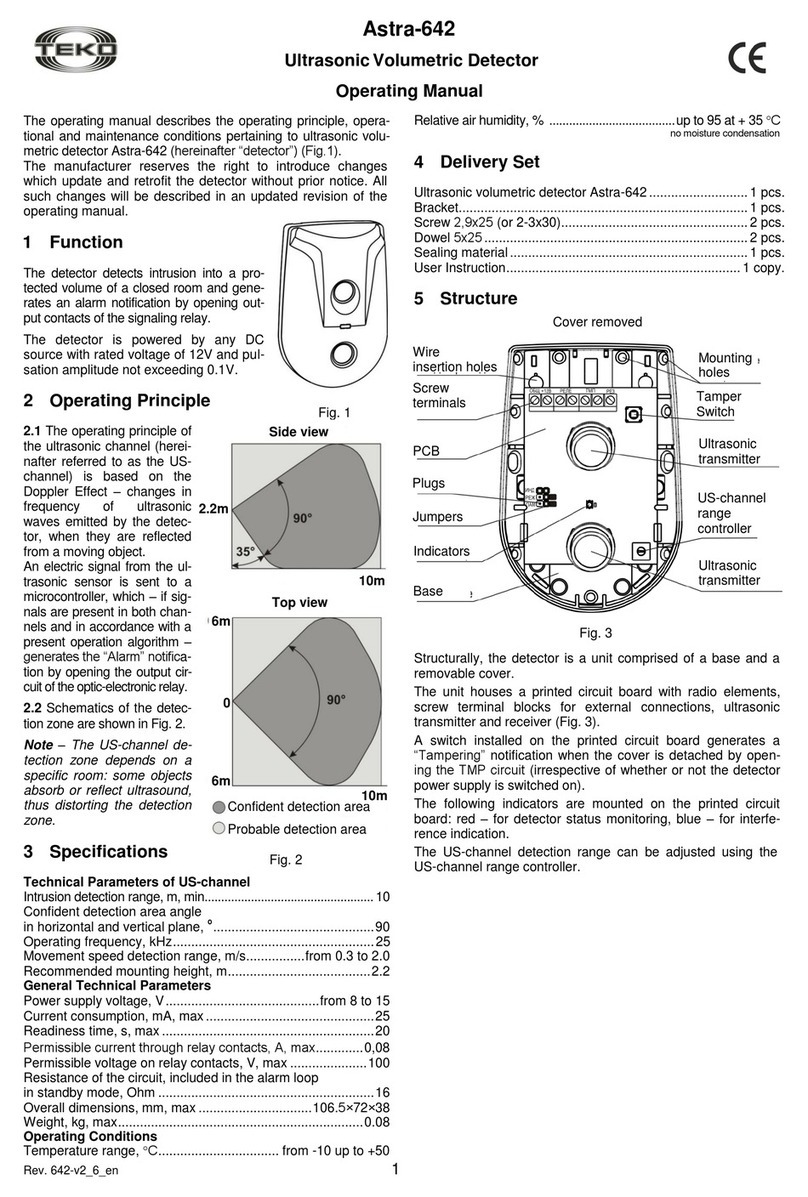
teko Astra-642 User manual

teko

teko Astra-642 User manual

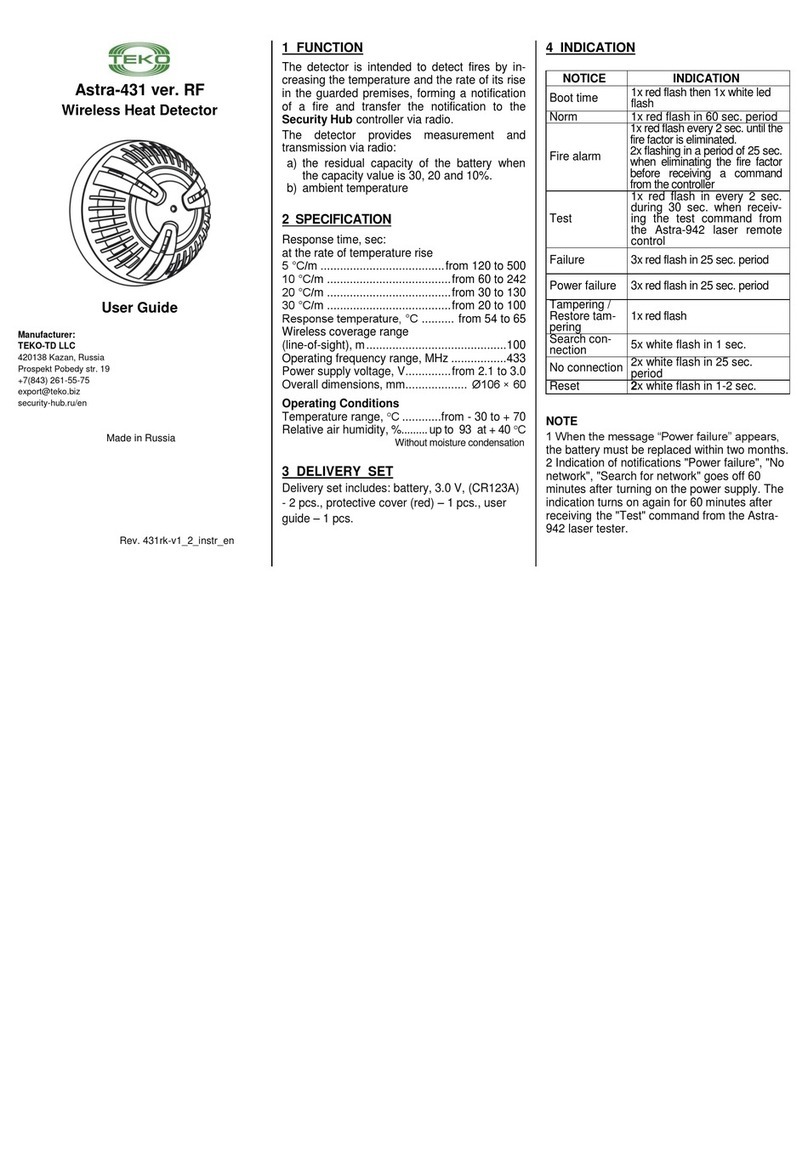
teko Astra-431 ver. RF User manual

teko

teko Astra-431 ver. RF User manual

Popular Security Sensor manuals by other brands

Honeywell Home PROSiXCOCN Installation and setup guide

Honeywell Home

Honeywell Home PROSiXCOCN Installation and setup guide

Duevi SIRPZ-RB-868 Operation

Duevi

Duevi SIRPZ-RB-868 Operation

RKI 65-2483RK Operator's manual

RKI

RKI 65-2483RK Operator's manual

Nortech PD160 Enhanced Series user manual

Nortech

Nortech PD160 Enhanced Series user manual

Omron K8AC-H2 manual

Omron

Omron K8AC-H2 manual

Agilent Technologies G8610 Series Quick reference card

Agilent Technologies

Agilent Technologies G8610 Series Quick reference card

Shinko SE2EA-1-0-0 instruction manual

Shinko

Shinko SE2EA-1-0-0 instruction manual

Det-Tronics X Series instructions

Det-Tronics

Det-Tronics X Series instructions

ACR Electronics COBHAM RCL-300A Product support manual

ACR Electronics

ACR Electronics COBHAM RCL-300A Product support manual

TOOLCRAFT 1712612 operating instructions

TOOLCRAFT

TOOLCRAFT 1712612 operating instructions

Elkron IM600 Installation, programming and functions manual

Elkron

Elkron IM600 Installation, programming and functions manual

Bosch WEU PDO 6 Original instructions

Bosch

Bosch WEU PDO 6 Original instructions

THORLABS PDA10JT user guide

THORLABS

THORLABS PDA10JT user guide

Waeco UV-DETECT operating manual

Waeco

Waeco UV-DETECT operating manual

Intermatic IOS-DSIMF manual

Intermatic

Intermatic IOS-DSIMF manual

Siemens AZL66 Series manual

Siemens

Siemens AZL66 Series manual

BTI Profiline Multi Finder operating instructions

BTI

BTI Profiline Multi Finder operating instructions

Challenger SL01 instruction manual

Challenger

Challenger SL01 instruction manual

manuals.online logo
manuals.online logoBrands
  • About & Mission
  • Contact us
  • Privacy Policy
  • Terms and Conditions

Copyright 2025 Manuals.Online. All Rights Reserved.

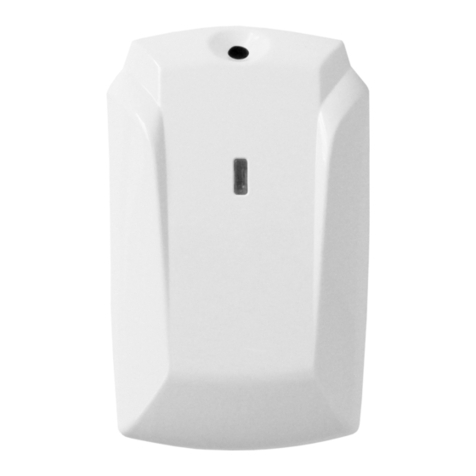
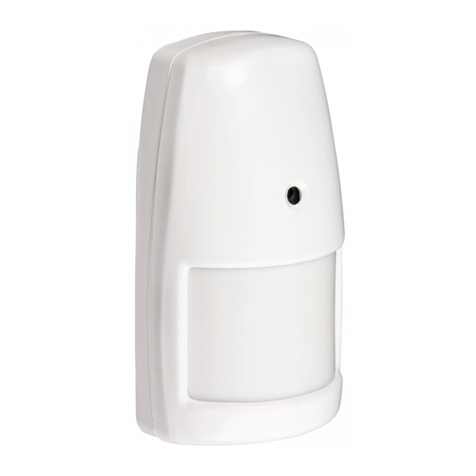
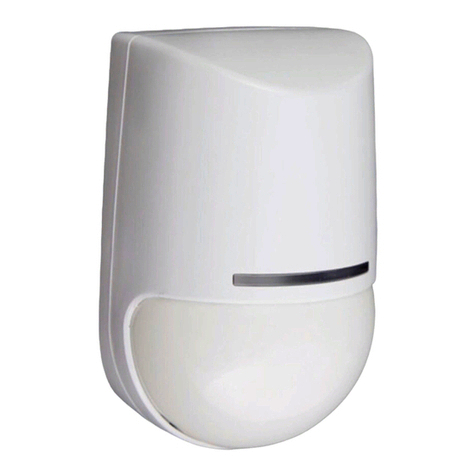
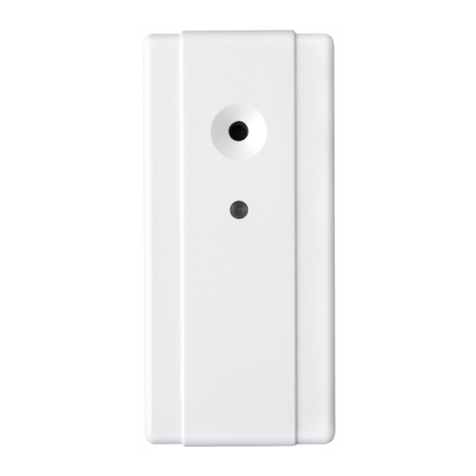
Astra-6131
Wireless glass break detector
User guide
Manufacturer:
ZAO NTC TEKO
Gafuri str. 71
420108 Kazan, Russia
+7(843) 528-03-69
[email protected]
www.teko.biz
Made in Russia
Rev. 6131-v3_3_instr_en
1 FUNCTION
The detector is designed to detect the destruc-
tion of glass, generate an alarm notification and
transmit a notification via a radio to the Security
Hub controller.
The detector supports measurement and
transmission over the radio (in radio mode 2) of
the residual capacity of the battery with display
in the event log when values of 30, 20, 10% are
reached.
The frequency of transmission of values is
equal to 12 sec. (Rtst jumper installed) or 60
sec. (Rtst jumper not installed).
The detector supports connection of the hard-
wired detectors with normally closed contacts.
The length of the wire is no more than 1.5 m.
2 DETECTION ZONES
Front view Side view
Main detection zone
Probable detection zone
(determined during testing see p. 9)
3DELIVERY SET
Delivery set includes: dowels - 2 pcs., screws - 2
pcs., jumpers –5 pcs. (installed), battery
(CR123А, 3V installed) - 1 pcs., user guide –1
copy., label –2 pcs.
4SPECIFICATIONS
Acoustic channel operating frequencies:
- first (high), kHz .............................. from 4 to 6
- second (low), Hz.....................from 100 to 200
Wireless coverage, m.................................. 100
Supply voltage, V........................from 2,6 to 3,2
Overall dimensions, mm.................87 × 54 × 28
Operating conditions
Temperature range, °С............ from - 20 to + 50
Relative air humidity, %......... up to 98 at + 40 °С
without moisture condensation
5 OPERATING MODES
Setting operating mode of the detector, as
well as LED indication of notifications are
provided within 10 minutes after battery
insertion!
Mode
Plug
Jumper
Mode 2* (compatible
with Security Hub)
Mode 1
Rmod
Test signal
transmission
period**
12 sec.
60 sec.*
Rtst
Frequency 1* (compati-
ble with Security Hub)
Frequency 3
Lit
Acoustic channel high
sensitivity
Acoustic channel nor-
mal sensitivity*
GB
Zone input on
Zone input off*
Ext
* Factory setting.
**Only for radio mode 2
6 ADDING PROCEDURE
1) When using the detector with factory set-
tings (Security Hub compatible), start adding
from step 3), if it is necessary to change the
operation mode of the detector, remove the
detector cover (see p. 8).
2) For operating with Security Hub set Fre-
quency 1 and mode 2 using jumpers.
3) Start registration on the Security Hub mobile
app or web app. Registration starts for 45-60
sec.
4) Activate the battery by pulling out the protec-
tive strip or re-install the battery.
In case of unsuccessful adding, remove the
battery and repeat procedure. Before installing
it on again, wait at least 20 sec. or briefly set
the battery in reverse polarity.
5) Make sure that the adding is successful on
the Security Hub mobile or desktop app.
7 INSTALLATION PLACE
1) Recommended installation height not less
than 2 m and at a distance of no more than 6 m
to the most distant point of the protected glass.
2) It is allowed to install the detector on the ceiling,
wall, inwindowopenings,betweenframes.
3) It is not allowed to operate the detector in a
room with a high level of acoustic interference.
4) Place the alarm loop wires away from pow-
erful power cables.
To eliminate false alarms
1) close the doors and vents in the room for
the period of protection, turn off possible
sources of strong air flows (fans, air condition-
ers) and acoustic interference (broadcast loud-
speakers, etc.);
2) all areas of the protected glass must be with-
in the direct line of sight of the detector; it is
prohibited to mask the detector with decorative
curtains, since in this case, the loss of its sensi-
tivity is possible.
Not recommended installation places
8 INSTALLATION PROCEDURE
1) Remove cover
2) Remove PCB
3) Fix the base.
ATTENTION! Fix the detector base on a hard surface
to safely break out the plugs.
4) Install PCB.
5) When using hardwired detectors, fix the
supplied wires in the Zone, GND terminals.
Place a jumper on the Ext plug.
6) Perform test of acoustic channel (see p. 9)
9 TEST
1) Install jumper on GB plug.
2) Turn on the detector. LED will turn on for no
more than 20 sec.
3) Close the cover.
4) Using a glass break simulator, check the
detector response for acoustic interference:
- for high-frequency - 2-fold blinking with a
pause of 0.1 sec,
- for low-frequency - single switching on for 0.45
sec.
10 WARRANTY
Operational warranty period: 5 years from the
date of commissioning, but no more than 5 years
6 months from the date of manufacture and sub-
ject to current user guide requirements.