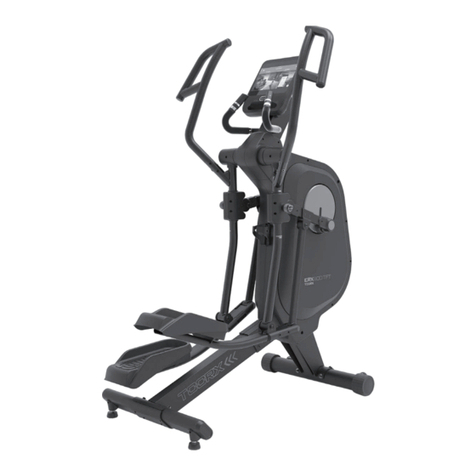
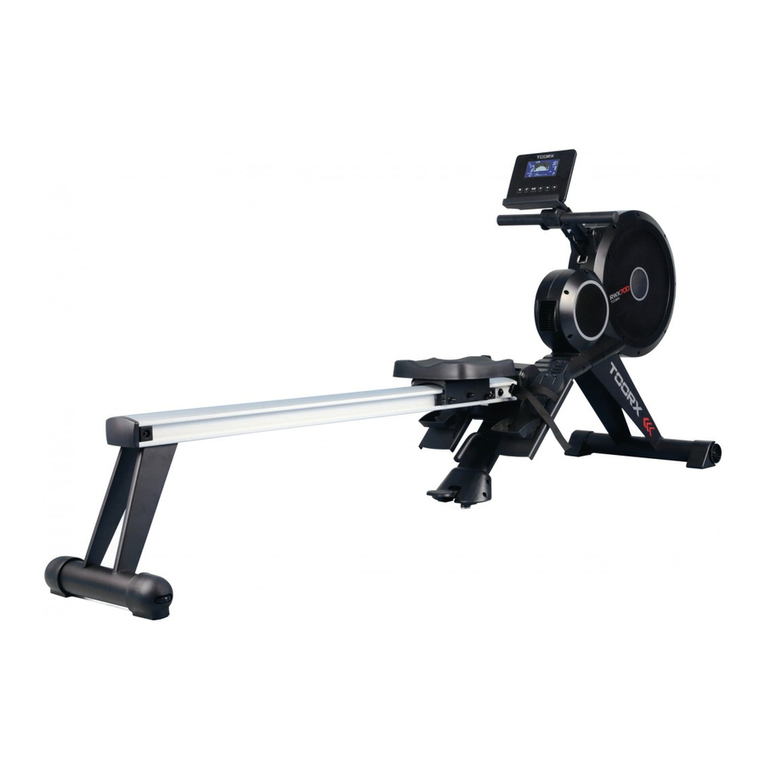
TOORX ERX90 User manual

Edizione : Revisione : 00
INSTRUCTION
08/16 00

Exploded View:
1
2
3
4
5
3
678
5
9
10
11
17L
13
14L
16 15
14R
15
16
29L
29R
191120 21
21 22
23
24
25 26
23 22 21
24
25 26
21 20 1119
27L
27R
28R
28L
17R
31
32 33
33
32 33
33
71 34
34
36
34
18
37L 37R
38L
38R
39
40
41
42
43L
45
44
3526
30
35
26
48L
49
48R
2635
45
42
43R 44
35
26
30
35
50
51
52
49
35
50
53
53
51
52
51
52
54
54
59
46L
46R
59
56
55
21
57
22 58
21
58 22
21
54
59
59
57
5655
47L
47R
65
66 67 70
69
12
68
62
63
64
62
63
64
60 61
71
11
11

PARTS LIST
NO.
Description
QTY
NO.
Description
QTY
1
Computer
1
39
Tension cable 2
1
2
Trunk wire 1
1
40
Main frame
1
3
End cap Φ31*16
2
41
Front cover
1
4
The middle handlebar
1
42
Bolt M8*45
4
5
Foam grip Φ23*500
2
43L/R
Pedal (Right &left)
2
6
Handle pulse withΦ25 Tube
2
44
Connecting rod
2
7
Screw ST4.0*19
2
45
Bolt M8*75
2
8
Washer d6*Φ12*1
2
46L/R
Left Pedal Tube Rear Cover (L/R)
2
9
Handle pulse wire
1
47L/R
Right Pedal Tube Rear Cover (L/R)
2
10
Screw M8*25
2
48L/R
End cap with PT80*40 Tube
1
11
Spring Washer d8
10
49
Front/Rear Stabilizer
2
12
Grommet Φ12*11
1
50
Bolt M8*55*25*S14
4
13
Screw ST4.2*19
2
51
Washer d5*Φ13*1
4
14L/R
Handle bar
2
52
Screw ST4.2*25
4
15
End cap
2
53
Adjustable end cap PT80*40Tube
2
16
Sponge tube Φ30*630
2
54
Space
4
17L/R
Decoration cover
1
55
Nylon Nut M10*1.25
2
18
Bolt ST4.2*25
1
56
Washer d10*Φ32*2
2
19
Bolt M8*16
2
57
Connecting join
2
20
Washer d8*Φ32*2
2
58
Short spacer
2
21
Alloy wrap 2
8
59
Screw M5*10
4
22
Arc washer d19*Φ25*0.3
4
60
Screw M4*12
2
23
Spacer
2
61
Washer d4*Φ12*1
2
24
Bolt M8*45*20*H5
4
62
Bolt M10*55
2
25
Arc washer d8*Φ20*2*R16
4
63
Washer d10*Φ20*2
2
26
Nylon Nut M8
10
64
Nylon Nut M10
2
27L/R
Swing rod
2
65
Control tension
1
28L/R
swing rod cover (R/L )
2
66
Tool S13-14-15
1
29L/R
swing rod cover (R/L)
2
67
Tool S12-14
1
30
Screw ST4.2*16
4
68
Tool S17-19
2
31
Handle bar post
1
69
Tool S5
1
32
spacer
2
70
Tool S6
1
33
Alloy wrap 1
4
71
Washer d8*Φ25*2.0
4
34
Bolt M8*20*S14
6
35
Washer d8*Φ16*1.5
10
36
Arc washer d8*Φ20*2*R30
2
37L/R
Left Pedal Tube Front Cover L/R
2
38L/R
Right Pedal Tube Front Cover L/R
2

Step 1:
40
49
35
50
49
35
50 50
a. Secure front stabilizer and rear stabilizer (49) to main frame (40) with bolt (50) and
washer (35).

Step 2:
40
31
71 34
34
71
36
34
41
2
39
34
11
11
a. Insert front cover (41) into handle bar post (31).
b. Connect trunk wire 1(2) with trunk wire 2(39)
c. Secure handle bar post(31) to main frame(40) with Bolt(34), washes(71) ,Spring
washer(11)and arc washers(36)

Step 3:
31
191120
20 1119
45
44
3526
2635
45
44
27R
27L
40
57
62
63
64
62
63
64
57
a. Secure swing rod (27L/R) with handle bar post (31) with bolts (19), washers (11)
and nuts (20).(Warning: Keep the Bolt 19 can be rotated freely)
b. Attached the Connecting rod (44) to the Connecting join (57) with Bolt (62),
Washer (63) and nylon nut (64). Secure Connecting rod (44) to swing rod (27
L/R) with bolt (45), washer (35) and nut (26).

Step 4:
42
43R
35
26
42
35
26
44
44
37L
37R
30
38L 38R 30
59
46L
46R
59
59
59
47L
47R
57
57
43L
a. Secure pedal (43 L/R) to connecting rod (44) with bolt (42), Washer (35) and
Nylon nut (26).
b, Attach Left Pedal Tube Front Cover L/R (37 L/R) and Right Pedal Tube Front
Cover L/R (38 L/R) to connecting rod (44) with screws (30);
c, Attach Left Pedal Tube Rear Cover (L/R) (46L/R) and Right Pedal Tube Rear
Cover (L/R) (47L/R) to connecting rod (57) with screws (59 )

Step 5:
14L 14R
24
25 26
24
25 26
27L
27R
28R
28L
29L 29R
a. Secure handle bar(14L/R) to swing rod(27L/R) with bolt(24), arc washer(25 ) and
nylon nut(26 )
b. Attach swing rod cover (29 L/R) and swing rod cover (28L/R) to swing rod
(27L/R)

Step 6:
17L
13
17R
18
9
10
11
4
31
2
60
61
a. Secure middle handle bar (4) to handle bar post (31) with screw (10) and spring
washer (11).
b. Connect computer wire (1) with trunk wire 1(2), then secure computer (1) to
handle bar post(30) with screw(60) and washer (61)
c.Attach decoration cover (17 L/R) to handle bar post (31), then secure it with screw
(13) and bolt (18).
d. Insert the plug of handle pulse wire (9) into the hole on the back of computer

Step 7:
Warning: Please insert the adaptor (65) into the hole of back chain cover before
using. Pull out when don’t use for a long time.

Computer Operation
Page 11
I. To operate the monitor
A-0. Plug in the AC Adapter to power supply. You will see this first screen followed by the next one.
A-1. You may select different training mode of MANUAL, PROGRAM, USER or TARGET H.R. by pressing UP, DOWN buttons (a1).
Press MODE button to confirm. Or, you may press ST/STOP button to start training directly in MANUAL mode.
A-2. In a fresh monitor, if you start the selected mode, all function data start counting up from zero once the training starts (a2).
If you choose to preset any function target data (optional), then, the function display will count down from your preset target
value once the training starts.
A-3. During training, you may adjust resistance by pressing UP, DOWN buttons (a3). Please note each bar represents TWO
resistance levels. The bar will change up or down every two levels. During adjustment, you will see the display changes
when you press UP or DOWN button twice. There is a number (1 to 16) on the screen to show the exact resistance level.
A-4. To reset, press and hold the RESET button for 2 seconds.
(a1)
(a2)
(a3)
B. Training in MANUAL mode - press UP button until MANUAL shows up on the upper line, press MODE to confirm(b1).
(b1)
(b2)
(b3)
(b4)
B-1 You may press ST/STOP button to start training directly(b2), or you may press UP, DOWN buttons to adjust resistance
level (b3). During adjustment, you will see the display
changes when you press UP or DOWN buttons twice.
You may also adjust training resistance during training.
B-2 After adjustment of the training resistance, you may press
ST/STOP to start training or, optionally, set each function
(b5)
(b6)
data target by pressing MODE button to select the desired function you want to set target data. Then, use the UP, DOWN
buttons to set the value. Press MODE button to advanced to the next desired function area. The functions available for
preset are: Time, Distance, Calories, and Pulse in MANUAL mode.(b4)
B-3 After all settings are done, press ST/STOP button to start training. You will see each preset function data counts down from
target as soon as training starts. (b5)
B-4 Once each function target data is achieved (counts down to zero), the monitor will stop all functions (P appears on the
left-upper corner) and beep for 8 times to remind you. (b6)
B-5 You may press ST/STOP button to start training again. The function which has achieved to zero will start from previous set
data counting down, and other set function data will keep counting up or down from previous records.

Computer Operation
Page 12
B-6 During all training period, you may press ST/STOP to stop monitor counting at anytime.
C. Training in PROGRAM mode - press UP button until PROGRAM shows up on the upper line, press MODE to confirm.
(c1)
(c2
)
(c3
)
(c4)
C-1 The initial set program profile is P1 (c1 & c2). There are 12 training program profiles (P1-P12) available. You may press
UP/DOWN button to select the desired training profile. Press MODE button to confirm.
C-2 You may press ST/STOP button to start training directly(c3), or you may press UP, DOWN buttons to adjust resistance
level (c4). During adjustment, you will see the display changes when you press UP or DOWN button twice.
C-3 After adjustment of the training resistance, you may press ST/STOP to start training or, Optionally, set each function data
target by following the same procedure as stated in B-2 above. The functions available for preset are: Time, Distance,
Calories, and Pulse in PROGRAM mode.(c5)
(c5)
(c6)
(c7)
C-4 After all settings are done, press ST/STOP button to start training. You will see each preset function data counts down from
target as soon as training starts.(c6)
C-5 Once each function target data is achieved (counts down to zero), the monitor will stop all functions (P appears on the
left-upper corner) and beep for 8 times to remind you. (c7)
C-6 You may press ST/STOP button to start training again. The function which has achieved to zero will start from previous set
data counting down, and other set function data will keep counting up or down from previous records.
C-7 During all training period, you may press ST/STOP to stop monitor counting at anytime.
D. Training in USER mode - press UP button until USER shows up on the upper line, press MODE to confirm(d1). In USER mode,
you can set your own desired training program.
(d1)
(d2)
(d3)
(d4)
D-1 There are 16 profile units that you can set the desired resistance level for each unit to create your own training program.
Press UP, DOWN buttons to adjust resistance level of the first
profile unit. During adjustment, you will see the display
changes when you press UP or DOWN buttons twice (d3).
Press MODE button to move to the next profile unit. Then,
use UP, DOWN buttons again to set the desired resistance
(d5)
(d6)
level until you've completed all 16 profile units. You may also adjust resistance during training.
D-2 After completing your own training program setting, you may press ST/STOP to start training or, optionally, set each function
data target by following the same procedure as stated in B-2 above. The functions available for preset are: Time, Distance,
Calories, and Pulse in USER mode. (d4)
D-3 After all settings are done, press ST/STOP button to start training. You will see each preset function data counts down from
target as soon as training starts. (d5)
D-4 Once each function target data is achieved (counts down to zero), the monitor will stop all functions (P appears on the

Page 13
Computer Operation
left-upper corner) and beep for 8 times to remind you.(d6)
D-5 You may press ST/STOP button to start training again. The function which has achieved to zero will start from previous set
data counting down, and other set function data will keep counting up or down from previous records.
D-6 During all training period, you may press ST/STOP to stop monitor counting at anytime.
E. Training in TARGET H.R. mode - press UP button until TARGET H.R. shows up on the upper line, press MODE to confirm.
(The monitor will first display initial set AGE 20(e1). Please input your age by pressing UP, DOWN, and MODE button to confirm.
The monitor will then display initial target heart rate percentage 55% (e2). You may press UP button to select 75%, 90% or THR
for further selection. The right-lower field of the display will show a target heart rate figure which is calculated according to your
age and selected heart rate percentage. You may follow this target heart rate figure to track your heart rate status during
training. If you select THR, the initial monitor set target heart rate figure is 100 shown on the right-lower field of the display.
You may press MODE button and use UP, DOWN buttons to set your desired target heart rate value, the setting range could
be from 30 to 240 bpm.
(e1)
(e2)
(e3)
(e4)
E-1 You may press ST/STOP button to start training directly
(e3). Or, optionally, you may set each function data target
by following the same procedure as stated in B-2 above.
The functions available for preset are: Time, Distance, and
Calories in TARGET H.R. mode.(e4)
(e5)
(e6)
E-2 After all settings are done, press ST/STOP button to start training. You will see each preset function data counts down from
target as soon as training starts(e5). Once you are training in TARGET H.R. mode, the training resistance will be adjusted
automatically depends on your current heart beat. If your heart beat is very high compare to the preset target, the training
resistance will decrease immediately one level, and keep decreasing one level every 15 seconds by monitoring your
current heart beat change. If the training resistance has dropped to level one but your heart beat is still high, the monitor will
stop all functions automatically as a protective action. If your heart beat is very low compare to the preset target, the training
resistance will increase one level every 30 seconds till level 16. You will NOT be able to adjust training resistance by
yourself when you are training in Target H.R. mode.
E-3 Once each function target data is achieved (counts down to zero), the monitor will stop all functions (P appears on the
left-upper corner) and beep for 8 times to remind you.(e6)
E-4 You may press ST/STOP button to start training again. The function which has achieved to zero will start from previous set
data counting down, and other set function data will keep counting up or down from previous records.
E-5 During all training period, you may press ST/STOP to stop monitor counting at anytime.
II. Button Functions
UP
To make upward adjustment to each function data or increase training resistance or select personal data setting.
DOWN
To make backward adjustment to each function data or decrease training resistance or select personal data setting.
MODE
To confirm function selection or data input.
RECOVERY
To activate/deactivate the Heart Rate Recovery function.
RESET
Press the RESET button for 2 seconds to reset current settings and switch the monitor to initial training mode.
START/STOP
To start or stop training.
III. Functions
SCAN
When training starts, RPM and SPEED data will alternate on display. Same thing with the Watt and Calories data.
SPEED
Displays current training SPEED from 0.0 to maximum 99.9 Km.

Page 14
Computer Operation
RPM
Displays current training rotations per minute.
TIME
Count up - If NO preset target, Time will count up from 00:00 to maximum 99:59 with each increment of 1 second.
Count down - If training with preset Time, Time will count down from preset value to 00:00.Each preset increment
or decrement of 1 minute between 1:00 to 99:00.
DISTANCE
Count up - If NO preset target, Distance will count up from 0.00 to maximum 99.90 with each increment 0.1 Mile.
Count down - If training with preset target, Distance will count down from preset value to 0.00. Each preset
increment or decrement is 0.1 Mile between 0.00 to 99.90.
CALORIES
Count up - If NO preset target, Calories will count up from 0 to maximum 999 with each increment of 1 cal.
Count down - If training with preset target, Calories will count down from preset value to 0. Each preset increment
or decrement is 10 cal from 0 to 990 cal.
PULSE
To display your current heart beat figures as soon as the pulse sensors are touched. The monitor will
detect your heart beat through handgrip sensors once you hold on the sensors with both hands. If you have
preset pulse target when training in Manual, Program, or User mode, the monitor will beep when your current
heart rate reaches the preset target. To select Target Heart Rate training mode for training, please refer
to the above "Training in Target Heart Rate mode". To ensure the heart rate readout is stable, please hold
the handgrip sensors with both hands during training.
RECOVERY
After exercising for a period of time, keep holding on handgrips and press "RECOVERY" button. All function
display will stop except "Time" will start counting down from 00:60 - 00:59 - 00:58 - to 00:00. Please keep on
holding the handgrips until "Time" reaches 00:00. As soon as 00:00 is reached, the bottom area of display will
show your heart rate recovery status with the grade F1, F2,… F6. F1 is the best, and F6 is the worst. You may
keep on exercising to improve the heart rate recovery status day by day from F6 to F1.
** Press the RECOVERY button again to return back to the main display.
WATT
Display current training watt figures.
IV. Note
1. The monitor will shut off automatically if you stop the training or button operation for 4 - 5 minutes. All training data will be kept
and reappeared again when you press any button.
2. The monitor is powered through an AC adaptor (DC 8V, 500mA). Please plug in power supply before using the monitor.

GARLANDO SPA
Via Regione Piemonte, 32 - Zona Industriale D1
15068 - Pozzolo Formigaro (AL) - Italy
www.toorx.it - info@toorx.it
Table of contents
Other TOORX Fitness Equipment manuals

TOORX
TOORX MSX3000 User manual

TOORX
TOORX TRX Speed Cross User manual

TOORX
TOORX WBX90 User manual

TOORX
TOORX BRX R300 ERGO User manual

TOORX
TOORX CLX-9000 User manual

TOORX
TOORX WBX-250 User manual

TOORX
TOORX WBX60 User manual
TOORX
TOORX WBX-2400 User manual

TOORX
TOORX WBX300 User manual

TOORX
TOORX BRX R9500 User manual
TOORX
TOORX WBX85 User manual
TOORX
TOORX ERX900 User manual

TOORX
TOORX BRXOffice Compact User manual

TOORX
TOORX Professional Line WBX4000 User manual

TOORX
TOORX CSX2000 User manual

TOORX
TOORX Rower Force User manual

TOORX
TOORX RowerCompact User manual

TOORX
TOORX TRX 9500 User manual
TOORX
TOORX WLX80 User manual
TOORX
TOORX BRX RECUMBENT COMPACT User manual