manuals.online logo
Brands
  1. Home
  2. •
  3. Brands
  4. •
  5. Toro
  6. •
  7. Automobile Accessories
  8. •
  9. Toro 1436-501 User manual

Toro 1436-501 User manual

NOTE: Read these Installation Instructions thoroughly before beginning the installation process. Retain
these Installation Instructions for future reference.
1
Arctic Cat®Prowler
Installation Instructions - Accessory Kit
Form No. 0453-731
LXC Windshield Kit
(1436-501)
Kit includes:
p/n QTY DESCRIPTION
2441-243 1 Windshield Glass
2441-242 1 Top Sealing Foam
2441-244 2 Gas Spring
2441-241 4 C-Clamp
2441-247 1 Grab Handle
2441-245 1 Grab Catch Support
2441-246 1 Grab Catch
* 2 Machine Screw (M6-10 x 14 mm)
* 2 Machine Screw (M6-1.0 x 16 mm)
* 2 Machine Screw (M6-1.0 x 20 mm)
* 2 Machine Screw (M6-1.0 x 25 mm)
* 2 M6 Fender Washer
* 4 Flange Lock Nut
* 4 Lock Nut (M8-1.25)
* 2 Grab Catch Screws w/Rubber Well Nuts
* 4 Rubber Washer
* 4 Fender Washer
0453-731 1 Instructions
*Included in Hardware Kit (p/n 1436-705)
1. Assemble Grab Catch (B) onto Grab Catch Support (C)
using two Machine Screws (M6-1.0 X 16 mm) (A) and
two Flange Lock Nuts (D) (finger tighten at this time).
See Fig. 1.
Fig. 1
UTV-160A
2. Secure the grab catch support (D) onto the lower center
part of Windshield Assembly using two Machine
Screws (M6-1.0 X 14 mm) (A), two Fender Washers
(#B), and two Rubber Washers (C). See Fig. 2.
Fig. 2
UTV-161A
NOTE: If Roof Kit (p/n 1436-500) is installed, go
to step 3. If not, go to step 4.
3. Remove and retain the C-clamps securing the roof to
the ROPS tubes; then remove the roof. See Fig. 3.
Fig. 3
UTV-162
2
4. If you plan to proceed with the installation of the
Roof Kit (p/n 1436-500) or it will be mounted on
your vehicle at this time, apply Self-Adhesive
Foam (A) on top of the windshield. If not, keep it
for future installation.
Fig. 4
UTV-157A
5. Position the windshield assembly on front of the
ROPS tubes. See Fig. 5.
Fig. 5
UTV-163
6. Fasten the upper part of the windshield assembly onto
the front horizontal tube of the ROPS using two C-
clamps (D), two machine screws (M6-1.0 X 25 mm)
(A), fender washers (B), two rubber washers (C), and
flange nylock nuts (M6-1.0) (E) (finger tighten at this
time). See Fig. 6.
Fig. 6
UTV-164A
7. Fasten the lower part of the windshield assembly onto
the front vertical tubes of the ROPS using two C-clamps
(A), two machine screws (M6-1.0 X 20 mm) (C), and
two fender washers (B) (finger tighten at this time). See
Fig. 7.
Fig. 7
UTV-165A
8. Make sure that the upper part of the windshield
assembly is well supported on the ROPS. If the
bottom frame is not well supported against the
ROPS, loosen the four machine screws (two on
each side) connecting the side main frames to the
lower main frame. Adjust and tighten the four
machine screws (see Fig. 8). Tighten all machine
screws attaching the C-clamps installed in steps 6
and 7.
Fig. 8
UTV-167
9. Insert the ends of the gas spring (A) into the holes
on the windshield frame and secure using the two
nylock nuts (M8-1.25) (B). Repeat step for the
opposite side. See Fig. 9.
Fig. 9
UTV-169A
3
NOTE: When installing the gas spring, be sure
that the body of the gas spring is secured on the
top.
10. Secure the two machine screws (installed in step 2)
(A) retaining the grab catch support to the wind-
shield frame. See Fig. 10.
Fig. 10
UTV-166A
11. Raise the window of the windshield. Mark the
holes for the grab catch support on top of the dash-
board Remove grab catch support and drill both
holes using a 3/8-in. drill bit; then insert both Rub-
ber Well-Nuts. Secure the grab catch support using
two machine screws (A) into the rubber well-nuts
and the two machine screws from figure 10.
12. Lower the window and lock in position using the
locking grab handle. Check that the seal is in con-
tact with the surface of the windshield frame. Note
the position of the grab catch, raising the window
and tighten the two machine screws (C) holding the
grab catch (B) to grab catch support. See Fig. 11.
Fig. 11
UTV-168A
13. Reinstall the roof using the existing hardware
removed in step 3.
14. Fasten the upper part of the windshield onto the
roof using five machine screws (M6-1.0 X 25 mm)
(C), five lock washers (B), and five flat washers
(A) included in the Roof Kit (p/n 1436-500). See
Fig. 12.
Fig. 12
UTV-154A
NOTE: Install cab components in this sequence.
Windshield, rear panel, roof, and then door kit. If
you have already installed some cab components
and are adding, it may be necessary to remove
installed components. See Fig. 13.
Fig. 13
CAUTION
When drilling through the dash, be sure of what is
on the other side.
Printed in the U.S.A. ®™Trademarks of Arctic Cat Inc., Thief River Falls, MN 56701 0511

Other Toro Automobile Accessories manuals

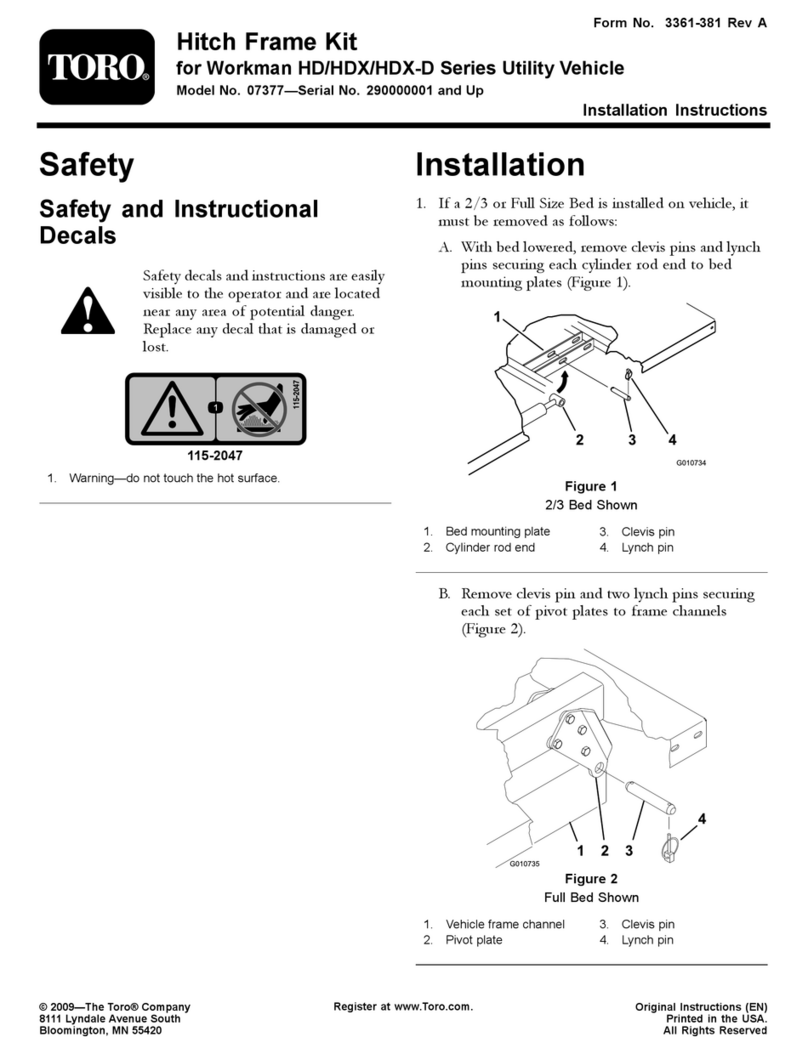
Toro Cab Kit User manual

Toro

Toro Cab Kit User manual

Toro 136-1997 User manual

Toro

Toro 136-1997 User manual

Toro 137-1019 User manual

Toro

Toro 137-1019 User manual

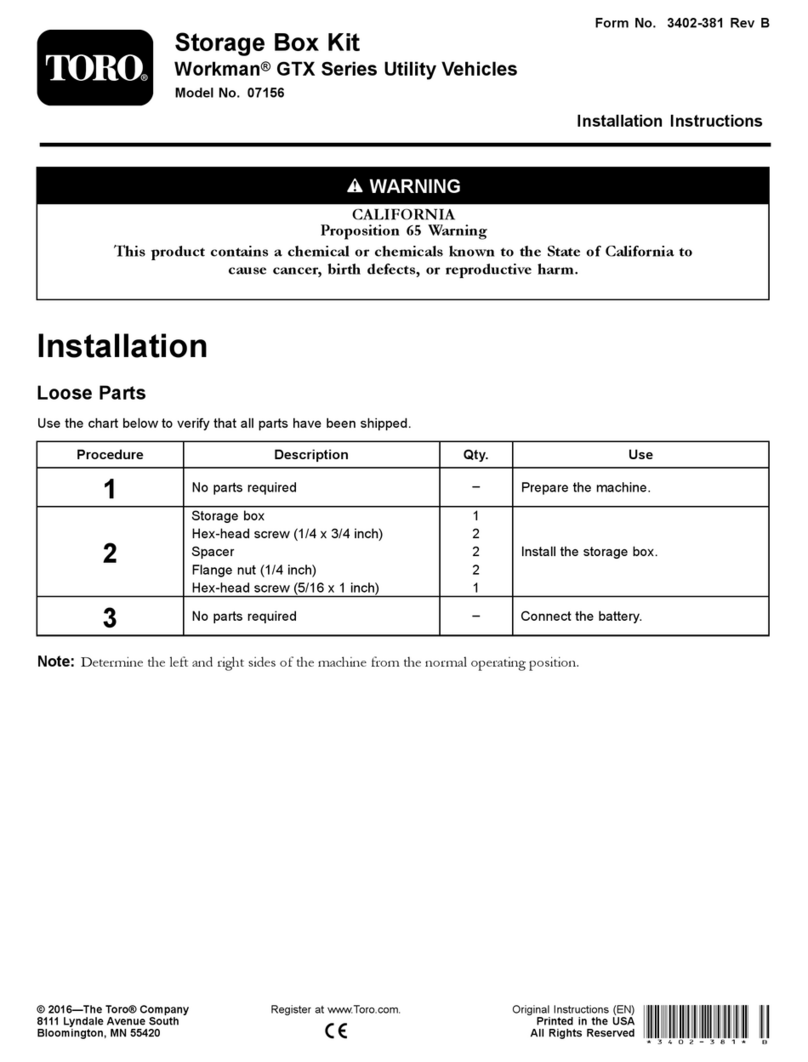
Toro 07337 User manual

Toro

Toro 07337 User manual

Toro 07156 User manual

Toro

Toro 07156 User manual

Toro 136-6323 User manual

Toro

Toro 136-6323 User manual

Toro 07141 User manual

Toro

Toro 07141 User manual

Toro 07419 User manual

Toro

Toro 07419 User manual

Toro 07145 User manual

Toro

Toro 07145 User manual

Toro 07377 User manual

Toro

Toro 07377 User manual

Toro 07027 User manual

Toro

Toro 07027 User manual

Toro 07441 User manual

Toro

Toro 07441 User manual

Toro 133-0554 User manual

Toro

Toro 133-0554 User manual

Toro 07161 User manual

Toro

Toro 07161 User manual

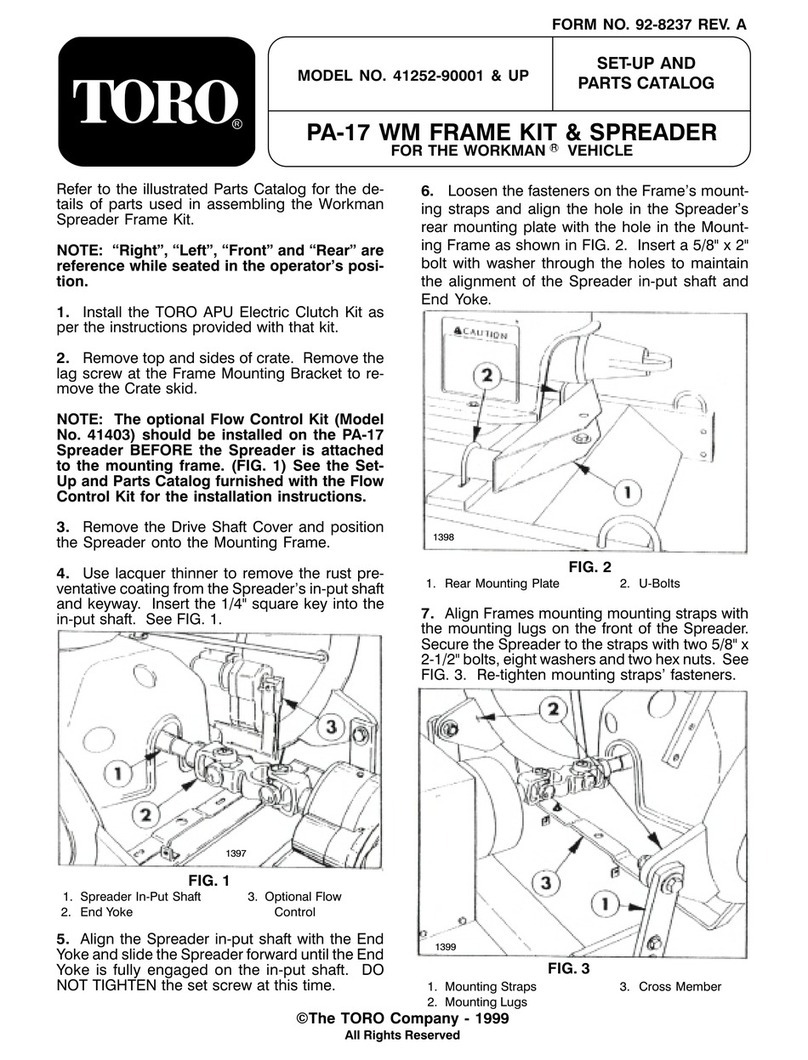
Toro PA-17 WM Instruction Manual

Toro

Toro PA-17 WM Instruction Manual

Toro Security Cage Kit User manual

Toro

Toro Security Cage Kit User manual

Toro 119-9546 User manual

Toro

Toro 119-9546 User manual

Toro 07389 User manual

Toro

Toro 07389 User manual

Toro 07046 User manual

Toro

Toro 07046 User manual

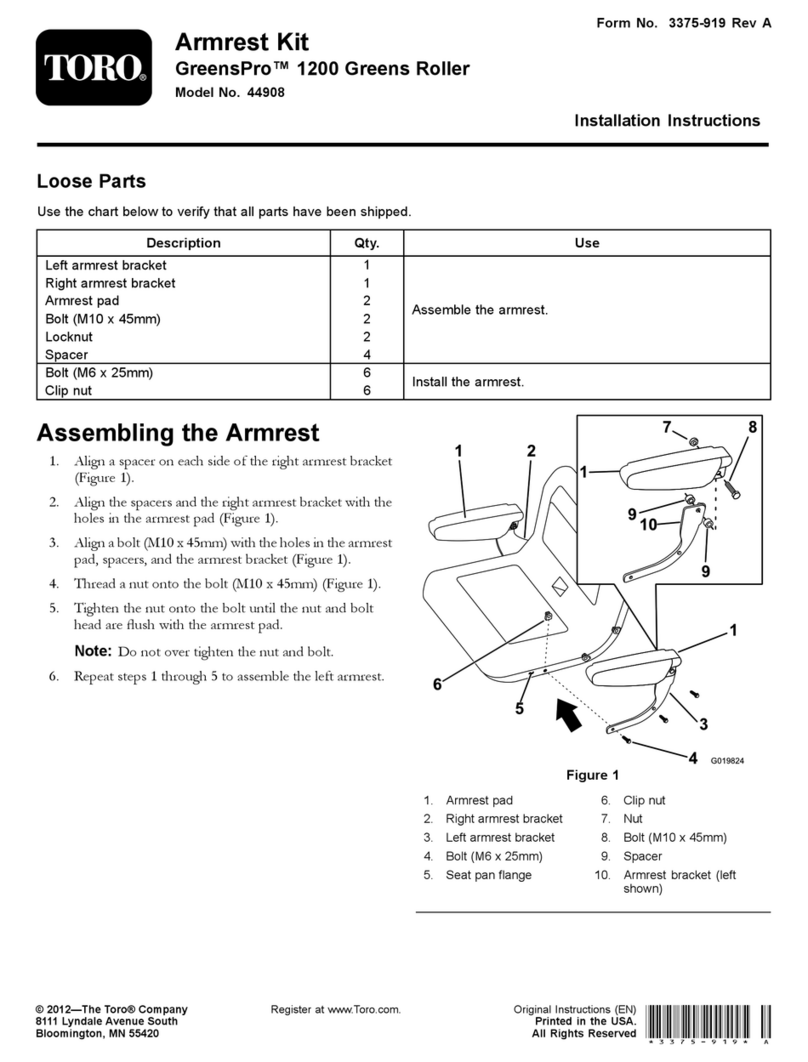
Toro 44908 User manual

Toro

Toro 44908 User manual

Toro 04238 User manual

Toro

Toro 04238 User manual

Popular Automobile Accessories manuals by other brands

RVi TBC1 instructions

RVi

RVi TBC1 instructions

ROLEC OCPP0410 Installation & operation manual

ROLEC

ROLEC OCPP0410 Installation & operation manual

Viezu V-Switch quick start

Viezu

Viezu V-Switch quick start

Warn 108000 installation instructions

Warn

Warn 108000 installation instructions

Whelen Engineering Company 12H4S140 installation guide

Whelen Engineering Company

Whelen Engineering Company 12H4S140 installation guide

Fabtech FTS22108 installation instructions

Fabtech

Fabtech FTS22108 installation instructions

Whelen Engineering Company INDOTLP3 installation guide

Whelen Engineering Company

Whelen Engineering Company INDOTLP3 installation guide

Fichtelbahn OpenCar CarUpdater manual

Fichtelbahn

Fichtelbahn OpenCar CarUpdater manual

Fortin EVO ONE THAR-ONE-HON7 Addendum - Suggested Wiring Configuration

Fortin

Fortin EVO ONE THAR-ONE-HON7 Addendum - Suggested Wiring Configuration

Axion PLC-101 Installation guidance

Axion

Axion PLC-101 Installation guidance

DV8 FBGX-02 installation manual

DV8

DV8 FBGX-02 installation manual

Prorack K053 Fitting instructions

Prorack

Prorack K053 Fitting instructions

AUTOTECH 10.715.009K installation instructions

AUTOTECH

AUTOTECH 10.715.009K installation instructions

Cruz N+ N34-140 Series Assembly instructions

Cruz

Cruz N+ N34-140 Series Assembly instructions

Jaeger 21500516J manual

Jaeger

Jaeger 21500516J manual

Kuda-Phonebase 5370 Installation instruction

Kuda-Phonebase

Kuda-Phonebase 5370 Installation instruction

STO N SHO SNS 141 Installation procedures

STO N SHO

STO N SHO SNS 141 Installation procedures

Philips genie Series user manual

Philips

Philips genie Series user manual

manuals.online logo
manuals.online logoBrands
  • About & Mission
  • Contact us
  • Privacy Policy
  • Terms and Conditions

Copyright 2025 Manuals.Online. All Rights Reserved.