manuals.online logo
Brands
  1. Home
  2. •
  3. Brands
  4. •
  5. U-Line
  6. •
  7. Dispenser
  8. •
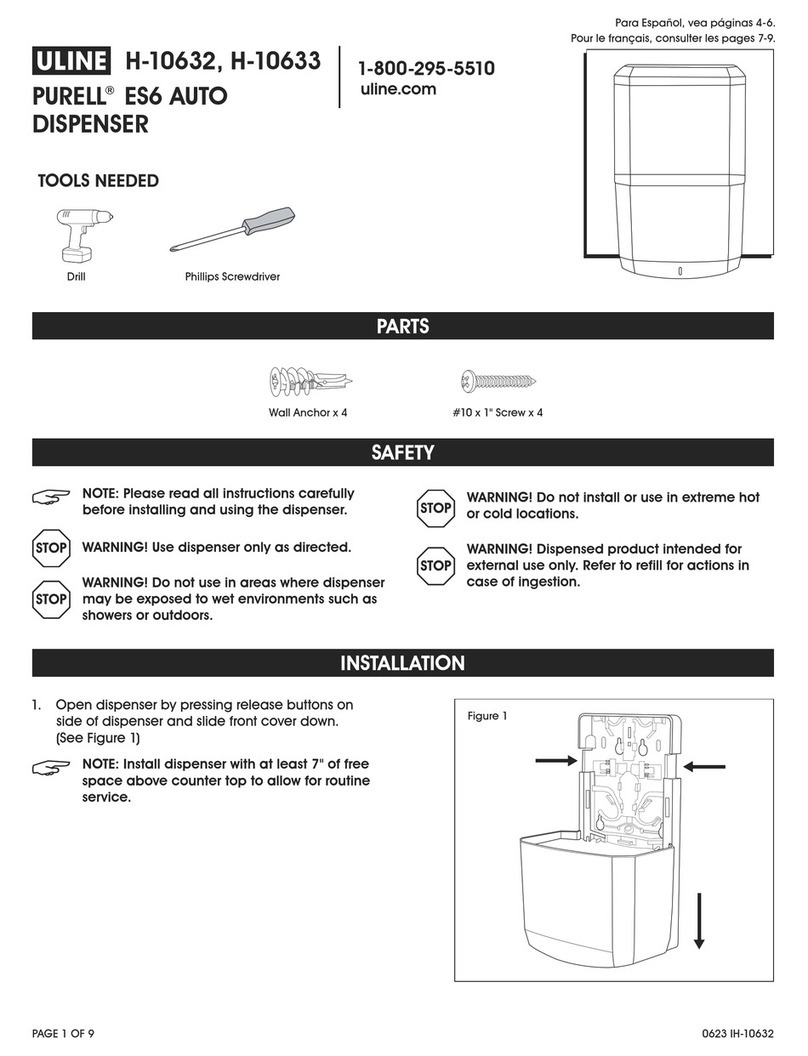
  9. U-Line H-1585 User manual

U-Line H-1585 User manual

Other manuals for H-1585

1

This manual suits for next models

1

Other U-Line Dispenser manuals

U-Line H-2272 User manual

U-Line

U-Line H-2272 User manual

U-Line H-2557 User manual

U-Line

U-Line H-2557 User manual
U-Line H-725 User manual

U-Line

U-Line H-725 User manual

U-Line GOJO LTX H-5066 User manual

U-Line

U-Line GOJO LTX H-5066 User manual

U-Line H-2624 User manual

U-Line

U-Line H-2624 User manual

U-Line H-1036 User manual

U-Line

U-Line H-1036 User manual

U-Line H-1675 User manual

U-Line

U-Line H-1675 User manual

U-Line H-1592 User manual

U-Line

U-Line H-1592 User manual

U-Line H-1918 User manual

U-Line

U-Line H-1918 User manual

U-Line EZ Pull Senior H-2534 User manual

U-Line

U-Line EZ Pull Senior H-2534 User manual

U-Line H-2590 User manual

U-Line

U-Line H-2590 User manual

U-Line H-6067 User manual

U-Line

U-Line H-6067 User manual

U-Line H-1019 User manual

U-Line

U-Line H-1019 User manual

U-Line UCDE215 Installation manual

U-Line

U-Line UCDE215 Installation manual

U-Line H-3905 User manual

U-Line

U-Line H-3905 User manual

U-Line H-8883 User manual

U-Line

U-Line H-8883 User manual

U-Line TORK H-7544 User manual

U-Line

U-Line TORK H-7544 User manual

U-Line Tork Xpressnap H-5858 User manual

U-Line

U-Line Tork Xpressnap H-5858 User manual

U-Line H-8795 User manual

U-Line

U-Line H-8795 User manual

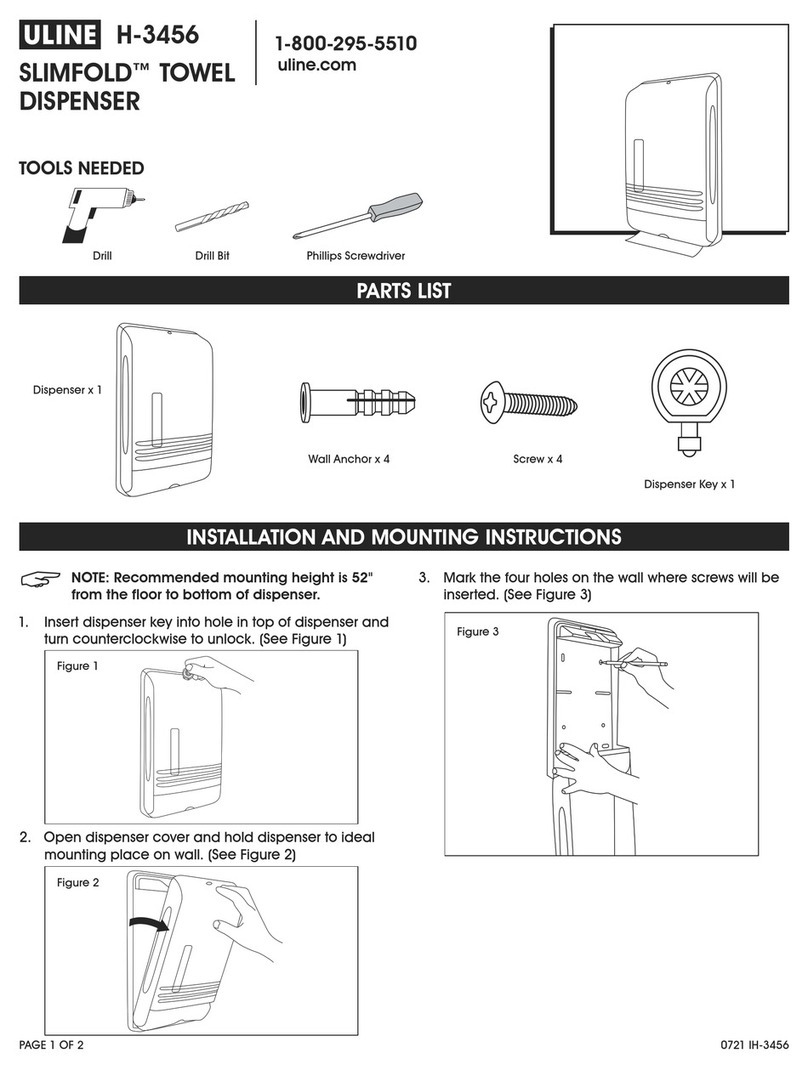
U-Line SLIMFOLD H-3456 User manual

U-Line

U-Line SLIMFOLD H-3456 User manual

U-Line TORK H-7177 User manual

U-Line

U-Line TORK H-7177 User manual

U-Line H-878 User manual

U-Line

U-Line H-878 User manual
U-Line H-9504 User manual

U-Line

U-Line H-9504 User manual

U-Line TORK XPPESSNAP User manual

U-Line

U-Line TORK XPPESSNAP User manual

Popular Dispenser manuals by other brands

BOWMAN CL003-0111 manual

BOWMAN

BOWMAN CL003-0111 manual

SIKA Power Cure operating instructions

SIKA

SIKA Power Cure operating instructions

Silver King Majestic SK12MAJ Technical manual and replacement parts list

Silver King

Silver King Majestic SK12MAJ Technical manual and replacement parts list

Franke F3Dn Twin Service manual

Franke

Franke F3Dn Twin Service manual

HURAKAN HKN-MT1 manual

HURAKAN

HURAKAN HKN-MT1 manual

STIEBEL ELTRON UltraHot Plus Operation and installation instructions

STIEBEL ELTRON

STIEBEL ELTRON UltraHot Plus Operation and installation instructions

Bobrick B-828 troubleshooting guide

Bobrick

Bobrick B-828 troubleshooting guide

DAN DRYER 282 installation guide

DAN DRYER

DAN DRYER 282 installation guide

Essity Tork 473208 manual

Essity

Essity Tork 473208 manual

CBS SD300BU-88 COMPONENT MAINTENANCE MANUAL WITH ILLUSTRATED PARTS LIST

CBS

CBS SD300BU-88 COMPONENT MAINTENANCE MANUAL WITH ILLUSTRATED PARTS LIST
Sealey MK77 manual

Sealey

Sealey MK77 manual

Fluid Management Accutinter 1600 End user guide

Fluid Management

Fluid Management Accutinter 1600 End user guide

Franke DVS SD99-010 Installation and operating instructions

Franke

Franke DVS SD99-010 Installation and operating instructions

Graco Dispensit 1053-10C operation & maintenance

Graco

Graco Dispensit 1053-10C operation & maintenance

DPR SED02 user manual

DPR

DPR SED02 user manual

ITALTINTO i50 user manual

ITALTINTO

ITALTINTO i50 user manual

Coca-Cola FREESTYLE 9000 user guide

Coca-Cola

Coca-Cola FREESTYLE 9000 user guide

Hewi 805.06.150 Mounting instructions

Hewi

Hewi 805.06.150 Mounting instructions

manuals.online logo
manuals.online logoBrands
  • About & Mission
  • Contact us
  • Privacy Policy
  • Terms and Conditions

Copyright 2025 Manuals.Online. All Rights Reserved.

PAGE 1 OF 3 0115 IH-1585
πH-1585, H-1950
TOUCH FREE
DISPENSER
1-800-295-5510
uline.com
NOTE:
Do not install in locations where dispenser
may be exposed to wet environments, such as
showers or areas where walls are washed down.
TAPE INSTALLATION
Use only on smooth, dry surfaces
1. Install dispenser at least 6"
above counter top. (See Figure 1)
2. Clean installation surface with
supplied prep pad. Allow
surface to dry for 60 seconds.
3. Open dispenser by pushing
release on bottom of dispenser.
(See Figure 2)
4. Peel paper off of installation
tape located on back of
dispenser. (See Figure 3)
5. Press dispenser firmly onto
mounting surface by applying
pressure to the inside of
backplate for 15 seconds. Do
no load refill for at least 24
hours. (See Figure 4)
FASTENER INSTALLATION
Use on rough or smooth surfaces
1. Install dispenser at least 6"
above counter top. (See Figure 5)
2. Open dispenser by pushing
release on bottom of dispenser.
(See Figure 6)
3. Using backplate as template,
mark and drill 4 center holes
using 1/4" spiral masonry drill or
1/4" wood drill. If required, pierce
installation tape at installation
holes. Make sure tape backing
remains in place.
4. Install #10 x 1" anchors into the
4 drilled holes. Insert Type A
#10 x 1" screws into installation
holes in backplate and through
installation tape.
5. Peel paper off of installation
tape, line up screws with
anchors, and press firmly into
position. (See Figure 7)
6. Tighten screws securely, being
careful not to overtighten.
(See Figure 8)
INSTALLATION
6 in.
Figure 5
Figure 6
Figure 3
Figure 7
6 in.
Figure 1
Figure 2
Figure 4
Figure 8
PAGE 2 OF 3 0115 IH-1585
1. Open dispenser by pushing
release on bottom of dispenser.
(See Figure 14)
2.Check that the color of refill
collar key matches color key
located immediately below
status light. (See Figure 15)
3. Insert refill at slight angle into
dispenser so nozzle is inside lock
release. (See Figure 16)
4. Fully insert refill down into lock
release until refill clicks into
place. Close dispenser. Prime
refill pump by placing hands
below dispenser until product is
dispensed. (See Figure 17)
(See Dispenser Use)
5.To remove refill, press lock
release and lift refill up and out
of dispenser. (See Figure 18)
1. Open dispenser by pushing
release on bottom of dispenser.
(See Figure 9)
2.Remove two screws securing
battery box cover using Phillips
screwdriver. (See Figure 10)
3. Use 3 high-quality C-cell alkaline
batteries (not included).
(See Figure 11)
NOTE: Do not mix old and
new batteries.
4. Replace battery box cover,
being careful not to over-tighten
screws. (See Figure 12)
5.Close dispenser cover. Status
light will blink green after closing,
indicating that batteries are
correctly installed and dispenser
is ready to accept refills.
(See Figure 13)
BATTERY INSTALLATION
LOADING REFILL
Figure 10
Fig u re 17
Figure 18
Figure 15
Figure 16
Fi gu re 11
Figure 12
Figure 13
Figure 9
Figure 14
PAGE 3 OF 3 0115 IH-1585
1. Place palms approximately 2"
below dispenser. (See Figure 19)
2.Product will be dispensed within
1 second of sensor activation.
3.To receive additional product,
remove hands from below
dispenser and repeat Step 1.
TO CLEAN
• Clean exterior surfaces of the dispenser using warm
water and mild soap.
NOTE: Do not use abrasive cleaners.
• Dry with a soft cloth.
USE AND CLEANING
TROUBLESHOOTING
OPERATING ISSUE RECOMMENDATIONS
No dispense. Motor does not run. Hands are not directly beneath sensor.
No refill is loaded.
Incorrect refill is loaded.
Batteries are not loaded, or are loaded
incorrectly.
No dispense. Motor runs. Refill is empty or is loaded improperly.
Refill pump is not primed.
πCHICAGO•ATLANTA•DALLAS•LOSANGELES•MINNEAPOLIS•NYC/PHILA•SEATTLE•MEXICO•CANADA
1-800-295-5510
uline.com
Figure 19