manuals.online logo
Brands
  1. Home
  2. •
  3. Brands
  4. •
  5. VS
  6. •
  7. Indoor Furnishing
  8. •
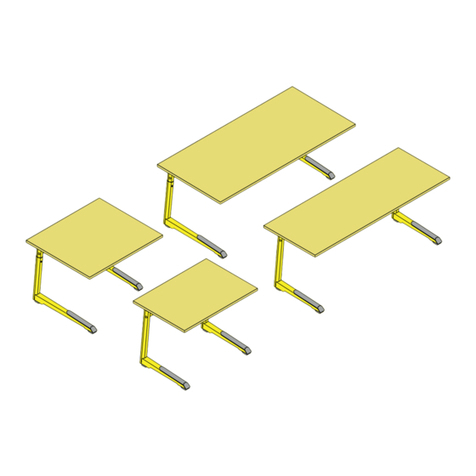
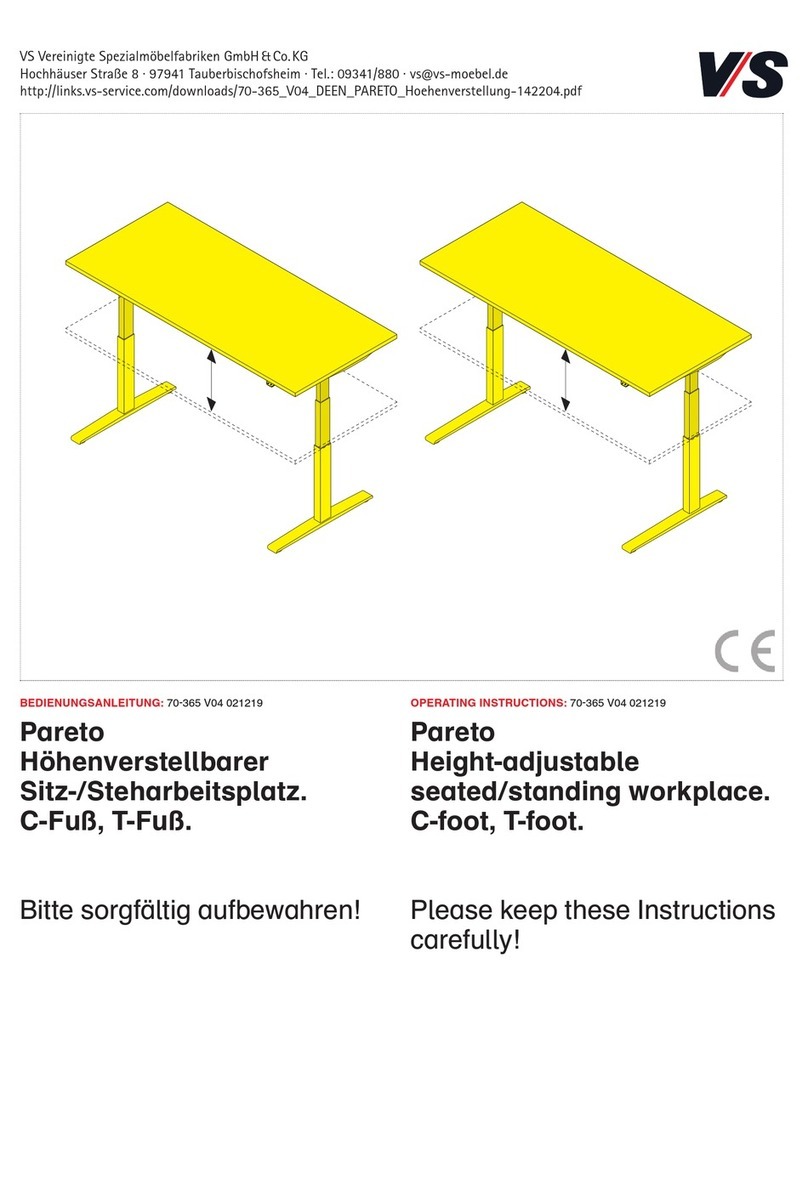
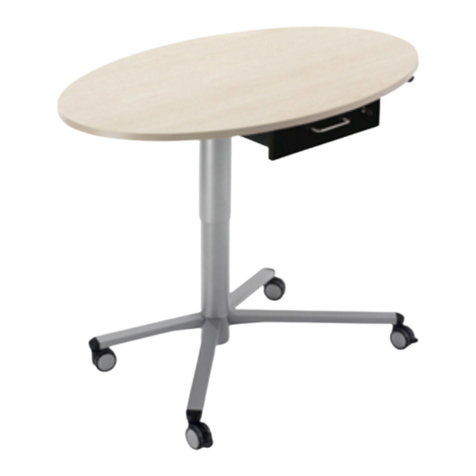
  9. VS Pareto-Twin 21758 User manual

VS Pareto-Twin 21758 User manual

This manual suits for next models

3

Other VS Indoor Furnishing manuals

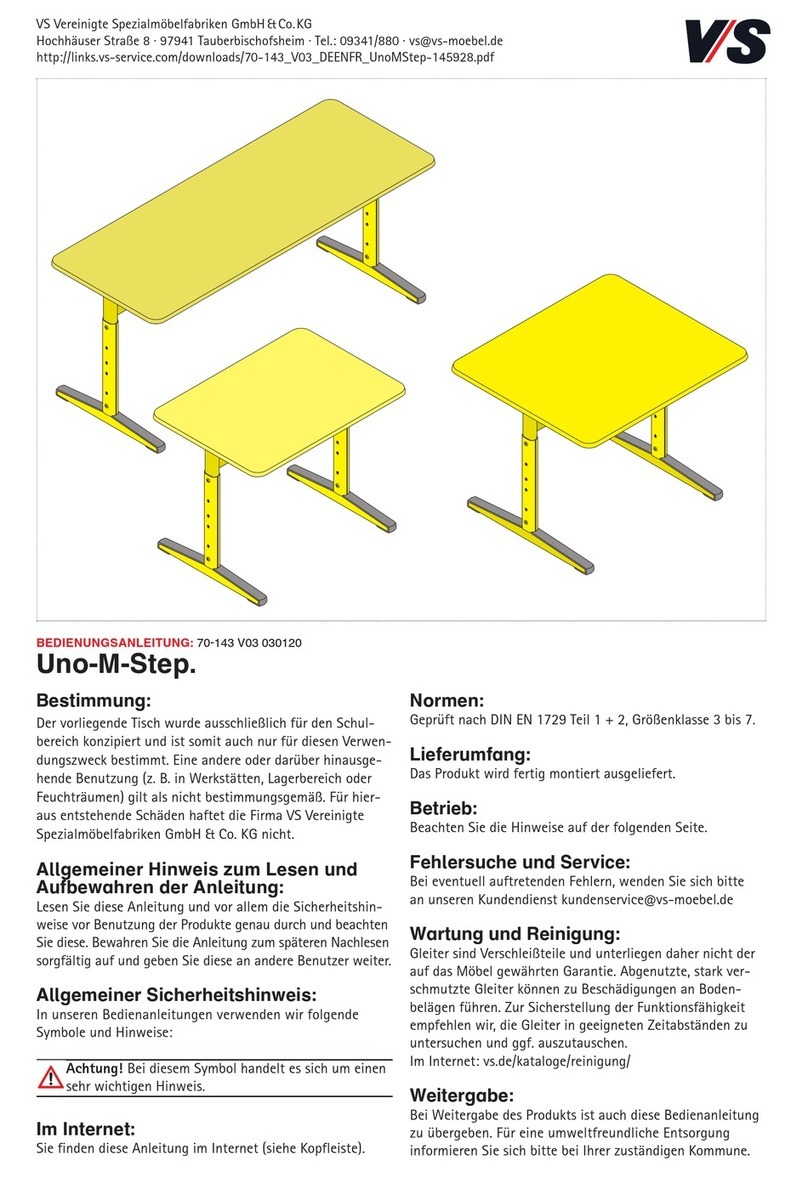
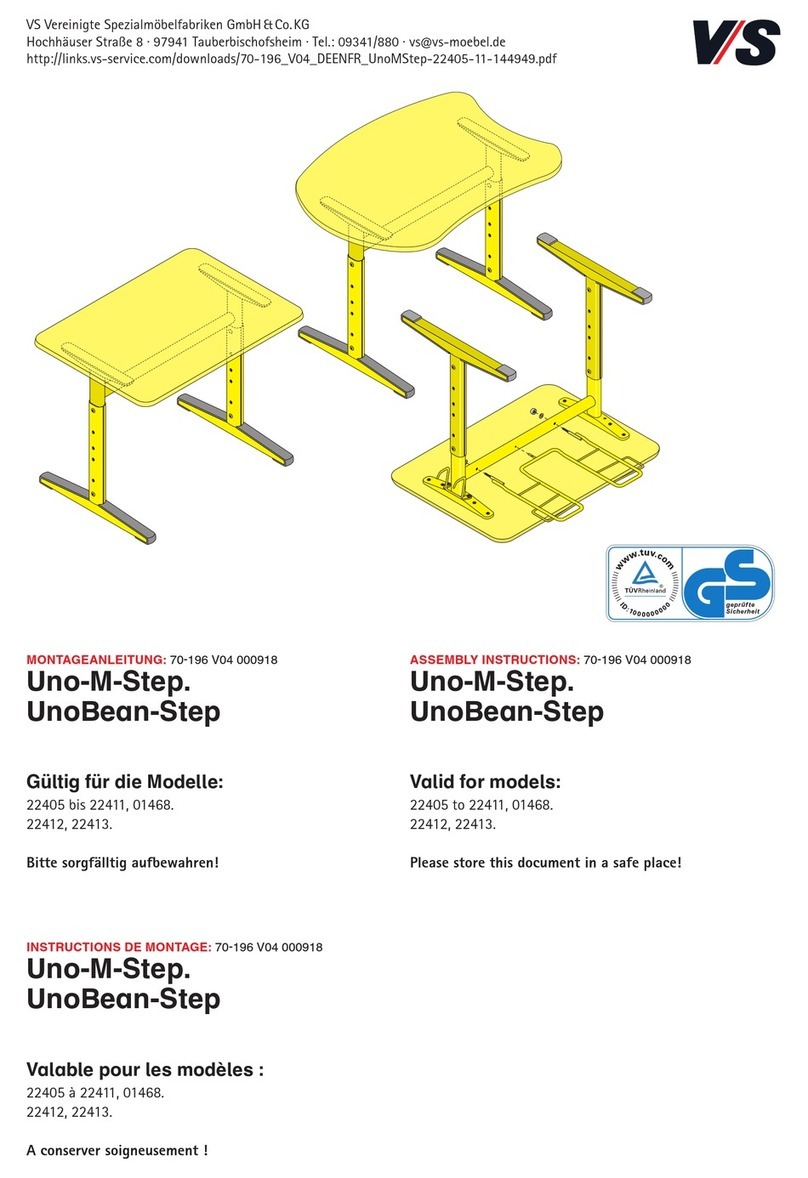
VS LIGNOdur Uno-M-Step 22405 User manual

VS

VS LIGNOdur Uno-M-Step 22405 User manual

VS PantoSwing 31400 User manual

VS

VS PantoSwing 31400 User manual

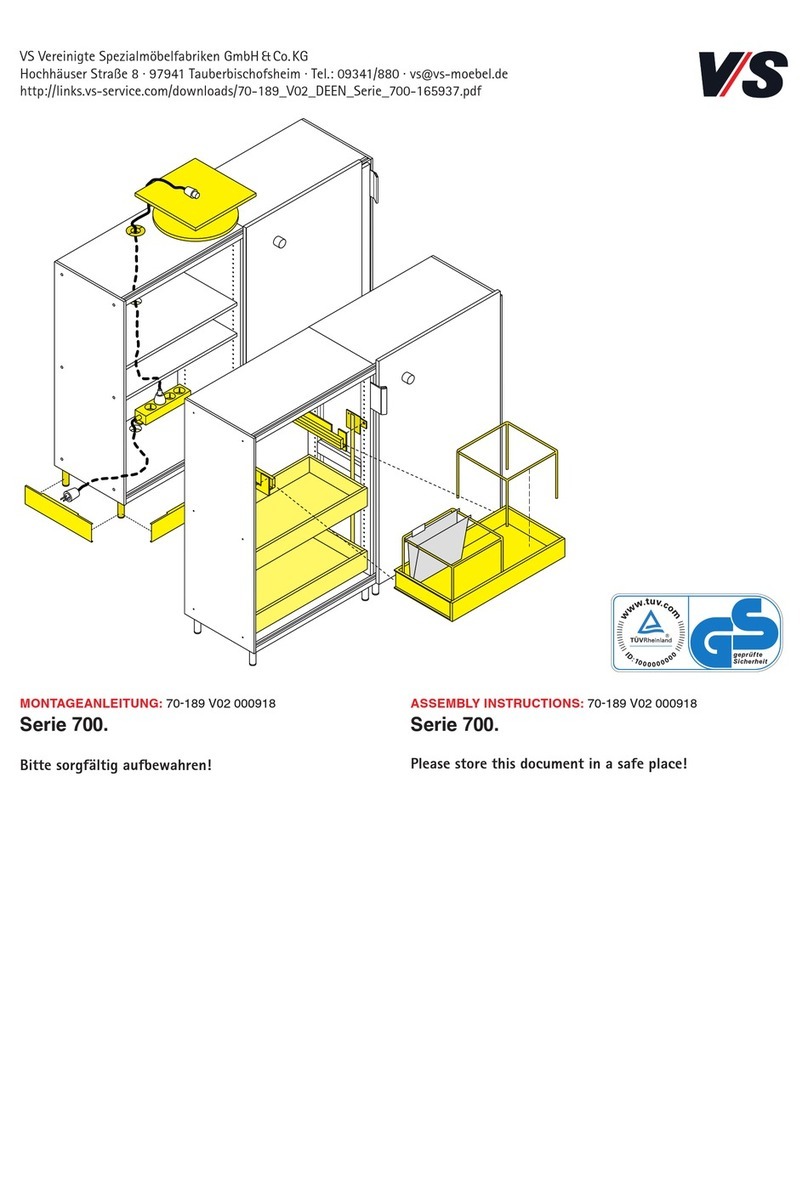
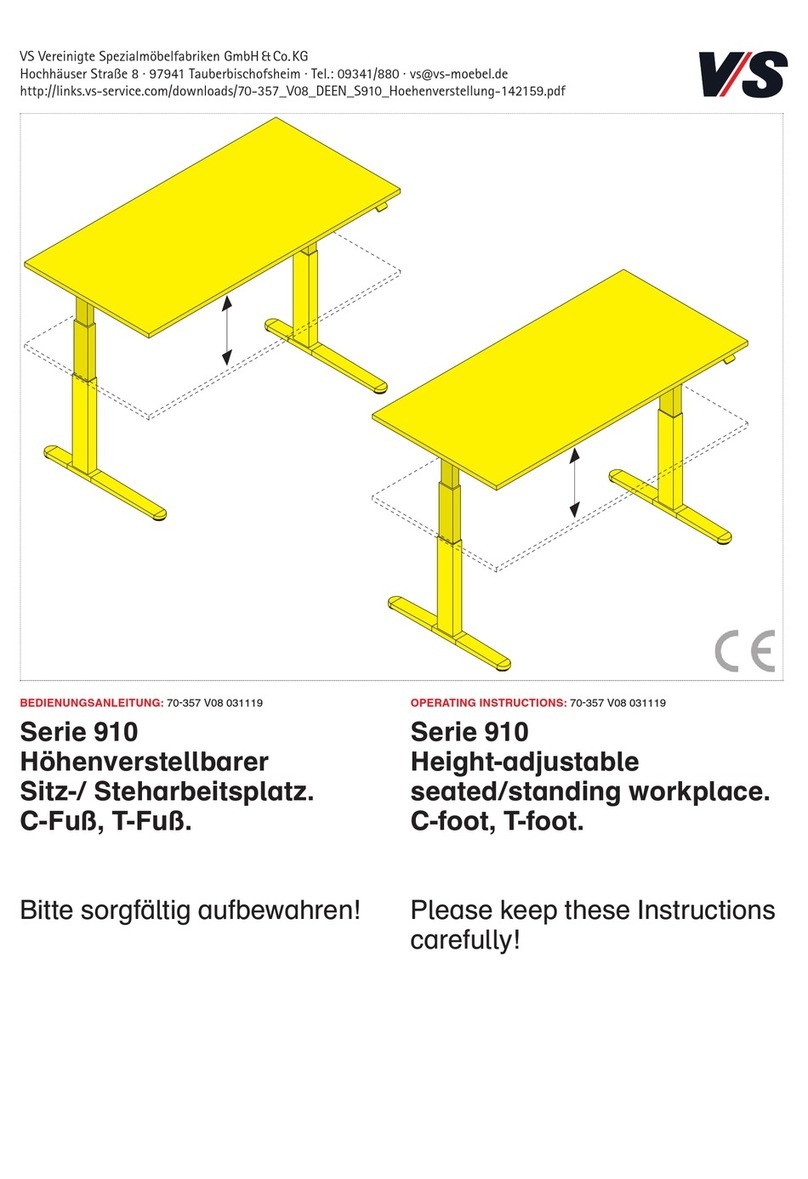
VS 910 Series User manual

VS

VS 910 Series User manual

VS 01442-001 User manual

VS

VS 01442-001 User manual

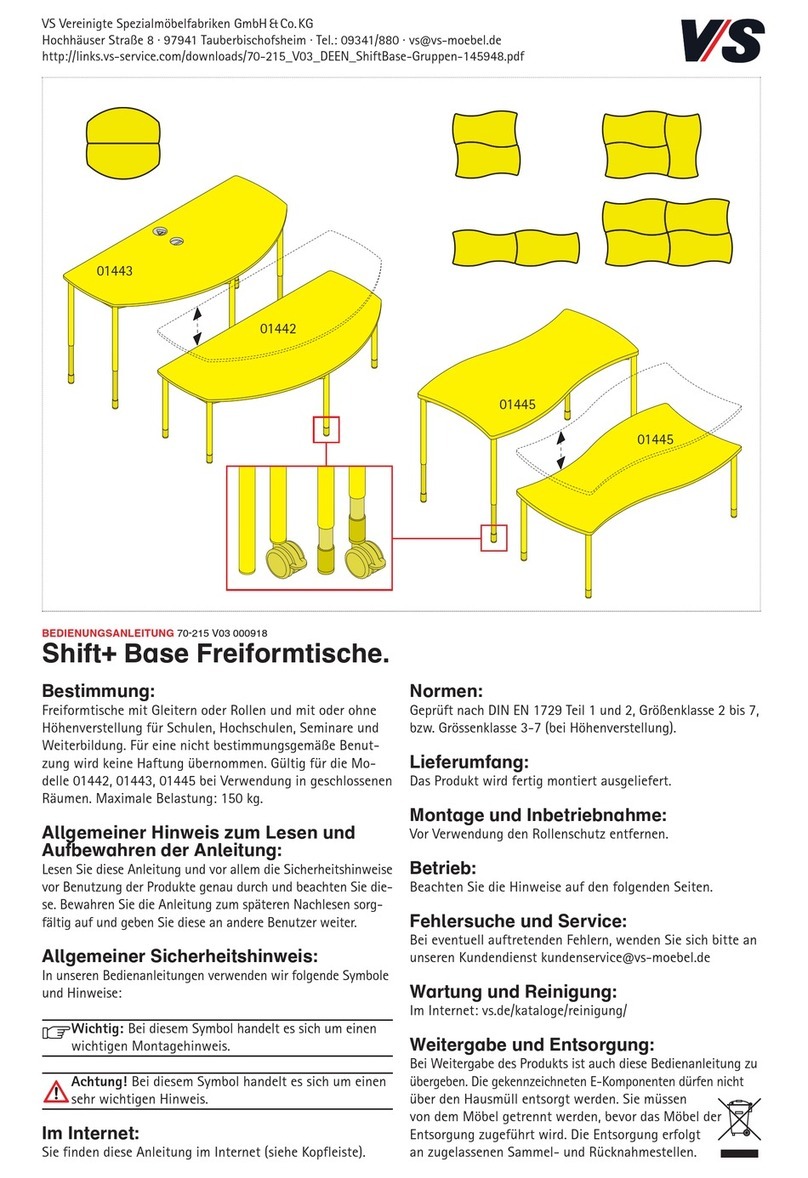
VS Shift+ Base Series User manual

VS

VS Shift+ Base Series User manual

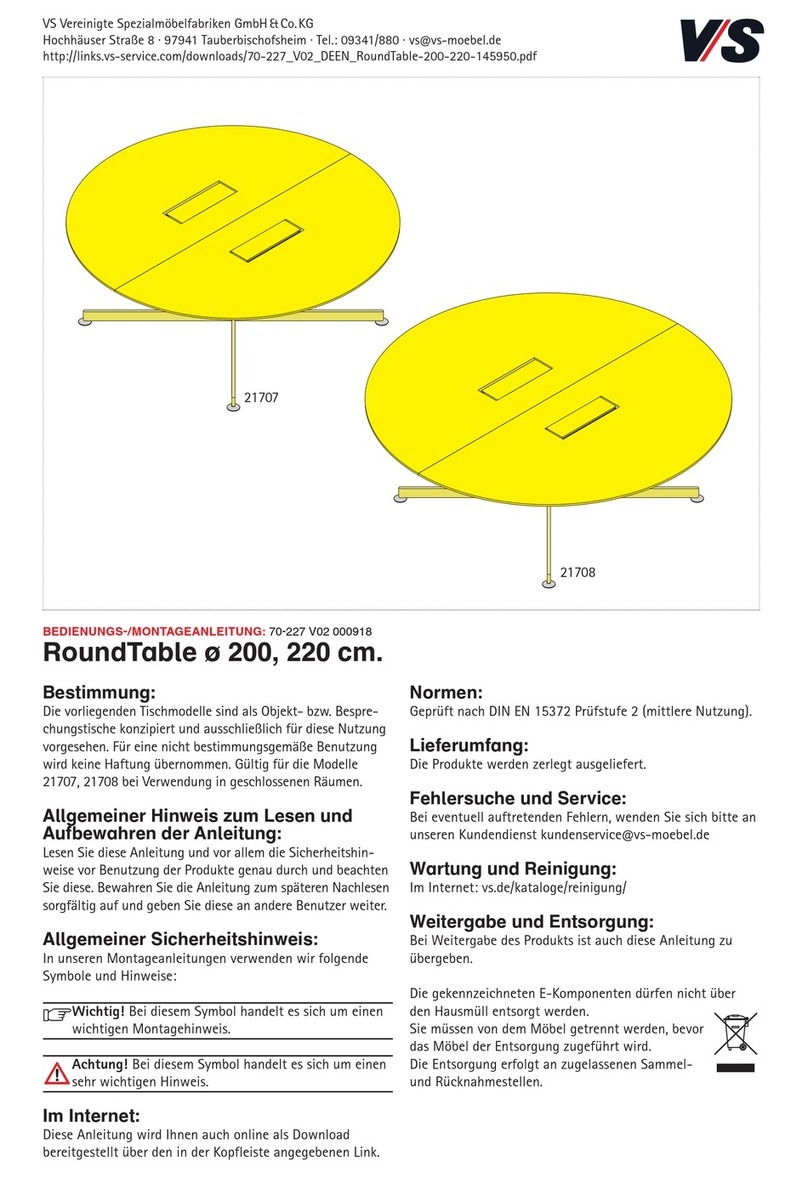
VS 21707 Manual

VS

VS 21707 Manual

VS StepByStep-I User manual

VS

VS StepByStep-I User manual

VS JustBe 40630 User manual

VS

VS JustBe 40630 User manual

VS 02970 User manual

VS

VS 02970 User manual

VS 600 Series User manual

VS

VS 600 Series User manual

VS Level Series User manual

VS

VS Level Series User manual

VS 910 Series User manual

VS

VS 910 Series User manual

VS StepByStep-I 02901 User manual

VS

VS StepByStep-I 02901 User manual

VS Uno-M-Step User manual

VS

VS Uno-M-Step User manual

VS 31506 User manual

VS

VS 31506 User manual

VS Lounge HiBack Series User manual

VS

VS Lounge HiBack Series User manual

VS Niche 800 Series User manual

VS

VS Niche 800 Series User manual

VS 21710 Manual

VS

VS 21710 Manual

VS 800 Series User manual

VS

VS 800 Series User manual

VS 800 Series User manual

VS

VS 800 Series User manual

VS NF-Move Export 32500 User manual

VS

VS NF-Move Export 32500 User manual

VS TriTable-II User manual

VS

VS TriTable-II User manual

VS OfficeBox 40500-05 User manual

VS

VS OfficeBox 40500-05 User manual

VS Uno-C 22430 User manual

VS

VS Uno-C 22430 User manual

Popular Indoor Furnishing manuals by other brands

Regency LWMS3015 Assembly instructions

Regency

Regency LWMS3015 Assembly instructions

Furniture of America CM7751C Assembly instructions

Furniture of America

Furniture of America CM7751C Assembly instructions

Safavieh Furniture Estella CNS5731 manual

Safavieh Furniture

Safavieh Furniture Estella CNS5731 manual

PLACES OF STYLE Ovalfuss Assembly instruction

PLACES OF STYLE

PLACES OF STYLE Ovalfuss Assembly instruction

Trasman 1138 Bo1 Assembly manual

Trasman

Trasman 1138 Bo1 Assembly manual

Costway JV10856 manual

Costway

Costway JV10856 manual

moss DESIGN Caisson Credenza Assembly instructions

moss DESIGN

moss DESIGN Caisson Credenza Assembly instructions

Aquaglide FULL DECK 15.0 owner's manual

Aquaglide

Aquaglide FULL DECK 15.0 owner's manual

AREBOS AR-HE-SW30 user manual

AREBOS

AREBOS AR-HE-SW30 user manual

Till-Hilft Fulda 87005.330 Assembly instructions

Till-Hilft

Till-Hilft Fulda 87005.330 Assembly instructions

Twoey Outside 2010 quick start guide

Twoey Outside

Twoey Outside 2010 quick start guide

Hettich Easys 200 operating instructions

Hettich

Hettich Easys 200 operating instructions

The bedboss RELAX 404 Series owner's manual

The bedboss

The bedboss RELAX 404 Series owner's manual

Oeseder Möbelindustrie Bern 991 720 Assembly instructions

Oeseder Möbelindustrie

Oeseder Möbelindustrie Bern 991 720 Assembly instructions

Costway HW68469 user manual

Costway

Costway HW68469 user manual

Next ALIX A27743 Assembly instructions

Next

Next ALIX A27743 Assembly instructions

BROSA Hans Assembly guide

BROSA

BROSA Hans Assembly guide

Prodigg MINIKA PBA015T-FUR installation manual

Prodigg

Prodigg MINIKA PBA015T-FUR installation manual

manuals.online logo
manuals.online logoBrands
  • About & Mission
  • Contact us
  • Privacy Policy
  • Terms and Conditions

Copyright 2025 Manuals.Online. All Rights Reserved.

VS Vereinigte Spezialmöbelfabriken GmbH&Co.KG
Hochhäuser Straße 8 · 97941 Tauberbischofsheim · Tel.: 09341/880 · [email protected]
http://links.vs-service.com/downloads/70-376_V01_DEEN_Twin-Pareto_Hoehenverstellung-083200.pdf
Intended use:
The current desk is intended exclusively for use in closed
premises in office and non-domestic buildings. No liability
will be assumed for any use other than that intended.
General note:
Before using the products, read these Instructions carefully
and pay special attention to the safety instructions. Keep
these Instructions for future consultation and communicate
them to other users.
General note on safety
The following symbols and notes are used in these Instructi-
ons:
Important! This symbol indicates an important assem-
bly note.
Caution! This symbol indicates a very
important note.
Bestimmung:
Der vorliegende Arbeitstisch ist ausschließlich für die Nutzung
in geschlossenen Räumen im Büro- und Objektbereich kon-
zipiert. Für nicht bestimmungsgemäße Nutzung wird keine
Haftung übernommen.
Allgemeiner Hinweis :
Lesen Sie diese Anleitung vor Benutzung der Produkte sorgfältig
und beachten Sie insbesondere auch die Sicherheitshinweise.
Bewahren Sie die Anleitung zum späteren Nachlesen auf bzw.
geben Sie diese an andere Benutzer weiter.
Allgemeiner Sicherheitshinweis:
In dieser Anleitung verwenden wir folg. Symbole und Hinweise:
Wichtig! Bei diesem Symbol handelt es sich um einen
wichtigen Montagehinweis.
Achtung! Bei diesem Symbol handelt es sich um einen
sehr wichtigen Hinweis.
MONTAGEANLEITUNG: 70-376 V01 000919
Pareto-Twin
Höhenverstellbarer Doppel-
Sitz-/Steharbeitsplatz.
ASSEMBLY INSTRUCTIONS: 70-376 V01 000919
Pareto-Twin
Height-adjustable double
seated/standing workplace.
21758, 21759
21768, 21769
2
Im Internet:
Diese Anleitung wird Ihnen auch online als Download bereit-
gestellt über den in der Kopfleiste angegebenen Link.
Lieferumfang:
Die Produkte werden teilmontiert ausgeliefert. Einigen
Zubehörteilen ist eine separate Montageanleitung des
Herstellers beigefügt.
Betrieb:
Beachten Sie die Hinweise auf den folgenden Seiten.
Fehlersuche und Service:
Bei eventuell auftretenden Fehlern wenden Sie sich bitte an
den VS-Kundendienst: [email protected]
Wartung und Reinigung
Mehr dazu unter: vs.de/kataloge/reinigung/
Weitergabe und Entsorgung:
Bei Weitergabe des Produkts ist auch diese Anleitung zu
übergeben. Für eine umweltfreundliche Entsorgung infor-
mieren Sie sich bitte bei Ihrer zuständigen Kommune.
Die gekennzeichneten E-Komponenten dürfen nicht über
den Hausmüll entsorgt werden.
Sie müssen von dem Möbel getrennt werden, bevor
das Möbel der Entsorgung zugeführt wird.
Die Entsorgung erfolgt an zugelassenen Sammel-
und Rücknahmestellen.
On the Web:
These Instructions are also available online for download via
the link indicated at the top of the page.
Scope of delivery:
The products are supplied partially assembled. In the case
of some accessory parts, the manufacturer's instructions
are enclosed separately.
Use:
Please take account of the notes on the following pages.
Faults and service:
If any faults occur, please contact
the VS Customer Service: [email protected]
Maintenance and cleaning:
For more information, go to: vs.de/kataloge/reinigung/en
Forwarding and Disposal:
If the product is passed on to any third party then these instruc-
tions
must be supplied with it. Please contact your relevant
local authority for information on environmentally compatible
disposal. The indicated electric and electronic components
must not be disposed of with the ordinary waste.
They must be removed from the furniture unit before
the unit is sent for disposal. They are to be disposed
of at authorized collection and return points.
3
(1)
(2)
(4)
(5)
(5)
(6)
(7)
(3)
1.1
1.2
1.3
1. Montage
Assembly
Legen Sie den ersten Tisch mit der Tischplatte (1) nach
unten auf eine weiche Unterlage, z.B. Möbeldecke. Klap-
pen Sie die beiden Füße (2) des Tisches aus und befesti-
gen Sie diese mit den vier Schrauben. Verfahren Sie spä-
ter mit dem zweiten Tisch in gleicher Weise.
Wichtig! Bei Tischen mit Standard Auffahrschutz -
ohne Steuerung (3)! Achten Sie auf die gewünschte
Position des Handschalters (4) und der Mastersäule (2).
Der Handschalter kann nur auf der Seite montiert wer-
den, auf der sich die Mastersäule befindet. Der Hand-
schalter wird direkt mit dem Kabel an die Mastersäule
angeschlossen.
Place the first desk on a soft surface, such as a furniture
cover, with the desktop (1) facing downwards. Fold out
both desk legs (2) and fix these in place using the four
screws. You will subsequently do the same with the sec-
ond desk.
Important! In the case of desks with standard collision
protection - without control unit (3)! Pay attention
to the desired position of the handswitch (4) and the
master column (2). The handswitch can only be
mounted on the side on which the master column is
located. The handswitch is connected directly to the
master column using the cable.
Schieben Sie anschließend die beiden Traversen (5) auf
die beiden Füße.
Then push the two cross-pieces (5) onto the two legs.
Befestigen Sie die beiden Traversen (5) mit vier
Schrauben (6) pro Fuß. Das maximale Anzugsdrehmoment
beträgt 10 Nm. Drehen Sie anschließend die Stellgleiter
(7) ein.
Fix the two cross-pieces (5) using four screws (6) per
leg. The maximum tightening torque is 10 Nm. Then screw
in the adjustable glide elements (7).
DE
EN
DE
EN
DE
EN
4
1.5
1.6
1.7
(5)
1.4
(4)
(4)
(5)
(5)
(6) (7)
(4)
(7)
(7)
Drehen Sie nun den Tisch um und stellen Sie ihn auf.
Achtung! Falls der Handschalter (4) über die Tisch-
plattenkante ragt, muss dieser vor dem Drehen des
Tisches demontiert oder eingeklappt werden.
Next turn the desk over and place it in position.
Caution! If the handswitch (4) extends beyond the
edge of the desktop, it is necessary to dismount it or
fold it in before turning the desk.
Führen Sie die beiden Füße des zweiten Tisches in die
jeweilige Traverse (5) ein.
Insert the two legs of the second desk into the corre-
sponding cross-piece (5).
Heben Sie nun den Doppelarbeitsplatz auf der einen Seite
an und verschrauben Sie die Füße des zweiten Tisches von
unten mit jeweils vier Schrauben (6) mit den Traversen
(5). Drehen Sie anschließend die Stellgleiter (7) ein.
Now lift up the dual workplace on one side and screw
the legs of the second desk to the cross-pieces (5) from
below using four screws (6) in each case. Then screw in
the adjustable glide elements (7).
Stellen Sie den Doppelarbeitsplatz anschließend auf und
montieren Sie die beiden Handschalter (4), falls notwen-
dig. Verfahren Sie beide Tische in die gleiche unterste
Position und legen Sie eine Wasserwaage über beide
Tischplatten. Richten Sie die Tischplatten durch Drehen
der Stellgleiter (7) zueinander aus.
Then set up the double workstation and mount the two
hand switches (4), if necessary. Place both tables in the
same lowest position and place a spirit level over both
table tops. Align the table tops by turning the adjusting
slides (7) towards each other.
DE
EN
DE
EN
DE
EN
DE
EN