warema_2048813_alhb_en_v1•2023-01-01We reserve the right to make technical modifications
2
Installation
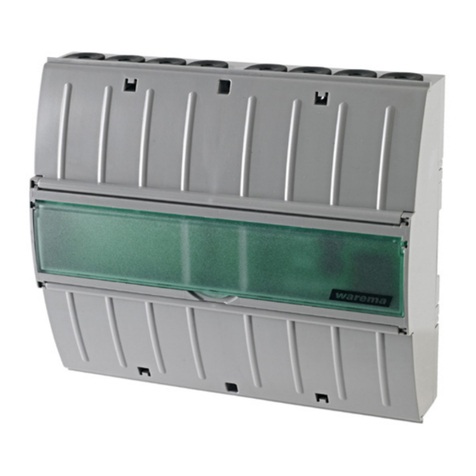
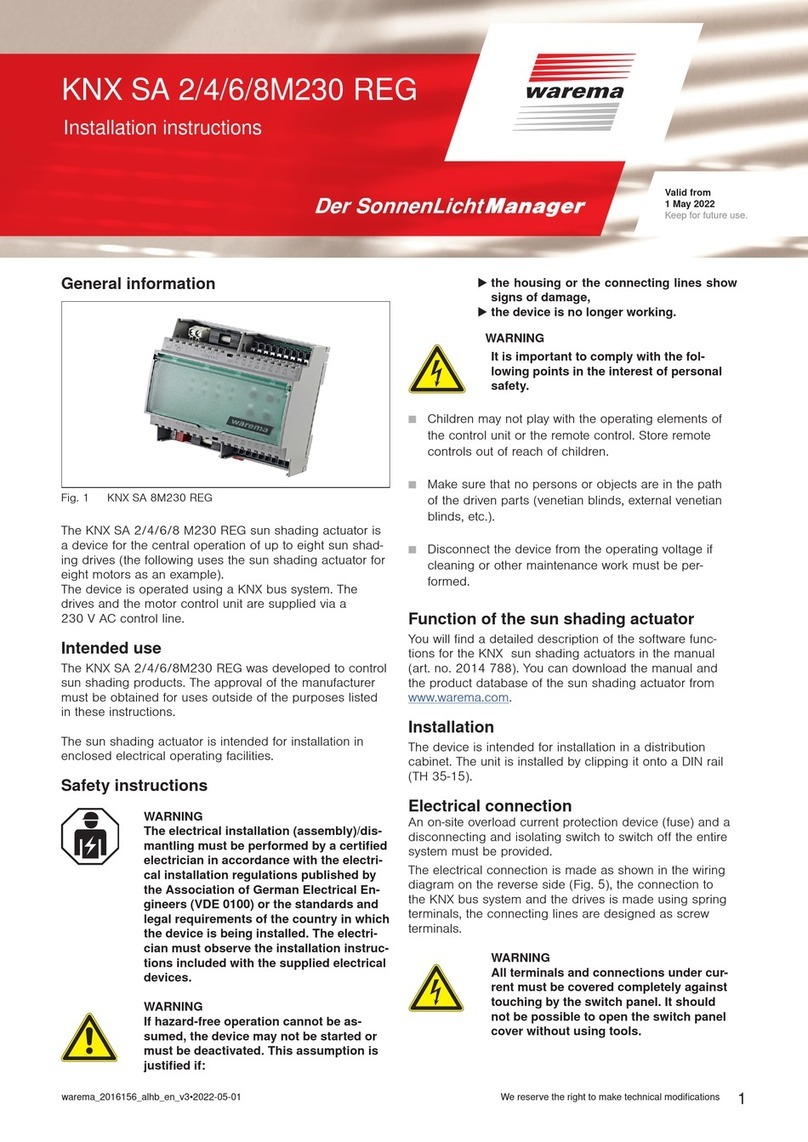
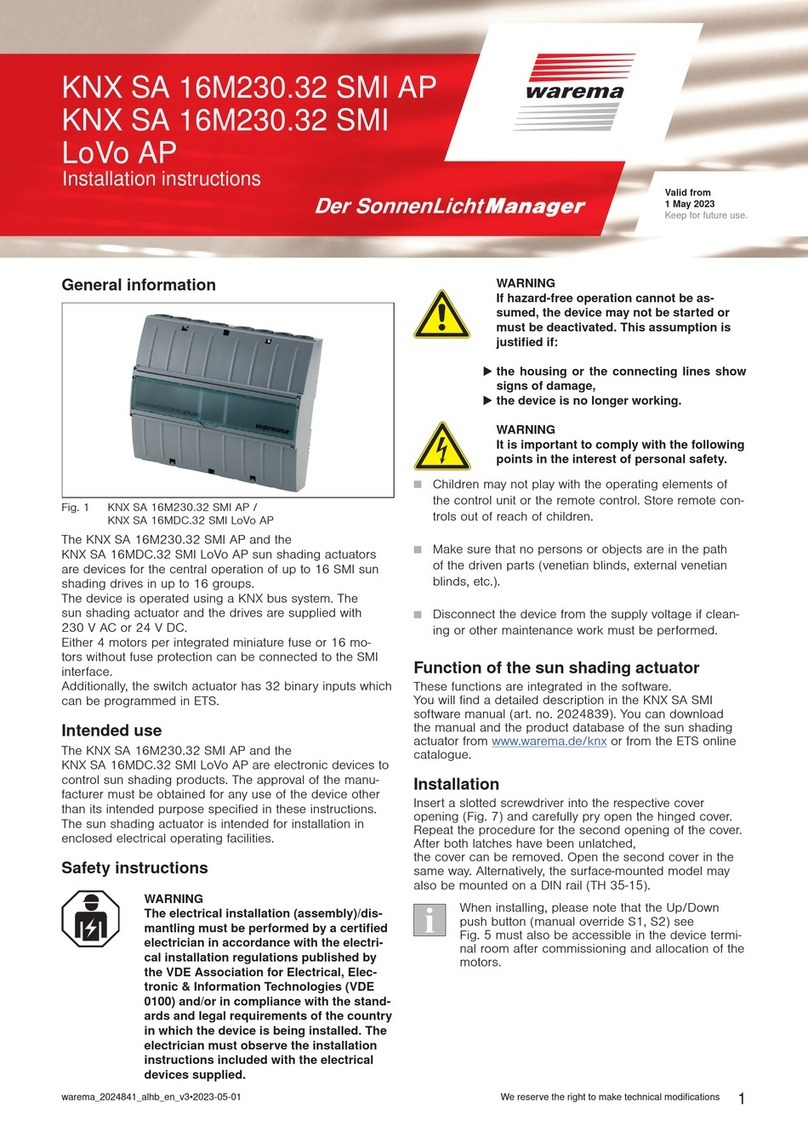
Insert a slotted screwdriver (recommendation: 3.0 - 4.0mm
blade) into the respective cover opening (Fig. 3) and care-
fully pry open the hinged cover. Repeat the procedure for
the second opening of the cover. After both latches have
been unlatched,
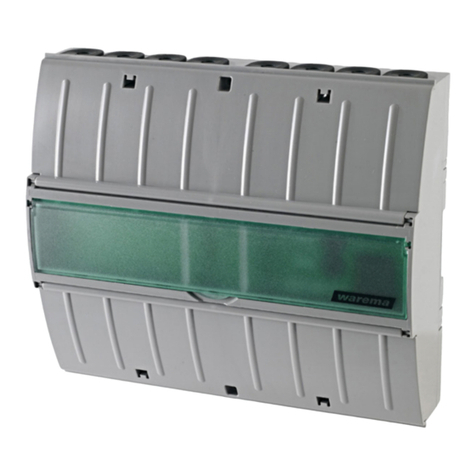
the cover can be removed. Open the second cover in the
same way. Alternatively, the AP product variant, like the
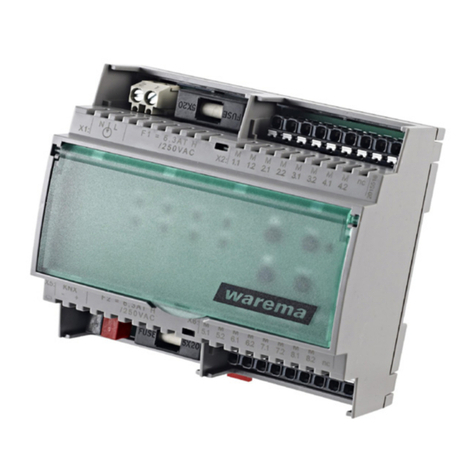
REG product variant (article number 2040768), can also
be mounted on a DIN rail (TH35-15).
Electrical connection
An on-site overload current protection device (fuse) and a
disconnecting and isolating switch to switch off the entire
unit must be provided.
The electrical connection is made as shown in the wiring
diagram on the reverse side (Fig. 5), the connection to the
KNX bus system and the drives is made using spring termi-
nals, the connecting lines are designed as screw terminals.
ARNINGW
After installation, all terminals and connec-
tions under current must be completely
closed by the latched cover to prevent acci-
dental contact. It should not be possible to
open the latched cover without using tools.
Commissioning
After the installation has been completed and the operating
voltages have been applied, the connected drives can be
checked via Bluetooth using an app.
You will find a detailed description on the further commis-
sioning in the KNX secure software manual
(art. no. 2048818).
Local operation
You will find the app for operating the KNX sun shading ac-
tuator in the Apple AppStore and in the Google Play Store.
Download this to your smartphone.
After starting the app, the surrounding area is scanned for
WAREMA sun shading actuators. Available actuators are
shown and can be operated.
Operation via app has the same priority as manual opera-
tion via group objects. The operating behaviour is as
follows:
Brief push of the button = Stop/step move command
Long push of the button = Up/Down move command.
A detailed description of the operation is integrated in the
app and can also be found in the associated KNX secure
software manual (art. no. 2048818).
The communication between the smartphone and
the KNX devices is established via Bluetooth. This
function can be switched off using the ETS (in de-
fault mode, the function is always "On").
During parameterisation, change the default pass-
word in accordance with your specifications and
memorise your password in order to prevent ope-
ration by unauthorised persons.
ARNINGW
Never randomly press the push button on
the app without having a line of sight to the
sun shading system.
Programming
You can perform programming either in the app or directly
on the device.
There is a Prog button for programming and a display LED
both in the app and on the keypad (see Fig. 2).
The procedure here is basically the same:
Press the programming button in the app or on the
device (Fig. 2) to put the device into programming
mode. The red LED lights up when programming mode
is active. Programming is performed using the ETS on
the PC. This software ends the programming mode
automatically. The red LED goes out.
If the programming mode is to be ended earlier, press
the programming button again. The red LED goes out.
Fig. 2 Keypad view
Maintenance
There are no parts inside the device that require mainte-
nance. In the event of a malfunction, the built-in miniature
fuses should only be replaced by a certified electrician.
Liability
Failure to comply with the product information in these in-
structions and any use of the device other than its intended
use may result in the manufacturer refusing to honour
warranty claims for product damage. In this case, liability
for secondary harm to persons or damage to property will
also be excluded. Observe the information in the operating
instructions for your sun shading system. The automatic
or manual operation of the sun shading system while iced
over and the use of the sun shading system during severe
weather may cause damage and must be prevented by the
operator through suitable precautions.
Cleaning
Clean the housing with a soft, dry cloth. Do not use deter-
gents, cleaning agents, solvents, abrasive substances or
steam cleaners!
Obligations for the disposal of electrical
devices
A marking with this symbol indicates the following
obligations under the scope of legal regulations:
The owner of this electrical device must dispose of it sepa-
rately from unsorted municipal waste for further recycling.
Used batteries and accumulators that are not enclosed
in the old device, as well as lamps/bulbs that can be
removed from the old device without breaking, must be
disposed of separately.
Distributors of electrical devices and disposal compa-
nies are obliged to take back the equipment free of
charge.


