manuals.online logo
Brands
  1. Home
  2. •
  3. Brands
  4. •
  5. Wren Kitchens
  6. •
  7. Indoor Furnishing
  8. •
  9. Wren Kitchens BASE 3 MILANO Assembly instructions

Wren Kitchens BASE 3 MILANO Assembly instructions

For Internal Use:FI.PK.FIT.015_50-WKIN00019_MILANO_BASE3_ADJ_CNR_FITTING_Guide_Rev1Page 1
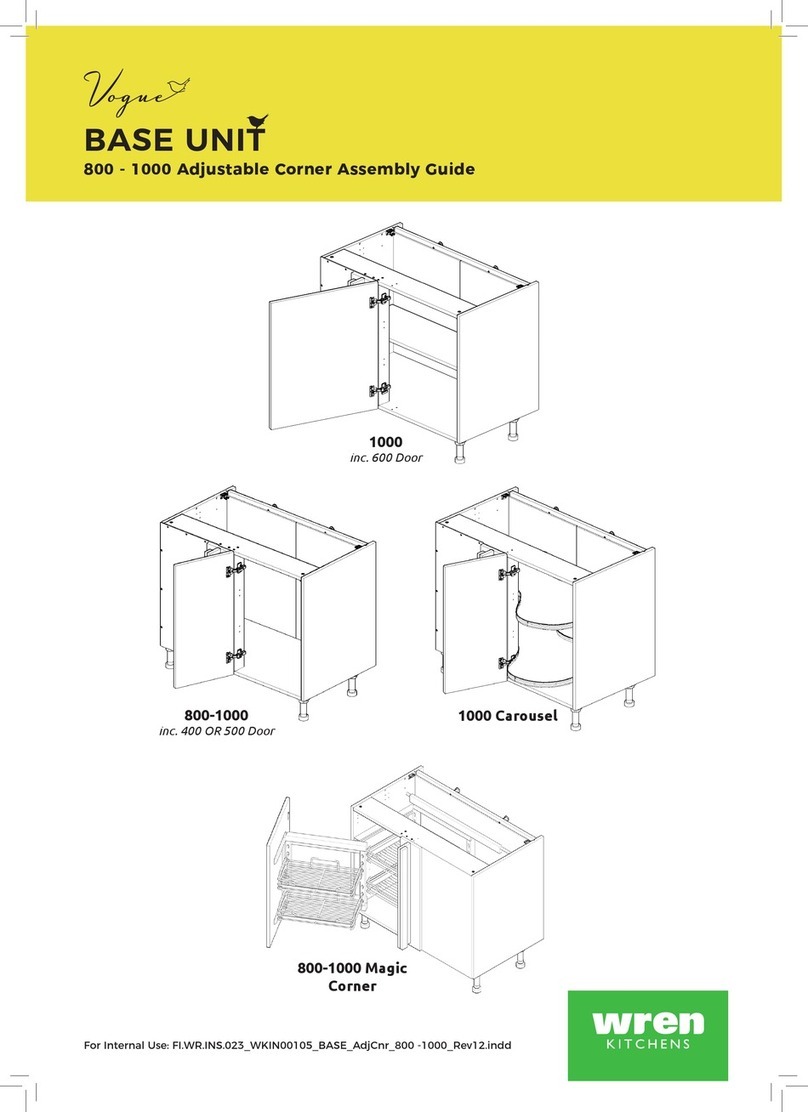
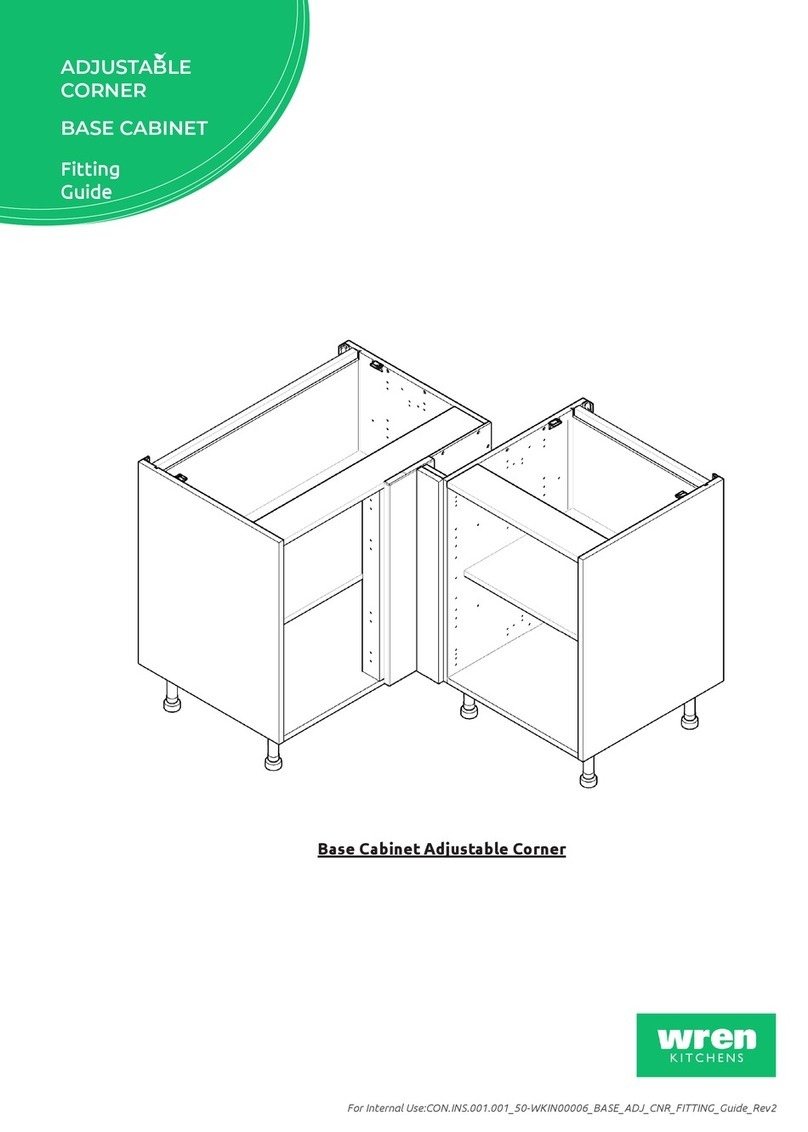
ADJUSTABLE
CORNER
BASE CABINET
MILANO
Fitting
Guide
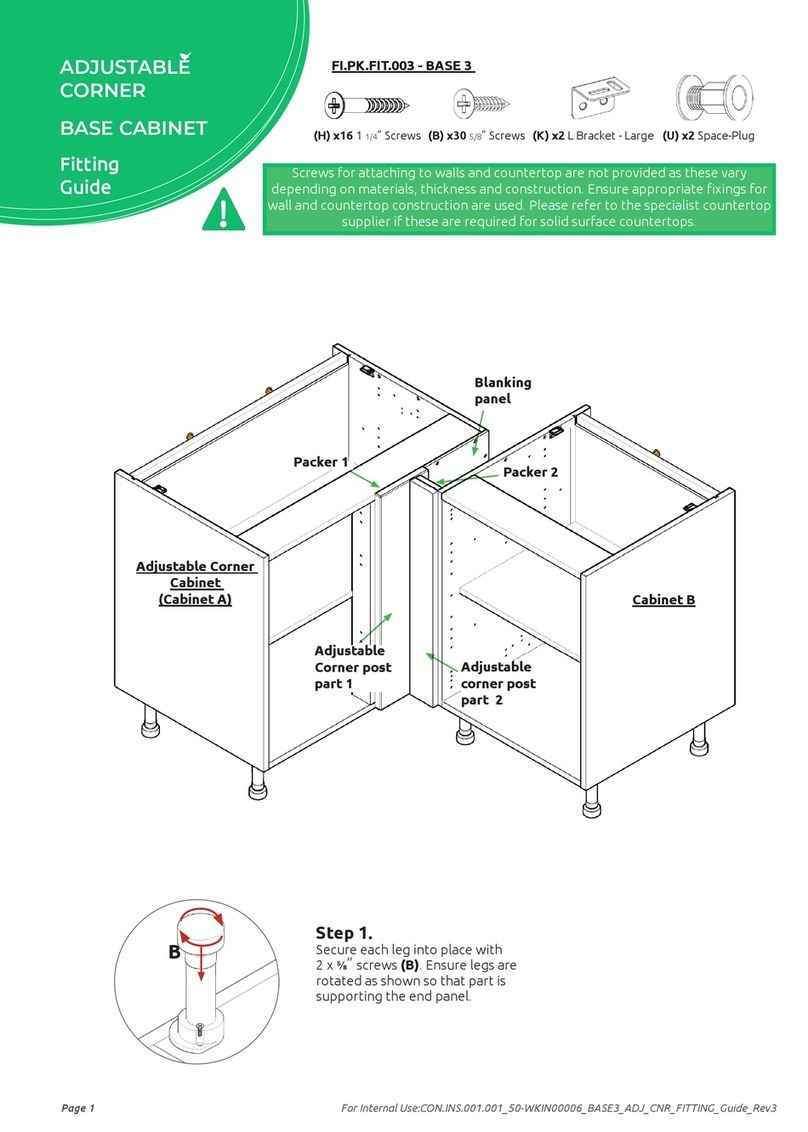
(H) x16 1 1/4” Screws (B) x34 5/8” Screws (K) x2 L Bracket -
Large
(V) x2 XL
Space-Plug
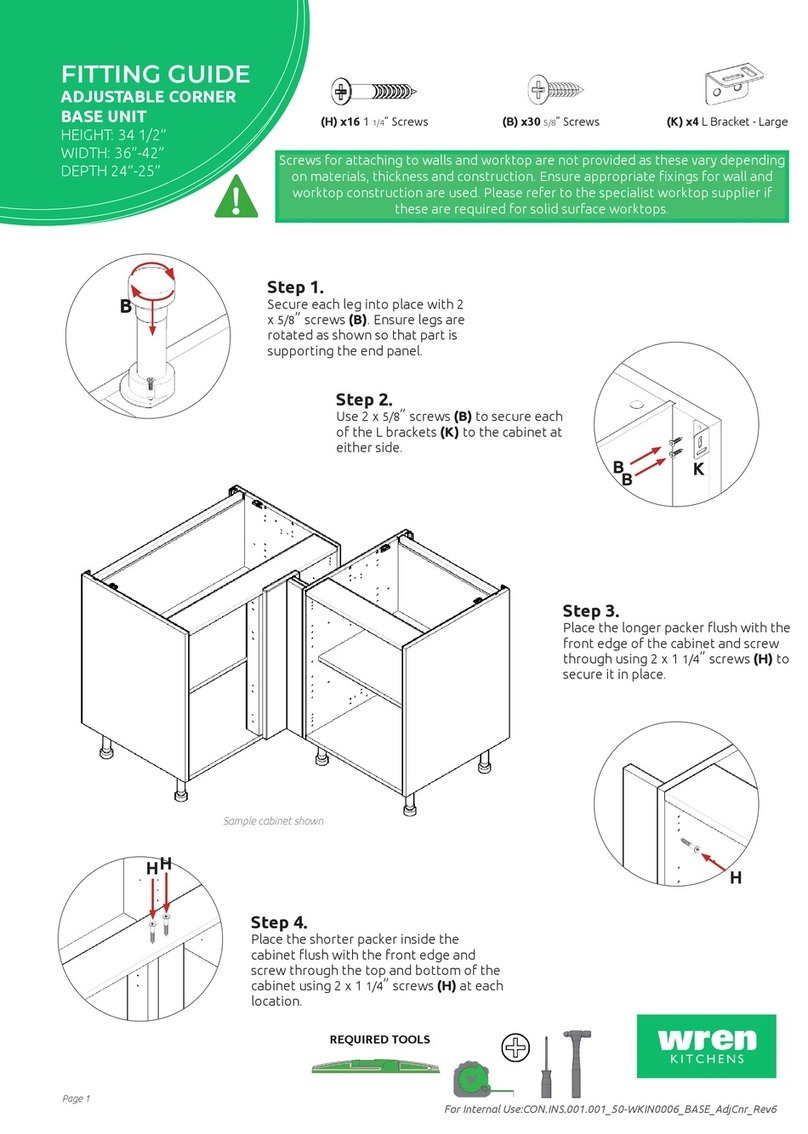
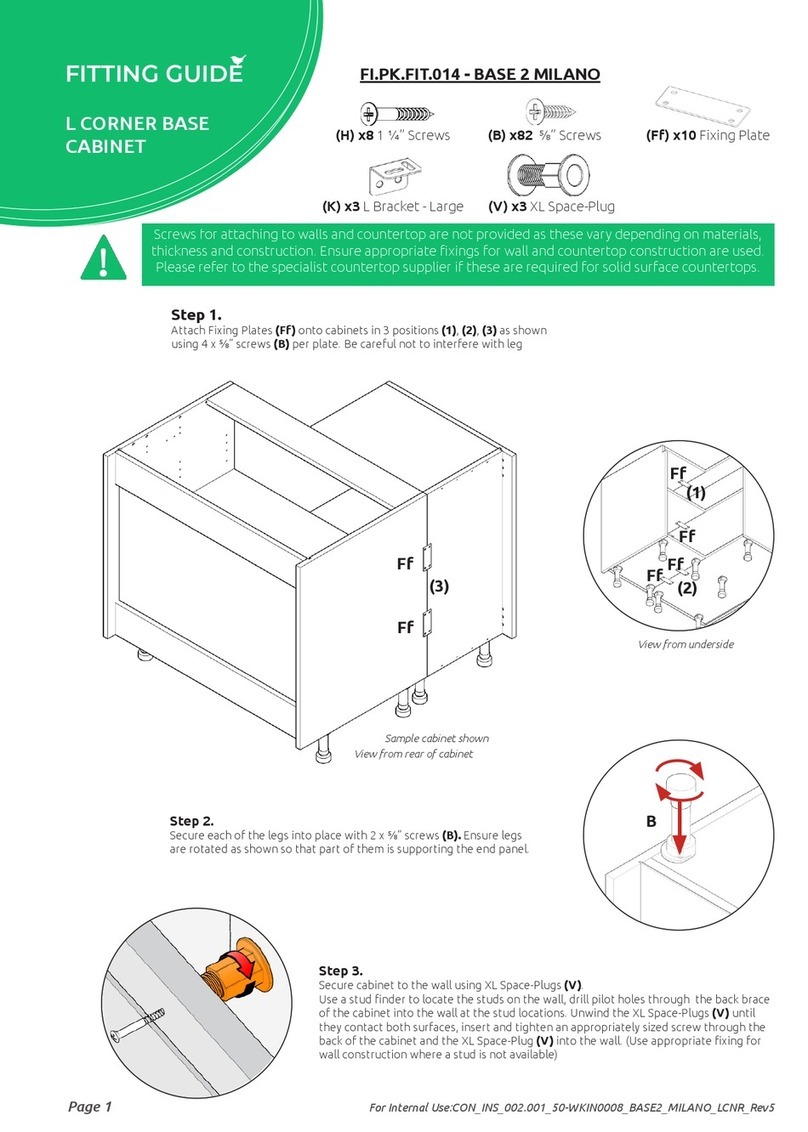
Step 1.
Secure each leg into place with
2 x ”screws (B). Ensure legs are
rotated as shown so that part is
supporting the end panel.
B
Screws for attaching to walls and countertop are not provided as these vary
depending on materials, thickness and construction. Ensure appropriate xings for
wall and countertop construction are used. Please refer to the specialist countertop
supplier if these are required for solid surface countertops.
Adjustable Corner
Cabinet
(Cabinet A)
Cabinet B
Packer 2
Adjustable
corner post
part 2
Blanking
panel
Adjustable
Corner post
part 1
Packer 1
(J) x2 L Bracket -
Small
FI.PK.FIT.015 - BASE 3 MILANO
For Internal Use:FI.PK.FIT.015_50-WKIN00019_MILANO_BASE3_ADJ_CNR_FITTING_Guide_Rev1 Page 2
ADJUSTABLE
CORNER
BASE CABINET
MILANO
Fitting
Guide
Step 2.
Cut Blanking panel to
required width and height (refer to
customer specic plan) and attach to
cabinet face as shown.
Step 3.
Press packer 1 tightly against the
muntin post and screw through the
bottom of the cabinet using 2 x 1 ¼”
(H) screws to secure in place.
Step 4.
Using ” screws (B) secure each
of the small L Brackets (J) to the
muntin post at the top and botom of
the cabinet, then screw through the
small L Brackets using ” screws (B)
to secure the packer to the muntin
post.
Blanking
panel
Packer 1
Step 5.
Use 2 x ” screws (B) to secure
each of the Large L Brackets to the
cabinets at either side as shown.
For Internal Use:FI.PK.FIT.015_50-WKIN00019_MILANO_BASE3_ADJ_CNR_FITTING_Guide_Rev1Page 3
ADJUSTABLE
CORNER
BASE CABINET
MILANO
Fitting
Guide
Rear
face
Adjustable
Corner post
part 1
Adjustable
corner post
part 2
Packer 2
20mm
Adjustable
Corner post
part 1
Adjustable
corner post
part 2
Rear
face
Front
face
Step 7.
To create your corner post attach part 1 and
part 2 as shown.
Screw through part 1 into part 2 at 4
locations using 4 x appropriately sized
screws.
Corner post size can be adjusted by cutting
parts 1 and 2 (see step 8), in accordance to
customer kitchen plan.
Required Width
Front Face
Step 8.
Refer to the customer kitchen plan to
calculate the width required for the
adjustable corner post part 1 and 2.
Cut adjustable corner post part 1 and 2 to
the width required.
Cut Packer 2 to the same width as
adjustable corner post part 2 and 20mm
shorter in length.
Measure from the front face, as not to
remove the front prole.
Step 9.
Attach packer 2 to the rear face of
adjustable corner post part 2 using
appropriate screws, setting the
packer down 20mm from the top of
the adjustable corner post.
Step 6.
Secure cabinet to the wall using XL Space-
Plugs (V).
Use a stud nder to locate the studs on
the wall, drill pilot holes through the back
brace of the cabinet into the wall at the
stud locations. Unwind the XL Space-Plug
(V) until it contacts both surfaces, insert
and tighten an appropriately sized screw
through the back of the cabinet and the
XL Space-Plug (V) into the wall. (Use
appropriate xing for wall construction
where stud is not available)
For Internal Use:FI.PK.FIT.015_50-WKIN00019_MILANO_BASE3_ADJ_CNR_FITTING_Guide_Rev1 Page 4
ADJUSTABLE
CORNER
BASE CABINET
MILANO
Fitting
Guide
Adjustable
Corner Cabinet
(Cabinet A)
Cabinet B
Packer 2
Adjustable
corner post
part 2
Blanking
panel
Adjustable
Corner post
part 1
Packer 1
Cabinet A
Packer 2
Adjustable
corner post
part 2
Door width + 3/16”
Adjustable
Corner post
part 1
Blanking
panel
Packer 1
Step 11.
Secure cabinet B to the corner post
by screwing through the end panel
into packer 2 at the top and bottom
of the cabinet.
Make sure that the front of the
adjustable corner post and the
door are aligned.
Step 13.
Place cover caps over
visable screw heads to
conceal them on the
inside of cabinet B.
Step 12.
Secure cabinet B to the
wall using a Space-Plug
(U), as per instructions on
page 3.
Step 10.
Attach adjustable corner post to cabinet A, by screwing
through packer 1 at four locations, using
4 x 1 ¼” screws (H).
(for location refer to customer kitchen plan)
Make sure that the distance between the front of the
corner post and the external face of the end panel is
the width of the door + 3/16” (4.5mm).

This manual suits for next models

1

Other Wren Kitchens Indoor Furnishing manuals
Wren Kitchens VOID CORNER POST Assembly instructions

Wren Kitchens

Wren Kitchens VOID CORNER POST Assembly instructions

Wren Kitchens Vogue BASE UNIT 1000 2 Door User manual

Wren Kitchens

Wren Kitchens Vogue BASE UNIT 1000 2 Door User manual

Wren Kitchens 2070 User manual

Wren Kitchens

Wren Kitchens 2070 User manual

Wren Kitchens BASE UNIT 600 User manual

Wren Kitchens

Wren Kitchens BASE UNIT 600 User manual

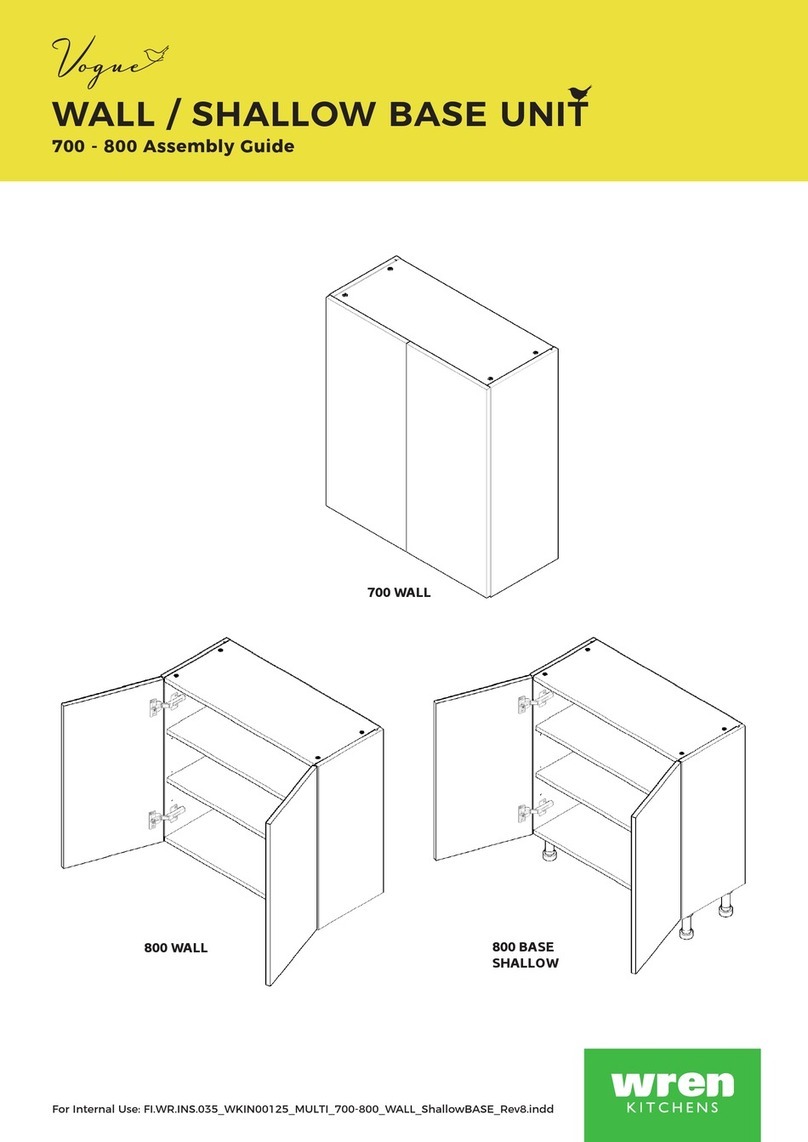
Wren Kitchens Vogue WALL BASE UNIT 700 WALL User manual

Wren Kitchens

Wren Kitchens Vogue WALL BASE UNIT 700 WALL User manual

Wren Kitchens BASE UNIT 150 User manual

Wren Kitchens

Wren Kitchens BASE UNIT 150 User manual

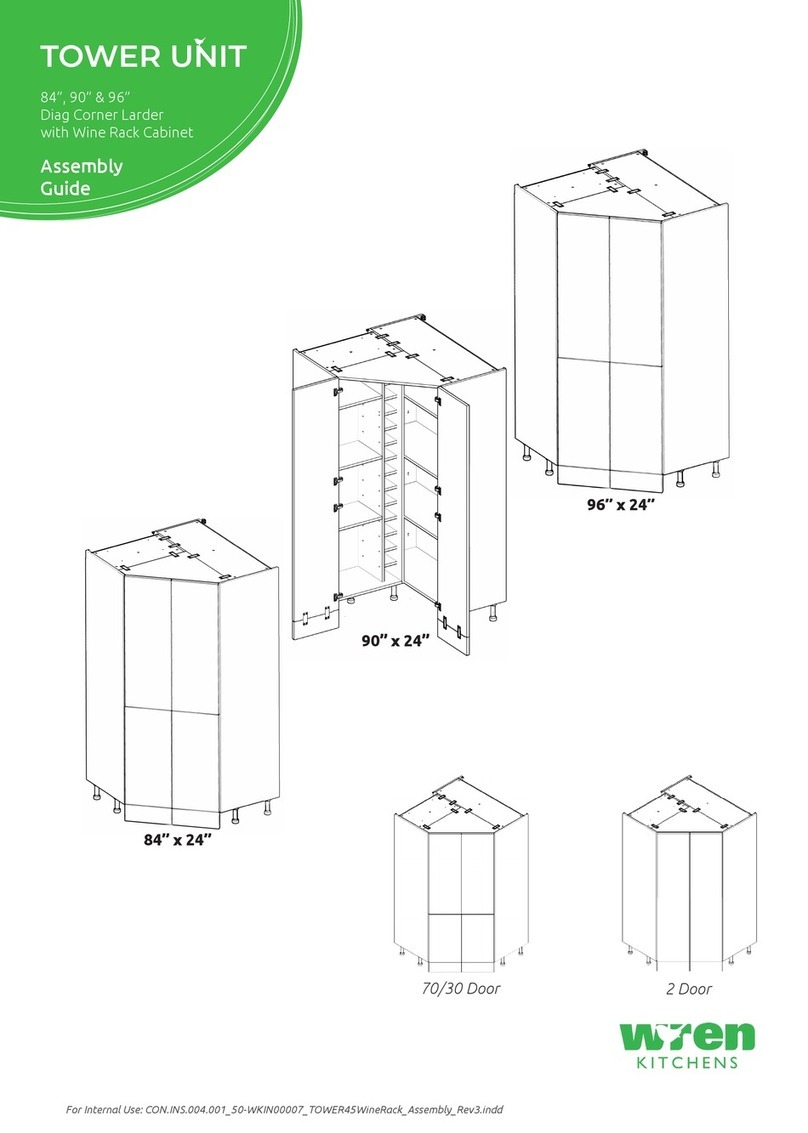
Wren Kitchens Diag Corner Larder User manual

Wren Kitchens

Wren Kitchens Diag Corner Larder User manual

Wren Kitchens Vogne 150 User manual

Wren Kitchens

Wren Kitchens Vogne 150 User manual

Wren Kitchens Vogue 150 Tall User manual

Wren Kitchens

Wren Kitchens Vogue 150 Tall User manual

Wren Kitchens 1000 Base Shallow User manual

Wren Kitchens

Wren Kitchens 1000 Base Shallow User manual

Wren Kitchens BASE UNIT 600 Built Under Oven Housing User manual

Wren Kitchens

Wren Kitchens BASE UNIT 600 Built Under Oven Housing User manual

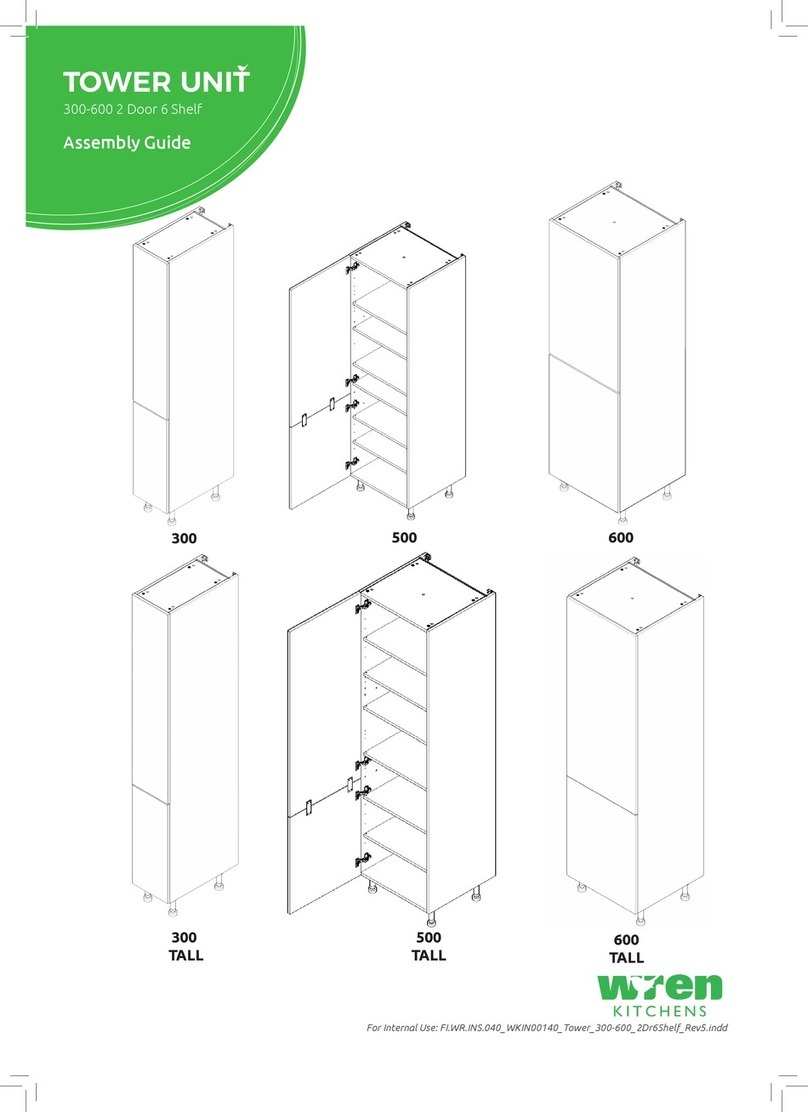
Wren Kitchens TOWER UNIT 600 2 Door Fridge/Freezer Series User manual

Wren Kitchens

Wren Kitchens TOWER UNIT 600 2 Door Fridge/Freezer Series User manual

Wren Kitchens Vogue TOWER UNIT 2070 User manual

Wren Kitchens

Wren Kitchens Vogue TOWER UNIT 2070 User manual

Wren Kitchens 2070 User manual

Wren Kitchens

Wren Kitchens 2070 User manual

Wren Kitchens Vogue BASE UNIT 800 2 Door User manual

Wren Kitchens

Wren Kitchens Vogue BASE UNIT 800 2 Door User manual

Wren Kitchens Vogue WALL UNIT 700 Tall 2 Door User manual

Wren Kitchens

Wren Kitchens Vogue WALL UNIT 700 Tall 2 Door User manual

Wren Kitchens Vogue BASE UNIT 972 L Corner User manual

Wren Kitchens

Wren Kitchens Vogue BASE UNIT 972 L Corner User manual

Wren Kitchens Vogue TOWER UNIT Boiler Housing User manual

Wren Kitchens

Wren Kitchens Vogue TOWER UNIT Boiler Housing User manual

Wren Kitchens WALL UNIT 360 x 1000 User manual

Wren Kitchens

Wren Kitchens WALL UNIT 360 x 1000 User manual

Wren Kitchens Vogue BASE UNIT 1000 Base Shallow User manual

Wren Kitchens

Wren Kitchens Vogue BASE UNIT 1000 Base Shallow User manual

Wren Kitchens Walk in 2070 User manual

Wren Kitchens

Wren Kitchens Walk in 2070 User manual

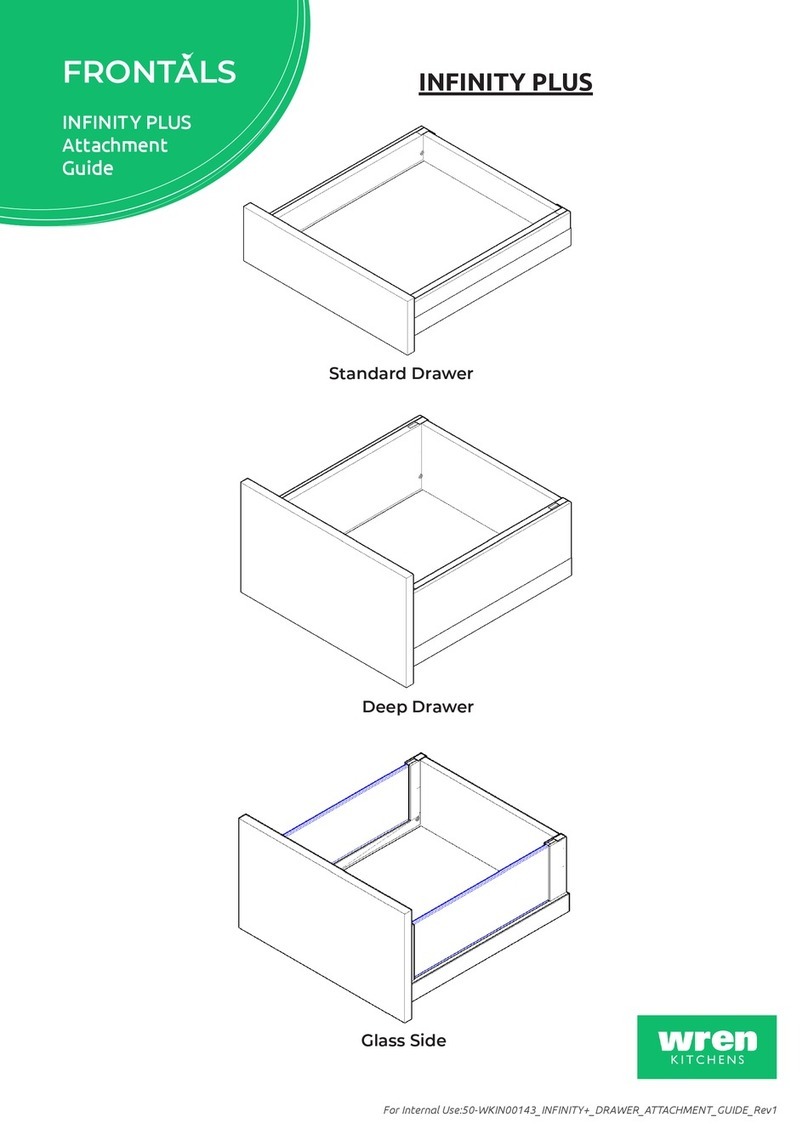
Wren Kitchens FRONTALS Parts list manual

Wren Kitchens

Wren Kitchens FRONTALS Parts list manual

Wren Kitchens Vogue BASE UNIT 600 2 Drawer User manual
Wren Kitchens

Wren Kitchens Vogue BASE UNIT 600 2 Drawer User manual

Wren Kitchens FI.PK.FIT.004 User manual

Wren Kitchens

Wren Kitchens FI.PK.FIT.004 User manual

Popular Indoor Furnishing manuals by other brands

aspenhome I597-9100 Assembly instructions

aspenhome

aspenhome I597-9100 Assembly instructions

ricoo WM083 Assembly instructions

ricoo

ricoo WM083 Assembly instructions

IKEA KULLEN 703.557.33 manual

IKEA

IKEA KULLEN 703.557.33 manual

HURAKAN HKN KWS-21/0603 manual

HURAKAN

HURAKAN HKN KWS-21/0603 manual

Whittier Wood Furniture McKenzie 1316GACf Assembly instructions

Whittier Wood Furniture

Whittier Wood Furniture McKenzie 1316GACf Assembly instructions

Twoey 1100 Assembly instructions

Twoey

Twoey 1100 Assembly instructions

GFW ORLEANS 4 DRAWER CHEST Assembly instructions

GFW

GFW ORLEANS 4 DRAWER CHEST Assembly instructions

Hooker Furniture 5750-75206-MWD Assembly instruction

Hooker Furniture

Hooker Furniture 5750-75206-MWD Assembly instruction

Bestar 65868-2169 Assembly instructions

Bestar

Bestar 65868-2169 Assembly instructions

FMD Furniture BANDOL 1 668-001 Assembly instruction

FMD Furniture

FMD Furniture BANDOL 1 668-001 Assembly instruction

Walker Edison BU58HPBM Assembly instructions

Walker Edison

Walker Edison BU58HPBM Assembly instructions

Venesta SGL installation instructions

Venesta

Venesta SGL installation instructions

Rauch M2574 Assembly instructions

Rauch

Rauch M2574 Assembly instructions

SIT&MORE COOL 8241/2503 Assembly Instructions Instruction Manual

SIT&MORE

SIT&MORE COOL 8241/2503 Assembly Instructions Instruction Manual

Pilaster Designs GR8054 Assembly instructions

Pilaster Designs

Pilaster Designs GR8054 Assembly instructions

Nightingale SXO 6100 Series User handbook

Nightingale

Nightingale SXO 6100 Series User handbook

BDI CENTRO 6407 SW manual

BDI

BDI CENTRO 6407 SW manual

Living Spaces BIG SKY 4144 Assembly instructions

Living Spaces

Living Spaces BIG SKY 4144 Assembly instructions

manuals.online logo
manuals.online logoBrands
  • About & Mission
  • Contact us
  • Privacy Policy
  • Terms and Conditions

Copyright 2025 Manuals.Online. All Rights Reserved.