manuals.online logo
Brands
  1. Home
  2. •
  3. Brands
  4. •
  5. Wren Kitchens
  6. •
  7. Indoor Furnishing
  8. •
  9. Wren Kitchens Vogue TOWER UNIT 300 Pull Out 2070 User manual

Wren Kitchens Vogue TOWER UNIT 300 Pull Out 2070 User manual

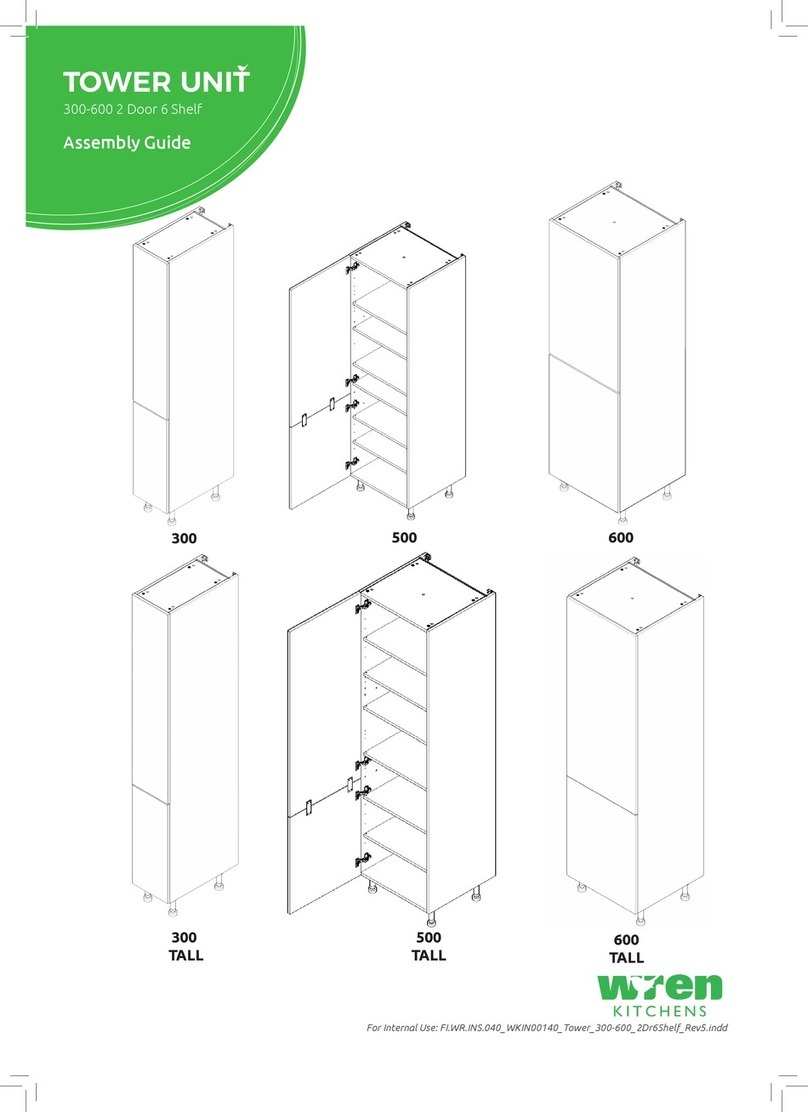
TOWER UNIT
300 - 600 Pull out Swing Assembly Guide
For Internal Use: FI.WR.INS.044.TOWER_300_600_2DrPullSwing.Rev11
300 Pull Out
2070 600 Easy Pull
Out Swing
2070
300 Pull Out
2250 Tall 600 Easy Pull
Out Swing
2250 Tall
Page 1
TOWER UNIT
300 - 600 Pull out Swing Assembly Guide
REQUIRED TOOLS
(F) x16
Wooden Dowel
(J) x36
16mm
Screw
(G) x12
Cam Dowel
(Expanding)
(H) x12
Cam Lock
(M) x4
Cover Cap
(L) x22
15mm
Screw
(K) x8
30mm
Screw
(N) x2
Door Buer
L Bracket LGE
x2
Hinge
Mounting Plate
x5 Where applicable
(Inc Screws)
Hinge
x5 Where applicable
(Inc Screws)
Panel B
x2 End Panel
Panel C
x2 Base Panel
Panel A
x1 Back Panel
Panel E
x2 Rail
x2
(Packed separately)
Winged Cover Caps
Legs
x5
Where applicable
& Additional Leg
Frontals
x2
(Packed separately)
x2
(Packed separately)
Plug Cover Caps
Fixing Plate (U)
(x2)
BEFORE YOU START
INSTALLATION
SHOULD BE
PERFORMED BY A
COMPETENT
PERSON ONLY.
THIS PRODUCT COULD
BE DANGEROUS
IF INCORRECTLY
INSTALLED
Page 2
For Internal Use: FI.WR.INS.044.TOWER_300_600_2DrPullSwing.Rev11
Step 1.
Seat dowel (F) into holes in
both end panels (B) as shown.
Step 2.
Seat cam dowel (G) into
holes in both end panels
(B) as shown.
Step 3.
Attach Panels (C) & (E) to panels (B),
using cam dowel (G) (in blue),
and also using dowels (F) (in orange)
in positions as shown.
Step 4.
Insert cam lock (H).
Do NOT tighten until Step 6.
NB. All Cam Locks (H) are to be positioned facing the
outside of the unit carcase, for ease of tightening. Do not use power tools with
cam dowel (G) or cam lock (H)
B
E
E
C
B
C
GFF G
G F F G
B
GFFG
GFFG
BG
F
F
G
F
F
G
F
F
G
F
F
DOWEL (F)
& CAM DOWEL (G)
LOCATION DETAIL
B
B
C
C
View from underside View from underside
H
G
GH
Seat (G)
Cam Dowel
into hole as
shown.
Page 3
TOWER UNIT
300 - 600 Pull out Swing Assembly Guide
Step 5.
Slide back panel (A) into groove of
end panels (B).
Once back panel (A) is in position,
ensure the panel is ush & square
with bottom of end panels (B).
Step 7.
Ensure unit is square. Secure back panel (A)
with 6 x 30mm screws (K) equally spaced at
the top and bottom of back panel (A) into
base panels (C), as shown.
Ensure you screw into the Centre of Base
Panel (C) (9mm from bottom edge).
Step 6.
Hand tighten all cam locks (H), this will
expand cam dowels (G) and tighten the unit
together.
E
A
A
K
K
B
B
C
C
E
Page 4
For Internal Use: FI.WR.INS.044.TOWER_300_600_2DrPullSwing.Rev11
Leg position diagram
Step 8.
Position legs as shown.
Ensure legs are rotated to also provide
support to the end panels (B).
Step 9.
Secure each of the legs into place with
4 x 15mm screws (L) per leg.
LL
L
L
B
B
C
C
Step 10.
Push leg rmly down into leg base.
Adjust legs to 155mm before turning unit upright.
Once in situ level accordingly.
It is important to lift unit
onto its legs. Do not tilt as
depicted in image.
B
B
Front
Front
C
Additional
Leg Base
Additional Leg
Standard Leg
Page 5
TOWER UNIT
300 - 600 Pull out Swing Assembly Guide
Secure tower to the wall using L brackets LGE.
Use 2 x 15mm screws (L) to secure each of the L
brackets LGE to the unit at either side. Then screw
through into the wall as shown.
Screws for xing to walls are not provided as
these vary depending on your wall material and
construction. Ensure appropriate xings for wall
constructions are used.
Securing to Adjacent Units
Screw into any side units using the 30mm screws (K) provided to secure to unit.
Screw just to the rear of the hinge mounting plate, at the top and bottom of
both sides of the unit, place a cover cap on the head to conceal it.
K
L
L
See Customer Specic Kitchen Plan
For Tower Frontals 2006mm
846mm
1426mm
626mm
126mm
1974mm
814mm
1394mm
594mm
94mm
TALL 2250
1826mm
1336mm
846mm
626mm
126mm
1794mm
1304mm
814mm
594mm
94mm
From Base From Base
2070
B B
FrontFront
INSIDE
FACE
INSIDE
FACE
Step 11.
(Not required for 300).
Attach hinge plates onto end panels
(B) to suit as shown using 2 x screws
already located in the hinge plate.
Hinge side or sides to be mounted
in accordance to Customer
Specic Kitchen Plan.
Page 6
For Internal Use: FI.WR.INS.044.TOWER_300_600_2DrPullSwing.Rev11
Please refer to separate instructions included
with your pull out.
Then no further assembly steps are needed.
300 Pull Out
Repeat on other side for Handleless Frontals
Winged Cover Caps
Plug Cover Caps
Winged
Winged
Plug
Plug
Insert cover caps as shown.
Reverse of Frontals
Page 7
TOWER UNIT
300 - 600 Pull out Swing Assembly Guide
Fixing plates
Step 12.
Insert hinge where required
in holes as shown.
Step 13.
Secure hinges by tightening
2 x screws with hinge dowels
attached. These are already
positioned within the hinges.
Step 15.
Adjust hinge to suit. As shown below.
UU
Step 14.
Align doors to join together using 2 x xing plates (U) to the back
of both frontals ensure a 4mm gap is maintained between each
frontal once xed together.
Screw in place using 4 x 15mm screws per xing plate.
Hinge cover caps
The top and bottom
hinges MUST be
adjusted to the SAME
STRENGTH.
View from Inside of unit
To adjust hinge using a screw
driver, tighten or loosen as
required at points 1& 2.
Point 1- In - Out
Point 2- Left - Right
12
FRONTAL HINGE
ADJUSTMENT
To Release door
Pull catch as shown,
to release hinge
from the hinge
plate.
Step 16.
Fit cover caps to hinge. Adjust Soft close to suit.
To Move the
hinge up/down,
loosen screws
A + B,
Manoeuvre
the door, then
re-tighten the
screws
A
B
Page 8
For Internal Use: FI.WR.INS.044.TOWER_300_600_2DrPullSwing.Rev11
L
Please refer to separate instructions
included with your pull out.
For Steps 3 of Pull Out
instructions. Use (L) screws
For Steps 4 of Pull Out
instructions. Use (L) screws
For Steps 6 of Pull Out
instructions. Use (L) screws
600 Pull & Swing
Step 3 of pull out
instructions
Step 4 of pull out
instructions
Step 6 of pull out
instructions
Page 9
TOWER UNIT
300 - 600 Pull out Swing Assembly Guide
Page 10
For Internal Use: FI.WR.INS.044.TOWER_300_600_2DrPullSwing.Rev11

This manual suits for next models

3

Other Wren Kitchens Indoor Furnishing manuals
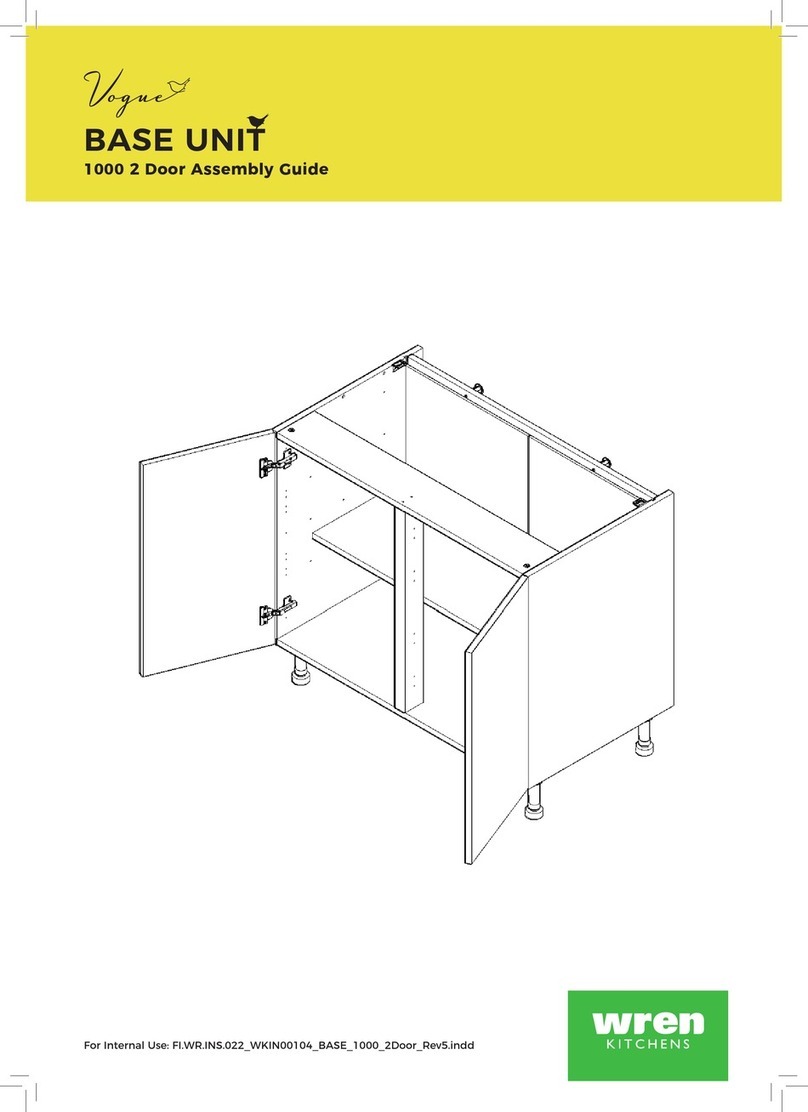
Wren Kitchens Adjustable Corner Base Unit Assembly instructions

Wren Kitchens

Wren Kitchens Adjustable Corner Base Unit Assembly instructions

Wren Kitchens Vogue BASE UNIT 1000 Base Shallow User manual

Wren Kitchens

Wren Kitchens Vogue BASE UNIT 1000 Base Shallow User manual

Wren Kitchens BASE 3 Assembly instructions

Wren Kitchens

Wren Kitchens BASE 3 Assembly instructions

Wren Kitchens WALL UNIT 360 x 1000 User manual

Wren Kitchens

Wren Kitchens WALL UNIT 360 x 1000 User manual

Wren Kitchens BASE UNIT 600 User manual

Wren Kitchens

Wren Kitchens BASE UNIT 600 User manual

Wren Kitchens MIDWAY CABINET User manual

Wren Kitchens

Wren Kitchens MIDWAY CABINET User manual

Wren Kitchens VOID CORNER POST Assembly instructions

Wren Kitchens

Wren Kitchens VOID CORNER POST Assembly instructions

Wren Kitchens BASE UNIT 1000 User manual

Wren Kitchens

Wren Kitchens BASE UNIT 1000 User manual

Wren Kitchens Vogue BASE UNIT 150 WALL User manual

Wren Kitchens

Wren Kitchens Vogue BASE UNIT 150 WALL User manual

Wren Kitchens Diag Corner Larder User manual

Wren Kitchens

Wren Kitchens Diag Corner Larder User manual

Wren Kitchens Vogue TOWER UNIT 2070 User manual

Wren Kitchens

Wren Kitchens Vogue TOWER UNIT 2070 User manual

Wren Kitchens Vogue BASE UNIT 600 2 Drawer User manual

Wren Kitchens

Wren Kitchens Vogue BASE UNIT 600 2 Drawer User manual

Wren Kitchens TOWER UNIT User manual

Wren Kitchens

Wren Kitchens TOWER UNIT User manual

Wren Kitchens Vogue BASE UNIT 500 3 Drawer User manual

Wren Kitchens

Wren Kitchens Vogue BASE UNIT 500 3 Drawer User manual

Wren Kitchens BASE UNIT 1000 User manual

Wren Kitchens

Wren Kitchens BASE UNIT 1000 User manual

Wren Kitchens 150 Pull Out User manual

Wren Kitchens

Wren Kitchens 150 Pull Out User manual

Wren Kitchens Vogue WALL UNIT 672 Tall L Corner User manual

Wren Kitchens

Wren Kitchens Vogue WALL UNIT 672 Tall L Corner User manual

Wren Kitchens Vogue WALL UNIT 1000 Tall 2 Door User manual

Wren Kitchens

Wren Kitchens Vogue WALL UNIT 1000 Tall 2 Door User manual

Wren Kitchens Vogue WALL UNIT 150 Tall 1 Door User manual

Wren Kitchens

Wren Kitchens Vogue WALL UNIT 150 Tall 1 Door User manual

Wren Kitchens 2070 User manual

Wren Kitchens

Wren Kitchens 2070 User manual

Wren Kitchens BASE UNIT 600 User manual

Wren Kitchens

Wren Kitchens BASE UNIT 600 User manual
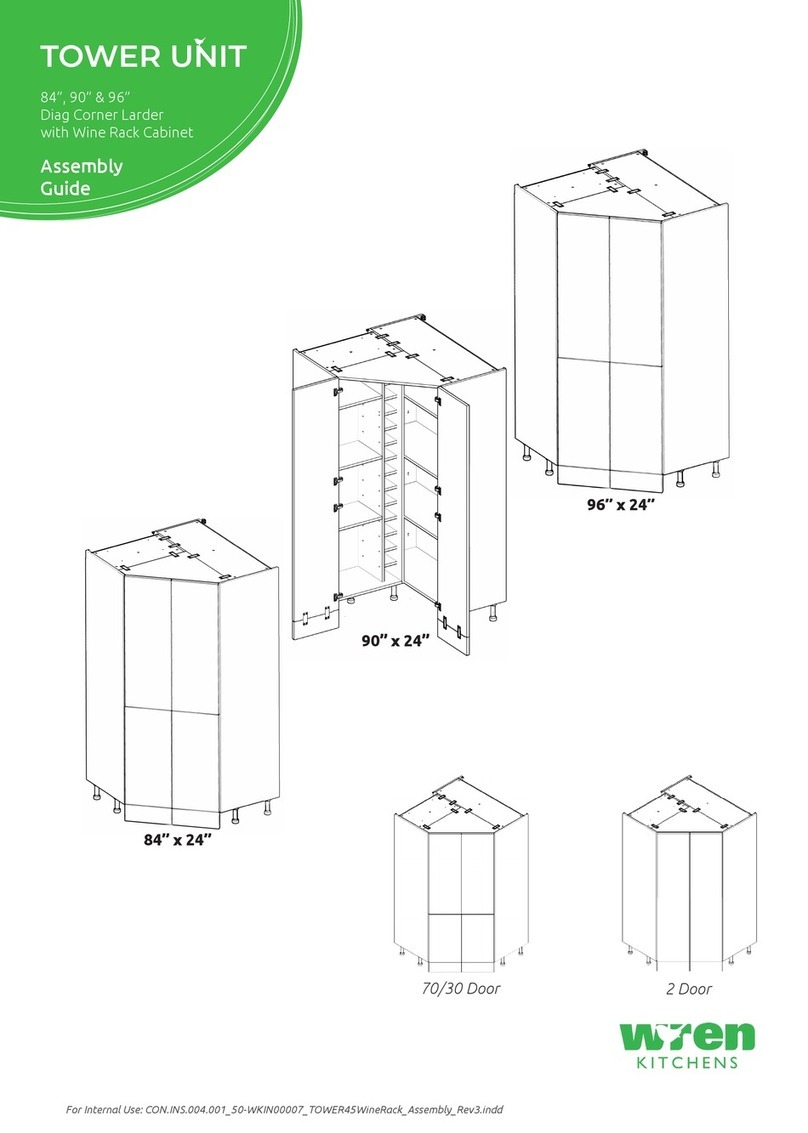
Wren Kitchens TOWER UNIT 84 Walk in User manual

Wren Kitchens

Wren Kitchens TOWER UNIT 84 Walk in User manual

Wren Kitchens Vogue BASE UNIT 300 1 Door User manual

Wren Kitchens

Wren Kitchens Vogue BASE UNIT 300 1 Door User manual

Wren Kitchens TOWER UNIT 2070 x 600 50/50 User manual

Wren Kitchens

Wren Kitchens TOWER UNIT 2070 x 600 50/50 User manual

Popular Indoor Furnishing manuals by other brands

Pacific Casual 173-274-7SS-V4-22 Assembly and use instructions

Pacific Casual

Pacific Casual 173-274-7SS-V4-22 Assembly and use instructions

Sauder Trestle 416955 manual

Sauder

Sauder Trestle 416955 manual

Rauch M2094 Assembly instructions

Rauch

Rauch M2094 Assembly instructions

Bentley Designs ATLANTA 4007-43 manual

Bentley Designs

Bentley Designs ATLANTA 4007-43 manual

visplay Mono 20 P/L Assembly and operating instructions

visplay

visplay Mono 20 P/L Assembly and operating instructions

Mayline Kwik File FC1010 Assembly instructions

Mayline

Mayline Kwik File FC1010 Assembly instructions

Habitat Oggie 820926 manual

Habitat

Habitat Oggie 820926 manual

Ameriwood HOME Systembuild Evolution 8847408COM manual

Ameriwood HOME

Ameriwood HOME Systembuild Evolution 8847408COM manual

Coaster Christine 722578 Assembly instructions

Coaster

Coaster Christine 722578 Assembly instructions

Emmezeta LCRK221 Assembling Instruction

Emmezeta

Emmezeta LCRK221 Assembling Instruction

JWA Acorn 70818 Assembly instruction

JWA

JWA Acorn 70818 Assembly instruction

Whalen Furniture Pioneer Woman PWS336158813018 manual

Whalen Furniture

Whalen Furniture Pioneer Woman PWS336158813018 manual

StyleWell SH-0209-170-SG-H03 Use and care guide

StyleWell

StyleWell SH-0209-170-SG-H03 Use and care guide

Pitarch 541 Assembly instructions

Pitarch

Pitarch 541 Assembly instructions

Bretford ec7000 Assembly instructions

Bretford

Bretford ec7000 Assembly instructions

Whittier Wood Furniture 2319AFGACa Assembly instructions

Whittier Wood Furniture

Whittier Wood Furniture 2319AFGACa Assembly instructions

bathstore Atmos installation instructions

bathstore

bathstore Atmos installation instructions

Rauch M1993 Assembly instructions

Rauch

Rauch M1993 Assembly instructions

manuals.online logo
manuals.online logoBrands
  • About & Mission
  • Contact us
  • Privacy Policy
  • Terms and Conditions

Copyright 2025 Manuals.Online. All Rights Reserved.