Yedoo Mezeq disc User manual

www.yedoo.eu
STURDY SCOOTER THAT
YOU CAN ALWAYS RELY ON
EVEN WHEN JOYRIDING IN
A DIFFICULT TERRAIN.
TVRDOHLAVÝ TAHOUN, NA
KTERÉHO SE PŘI DIVOKÉ JÍZDĚ
NÁROČNÝM TERÉNEM MŮŽETE
VŽDY SPOLEHNOUT.
20“/16“
AGE 14+ MAX 150kg MIN 155 cm

1 |
Developed by
Authentic Czech brand of scooters, training
bikes and children bikes with original design,
high quality, and bright colours.
Původní česká značka koloběžek, odrážedel
adětských kol originálního designu, kvalitního
provedení a zářivých barev.

3 |
910
21
5
13
Brzdové lanko
Break cable
Bremsseil
Brzdové lanko
Трос тормоза
Cable de frenado
Câble de frein
Brzdová destička
Brake lining
Bremsbelag
Brzdová doštička
Тормозная колодка
Pastilla de frenado
Plaquette de frein
Kotevní šroub
Anchoring screw
Ankerschraube
Kotviaca skrutka
Анкерный болт
Tornillo de jación
Vis d‘ancrage
Rychloupínací páčka
Quick-release lever
Schnellspannhebel
Rýchloupínacia páčka
Быстрозажимнойрычаг
Palanquitadesujeciónrápida
Levierà serragerapide
Matice na ruční přitažení
Hand-tight nut
Mutter zum Handanziehen
Matica na ručné pritiahnutie
Гайкадлязатягиваниявручную
Tuercasparaapretarmanualmente
Écrou à serrage manuel
Rameno„V“ brzdy
Arm ofV-brake
Arm derV-Bremse
Rameno„V“ brzdy
КонсольV-образного тормоза
Brazo de freno„V“
Bras du freinV-brake
Napínací šroubek
Tension bolt
Spannschraube
Napínacia skrutka
Натяжной шуруп
Tornillo tensor
Vis de tension
PICTUR
E
CZ OBRAZOV
Á
6

| 4
11
1-2 mm
Šroubky na seřizování souběžnosti brzd. destiček s brzd. kotoučem
Screws for adjusting the brake pad alignment with the brake disc
Schraubenfürdie Einstell. desParallellaufesder Bremsklötze mitderBremsscheibe
Skrutky na nastavovanie súbežnosti brzd. doštičiek s brzd. kotúčom
Винтыдлярегулировкипараллельноститормозныхколодокитормозногообода
Tornillosparaarreglarla paralelidad delas pastillas defrenoaldiscode freno
Vis de réglage du parallélisme des plaquettes de frein avec le disque de frein
3 4
8
14
Brzdový kotouč
Brake disc
Bremsscheibe
Brzdový kotúč
Тормозной обод
Disco de freno
Disque de frein
Matice osy kola
Wheel axis nut
Muttern der Radachse
Matice osi kolesa
Гайка оси колеса
Tuercasdel ejedelarueda
Écrou de l‘axe de la roue
T
URE GUIDE
R
AZOVÁ ČÁST
12
7
Šroubky na seřizování délky lanka
Screws for adjusting the cable length
SchraubenfürdieEinstell.derLängedesBremsseilzuges
Skrutky na nastavovanie dĺžky lanka
Винты для регулировки длины тросика
Tornillos para arreglar la longitud del cable
Vis de réglage de la longueur du câble

| 8
MEZEQ DISC MEZEQ V-BRAKE
Age 14+ 14+
Loading limit 150 kg 150 kg
Weight 11,8 kg 11,2 kg
Frame Steel Steel
Tyres 20“/16“ 20“/16“
Rims Alu Alu
Deck 36 cm 36 cm
Brakes 2× disc 2× “V” alu
Width of handle bars 65 cm 65 cm
Height of handle bars 96/102 cm 96/102 cm
Lenght 153 cm 153 cm
TECHNICAL SPECIFICATION
Dear customer,
We would like to pass onto you our thanks for choosing this product. It is our duty to inform
you that this scooter in its basic version is intended for mild terrain and non-car trac
roads. It is possible that you will need to add more safety features, such as reectors, required
under the law of the country in which the scooter will be used. Also it is vital to use safety
features for the rider him/herself (see safety features section). A very important aspect for
the safe use of this product is the proper adjustment of the scooter (wheel bearings, break in-
spection, bolt tightening, and proper tire ination).That is why we highly recommend having
the scooter assembled and regularly inspected by a professional bicycle service, simply for the
well informed skilled technicians who can assist you. By securing yourself a properly set-up
scooter with regular service you will be able to enjoy this product for a long time to come.
Do not forget that our line of scooters is wide. You can choose from many dierent sizes and
styles for dierent age groups and uses (see back side or www.yedoo.eu).
If you have any ideas or comments please do not hesitate to contact us at our email address:
ASSEMBLY INSTRUCTIONS
1. Control individual parts in the box:
(1 piece) main frame of scooter including front fork,
(1–2 pieces) brake system (depending on the type of scooter)
(2 pieces) inatable wheels (according to the model: 2× 12‘‘, or 1× 16‘‘ and 1× 12‘‘),
(1 piece) handlebars including the handlebars rod.
Entrust aprofessional bicycle service with the assembly.
2. Unloose the nuts on the axis of both small wheels. If your model comes with the quick-release
clamping mechanism (i.e. an axis containing the quick-release lever, 2 springs, a hand-tight
nut – hereinafter referred to as the quick-release clamp–see Fig. for pieces), release the
quick-release lever and/or release the nut on the other end of axis. If necessary, tighten the
play of bearings so that the wheels can turn freely (that is so that they do not drag and at the
same time they are not free).
3. Insert the wheel into the front fork of the scooter frame (Fig. ). Make sure that the security
eye provided with asmall beak is positioned correctly, (the protruding section – anib – of the

9 |
safety loop must be inserted into the small hole at the end of the fork as shown in Fig. –
applies only to wheels without the quick-release clamp), the wheel must be exactly in the
centre of the fork. Important: to achieve proper scooter geometry, the front fork shall be
correctly positioned, indicated by the position of the“V“ brake, which must always be directed
to the front. If your model comes with a disc brake, it is always on the left-hand side from the
rider’s point of view. Forks bent slightly or or forward allowance of the wheel axis must point
in the forward direction (Fig. ).
4. Tighten the nuts using the proper spanner. Use the quick-release clamp to tighten the nut as
needed and then tighten the quick-release lever towards the fork (Fig. ).
5. For the handlebars: if the handlebar rod is pointing upward rotate it downward and evenly tighten
the four front piece screws (Fig. ). Incase the front piece has not been previously attached, attach
it to the handle bars and tighten all four front piece screws (Fig. ).
6. Insert the handlebar rod into the handlebar tube (Fig. ). Adjust the height of the
handlebars according to the rider’s needs.The maximum height is marked on the handlebar
rod. Check that the axis of the handlebars is parallel to the axis of the front wheel, and
properly tighten the screw (Fig. ).
7. Place the second wheel into the back fork of the scooter frame according to the description in
point nr. 3 (unless factory positioned).
8. Tighten the nuts or quick-release clamp.
9. Insert the oval ending of the brake cable (for the assembly it is generally valid that the right lever
brakes the rear wheel and the left lever brakes the front wheel) into amajor round hole (for dierent
types of levers, the grippings may dier) situated on the brake lever and insert the brake cable into
the slot on the inferior part of the handlebars lever (Fig. ).
V-brakes: Press both arms of the V-brake towards the wheel rim and with an appropriate key (ac-
cording to the model) adjust the brake lining so that during the braking the brake lining chafes with
its whole brake surface against the side part of the rim (Fig. ). If necessary, tighten or loosen the
brake cable with the anchoring bolt (Fig. ) or with the adjusting screw on the brake lever so that
there is, between the rim and the brake lining, adistance of approximately 1–2mm (Fig. 11 ). If the
wheel does not turn freely and„slackens up“ on one side, it is possible to adjust this by tightening
the tension bolt at the arm of theV-brake that„slackens up“ (Fig. ), eventually by loosening the
tension screw at the arm of the V-brake which is more distant from the rim so that the wheel may
turn freely. Control the good functioning of the brake before riding. In case the scooter has also the
front brake – mount it and adjust it in the same way. In case the brake lever/s (on the handlebars)
contains/contain the adjusting screw (situated on the side of the lever), by its tightening it is possible
to achieve ashorter distance between the lever and the grip (according to the size of the hand).
Disc brakes: First test the brake functions correctly by turning the wheel free and then applying the
brake. Repeat this process twice. If the disc rubs against one or another brake pad while the wheel
is turning freely, the brake pads can be aligned with the disc by releasing 2 screws on the brake
yoke (Fig. 14 ), set the correct alignment of pads with the disc and an equal distance between the
pads and disc (the disc is in the middle between pads) and tighten the adjustment screws. Repeat
the brake test. Once the braking eect has been adjusted, you can tighten or release the brake
cable (Fig. 14 ). Warning:While breaking the scooter in, the braking eect of the disc brakes
may be signicantly lower, after the breaking in period, we recommend adjusting the scooter by a
professional serviceman (minor disc crimping is not considered fault).
10. Incase the kickstand has not yet been attached, screw it to the lower part of the frame so that
it folds out to the left side in relation to the riders perspective (Fig. ). If your model comes
with a two-arm central column, attach it to the frame as shown in Fig.
11. Pump up the tyres according to the rider, maximally to the value marked on the tyre (bar/psi).
SCOOTER IS SPORTS EQUIPMENT.
WHILE RIDING SCOOTER USE AVAILABLE PROTECTIVE EQUIPMENT
(HELMET, PROTECTIVE GLOVES ETC.).

|10
OPERATING INSTRUCTIONS FOR RIDING
a) During the start-up and during the whole time of riding, the rider has to have both hands on
the handlebars grips and minimally one foot on the deck of the scooter.
b) Start to ride so that you put one foot on the deck (both hands on the grips – see pointa) and
with asecond foot take o in the direction of the ride.
c) Procedure for braking: by pressing the brake lever on the handlebars (1–2 pieces) you attain
the necessary braking during which time the intensity of the braking depends on the force of
the pressure of the lever. During the braking, it is better for you to use more the rear brake. Use
the front brake (if it is included) as aslackening up brake (brake for ending up the braking or
as an emergency brake) – during amore intensive braking, an accident and injury may occur.
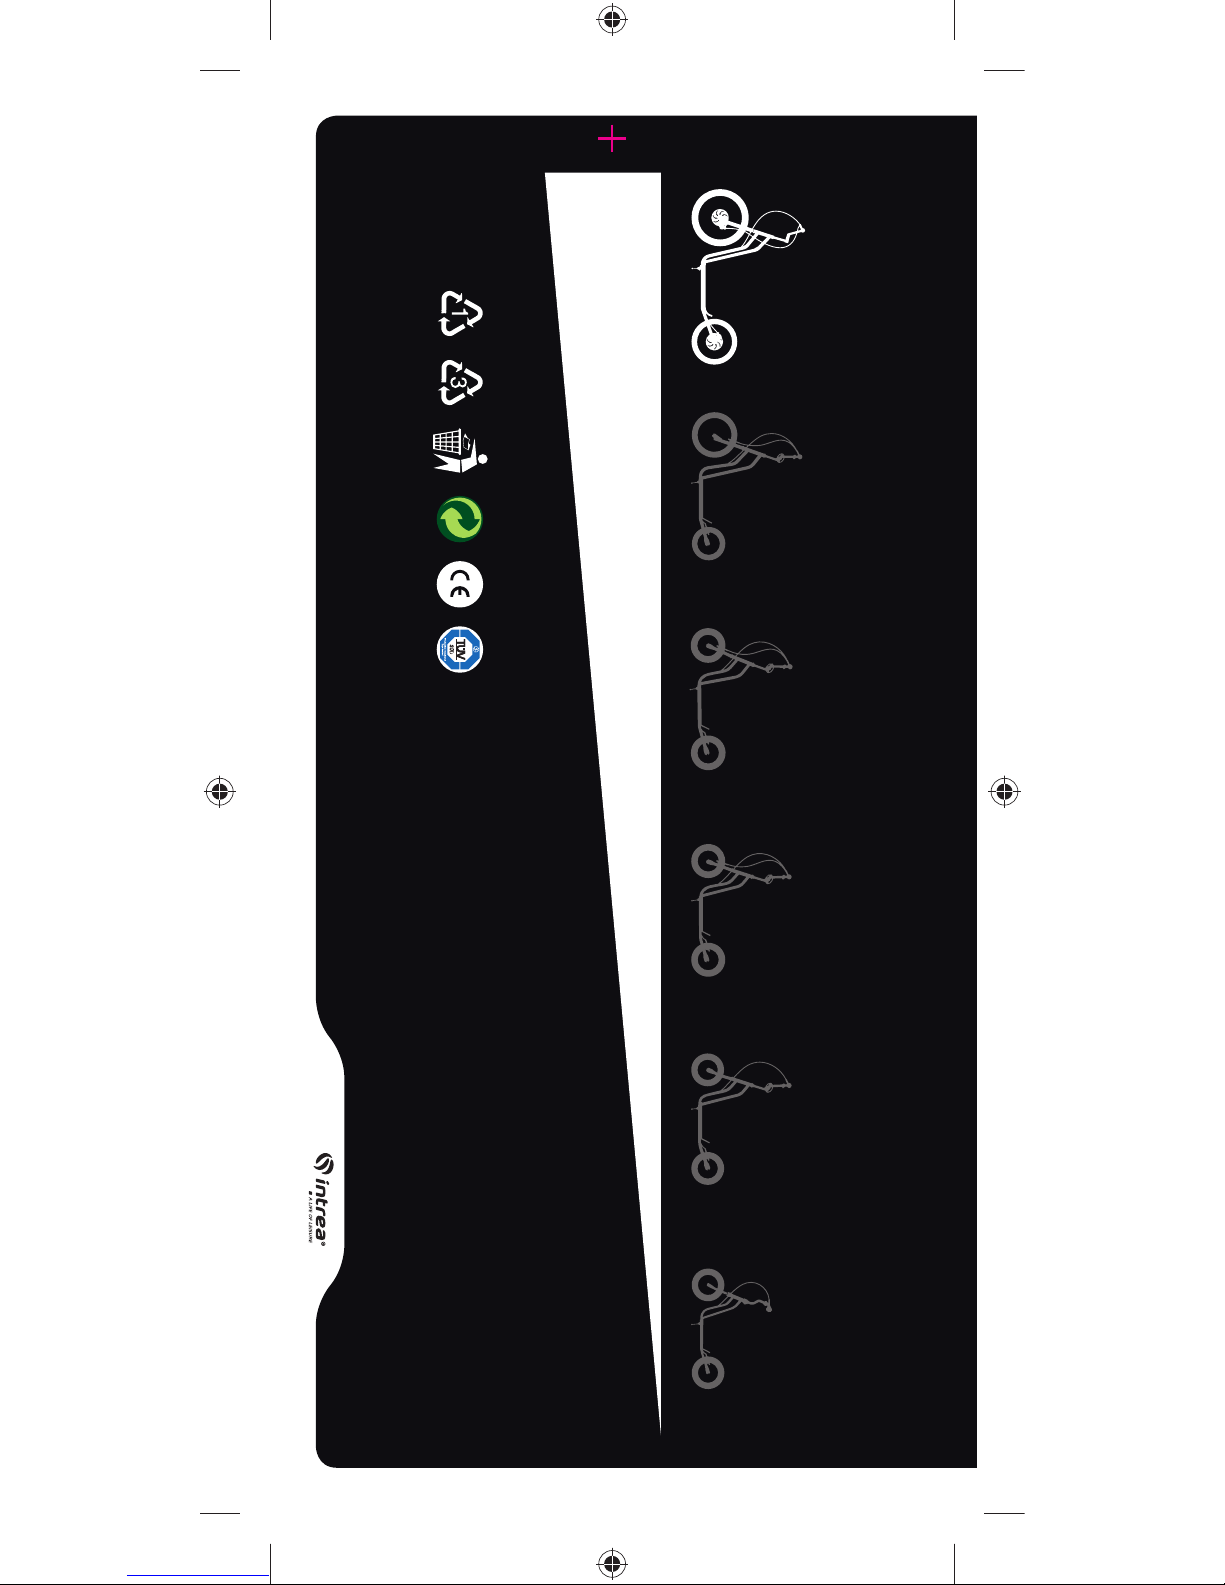
d) Turning takes place by turning the handlebars according to the necessity to the side you want
to ride with aslight inclination at the same time (according to the speed and the diameter of
the turning) to the same side.
MAINTENANCE
We recommend to entrust aprofessional service with it. Control regularly, eventually
tighten or adjust: screw connections, tightening mechanisms, lubricate sliding parts (wheels
bearings, handlebars bearings, cables, brake parts etc.), when dirty, clean with ahumid cloth.
ATTENTION: No lubricantshouldget ontotherim brakingfriction surfaceor onto thediscand
brakepad,ifthis situation occurs, itisnecessarytoremove thegreasefromall brakeparts, eventually
toclean withatechnicalgasoline.Ifduring theridingit startsto“crack”inthe spokes, it isnecessary to
tightenallthe wires ofthewheels equallyby2 turns(werecommend toentrustwith it aprofessional
service), eventually togrease, adjustor changethebearings and bearingsparts. Ifthechange ofwheels
isnecessary,use always wheels/tyres ofthe sameparameters according totheoriginal ones. Carryout
thedisassembly inacontrary way thantheassembly (see Operatinginstructions). Entrust theexchange
orrepairof atyre andinnertube to aprofessional service.Ifthe scooter´s constructioncontainsself-
lockingnuts orotherself-locking accessories, whenunloosingandtighteningthem frequently, theylose
theireciency.Inthis case itisnecessarytosubstituterespectiveparts.
SECURITY MEASURE
Before the assembly, study the operating instructions carefully.We draw your attention to the
fact that the scooter is asport article, not atoy. The maximum weight capacity of the scooter
is stated in the parameters of the model on page 2 of the leaet.To drive securely, use always
headpiece, knee protectors, elbow protectors, wrist protectors and solid shoes.This scooter
in its basic version is not intended for roads with car trac or for riding in the dark. Control
the screw connections, tightening mechanisms and brake/s regularly to avoid an eventual
accident when riding. We do not recommend to carry out adaptations of this scooter to other
models. Do not brake too rapidly and suddenly – you could fall down.The manufacturer does
not guarantee the damnication or damage that may arise when using this product.
The scooter is designed only for 1 rider – co-riders are forbidden!
WARNING: Mechanisms for decreasing the speed (brake lining, brake discs, rims, tyres,
eventually rear contact brake) are becoming warm during the use and it is, therefore, not
convenient to touch them after the braking.
GUARANTEE LIMITATION
The guarantee does not apply to adamage or loss of arespective part caused by afall,
abrasion, incorrect assembly, non-adequate adaptation, jumping, acrobatic riding, headless
riding, competition riding, rough treatment, neglecting usual maintenance or using scooter
that is completed by any motor appliance.The manufacturer reserves the right for changes of
the operating instructions in the course of the products development. The product fulls the
requirements of the norm ČSN EN 14619.
Importer to the EU: Intrea-Piko, s. r. o., Praha

Developed by
Producer:
Intrea-Piko, s. r. o., Czech Republic
www.intrea.cz
CITY
AGE 12+
MEZEQ
AGE 14+
OX
AGE 10+
WZOOM
AGE 6 +
TIDIT
AGE 5 +
MAU
AGE 4 +
MODEL LINE PREVIEW
Other manuals for Mezeq disc
4
This manual suits for next models
1
Table of contents
Other Yedoo Scooter manuals

Yedoo
Yedoo NUMBERS FOUR User manual

Yedoo
Yedoo OX User manual

Yedoo
Yedoo OX User manual

Yedoo
Yedoo ALLOY WOLFER User manual

Yedoo
Yedoo CITY User manual

Yedoo
Yedoo Dragstr User manual

Yedoo
Yedoo Mezeq disc User manual

Yedoo
Yedoo Mezeq disc User manual

Yedoo
Yedoo ALLOY Series User manual

Yedoo
Yedoo Dragstr User manual