manuals.online logo
Brands
  1. Home
  2. •
  3. Brands
  4. •
  5. Zamel
  6. •
  7. Controllers
  8. •
  9. Zamel exta SRM-11 User manual

Zamel exta SRM-11 User manual

INSTALLATION EXAMPLES
WARRANTY CARD
Salesman stamp and signature, date of sale.
There is a 24-month guarantee on the product.
MOUNTING
1. Disconnect power supply by the phase
fuse, the circuit-breaker or the switch-
-disconnector combined to the proper
circuit.
2. Check if there is no voltage on the con-
nection cables by means of a special
measuring equipment.
3. Connect the device cables with the ter-
minals in accordance with the installing
diagram.
4. Mount SRM-11 in a junction box.
5. Switch on the power supply from the
mains and check if the device operates
properly.
Grupa rolet
Rozbudowana instalacja roletowa
1. ZAMEL Sp. z o. o. assures a 24-month guarantee for the product.
2. The manufacturer’s guarantee does not cover any of the following actions:
a) mechanical damage during transport, loading / unloading or under other circumstances,
b) damage caused by incorrect product mounting or misuse,
c) damage caused by unauthorised modications made by the PURCHASER or any third parties to the product or any other devices
required for the product functioning,
d) damage caused by Act of God or any other incidents independent of the manufacturer – ZAMEL Sp. z o. o.
e) power supply (batteries) to be equipped with a device in the moment of sale (if they appear);
3. The PURCHASER shall lay any claims in writing in the place of purchase or to ZAMEL Sp. z o. o.
4. ZAMEL Sp. z o. o. is liable for processing any claim according to current Polish legislation.
5. ZAMEL Sp. z o. o. shall process the claim at its own discretion: product repair, replacement or money return.1
6. The manufacturer’s guarantee is valid in the Republic of Poland.
7. The PURCHASER’s statutory rights in any applicable legislation whether against the retailer arising from the purchase contract or
otherwise are not affected by this warranty.
The device is designed for a
single-phase installation and
must be installed in accor-
dance with standards valid
in a particular country. Installation, con-
nection and control should be carried out
by a qualied electrician staff, who act
in accordance with the instruction ma-
nual and the device functions. In case
of casing dismantling, the guarantee is
lost and an electric shock may occur.
Before installation make sure the con-
nection cables are not under voltage.
The cruciform head screwdriver 3,5 mm
should be used to install the device. Im-
proper transport, storage, and use of the
device inuence its wrong functioning.
It is not advisable to install the device
in the following cases: if any device part
is missing or the device is damaged or
deformed. In case of improper functio-
ning of the device contact the producer.
CAUTION
The symbol means selective collecting of
electrical and electronic equipment.
It is forbidden to put the used equipment
together with other waste.
CASING DIMENSIONS
CENTRAL ROLETA123
CENTRAL GRUPA1
CENTRAL GRUPA123
CENTRAL GRUPA3CENTRAL GRUPA2
GRUPA1
L1
N
L2
N
L3
N
GRUPA3 GRUPA2
LOCAL ROLETA1
LOCAL ROLETA1
LOCAL ROLETA5
LOCAL ROLETA3
LOCAL ROLETA2
LOCAL ROLETA2
LOCAL ROLETA6
LOCAL ROLETA4
LOCAL ROLETA3
230 V AC
230 V AC
230 V AC
230 V AC
ROLLER BLIND CONTROLLER SRM-11 INSTRUCTION MANUAL
ZAMEL Sp. z o.o.
ul. Zielona 27, 43-200 Pszczyna, Poland
tel. +48 (32) 210 46 65, fax +48 (32) 210 80 04
www.zamel.com, e-mail: [email protected]
plik: inst_ext_pl_srm-11_EN | modykacja: 20.03.2017
APPEARANCE
FEATURES
DANE TECHNICZNE
DESCRIPTION
● Designed to wired control of roller blind,
sunblind and gate drives,
● control of devices driven by 230 V AC
one-phase motors
● a possibility of independent operation or
group connection,
● local control realised by means of a sin-
gle or double roller blind push-button,
● central control realised only by means of
double roller blind push-buttons,
● a possibility to block the roller blind po-
sition (opened or closed) by means of
central inputs,
● a cooperation possibility with the alarm
system and additional devices (e.g. rain
sensors, control timers, luminous flux
intensity sensors),
● N line release only,
● for advanced central control, a possi-
bility to connect controllers to different
phases,
● energy-saving devices, designed to
continuous operation,
● comfort mode – up and down – roller
blind position memory,
● programmable maximum roller blind
movement,
● a possibility of cooperation with the
exta free system by applying the
SRP-03 central line controller.
Modular roller blind controller SRM-11 is
designed to control window roller blinds
or other devices driven by 230 V AC one-
-phase motors. The control can be carried
out in a local or central mode by means
of debouncing roller blind push buttons.
Single and double roller blind push-but-
tons can be applied in the local control.
In case of central control only double
push-buttons can be applied. The device
has an additional functionality, it enables
to programme two independent comfort
(upper / down) settings and maximum
roller blind movement time. SRM-11 can
operate as an independent controller or
it can be connected in a sections. Addi-
tionally, the special functionality of cen-
tral control inputs allows to lock the roller
blind in a closed or opened position. The
above enables the cooperation with alarm
systems and additional devices such as
weather station, luminous ux intensity
sensor, rain sensor and control timers.
N line pulses are the release signals. As
a result, in case of an advanced central
control installation, particular controllers
can be supplied from different phases,
but keeping the same N line.
Supply terminals: L, N
Nominal supply voltage: 230 VAC
Supply voltage tolerance: +10 ÷ -15 %
Nominal frequency: 50 / 60 Hz
Nominal power consumption: 0,22 W (stand-by)
0,55 W (during roller blind movement)
Maximum load: 350 W (2 A) - AC3 class
Control signal: short pulses from N line
Optical signalling of power supply: green LED
Optical signalling of roller blind movement: 2 x red LED
Roller blind default time: 120 s
Roller blind time programming: . yes – from 1 sec. to 10 min
Comfort positions: yes – up and down tak – górne i dolne
Comfort mode time range: . from 1 sec. to 10 min
Local control terminals: L ( ), ( )
Central control terminals: C ( ), ( )
Local control: single or double roller blind push-buttons
Central control: double roller blind push-buttons
Motor power supply terminals: N, (up ), (down )
Relay contact parameters: 2NO 10A / 250VAC AC3 2500 VA (voltage contacts)
Number of terminal clamps: 9
Section of connecting cables: 0,2 ÷ 2,50 mm2
Operation temperature range: -10 ÷ +55 °C
Operating position: free
Casing mounting: TH-35 rail
Casing protection degree: IP20 (PN-EN 60529)
Protection class: II
Overvoltage category: II
Pollution degree: 2
Surge voltage: 1 kV (PN-EN 61000-4-5)
Dimensions: 90 x 35 x 66 mm (double modular)
Weight: 0,090 kg
Motor (230 V AC)
terminalsTT
Central control termi-
nals (up/down)
Optical signalling of power supply
Optical signalling of roller blind
movement and software version
Programming push-buttons
- comfort adjustment (time)
- maximum roller blind movement
Local control terminals
(up/down)
Supply terminals:
(L, N)
DESCRIPTION
LOCAL CONTROL – DOUBLE ROLLER BLIND PUSH-BUTTON
n this mode, the SRM-11 controller realizes the following functions after pressing shortly (<0,5 sec.) the appropriate push-buttons: opening,
closing or stopping the roller blind equipped with 230 V AC single-phase motor. Roller blind movement is consistent with time programmed
in a controller. The default time is 120 seconds. Pressing the local control push-button for the rst time, causes the roller blind moves in a
selected direction, however the subsequent pressing of a push-button stops the roller blind. Its movement is signalled optically by a ashing
LED. Pressing longer (>2,5 sec.) the suitable local control push-button causes the activation of programmed comfort settings (up / down).
Activation of the upper comfort setting:
In order to activate the upper comfort setting, open completely the roller blind. Next, press longer (>2,5 sec.) the local (L ) control push-but-
ton. The roller blind starts closing and it will automatically stop in the adjusted upper comfort position.
Activation of the lower comfort setting:
In order to activate the lower comfort setting, close completely the roller blind. Next, press longer (>2,5 sec.) the local (L ) control push-but-
ton. The roller blind starts opening and it will automatically stop in the adjusted low comfort position.
LOCAL CONTROL – SINGLE PUSH-BUTTON
Local control by means of a single push-button is possible after input connection: L ( ) and L ( ).
In this mode, after pressing shortly (<0,5 sec.) the local control push-button, the SRM-11 controller realizes the following functions: opening,
closing or stopping the roller blind equipped with 230 V AC single-phase motor. Roller blind movement is consistent with time programmed
in a controller. The default time is 120 seconds. The roller blind movement operates according to a sequence: open – stop - close. Roller
blind movement is signalled optically by a switched on LED. Longer pressing (>2,5 sec.) the local control push-button causes the activation
of programmed comfort settings.
Activation of the upper comfort setting:
n order to activate the upper comfort setting, open completely the roller blind. Next, press longer (>2,5 sec.) the local control push-button. The
roller blind starts closing and it will automatically stop in the adjusted upper comfort position.
Activation of the lower comfort setting:
In order to activate the lower comfort setting, close completely the roller blind. Next, press longer (>2,5 sec.) the local control push-button.
The roller blind starts opening and it will automatically stop in the adjusted low comfort position.
Caution:
Comfort setting times (upper /down) are the same in case of single and double push-button control. The programmed roller blind
movement time must be longer than times programmed for the comfort mode. After local control mode change from a single to a
double push-button, it is necessary to disconnect power supply of the device and connect it again (controller restart).
230 V AC
230 V AC
OPERATION
TIME PROGRAMMING
LOCAL CONTROL – DOUBLE ROLLER BLIND PUSH-BUTTON
In this mode, the SRM-11 controller realizes the following functions after pressing shortly
(<0,5 sec.) the appropriate push-buttons: opening, closing or stopping the roller blind equ-
ipped with 230 V AC single-phase motor. Roller blind movement is consistent with time
programmed in a controller. The default time is 120 seconds. Pressing the local control
push-button for the rst time, causes the roller blind moves in a selected direction, however
the subsequent pressing of a push-button stops the roller blind. Its movement is signalled
optically by a ashing LED. Pressing longer (>2,5 sec.) the suitable local control push-button
causes the activation of programmed comfort settings (up / down).
Locking mode of central control inputs
Central control inputs allow to lock a roller blind in
the closed or opened position. To carry it out, it is
necessary to give a constant L line signal to the
appropriate ( ,) central input. The above can be
realised by means of the control panel, luminous
ux intensity sensor, rain sensor, or control timer.
In the locking mode all remaining inputs are inac-
tive. The central control inputs are designed to a
long-lasting release.
Programming roller blind motion time
Roller blind movement time can be programmed in the range of 1 second to 10 minutes. The same time measure is for the upward and do-
wnward roller blind movement. Its default time is 120 sec. Due to mechanical issues, the roller blind opening is longer than its closing. In this
case it is recommended to start time programming of a roller blind from the bottom position (a completely closed roller blind).
In order to programme the roller blind movement time, the following steps are required:
1. Close the roller blind completely.
2. Press the PROG push-button placed on the casing of the SRM-11 controller.
3. The roller blind starts opening and, simultaneously, time is measured. Both steps are signalled optically by ashing LEDs, which indicate
the roller blind movement.
4. If the roller blind is in the upper position, press any push-button (local/central control). The roller blind stops and the measured time is saved
in the SRM-11 memory. This time is remembered even after power supply failure.
Comfort (time) setting programming
Comfort setting time can be programmed in the range of 1 second to 10 minutes. The upper comfort time is differently programmed than the
bottom time comfort.
UPPER COMFORT SETTINGS
In order to programme the upper comfort (time) setting, the following steps must be carried out:
1. Open the roller blind completely.
2. Press the PROG push-button placed on the casing of the SRM-11 controller.
3. The roller blind starts closing and, simultaneously, time is measured. Both steps are signalled optically by ashing LEDs, which indicate
the roller blind movement.
4. If the roller blind is in the upper position, press any push-button (control/central). The roller blind stops and the measured time is saved in
the SRM-11 memory. This time is remembered even after power supply failure.
LOWER COMFORT SETTINGS
In order to programme the lower comfort (time) setting, the following steps must be carried out:
Czasy komfortowe są pamiętane po zaniku napięcia zasilającego.
Exemplary application:
Astronomical time programmer ZCM-31 realizes
the function of the central closing of roller blind
system at dusk. Local / central control is possi-
ble only at dawn when the timer contacts 11-14
are open.
230 V AC
CENTRALLOCAL
230 V AC

Other Zamel Controllers manuals

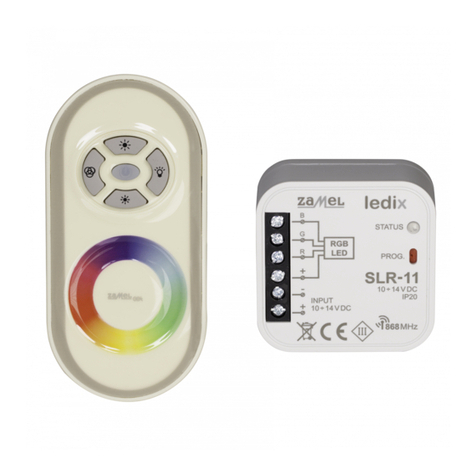
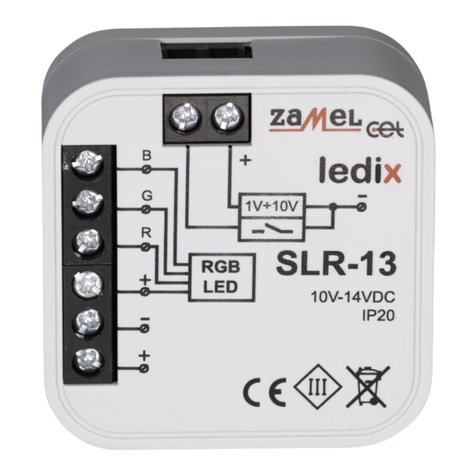
Zamel ledix SLR-13 User manual

Zamel

Zamel ledix SLR-13 User manual

Zamel RTM - 01 User manual

Zamel

Zamel RTM - 01 User manual

Zamel RTD-02 User manual

Zamel

Zamel RTD-02 User manual

Zamel Extra Free RZB-02 User manual

Zamel

Zamel Extra Free RZB-02 User manual

Zamel ledix SLR-11 User manual

Zamel

Zamel ledix SLR-11 User manual

Zamel ROB-01 User manual

Zamel

Zamel ROB-01 User manual

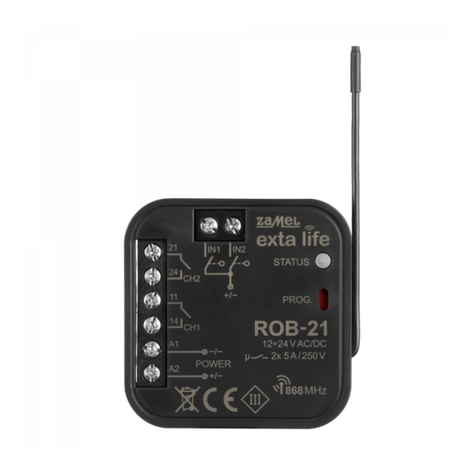
Zamel exta life ROB-21 User manual

Zamel

Zamel exta life ROB-21 User manual

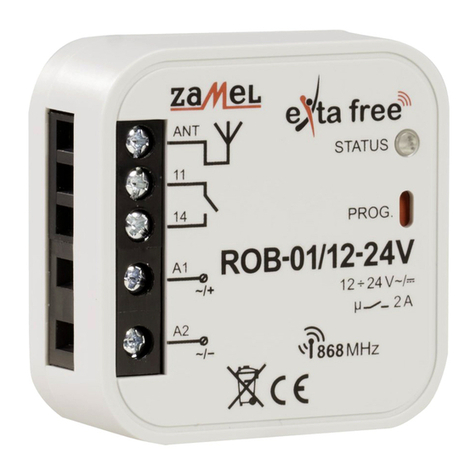
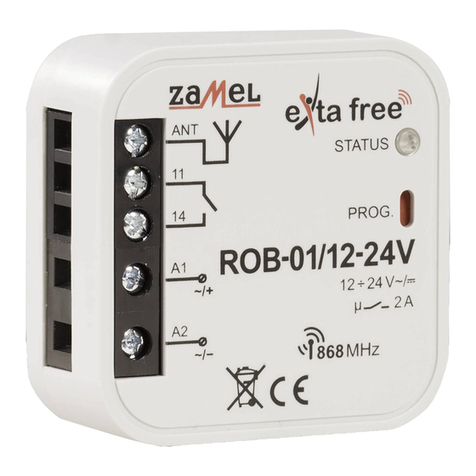
Zamel Extra Free ROB-01/12-24V User manual

Zamel

Zamel Extra Free ROB-01/12-24V User manual

Zamel RNK-02 User manual

Zamel

Zamel RNK-02 User manual

Zamel SRP-03 User manual

Zamel

Zamel SRP-03 User manual

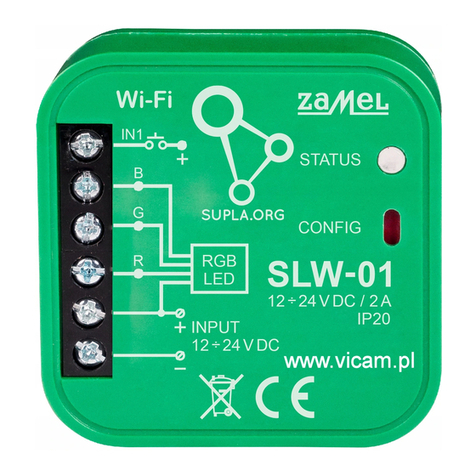
Zamel Wi-Fi supla SLW-01 User manual

Zamel

Zamel Wi-Fi supla SLW-01 User manual

Zamel Extra Free ROB-01/12-24V User manual

Zamel

Zamel Extra Free ROB-01/12-24V User manual

Zamel exta SRP-05 User manual

Zamel

Zamel exta SRP-05 User manual

Zamel SRP-22 User manual

Zamel

Zamel SRP-22 User manual

Zamel RZB-04 User manual

Zamel

Zamel RZB-04 User manual

Zamel Exta Life EFC-01 User manual

Zamel

Zamel Exta Life EFC-01 User manual

Zamel RNK-02 User manual

Zamel

Zamel RNK-02 User manual

Zamel Exta RTM-02 User manual

Zamel

Zamel Exta RTM-02 User manual

Zamel GRM-10 User manual

Zamel

Zamel GRM-10 User manual

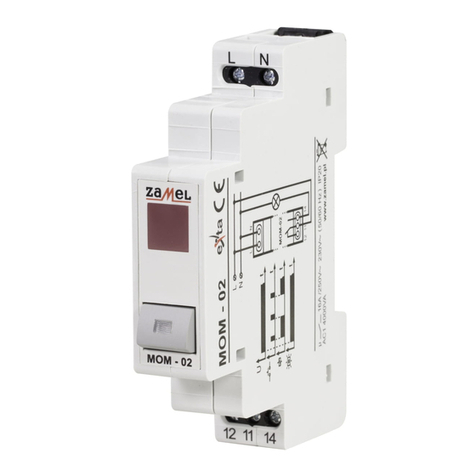
Zamel exta MOM-02 User manual

Zamel

Zamel exta MOM-02 User manual

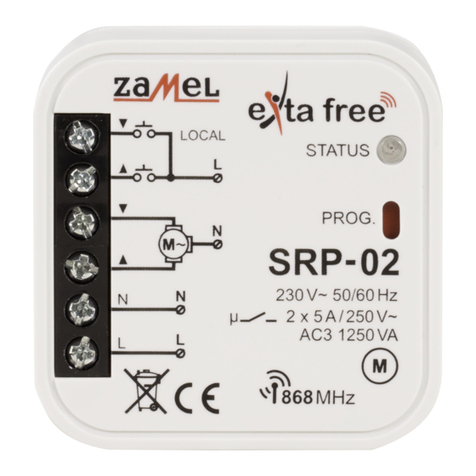
Zamel exta SRP-01/M User manual

Zamel

Zamel exta SRP-01/M User manual

Zamel RTP-01 User manual

Zamel

Zamel RTP-01 User manual

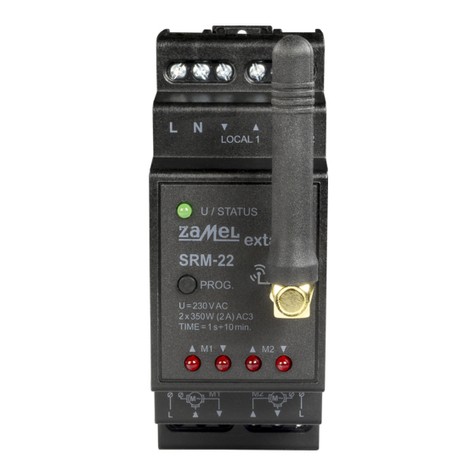
Zamel exta life SRM-22 User manual

Zamel

Zamel exta life SRM-22 User manual

Zamel supla SRW-01 User manual

Zamel

Zamel supla SRW-01 User manual

Popular Controllers manuals by other brands

Chauvet Obey 40 user manual

Chauvet

Chauvet Obey 40 user manual

Siemens ACR12.3 1 Series manual

Siemens

Siemens ACR12.3 1 Series manual

SEW-Eurodrive DHE21B manual

SEW-Eurodrive

SEW-Eurodrive DHE21B manual

Iseo Zero1 Atlas Plus installation guide

Iseo

Iseo Zero1 Atlas Plus installation guide

HighPoint RocketRAID 644L Quick installation guide

HighPoint

HighPoint RocketRAID 644L Quick installation guide

t.a.c. M5 user manual

t.a.c.

t.a.c. M5 user manual

EUROSTER C6RX Installation and operation manual

EUROSTER

EUROSTER C6RX Installation and operation manual

Kverneland Flowmate Control FMC Operation manual

Kverneland

Kverneland Flowmate Control FMC Operation manual

Zaber T-CON3 user manual

Zaber

Zaber T-CON3 user manual

LEGRAND radiant WNRCB40WH installation instructions

LEGRAND

LEGRAND radiant WNRCB40WH installation instructions

Honeywell Spyder 7 installation instructions

Honeywell

Honeywell Spyder 7 installation instructions

pitsco Tetrix Max User & Technical Guide

pitsco

pitsco Tetrix Max User & Technical Guide

LG V-Net AC Smart II owner's manual

LG

LG V-Net AC Smart II owner's manual

Hardi HC5500 quick guide

Hardi

Hardi HC5500 quick guide

GE AF-650 GP Series quick guide

GE

GE AF-650 GP Series quick guide

Furukawa electric 1U installation guide

Furukawa electric

Furukawa electric 1U installation guide

LEGRAND Tynetec ZXT473 manual

LEGRAND

LEGRAND Tynetec ZXT473 manual

Native Instruments Maschine Mikro MK2 Getting started

Native Instruments

Native Instruments Maschine Mikro MK2 Getting started

manuals.online logo
manuals.online logoBrands
  • About & Mission
  • Contact us
  • Privacy Policy
  • Terms and Conditions

Copyright 2025 Manuals.Online. All Rights Reserved.