manuals.online logo
Brands
  1. Home
  2. •
  3. Brands
  4. •
  5. 3One data
  6. •
  7. Switch
  8. •
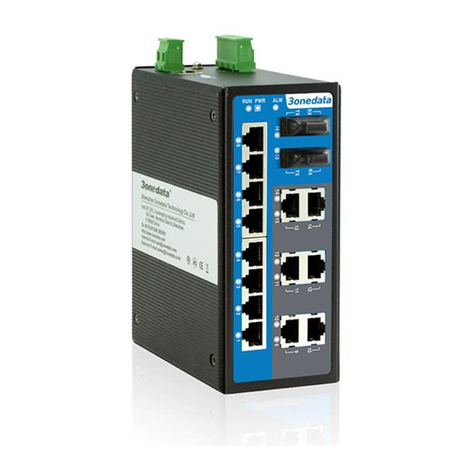
  9. 3One data IES215 Series User manual

3One data IES215 Series User manual

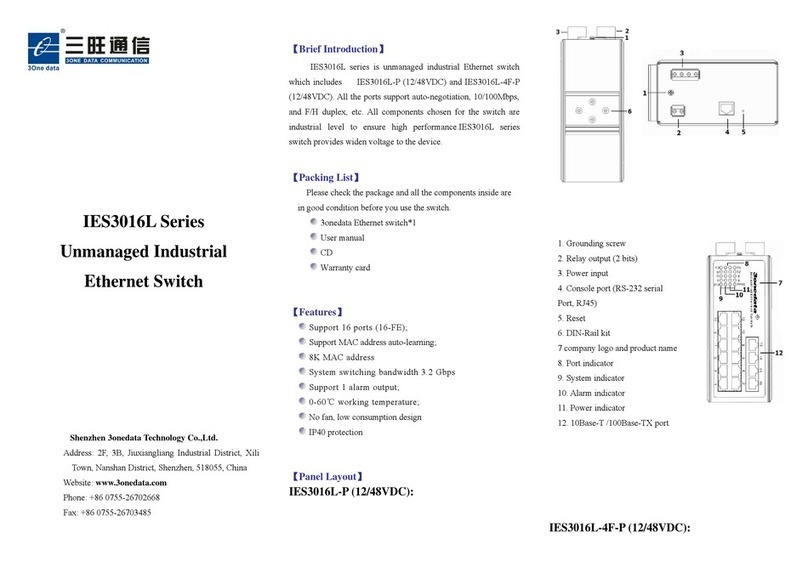
IES215 Series
Unmanaged Industrial Ethernet
Switch
Quick Installation Guide
3onedata Co., Ltd.
Address: 3/B, Zone 1, Baiwangxin High Technology
Industrial Park, Xili, Nanshan District, Shenzhen
Website: www.3onedata.com
Tel: +86 0755-26702688
Fax: +86 0755-26703485
【Package Checklist】
Please check whether the package and accessories are intact
while using the switch for the first time.
1 Industrial Ethernet
switch
2 Quick installation
guide
3 DIN-Rail mounting
attachment
4 Warranty card
5 Certification
If any of these items are damaged or lost, please contact our
company or dealers, we will solve it asap.
【Product Overview】
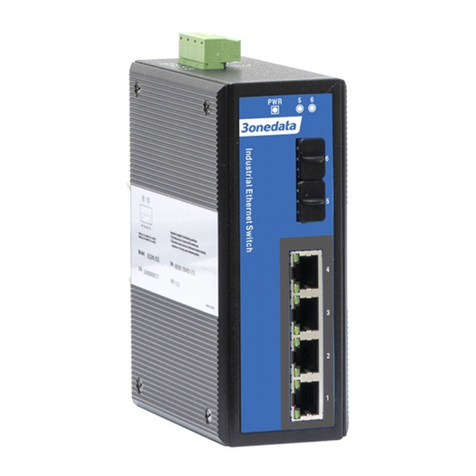
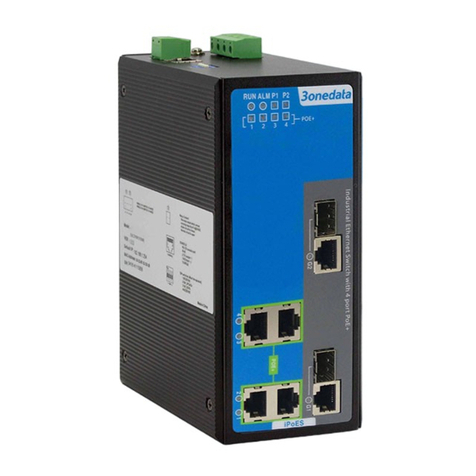
This series are 100M unmanaged DIN-Rail industrial Ethernet
switches. For convenience, the products of this series adopt
the following number on the left in this guide, please affirm the
number of your product.
Model I. IES215-P (12~48VDC) (5 100M copper ports,
12~48VDC power supply input)
Model II. IES215-1F-P (12~48VDC) (4 100M copper ports +
1 100M fiber port, 12~48VDC power supply input)
Model III.IES215-2F-P (12~48VDC) (3 100M copper ports +
2 100M fiber ports, 12~48VDC power supply input)
Model IV.IES215-P (100~240VAC) (5 100M copper ports,
100~240VAC/DC power supply input)
Model V. IES215-1F-P (100~240VAC) (4 100M copper ports
+ 1 100M fiber port, 100~240VAC/DC power supply
input)
Model VI. IES215-2F-P (100~240VAC) (3 100M copper ports
+2 100M fiber ports, 100~240VAC/DC power supply
input)
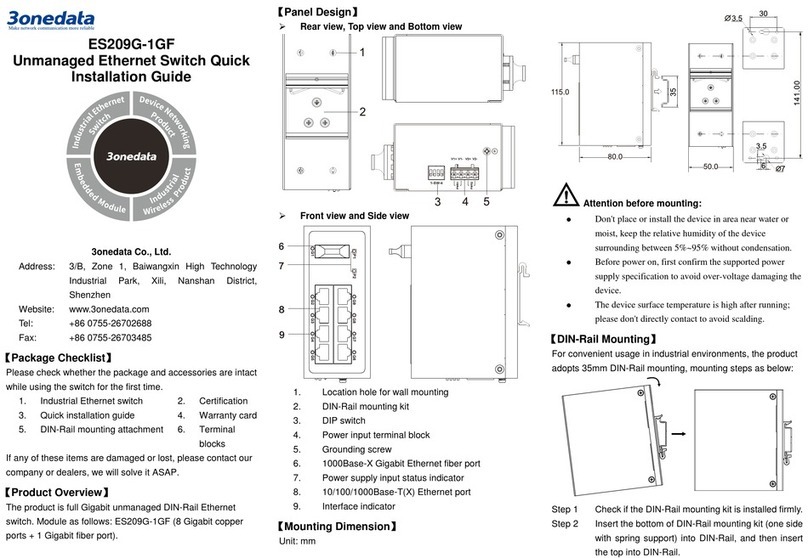
【Panel Design】
Top view, bottom view and rear view
Front view and Side view
Model I, Model IV Model II, Model V Model III ,Model VI
1. Grounding screw
2. Terminal block for power input
3. DIP switch
4. DIN-Rail mounting kit
5. Power input status indicator PWR
6. 10/100Base-T(X) 100M Ethernet copper port
7. 100Base-FX 100M Ethernet fiber port
8. Ethernet port link indicator
【Mounting Dimension】
Unit: mm
Note before mounting:
Don't place or install the device in area near water or
moist, keep the relative humidity of the device
surrounding between 5%~95% without condensation.
Before power on, first confirm the supported power
supply specification to avoid over-voltage damaging the
device.
The device surface temperature is high after running;
please don't directly contact to avoid scalding.
【DIN-Rail Mounting】
The product adopts 35mm standard DIN-Rail mounting which
is suitable for most industrial scenes, mounting steps as
follows:
Step 1 Check if the DIN-Rail mounting kit is installed firmly.
Step 2 Insert the bottom of DIN-Rail mounting kit (one side
with spring support) into DIN-Rail, and then insert
the top into DIN-Rail.
Tips:
Insert a little to the bottom, lift upward and then insert
to the top.
Step 3 Check and confirm the products is firmly installed
on DIN-Rail, then mounting ends.
【Disassembling DIN-Rail】
Step 1 Device power off.
Step 2 After lift the device upward slightly, first shift out the
top of DIN-Rail mounting kit, and then shift out the
bottom of DIN-Rail, disassembling ends.
Note before powering on:
Power ON operation: First insert the power supply
terminal block into the device power supply interface,
and then plug the power supply plug contact and power
on.
Power OFF operation: First, remove the power plug,
and then remove the wiring section of terminal block.
Please pay attention to the above operation sequence.
【Power Supply Connection】
DC power supply
The device provides 3-pin power supply input terminal blocks
and supports 1 DC power supply system which has
non-polarity and anti-reverse connection function, that the
device can work normally after reverse connection. Voltage
range: 12~48VDC.
AC power supply
The device provides 3-pin power supply input terminal blocks,
and supports 1 AC power supply. Power supply range:
100~240VAC/DC.
【DIP Switch Settings】
Provide 4 pins DIP switch for function settings, where "ON" is
enable valid terminal. DIP switches definition as follows:
DIP Definition Operation
1 Flow
control
Set the DIP to ON, copper port
supports IEEE802.1x flow control,
fiber port supports back pressure
flow control.
2 Specified
10M
Set the DIP to ON, copper port rate
would be forced to be in 10M full
duplex mode.
3 Reserved ―
4 Reserved ―
【Checking LED Indicator】
The device provides LED indicators to monitor the device
working status with a comprehensive simplified
troubleshooting; the function of each LED is described in the
table as below:
LED Indicate Description
PWR
ON PWR2 is connected and running
normally
OFF PWR2 is disconnected and
running abnormally
Link/Act
(1-5)
ON
The Ethernet interface has
established an active network
connection.
Blinking The Ethernet interface is in a
network activity state.
OFF Ethernet port has not established
valid network connection
【Specification】
Panel
100M fiber port 100Base-FX, optional
SC/ST/FC
100M copper port 10/100 Base-T(X)
self-adapting RJ45 port, full
duplex or half duplex
self-adapting, support
MDI/MDI-X self-adapting
Indicator Power supply indicator,
interface indicator
Switch Property
Backplane bandwidth 1.6G
Packet buffer size 1Mbit
MAC Address Table 2K
Power supply
Model I, Model II,
Model III
Support non-polar connection
Model IV, Model V,
Model VI
100~240VAC/DC
Access terminal block 4 pins 7.62mm pitch terminal
blocks
Power consumption
Model I No-load: 0.79W@24VDC
Full-load: 2.18W@24VDC
Model II No-load: 2.45W@24VDC
Full-load: 3.48W@24VDC
Model III No-load: 2.40W@24VDC
Full-load: 3.12W@24VDC
Model IV No-load: 0.8W@220VAC
Full-load: 2.4W@220VAC
Model V No-load: 1.6W@220VAC
Full-load: 2.3W@220VAC
Model VI No-load: 2.6W@220VAC
Full-load: 3.7W@220VAC
Working environment
Working temperature -40~75℃
Storage temperature -40~85℃
Working humidity 5%~95% (no condensation)
Protection grade IP40 (metal shell)

This manual suits for next models

6

Other 3One data Switch manuals

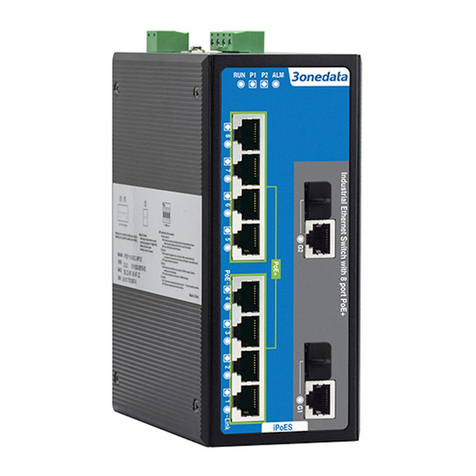
3One data IES6306 Series User manual

3One data

3One data IES6306 Series User manual
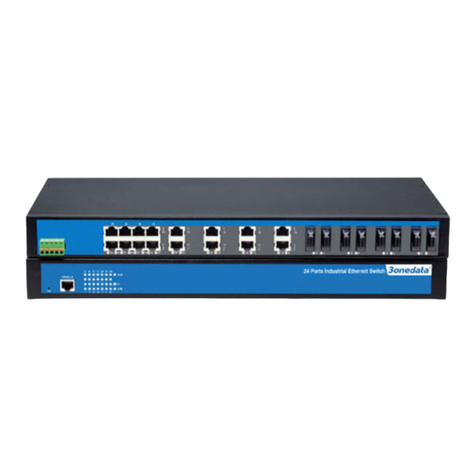
3One data IES1028 Series User manual

3One data

3One data IES1028 Series User manual

3One data IES5028-4GS User manual

3One data

3One data IES5028-4GS User manual

3One data ES1008G-8POE-150W-P User manual

3One data

3One data ES1008G-8POE-150W-P User manual

3One data TNS5800-8GP16GT-P24VDC User manual
3One data

3One data TNS5800-8GP16GT-P24VDC User manual

3One data TNS5800 Series User manual

3One data

3One data TNS5800 Series User manual

3One data IPS7112G-4GS-8GPOE User manual

3One data

3One data IPS7112G-4GS-8GPOE User manual

3One data IES5024 Series User manual

3One data

3One data IES5024 Series User manual

3One data TNS5500D Series User manual

3One data

3One data TNS5500D Series User manual

3One data IES618 Series User manual

3One data

3One data IES618 Series User manual

3One data IES5028-4GS-2F User manual

3One data

3One data IES5028-4GS-2F User manual

3One data ICS5556 Series User manual

3One data

3One data ICS5556 Series User manual

3One data IES215-1GX-4G User manual

3One data

3One data IES215-1GX-4G User manual

3One data IES2005-5T-P48 User manual

3One data

3One data IES2005-5T-P48 User manual

3One data IES7110-2GS Series User manual

3One data

3One data IES7110-2GS Series User manual

3One data ES1024 User manual

3One data

3One data ES1024 User manual

3One data TNS5800 Series User manual

3One data

3One data TNS5800 Series User manual

3One data TNS5800 Series User manual

3One data

3One data TNS5800 Series User manual

3One data ES1026-2F User manual

3One data

3One data ES1026-2F User manual

3One data IES6306 Series User manual

3One data

3One data IES6306 Series User manual
3One data IES6300-8GHP2GS2HS-2P48-360W User manual

3One data

3One data IES6300-8GHP2GS2HS-2P48-360W User manual

3One data TNS5500D Series User manual

3One data

3One data TNS5500D Series User manual

3One data TNS5800D Series User manual

3One data

3One data TNS5800D Series User manual

3One data TNS5800 Series User manual

3One data

3One data TNS5800 Series User manual

Popular Switch manuals by other brands

Velux KLI 110 manual

Velux

Velux KLI 110 manual

Panasonic CATU7000U - AV CTRL AMP operating instructions

Panasonic

Panasonic CATU7000U - AV CTRL AMP operating instructions

Interlogix IFS ANT-PNL-9DB-2G quick start guide

Interlogix

Interlogix IFS ANT-PNL-9DB-2G quick start guide

RGBlink Mini user manual

RGBlink

RGBlink Mini user manual

Extron electronics MEDIALINK MLC 206 Specifications

Extron electronics

Extron electronics MEDIALINK MLC 206 Specifications

Huba Control 620 operating instructions

Huba Control

Huba Control 620 operating instructions

Shelly button1 user guide

Shelly

Shelly button1 user guide

Cisco Catalyst 9300 Series Hardware installation guide

Cisco

Cisco Catalyst 9300 Series Hardware installation guide

Omni Instruments DFS2 instruction manual

Omni Instruments

Omni Instruments DFS2 instruction manual

TRENDnet TK-205K - PS/2 KVM Switch user guide

TRENDnet

TRENDnet TK-205K - PS/2 KVM Switch user guide

M-E CUVEO CT-W2 manual

M-E

M-E CUVEO CT-W2 manual

AVGear AVG-UHS41 DA user manual

AVGear

AVGear AVG-UHS41 DA user manual

KBC ESUL4-FL1 Series quick start guide

KBC

KBC ESUL4-FL1 Series quick start guide

ADS Technologies USBH-604 Specifications

ADS Technologies

ADS Technologies USBH-604 Specifications

Hirschmann PowerMICE user manual

Hirschmann

Hirschmann PowerMICE user manual

Repotec RP-G0401DC user manual

Repotec

Repotec RP-G0401DC user manual

CAMBRIONIX PowerPad15s user manual

CAMBRIONIX

CAMBRIONIX PowerPad15s user manual

Hearth and Home Technologies WSK-MLT Installation and operating instructions

Hearth and Home Technologies

Hearth and Home Technologies WSK-MLT Installation and operating instructions

manuals.online logo
manuals.online logoBrands
  • About & Mission
  • Contact us
  • Privacy Policy
  • Terms and Conditions

Copyright 2025 Manuals.Online. All Rights Reserved.