manuals.online logo
Brands
  1. Home
  2. •
  3. Brands
  4. •
  5. 3One data
  6. •
  7. Switch
  8. •
  9. 3One data IES6300-8GHP2GS2HS-2P48-360W User manual

3One data IES6300-8GHP2GS2HS-2P48-360W User manual

IES6300-8GHP2GS2HS-2P48-360W
Managed Industrial PoE++ Ethernet
Switch
Quick Installation Guide
3onedata Co., Ltd.
Address: 3/B, Zone 1, Baiwangxin High Technology
Industrial Park, Xili, Nanshan District,
Shenzhen
Website: www.3onedata.com
Tel: +86 0755-26702688
Fax: +86 0755-26703485
【Package Checklist】
Please check the integrity of package and accessories while
first using the switch.
1.
Industrial Ethernet switch
2.
Quick Installation Guide
3.
CD
4.
DIN-Rail mounting attachment
5.
Certification
6.
Warranty card
If any of these items are damaged or lost, please contact our
company or dealers, we will solve it ASAP.
【Product Overview】
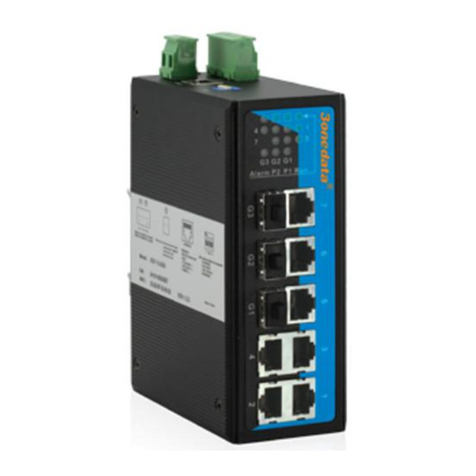
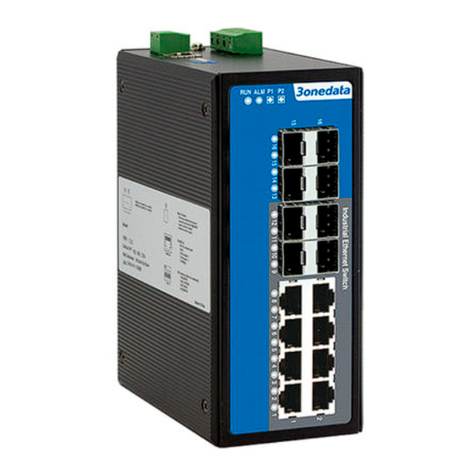
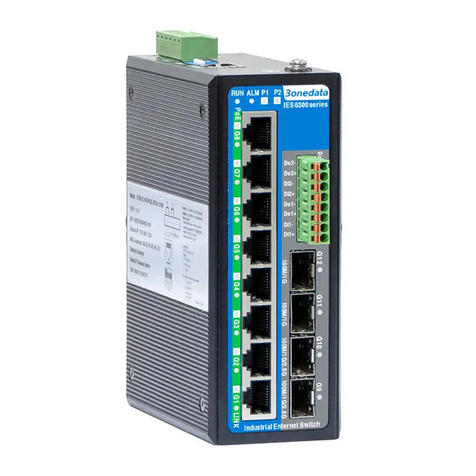
This product is Gigabit managed DIN-Rail industrial PoE++
Ethernet switch. The model is
IES6300-8GHP2GS2HS-2P48-360W (8 Gigabit PoE + 2
100M/1G SFP + 2 100M/1G/2.5G SFP + 2 DI + 2 DO,
50~55VDC redundant power input, 360W PoE++ power
output).
【Panel Design】
Top view, bottom view and rear view
Main view and right view
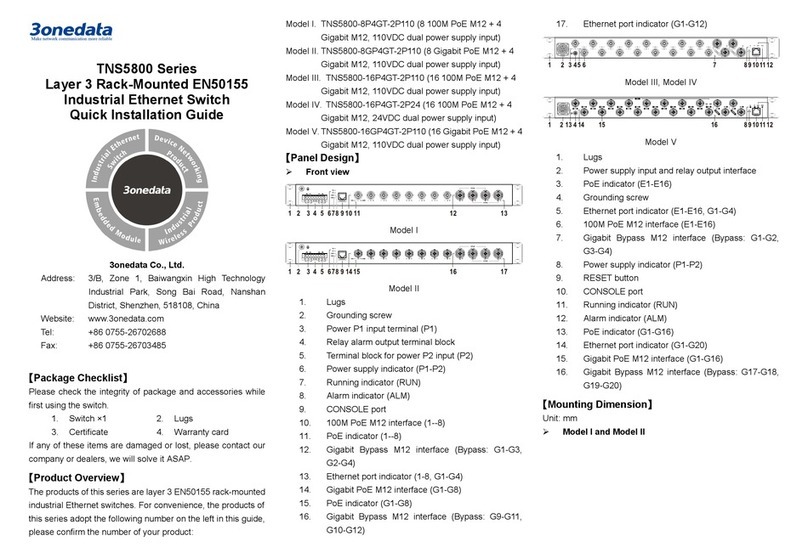
1. Input terminal blocks for Power Supply P1
2. Input terminal blocks for Power Supply P2
3. Relay alarm output terminal block
4. DIP switch
5. Console port
6. Grounding screw
7. DIN-Rail mounting kit
8. Power supply indicator (P1-P2)
9. Running indicator (RUN)
10. Alarm indicator (ALM)
11. I/O input and output interfaces (DI1-DI2, DO1-DO2)
12. I/O indicator (DI1-DI2, DO1-DO2)
13. 100/1000Base-X SFP slot (G11-G12)
14. 100/1000/2.5GBase-X, SFP slot(G9-G10)
15. PoE indicator (G1-G8)
16. 10/100/1000Base-T(X) Gigabit PoE copper port
(G1-G8)
17. Ethernet port indicator (G1-G12)
【Mounting Dimension】
Unit: mm
Notice Before Mounting:
Don't place or install the device in area near water or
moist, keep the relative humidity of the device
surrounding between 5%~95% without condensation.
Before power on, first confirm the supported power
supply specification to avoid over-voltage damaging the
device.
The device surface temperature is high after running;
please don't directly contact to avoid scalding.
【DIN-Rail Mounting】
The product adopts 35mm standard DIN-Rail mounting which
is suitable for most industrial scenes, mounting steps as
follows:
Check if the DIN-Rail mounting kit is installed firmly.
Clip the upper part of the DIN-Rail mounting kit, i.e.
the fixed side, into the DIN rail.
Press the lower side of the device and insert the
lower part of DIN-Rail mounting kit (the side with
spring support) into DIN-Rail.
Tips:
The DIN-Rail spring support is a metal sheet that can
move up and down, and there will be a sound after it is
clamped in.
Check and confirm the product is firmly installed on
DIN rail, then mounting ends.
【Disassembling DIN-Rail】
Power off device.
Use a slot type screwdriver or other tools to move
the DIN rail spring support downward; At the same
time, move the lower side of the device outward
and move out the lower part of the DIN rail
mounting kit.
Lift the device upward slightly, move out the upper
part of DIN-Rail mounting kit. Disassembling ends.
Notice before power on:
Power ON operation: First insert the power supply
terminal block into the device power supply interface,
then plug the power supply plug contact and power on.
Power OFF operation: First, remove the power plug,
then remove the wiring section of terminal block. Please
pay attention to the above operation sequence.
【Power Supply Connection】
The device provides 6-pin 5.08mm pitch
power supply terminal blocks and power
supply occupies the left 4 pins. It supports
two independent DC power supply
systems, P1 and P2. The series of device
supports redundant power supply, two power supply can work
at the same time. The device will still run non-stop when one
power supply fails. Power supply supports anti-reverse
connection, which protect the device from damage but the
device cannot be powered on. The definitions of power pin are
shown in the figure above, and the power input range is
50~55VDC.
Note:
If the POE port uses IEEE802.3bt PoE++ standard, the
device power input range must be 50~55VDC;
If the POE port uses IEEE802.3af/at PoE/PoE+ standard,
the device power input range is 48~55VDC.
【Relay Connection】
This device provides 6-pin 5.08mm pitch
terminal blocks, relay occupies the right 2
pins. Relay terminals are a set of normally
open contacts of the device alarm relay.
They are open circuit in the state of
normal non alarm, closed when any alarm information occurs.
For example, they are closed when powered off, and send out
alarm. The switch supports 1 relay alarm information output
that can output power supply alarm or network abnormality
alarm. It can be connected to alarm light or alarm buzzer or
other switching value collecting devices, which can timely
inform operators when the alarm occurs.
【DIP Switch Settings】
The device provides 4-pin DIP switch for function
setting, in which “ON” is the enabled end. The
definitions of DIP switch are as follows:
DIP
Definition
Operation
1 Restore Factory
Settings
Set the DIP switch to ON, the
device will root automatically
and restore to factory settings,
then turn off the DIP switch.
2-4
Reserved
—
【I/O Port Connection】
This device provides 8-pin 3.81mm
pitch terminal blocks and 2 DI and 2
DO. This device can detect and
send I/O input status to management software, operators can
set the conditions of alarm status via management software.
When the I/O input status meets the set alarm conditions, the
I/O output alarm would be triggered. The pin definitions of I/ O
port are shown as follows:
I/O Port
PIN
Definition
DI digital signal input 1
DI1+, DI1-
I/O signal
input
DI digital signal input 2
DI2+, DI2-
DO digital signal output 1
DO1+, DO1-
I/O relay
output
DO digital signal output 2
DO2+, DO2-
【Console Port Connection】
The device provides 1 program debugging port
based on RS-232 serial port which can conduct
device CLI command management after
connecting to PC. The interface adopts RJ45 port, the RJ45
pin definition as follows:
Pin No.
2
3
5
Definition
TXD
RXD
GND
【Checking LED Indicator】
The device provides LED indicators to monitor its operating
status, which has simplified the overall troubleshooting
process. The function of each LED is described in the table
below:
LED
Indicate
Description
P1-P2
ON
Power supply is running normally
OFF
Power supply is disconnected or
running abnormally
RUN
ON
Device is not started or abnormal
Blinking Blinking 1 time per second, system
is running normally
OFF The device is powered off or the
device is abnormal.
ALM
ON
Power supply or port link has alarm
OFF Power supply and port link have no
alarm
LINK
(G1-G12)
ON
Ethernet port has established a
valid network connection
Blinking
Ethernet port is in an active
network status
OFF Ethernet port has not established
valid network connection
PoE
(G1-G8)
ON
POE port is powering other PD
devices normally
OFF
POE is disabled or disconnected
DI
(1-2)
ON
I/O has input information
OFF
I/O has no input information
DO
(1-2)
ON I/O has output alarm information,
and it’s status is on.
OFF
I/O has no output alarm
information, and it’s status is off.
【Logging in to WEB Interface】
This device supports WEB management and configuration.
Computer can access the device via Ethernet interface. The
way of logging in to device’s configuration interface via IE
browser is shown as below:
Configure the IP addresses of computer and the
device to the same network segment, and the
network between them can be mutually accessed
Enter device’s IP address in the address bar of the
computer browser.
Enter device’s username and password in the login
window as shown below.
Click the “login” button. Change the initial password
when logging into the device for the first time, after
that, relog into the device to access the device's
Web interface.
Note:
The default IP address of the device is “192.168.1.254”.
The default user name and password of the device are
“admin”.
When logging in to the device for the first time, the
system will prompt to change the initial password of the
default user; The length of the new password string
must be greater than or equal to 8 and be composed of
two or more kinds of uppercase letters, lowercase letters,
numbers and special characters.
If the user name or password is lost, the factory settings
can be restored through the DIP switch or management
software of the device; Or make a physical loopback
between Port 1 and Port 2 within the first minute when
the switch restarts.
Please refer to user manual for specific configuration
method of logging in to WEB interface and other
configurations about network management function.
【Specification】
Panel
Gigabit PoE++ port 10/100/1000Base-T(X)
self-adaption, RJ45, Full/Half
Duplex, MDI/ MDI-X
self-adaption. The single port
supports 15.4W PoE output
power of IEEE802.3af standard
and 30W PoE+ output power of
IEEE802.3at standard, power
supply pin: 1/2-, 3/6+; 90W
PoE++ output power of
IEEE802.3bt standard, power
supply pin: 1/2-, 3/6+, 4/5-, 7/8+
Gigabit SFP slot 100/1000Base-X self-adaption
or forced mode, SFP slot
2.5G SFP slot 100/1000/2.5GBase-X
self-adaption or forced mode,
SFP slot
I/O port Support 2 inputs and 2 outputs,
8-pin 3.81mm pitch terminal
blocks, support dry contact input
and relay-type output
Console port CLI command management
port (RS-232), RJ45
Alarm interface 6-
pin 5.08mm pitch terminal
blocks, the alarm occupies 2
pins, support 1 relay alarm
information output, the current
load capacity is 1A@30VDC or
0 3A@125VAC
Indicator
Running indicator, alarm
indicator, power supply
indicator, interface indicator,
PoE indicator, I/O output
indicator, I/O input indicator
Switch Property
Backplane bandwidth
30G
Packet buffer size
4Mbit
MAC Address Table
8K
Power Supply
Input power supply
50~55VDC redundant power
supply
Support anti-reverse connection
and 7.5A overcurrent protection
Access terminal block 6-
pin 5.08mm pitch terminal
blocks (power supply occupies
4 pins)
Power Consumption
No-load
≤5.5W@50VDC
Full-load ≤ 380W@50VDC (with 360W
PoE Load)
Working Environment
Working temperature
-40~75℃
Storage temperature
-40~85℃
Working humidity
5%
~
95% (no condensation)
Protection grade
IP40 (metal shell)

Other 3One data Switch manuals

3One data IES2210 Series User manual

3One data

3One data IES2210 Series User manual

3One data IES3000 Series User manual

3One data

3One data IES3000 Series User manual

3One data TNS5500D Series User manual

3One data

3One data TNS5500D Series User manual

3One data PS5010G-2GS-8PoE User manual

3One data

3One data PS5010G-2GS-8PoE User manual

3One data ICS5428 Series User manual

3One data

3One data ICS5428 Series User manual

3One data IPS215-4POE User manual

3One data

3One data IPS215-4POE User manual

3One data IES6300 Series User manual

3One data

3One data IES6300 Series User manual

3One data TNS5800 Series User manual

3One data

3One data TNS5800 Series User manual

3One data IES6300 Series User manual

3One data

3One data IES6300 Series User manual

3One data IPS7112G-4GS-8GPOE User manual

3One data

3One data IPS7112G-4GS-8GPOE User manual

3One data IES2010 Series User manual

3One data

3One data IES2010 Series User manual

3One data TNS5800 Series User manual

3One data

3One data TNS5800 Series User manual

3One data IPS716-2GC-4POE User manual

3One data

3One data IPS716-2GC-4POE User manual

3One data IES5028 Series User manual

3One data

3One data IES5028 Series User manual

3One data IES206G-2GS User manual

3One data

3One data IES206G-2GS User manual

3One data IES5028G-4GS-8GC User manual

3One data

3One data IES5028G-4GS-8GC User manual

3One data IES618 Series User manual

3One data

3One data IES618 Series User manual

3One data PS5026G-2GS-24PoE Operating and maintenance instructions

3One data

3One data PS5026G-2GS-24PoE Operating and maintenance instructions

3One data IPS7110-2GC-4POE Series User manual

3One data

3One data IPS7110-2GC-4POE Series User manual

3One data TNS5000D Series User manual

3One data

3One data TNS5000D Series User manual

3One data IES3012G Series User manual

3One data

3One data IES3012G Series User manual

3One data IPS7112G-4GS-8GPOE User manual

3One data

3One data IPS7112G-4GS-8GPOE User manual

3One data IES5024-P User manual

3One data

3One data IES5024-P User manual

3One data IPS7112G-4GS-8GPOE User manual

3One data

3One data IPS7112G-4GS-8GPOE User manual

Popular Switch manuals by other brands

Keithley S46L Series installation guide

Keithley

Keithley S46L Series installation guide

Cabletron Systems ESX-1320 installation guide

Cabletron Systems

Cabletron Systems ESX-1320 installation guide

Sonoff ZBMINI user manual

Sonoff

Sonoff ZBMINI user manual

Phoenix Contact 1001T-4POE Installation notes for electricians

Phoenix Contact

Phoenix Contact 1001T-4POE Installation notes for electricians

Bosch VSS7390/01T installation instructions

Bosch

Bosch VSS7390/01T installation instructions

HDTV Supply HDTVHDS941A Operation manual

HDTV Supply

HDTV Supply HDTVHDS941A Operation manual

HP HP 5120 series Configuration guide

HP

HP HP 5120 series Configuration guide

Lindy 32351 manual

Lindy

Lindy 32351 manual

Allied Telesis x550 Series installation guide

Allied Telesis

Allied Telesis x550 Series installation guide

Cisco IE 3000 Hardware installation guide

Cisco

Cisco IE 3000 Hardware installation guide

gofanco KVMHD2-4P user guide

gofanco

gofanco KVMHD2-4P user guide

Encore ENHGS-800 datasheet

Encore

Encore ENHGS-800 datasheet

Pulsar SFG10F8 manual

Pulsar

Pulsar SFG10F8 manual

Crestron Green Light DIN-HUB Operations & installation guide

Crestron

Crestron Green Light DIN-HUB Operations & installation guide

Racepak 500-SW-PNL8 manual

Racepak

Racepak 500-SW-PNL8 manual

Qlogic SANbox 5800V Series user guide

Qlogic

Qlogic SANbox 5800V Series user guide

Xantech RS41AV installation instructions

Xantech

Xantech RS41AV installation instructions

QUBINO LUXY smart light user manual

QUBINO

QUBINO LUXY smart light user manual

manuals.online logo
manuals.online logoBrands
  • About & Mission
  • Contact us
  • Privacy Policy
  • Terms and Conditions

Copyright 2025 Manuals.Online. All Rights Reserved.