manuals.online logo
Brands
  1. Home
  2. •
  3. Brands
  4. •
  5. ACME
  6. •
  7. Lighting Equipment
  8. •
  9. ACME LED-PS10 User manual

ACME LED-PS10 User manual

7-
Innovation, Quality, Performance
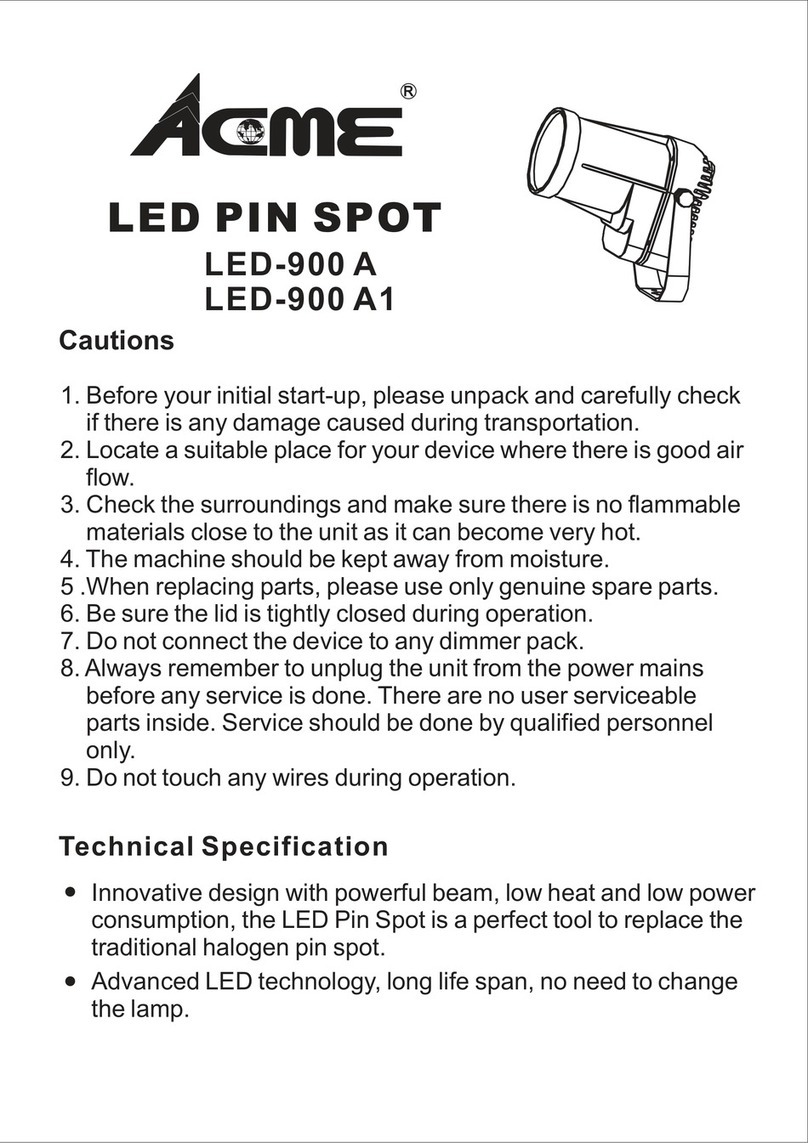
10W LED PINSPOT
LED-PS10
User Manual
Professional Entertainment Technology
1-
6-
6. Fixture Cleaning
The cleaning of internal and external optical lenses and/or mirrors must be carried out
periodically to optimize light output. Cleaning frequency depends on the environment in
which the fixture operates: damp, smoky or particularly dirty surrounding can cause greater
accumulation of dirt on the unit’s optics.
yClean with soft cloth using normal glass cleaning fluid.
yAlways dry the parts carefully.
yClean the external optics at least every 20 days. Clean the internal optics at least every
30/60 days.
5-
4. Control Panel
○
1Mains input: Connect to power supply.
○
2 Fuse: Protect the unit from damage of current.
○
3 Hanging bracket: Fix mounting hook.
○
4Heat sink for the LED: do not cover this part to ensure proper cooling.
○
5Optical lens: Turn the lens to change the focus and obtain sharp gobos.
5. Troubleshooting
Following are a few common problems that may occur during operation. Here are some
suggestions for easy troubleshooting:
A. The fixture does not work, no light
1. Check the connection of power and main fuse.
2. Measure the mains voltage on the main connector.
B. No response to the sound
1. Make sure the fixture does not receive DMX signal.
2. Check microphone to see if it is good by tapping the microphone.
2-
TABLE OF CONTENTS
1. Safety Instruction
2. Technical Specification
3. Installation
4. Control Panel
5. Trouble Shooting
6. Fixture Cleaning
3-
1. Safety Instruction
WARNING
yPlease keep this User Manual for future consultation. If you sell the unit to another user,
be sure that they also receive this instruction booklet.
yUnpack and check carefully there is no transportation damage before using the unit.
yBefore operating, ensure that the voltage and frequency of power supply match the
power requirements of the unit.
yIt’s important to ground the yellow/green conductor to earth in order to avoid electric
shock.
yThe unit is for indoor use only and use only in a dry location.
yThe unit must be installed in a location with adequate ventilation, at least 50cm from
adjacent surfaces. Be sure that no ventilation slots are blocked.
yDisconnect mains power before fuse replacement or servicing.
yReplace fuse only with the same type.
yMake sure there are not flammable materials close to the unit while operating as it is fire
hazard.
yUse safety cable when fixes this unit.
yMaximum ambient temperature is TA: 40℃and don’t operate it where the temperature
is higher than this.
yUnit surface temperature may reach up to 60℃. Don’t touch the housing bare-hand
during its operation.
yThere are no user serviceable parts inside the fixture. Do not open the housing or
attempt any repairs by yourself. In the unlikely event your fixture may require service,
please contact the nearest authorized technical assistance center and always use the
same type spare parts. .
yDon’t connect the device to any dimmer pack or power pack.
yDo not look directly at the LED light beam while the fixture is on.
yThe housing must be replaced if they are visibly damaged.
yDo not touch any wire during operation as high voltage might be causing electric shock.
Please read the instruction carefully which including important
information about the installation, operation and maintenance.
4-
2. Technical Specification
yInnovative design with powerful beam, it is ideal for replacing the traditional halogen pin
spot. Not heat, whiter and brighter;
yDifferent beam angles for different applications, 9°for Mirror Ball and 13°for big mirror
ball or as a table light;
yLow power consumption, no duty cycle, runs all night
yIdeal for clubs, bars, discos, parties, mobile DJs, etc..
yVoltage: AC 120-240V~50/60Hz
yLED: 1 x 10W White LED
yPower Consumption: 8.2 W
yDimension: 118 x 136 x 92 mm
yWeight: 1 kg
3. Installation
The unit should be mounted via its screw holes on the bracket. Always ensure that the unit is
firmly fixed to avoid vibration and slipping while operating. Always ensure that the structure
to which you are attaching the unit is secure and is able to support a weight of 10 times of
the unit’s weight. Also always use a safety cable that can hold 12 times of the weight of the
unit when installing the fixture.
The equipment must be fixed by professionals. And it must be fixed at a place where is out
of the touch of people and has no one pass by or under it.
Other ACME Lighting Equipment manuals

ACME V Inground VI-10QW User manual

ACME

ACME V Inground VI-10QW User manual

ACME Stage Par 220MP-220 User manual

ACME

ACME Stage Par 220MP-220 User manual

ACME LED STROBE 50 User manual

ACME

ACME LED STROBE 50 User manual

ACME LED-PS10 User manual

ACME

ACME LED-PS10 User manual

ACME Xperior 700SZ Spot User manual

ACME

ACME Xperior 700SZ Spot User manual

ACME Diabolo User manual

ACME

ACME Diabolo User manual

ACME RAYZOR HYBRID User manual

ACME

ACME RAYZOR HYBRID User manual

ACME Ozone 3 User manual

ACME

ACME Ozone 3 User manual

ACME SAMURAI SCAN 50 User manual

ACME

ACME SAMURAI SCAN 50 User manual

ACME LED-212RGB User manual

ACME

ACME LED-212RGB User manual

ACME LED-245/2 User manual

ACME

ACME LED-245/2 User manual

ACME Dragon Scan 50 LED-SC50B User manual

ACME

ACME Dragon Scan 50 LED-SC50B User manual

ACME GEIST BSWF User manual

ACME

ACME GEIST BSWF User manual

ACME BRIGHT User manual

ACME

ACME BRIGHT User manual

ACME LP-F1000 CW User manual

ACME

ACME LP-F1000 CW User manual

ACME XP-5000SZ F User manual

ACME

ACME XP-5000SZ F User manual

ACME Libre User manual

ACME

ACME Libre User manual

ACME Oxygen User manual

ACME

ACME Oxygen User manual

ACME Whack User manual

ACME

ACME Whack User manual

ACME VOGUE User manual

ACME

ACME VOGUE User manual

ACME STORM User manual

ACME

ACME STORM User manual

ACME Splendor 220 II User manual

ACME

ACME Splendor 220 II User manual

ACME CM-150 PAGEANT 150 User manual

ACME

ACME CM-150 PAGEANT 150 User manual

ACME LED-WAV-10W User manual

ACME

ACME LED-WAV-10W User manual

Popular Lighting Equipment manuals by other brands

Marmitek LM15 user manual

Marmitek

Marmitek LM15 user manual

Wetelux Tiffany instruction manual

Wetelux

Wetelux Tiffany instruction manual

Leviton 9866-B0W quick start guide

Leviton

Leviton 9866-B0W quick start guide

Lupine BLIKA manual

Lupine

Lupine BLIKA manual

Code 3 21 Series Installation and operation instructions

Code 3

Code 3 21 Series Installation and operation instructions

Barco FLX-60 installation manual

Barco

Barco FLX-60 installation manual

Klus MOD-TEK-100 Mounting instructions

Klus

Klus MOD-TEK-100 Mounting instructions

Luminaire led CMP Series installation guide

Luminaire led

Luminaire led CMP Series installation guide

Vega Industries PEl 6 Installation and instruction manual

Vega Industries

Vega Industries PEl 6 Installation and instruction manual

Ignition Airbase 850 MK2 user manual

Ignition

Ignition Airbase 850 MK2 user manual

IKEA ADELLOVSKOG manual

IKEA

IKEA ADELLOVSKOG manual

Dermalogic MSI-128 manual

Dermalogic

Dermalogic MSI-128 manual

COMPLED Solutions GmbH HashCropter user manual

COMPLED Solutions GmbH

COMPLED Solutions GmbH HashCropter user manual

thomann HL-x18 CW/WW user manual

thomann

thomann HL-x18 CW/WW user manual

Lightolier EC1-11 specification

Lightolier

Lightolier EC1-11 specification

Secom NOTTEC 30W Mounting instructions

Secom

Secom NOTTEC 30W Mounting instructions

Beamever LINIO NEON 1615 TV RGB installation instructions

Beamever

Beamever LINIO NEON 1615 TV RGB installation instructions

GES UC1034-BR2-12LF0-E quick start guide

GES

GES UC1034-BR2-12LF0-E quick start guide

manuals.online logo
manuals.online logoBrands
  • About & Mission
  • Contact us
  • Privacy Policy
  • Terms and Conditions

Copyright 2025 Manuals.Online. All Rights Reserved.