manuals.online logo
Brands
  1. Home
  2. •
  3. Brands
  4. •
  5. Allsteel
  6. •
  7. Indoor Furnishing
  8. •
  9. Allsteel Trooper User manual

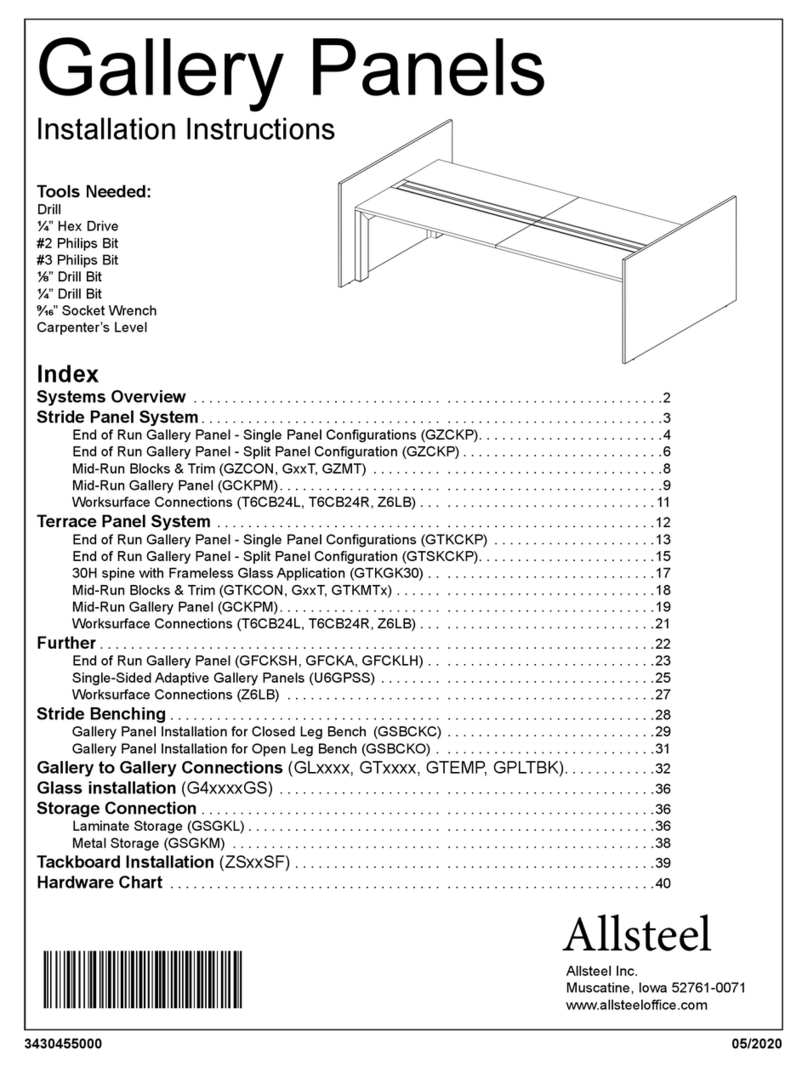
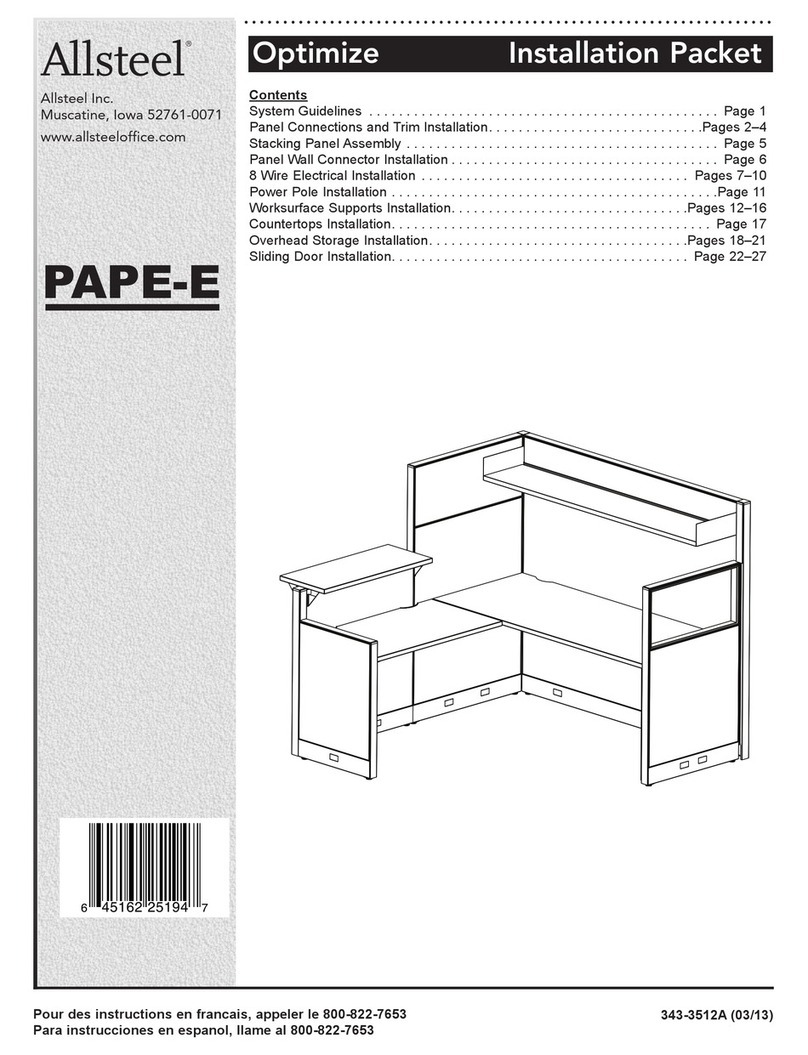
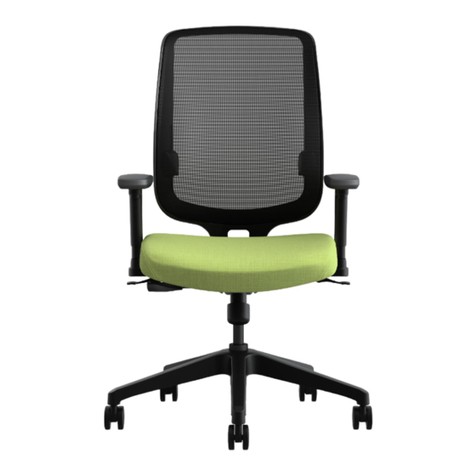
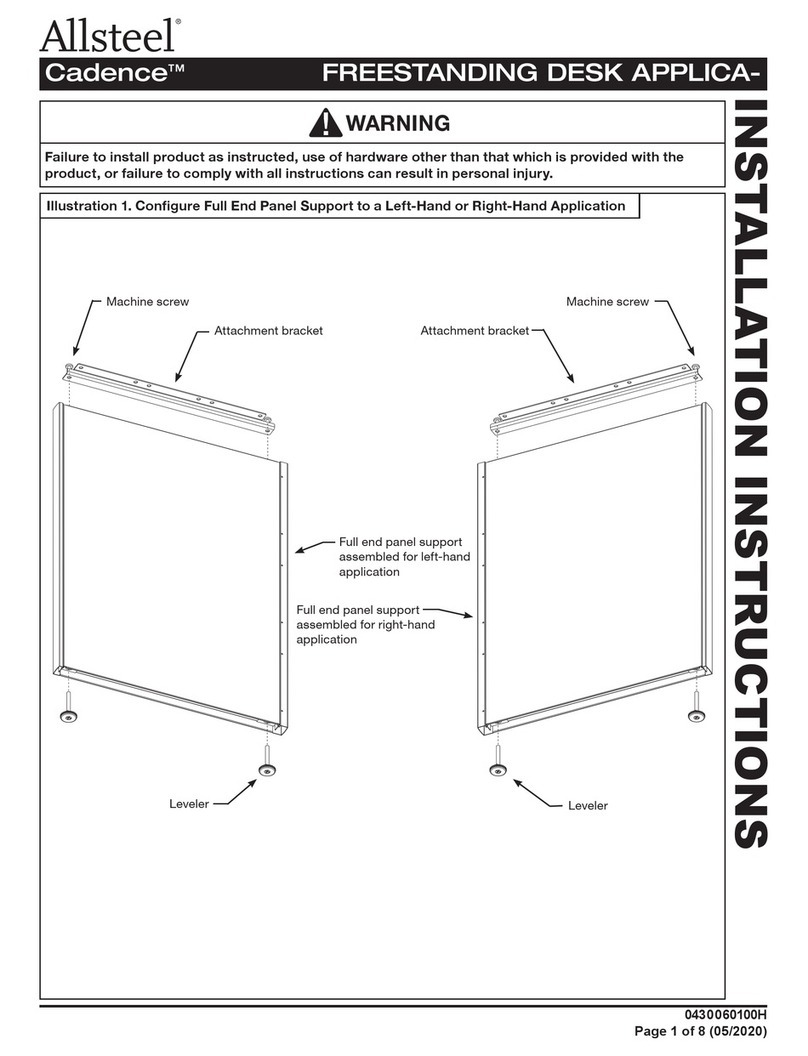
Allsteel Trooper User manual

User information:
Installers do not remove.
Per od cally nspect mechan sms for loose, broken, or
m ss ng parts. If any m ss ng parts or loose or broken
mechan sms are found, remove the cha r from use unt l
repa rs are made us ng factory author zed parts.
F nd out more about Allsteel products at Allsteeloffice.com.
Product m ts or xc ds
ANSI/BIFMA p rformanc
standards for busin ss
and institutional furnitur ,
and is back d by th
Allst l Lif tim Warranty.
©2009 Allst l Inc.
Allst l and Troop r ar r gist r d
trad marks and D sign d to work.
Built to last is a trad mark.
Allst l Inc.
Muscatin , Iowa 52761-5257
llsteeloffice.com
Part #442-9771B Print d in U.S.A.
SEATING INSTRUCTIONS
Trooper®
SEATING INSTRUCTIONS
Trooper Asynchronous Control
Arm He ght
Adjustment
8
Arm W dth
Adjustment
9
Back Angle
Adjustment
7
Seat He ght
Adjustment
T lt Tens on
Adjustment
1Seat Angle
Adjustment
3Forward T lt
Adjustment
4
5
Seat Depth
Adjustment
2
Back He ght
Adjustment
6
1. Se t Height Adjustment — Enables the seat to adjust to the preferred he ght.
To ra se the seat, l ft your we ght off the seat and pull up on the lever; release lever when seat reaches des red he ght.
To lower the seat, l ft up on the lever wh le you are seated; release lever when seat reaches des red he ght.
2. Se t Depth Adjustment — The depth of your seat adjusts to accommodate d fferent leg lengths.
To change the seat depth, l ft and hold the lever as you push the seat forward or backward.
Release the lever to lock seat n place.
3. Se t Angle Adjustment — Allows user to ndependently pos t on and lock the seat angle relat ve to the floor.
Push the lever down to unlock and free float.
Adjust to preferred angle and pull the lever up to lock nto pos t on.
4. Forw rd Tilt Adjustment — To ut l ze, the Seat Angle Adjustment lever must be n the down (free float) pos t on.
To obta n a forward seat angle, lean back sl ghtly and rotate r ght front lever clockw se.
To obta n a neutral seat angle, lean back sl ghtly and rotate r ght front lever counterclockw se.
5. Tilt Tension Adjustment — Increases or decreases the amount of effort needed to recl ne n the cha r.
Turn the knob counterclockw se to decrease the amount of tens on requ red to t lt the cha r back.
Turn the knob clockw se to ncrease the amount of tens on requ red to t lt the cha r back.
6. B ck Height Adjustment — Prov des custom lumbar support.
From a seated or stand ng pos t on, l ft up on the back to adjust the back he ght to one of f ve preset pos t ons.
L ft the back to ts max mum he ght n order to release the nternal back he ght mechan sm and return the back to the lowest pos t on.
7. B ck Angle Adjustment — Adjusts the angle of the back relat ve to the seat.
To adjust, l ft lever up and adjust the back to the preferred pos t on.
Release lever to lock nto place.
8. Arm Height Adjustment — Enables arms to adjust to your body s ze and personal preference.
L ft up on lever, and adjust arm he ght to des red pos t on.
Release lever to lock arm nto place.
9. Arm Width Adjustment — Enables arm to adjust to your body s ze and personal preference.
Turn knob counterclockw se to loosen.
Adjust arm n or out to des red w dth.
Turn knob clockw se to t ghten.
SEATING INSTRUCTIONS
Trooper Synchro-Tilt Control
SEATING INSTRUCTIONS
Trooper Mid-R nge Knee Tilt Control
1. Se t Height Adjustment — Enables the seat to adjust to
the preferred he ght.
To ra se the seat, l ft your we ght off the seat and pull up on
the lever; release lever when seat reaches des red he ght.
To lower the seat, l ft up on the lever wh le you are seated;
release lever when seat reaches des red he ght.
2. Tilt Lock — Locks the cha r n an upr ght pos t on for full
task support.
Push the lever n wh le the seat and back are upr ght to lock
nto upr ght work pos t on.
Pull lever out to unlock and free float.
3. Tilt Tension Adjustment — Increases or decreases the
amount of effort needed to recl ne n the cha r.
Turn the knob counterclockw se to decrease the amount of
tens on requ red to t lt the cha r back.
Turn the knob clockw se to ncrease the amount of tens on
requ red to t lt the cha r back.
4. B ck Height Adjustment — Prov des custom lumbar support.
From a seated or stand ng pos t on, l ft up on the back to
adjust the back he ght to one of f ve preset pos t ons.
L ft the back to ts max mum he ght n order to release the
nternal back he ght mechan sm and return the back to the
lowest pos t on.
5. Arm Height Adjustment — Enables arms to adjust to
your body s ze and personal preference.
L ft up on lever, and adjust arm he ght to des red pos t on.
Release lever to lock arm nto place.
6. Arm Width Adjustment — Enables arms to adjust to
your body s ze and personal preference.
Turn knob counterclockw se to loosen.
Adjust arm n or out to des red w dth.
Turn knob clockw se to t ghten.
Arm He ght
Adjustment
5
T lt Tens on
Adjustment
3
Back He ght
Adjustment
4
Arm W dth
Adjustment
6
Seat He ght
Adjustment
1
T lt Lock 2
1. Se t Height Adjustment — To ra se seat, l ft your we ght
off the seat and pull up on the lever; release lever when your
seat reaches des red he ght.
To lower the seat, l ft up on the lever wh le you are seated;
release lever when your seat reaches des red he ght.
2. Tilt Lock — Wh le lean ng forward, pull the telescop ng
knob out and turn counter clockw se to lock t lt pos t on, lean
back to act vate.
Turn the knob clockw se and lean back to unlock.
3. Tilt Tension Adjustment — Pull telescop ng knob out
and turn clockw se to ncrease tens on, counter clockw se to
reduce tens on.
4. B ck Height Adjustment — L ft up on the back to adjust
the he ght to one of f ve preset pos t ons.
L ft the back to ts max mum he ght n order to release the
nternal back he ght mechan sm and return the back to the
lowest pos t on.
5. Arm Height Adjustment — To adjust he ght, l ft up on
the arm tr gger.
Release tr gger to lock the arm nto des red placement.
6. Arm Width Adjustment — To adjust w dth, turn knob
under seat clockw se to loosen. Adjust arm to des red w dth,
then turn knob counter clockw se to lock pos t on. Repeat
w th other arm.
7. Se t Depth Adjustment — To change seat depth, l ft and
hold the lever as you push the seat forward and backward.
Release the lever to lock seat n place.
Back He ght
Adjustment
4
Arm He ght
Adjustment
5
Arm W dth
Adjustment
6
T lt Tens on
Adjustment
3
Seat He ght
Adjustment
1
Seat Depth
Adjustment
7
T lt Lock
2
SEATING INSTRUCTIONS
Trooper Work Stool
1. Se t Height Adjustment — Enables the seat to adjust to
the preferred he ght.
To ra se the seat, l ft your we ght off the seat and pull up on
the lever; release lever when seat reaches des red he ght.
To lower the seat, l ft up on the lever wh le you are seated;
release lever when seat reaches des red he ght.
2. B ck Height Adjustment — Prov des custom lumbar support.
From a seated or stand ng pos t on, l ft up on the back to adjust
the back he ght to one of f ve preset pos t ons.
L ft the back to ts max mum he ght n order to release the
nternal back he ght mechan sm and return the back to the
lowest pos t on.
3. Arm Height Adjustment — Enables arms to adjust to your
body s ze and personal preference.
L ft up on lever, and adjust arm he ght to des red pos t on.
Release lever to lock arm nto place.
4. Arm Width Adjustment — Enables arms to adjust to
your body s ze and personal preference.
Turn knob counterclockw se to loosen.
Adjust arm n or out to des red w dth.
Turn knob clockw se to t ghten.
5. Footring Height Adjustment — Ensures comfortable pos t on
for feet and legs, regardless of cha r pos t on or user he ght.
Turn knob counterclockw se to loosen.
Move footr ng to des red he ght, mak ng sure that the thread on
the adjustment knob s seated nto one of e ght reta n ng slots.
Turn knob clockw se to t ghten.
Back He ght
Adjustment
2
Footr ng He ght
Adjustment
5
Arm He ght
Adjustment
3
Arm W dth
Adjustment
4
Seat He ght
Adjustment
1
SEATING INSTRUCTIONS
Trooper L rge nd T ll
1. Se t Height Adjustment — Enables the seat to adjust to
the preferred he ght.
To ra se the seat, l ft your we ght off the seat and pull up on
the lever; release lever when seat reaches des red he ght.
To lower the seat, l ft up on the lever wh le you are seated;
release lever when seat reaches des red he ght.
2. Tilt Lock — Locks the cha r n an upr ght pos t on for
full task support.
Sl de the lever back wh le the seat and back are upr ght to
lock nto upr ght work pos t on.
Sl de the lever forward to unlock and free float.
3. Tilt Tension Adjustment — Increases or decreases the
amount of effort needed to recl ne n the cha r.
Turn the knob counterclockw se to decrease the amount of
tens on requ red to t lt the cha r back.
Turn the knob clockw se to ncrease the amount of tens on
requ red to t lt the cha r back.
4. B ck Height Adjustment — Prov des custom lumbar support.
From a seated or stand ng pos t on, l ft up on the back to
adjust the back he ght to one of f ve preset pos t ons.
L ft the back to ts max mum he ght n order to release the
nternal back he ght mechan sm and return the back to the
lowest pos t on.
5. Arm Height Adjustment — Enables arms to adjust to your
body s ze and personal preference.
L ft up on lever, and adjust arm he ght to des red pos t on.
Release lever to lock arm nto place.
6. M nu l Se t Depth Adjustment — Loosen (do not remove)
three hex head screws located on bottom s de of cha r back
assembly, and adjust back to des red s tt ng depth.
T ghten three hex bolts to 200 n. lbs.
Refer to nstruct ons located on the bottom of the seat.
Back He ght
Adjustment
4
T lt Tens on
Adjustment 3
T lt Lock
2
Seat He ght
Adjustment
1
Manual Seat Depth
Adjustment
6
Arm He ght
Adjustment
5
SEATING INSTRUCTIONS
Trooper Work Stool
1. Se t Height Adjustment — Enables the seat to adjust to
the preferred he ght.
To ra se the seat, l ft your we ght off the seat and pull up on
the lever; release lever when seat reaches des red he ght.
To lower the seat, l ft up on the lever wh le you are seated;
release lever when seat reaches des red he ght.
2. B ck Height Adjustment — Prov des custom lumbar support.
From a seated or stand ng pos t on, l ft up on the back to adjust
the back he ght to one of f ve preset pos t ons.
L ft the back to ts max mum he ght n order to release the
nternal back he ght mechan sm and return the back to the
lowest pos t on.
3. Arm Height Adjustment — Enables arms to adjust to your
body s ze and personal preference.
L ft up on lever, and adjust arm he ght to des red pos t on.
Release lever to lock arm nto place.
4. Arm Width Adjustment — Enables arms to adjust to
your body s ze and personal preference.
Turn knob counterclockw se to loosen.
Adjust arm n or out to des red w dth.
Turn knob clockw se to t ghten.
5. Footring Height Adjustment — Ensures comfortable pos t on
for feet and legs, regardless of cha r pos t on or user he ght.
Turn knob counterclockw se to loosen.
Move footr ng to des red he ght, mak ng sure that the thread on
the adjustment knob s seated nto one of e ght reta n ng slots.
Turn knob clockw se to t ghten.
Back He ght
Adjustment
2
Footr ng He ght
Adjustment
5
Arm He ght
Adjustment
3
Arm W dth
Adjustment
4
Seat He ght
Adjustment
1
SEATING INSTRUCTIONS
Trooper L rge nd T ll
1. Se t Height Adjustment — Enables the seat to adjust to
the preferred he ght.
To ra se the seat, l ft your we ght off the seat and pull up on
the lever; release lever when seat reaches des red he ght.
To lower the seat, l ft up on the lever wh le you are seated;
release lever when seat reaches des red he ght.
2. Tilt Lock — Locks the cha r n an upr ght pos t on for
full task support.
Sl de the lever back wh le the seat and back are upr ght to
lock nto upr ght work pos t on.
Sl de the lever forward to unlock and free float.
3. Tilt Tension Adjustment — Increases or decreases the
amount of effort needed to recl ne n the cha r.
Turn the knob counterclockw se to decrease the amount of
tens on requ red to t lt the cha r back.
Turn the knob clockw se to ncrease the amount of tens on
requ red to t lt the cha r back.
4. B ck Height Adjustment — Prov des custom lumbar support.
From a seated or stand ng pos t on, l ft up on the back to
adjust the back he ght to one of f ve preset pos t ons.
L ft the back to ts max mum he ght n order to release the
nternal back he ght mechan sm and return the back to the
lowest pos t on.
5. Arm Height Adjustment — Enables arms to adjust to your
body s ze and personal preference.
L ft up on lever, and adjust arm he ght to des red pos t on.
Release lever to lock arm nto place.
6. M nu l Se t Depth Adjustment — Loosen (do not remove)
three hex head screws located on bottom s de of cha r back
assembly, and adjust back to des red s tt ng depth.
T ghten three hex bolts to 200 n. lbs.
Refer to nstruct ons located on the bottom of the seat.
Back He ght
Adjustment
4
T lt Tens on
Adjustment 3
T lt Lock
2
Seat He ght
Adjustment
1
Manual Seat Depth
Adjustment
6
Arm He ght
Adjustment
5
User information:
Installers do not remove.
Per od cally nspect mechan sms for loose, broken, or
m ss ng parts. If any m ss ng parts or loose or broken
mechan sms are found, remove the cha r from use unt l
repa rs are made us ng factory author zed parts.
F nd out more about Allsteel products at Allsteeloffice.com.
Product m ts or xc ds
ANSI/BIFMA p rformanc
standards for busin ss
and institutional furnitur ,
and is back d by th
Allst l Lif tim Warranty.
©2009 Allst l Inc.
Allst l and Troop r ar r gist r d
trad marks and D sign d to work.
Built to last is a trad mark.
Allst l Inc.
Muscatin , Iowa 52761-5257
llsteeloffice.com
Part #442-9771B Print d in U.S.A.
SEATING INSTRUCTIONS
Trooper®

Other Allsteel Indoor Furnishing manuals

Allsteel Park Easel Service manual

Allsteel

Allsteel Park Easel Service manual

Allsteel Park User manual

Allsteel

Allsteel Park User manual

Allsteel Quip User manual

Allsteel

Allsteel Quip User manual

Allsteel Townhall Series User manual

Allsteel

Allsteel Townhall Series User manual

Allsteel Laminate Casegoods User manual

Allsteel

Allsteel Laminate Casegoods User manual

Allsteel CONCENSYS CAPE User manual

Allsteel

Allsteel CONCENSYS CAPE User manual

Allsteel Cadence Applica Freestanding Desk User manual

Allsteel

Allsteel Cadence Applica Freestanding Desk User manual

Allsteel Harvest Rustic Standing Height Table User manual

Allsteel

Allsteel Harvest Rustic Standing Height Table User manual

Allsteel Involve KAPE-E Service manual

Allsteel

Allsteel Involve KAPE-E Service manual

Allsteel Terrace DNA User manual

Allsteel

Allsteel Terrace DNA User manual

Allsteel GZCKP User manual

Allsteel

Allsteel GZCKP User manual

Allsteel Optimize Service manual

Allsteel

Allsteel Optimize Service manual

Allsteel Harvest User manual

Allsteel

Allsteel Harvest User manual

Allsteel Universal Screens User manual

Allsteel

Allsteel Universal Screens User manual

Allsteel Further Series User manual

Allsteel

Allsteel Further Series User manual

Allsteel Park NA96RCF User manual

Allsteel

Allsteel Park NA96RCF User manual

Allsteel Further User manual

Allsteel

Allsteel Further User manual

Allsteel Mind-Share Service manual

Allsteel

Allsteel Mind-Share Service manual

Allsteel Access User manual

Allsteel

Allsteel Access User manual

Allsteel A8 User manual

Allsteel

Allsteel A8 User manual

Allsteel MERGE Service manual

Allsteel

Allsteel MERGE Service manual

Allsteel Approach User manual

Allsteel

Allsteel Approach User manual

Allsteel Park Series User manual

Allsteel

Allsteel Park Series User manual

Allsteel All-Around Table User manual

Allsteel

Allsteel All-Around Table User manual

Popular Indoor Furnishing manuals by other brands

Furniture of America CM6412-CH Assembly instructions

Furniture of America

Furniture of America CM6412-CH Assembly instructions

Home Decorators Collection DIGBY 18 instruction manual

Home Decorators Collection

Home Decorators Collection DIGBY 18 instruction manual

Amart Furniture NEBULA 66114 Assembly instruction

Amart Furniture

Amart Furniture NEBULA 66114 Assembly instruction

Furniture of America CM4511E Assembly instructions

Furniture of America

Furniture of America CM4511E Assembly instructions

italor E-8002 Assembly instructions

italor

italor E-8002 Assembly instructions

FMD Furniture MADAGASKAR 4 Assembly instructions

FMD Furniture

FMD Furniture MADAGASKAR 4 Assembly instructions

Julian Bowen Limited Fullerton FUL002 Assembly instructions

Julian Bowen Limited

Julian Bowen Limited Fullerton FUL002 Assembly instructions

Clou match me CL/07.56.301.50.L installation instructions

Clou

Clou match me CL/07.56.301.50.L installation instructions

cnouch PABLO 3200 Assembly Instructions Instruction Manual

cnouch

cnouch PABLO 3200 Assembly Instructions Instruction Manual

Forte TIQT121 Assembling Instruction

Forte

Forte TIQT121 Assembling Instruction

Vanico Maronyx NEO Series installation guide

Vanico Maronyx

Vanico Maronyx NEO Series installation guide

KI Likha Casegoods Assembly instructions

KI

KI Likha Casegoods Assembly instructions

Kimball XSEDE Assembly instructions

Kimball

Kimball XSEDE Assembly instructions

Forte MGAT221 Assembling Instruction

Forte

Forte MGAT221 Assembling Instruction

MARMEX QUERTY WIT70 Assembly instruction

MARMEX

MARMEX QUERTY WIT70 Assembly instruction

FURNINXS FNSS02 instruction manual

FURNINXS

FURNINXS FNSS02 instruction manual

MATTRESS FIRM 500 owner's manual

MATTRESS FIRM

MATTRESS FIRM 500 owner's manual

Autonomous ErgoChair Assembly instructions

Autonomous

Autonomous ErgoChair Assembly instructions

manuals.online logo
manuals.online logoBrands
  • About & Mission
  • Contact us
  • Privacy Policy
  • Terms and Conditions

Copyright 2025 Manuals.Online. All Rights Reserved.