Allsteel Optimize Service manual


Table of contents
Other Allsteel Indoor Furnishing manuals
Allsteel
Allsteel Further User manual

Allsteel
Allsteel Park NA96RCF User manual

Allsteel
Allsteel MERGE Service manual

Allsteel
Allsteel Laminate Casegoods User manual

Allsteel
Allsteel Harvest User manual
Allsteel
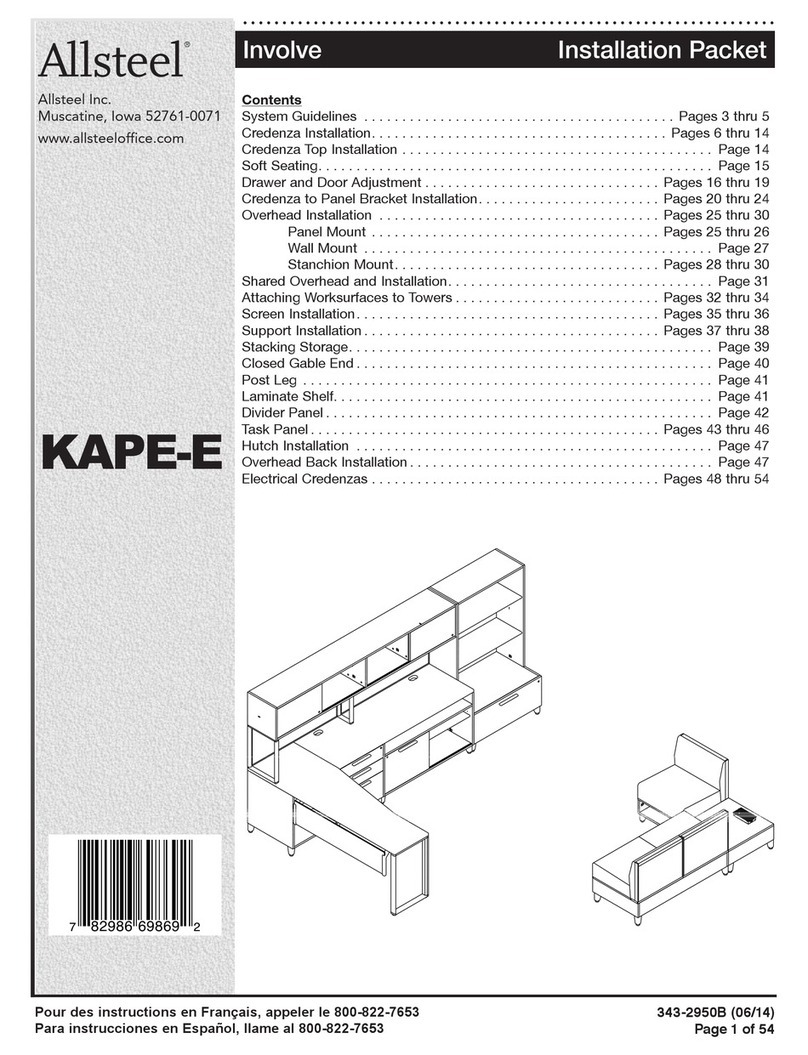
Allsteel Involve KAPE-E Service manual

Allsteel
Allsteel Park Easel Service manual
Allsteel
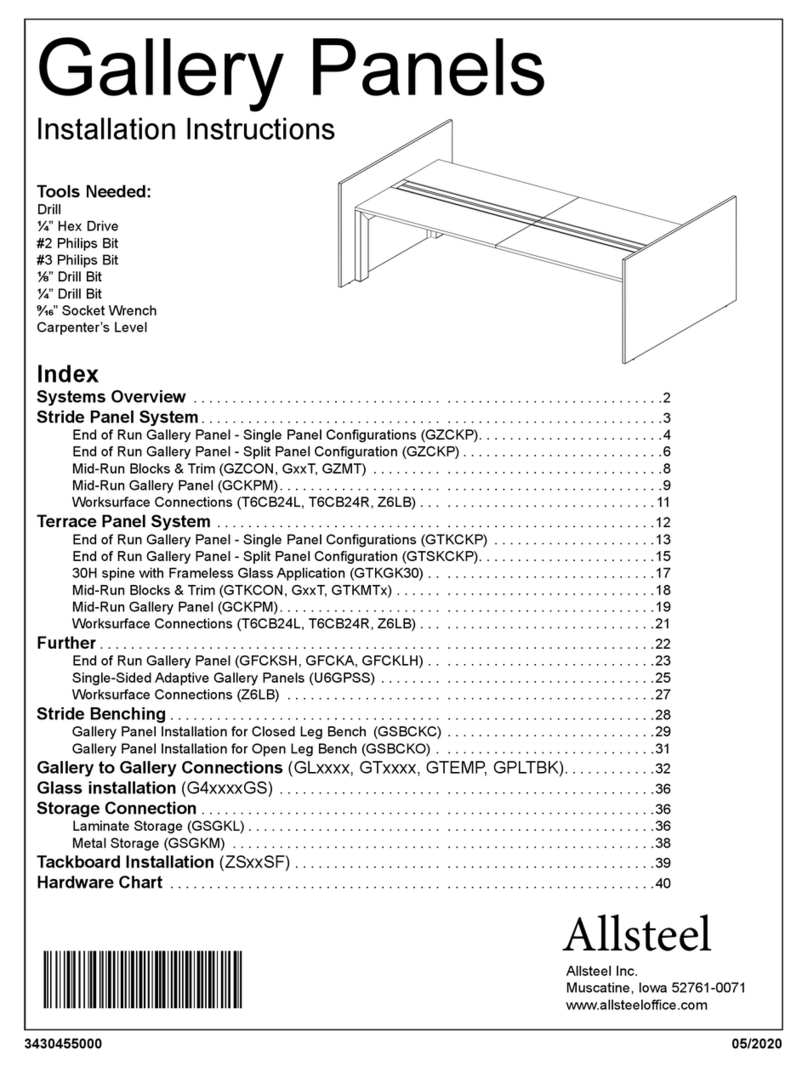
Allsteel GZCKP User manual
Allsteel
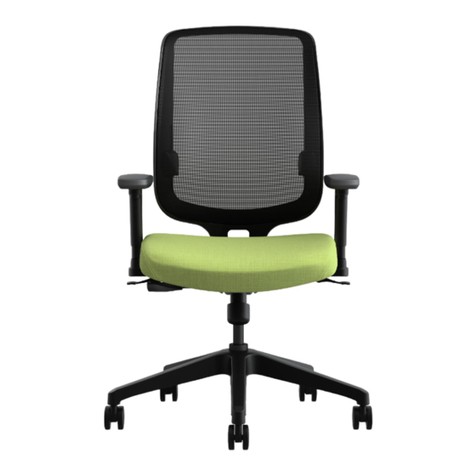
Allsteel Access User manual
Allsteel
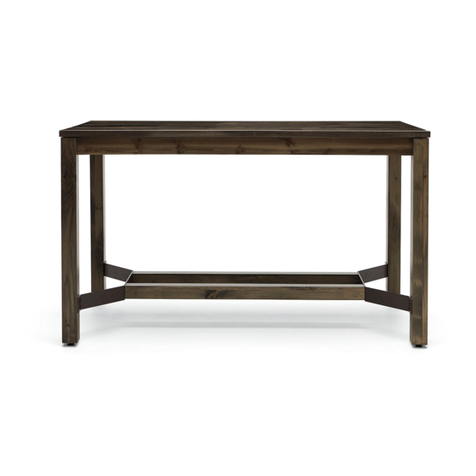
Allsteel Harvest Rustic Standing Height Table User manual
Allsteel
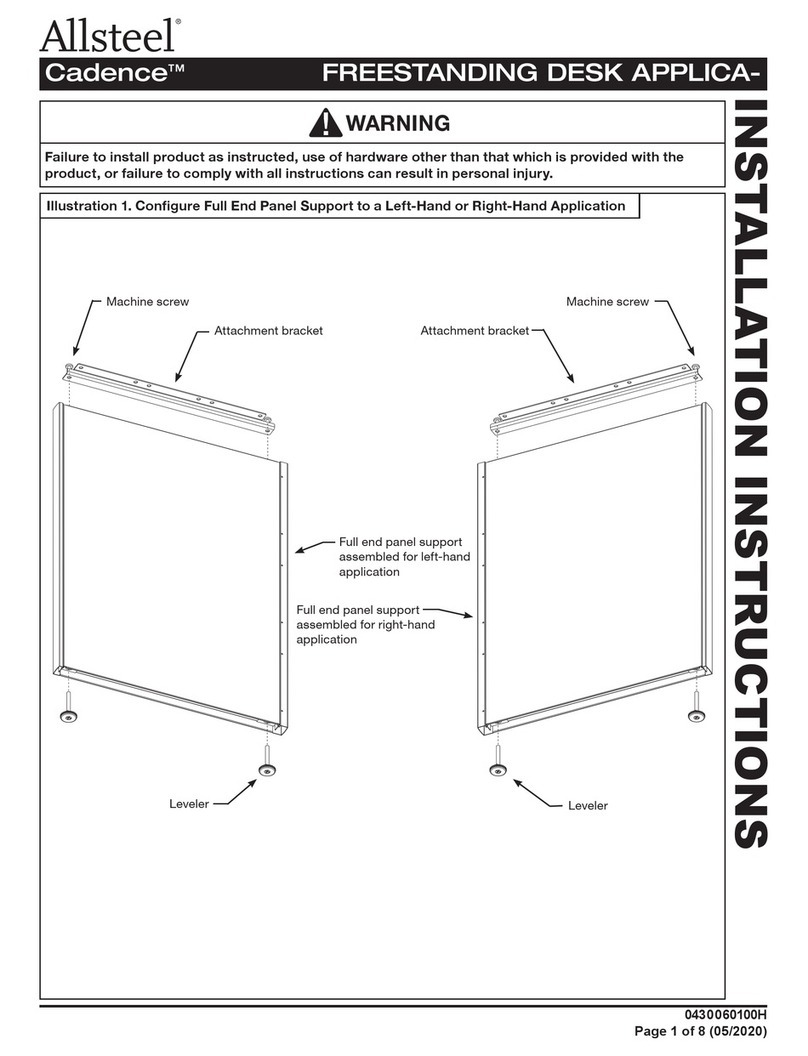
Allsteel Cadence Applica Freestanding Desk User manual

Allsteel
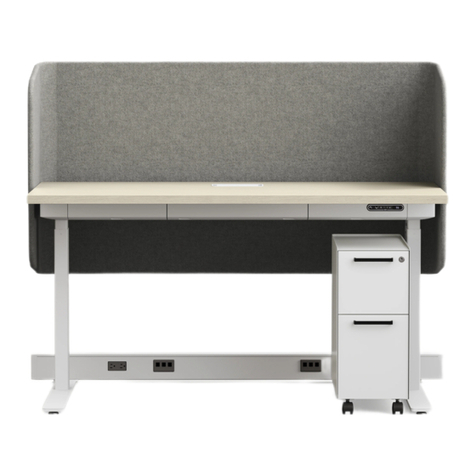
Allsteel Universal Screens User manual
Allsteel
Allsteel A8 User manual

Allsteel
Allsteel Mind-Share Service manual
Allsteel
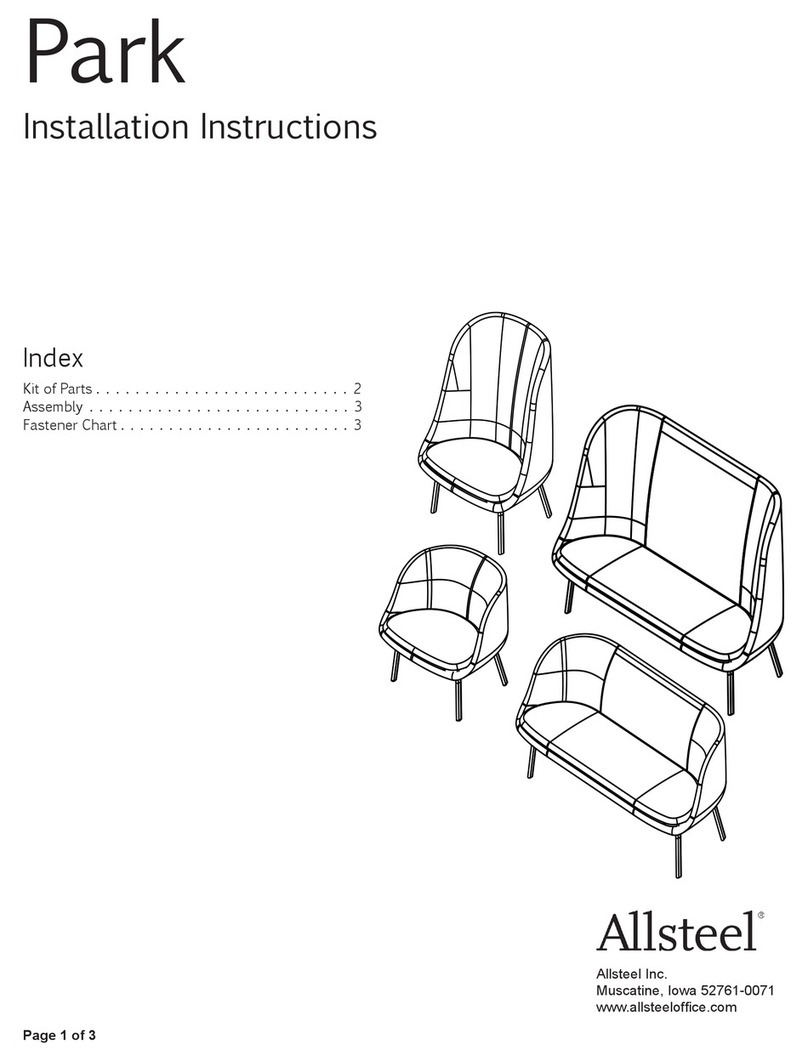
Allsteel Park User manual

Allsteel
Allsteel Quip User manual

Allsteel
Allsteel Terrace DNA User manual

Allsteel
Allsteel Townhall Series User manual

Allsteel
Allsteel Park Series User manual

Allsteel
Allsteel Trooper User manual
Popular Indoor Furnishing manuals by other brands

Whittier Wood Furniture
Whittier Wood Furniture 1356AFGAC McKenzie Assembly instructions

Displays2go
Displays2go LECTFLCHW Assembly instructions
HOME RETAIL GROUP
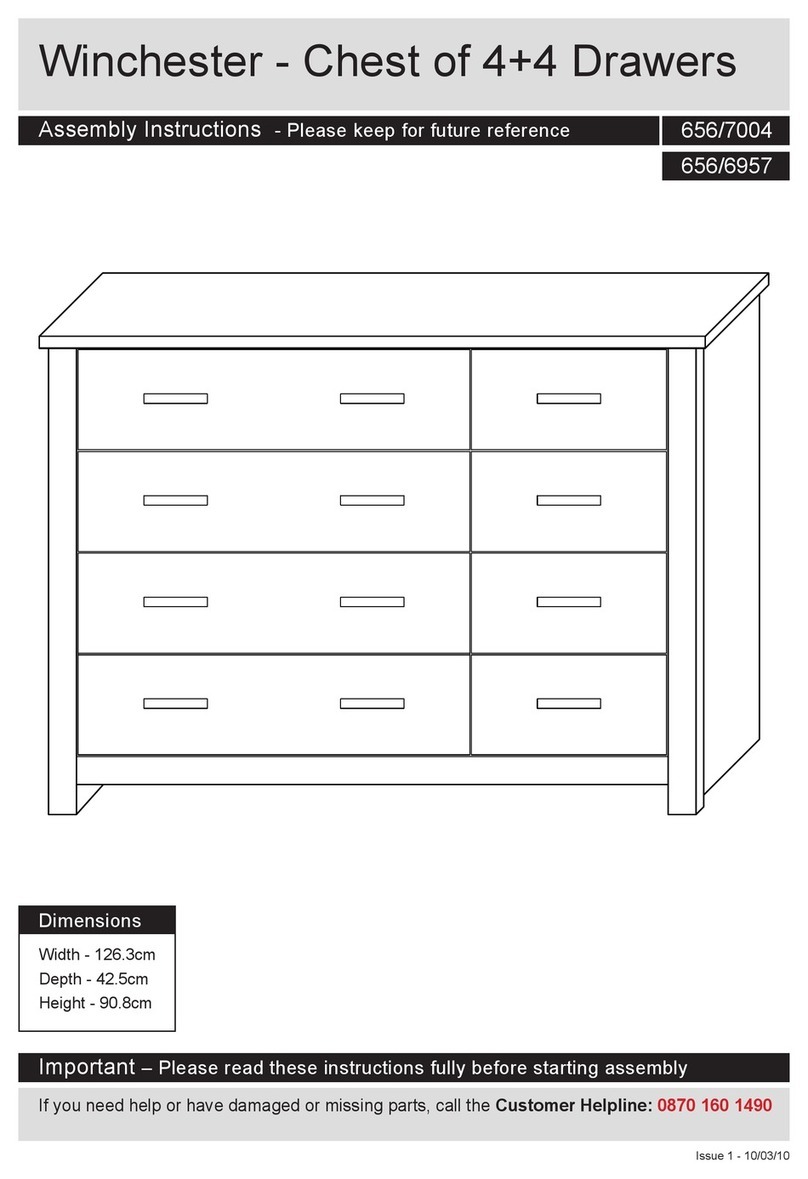
HOME RETAIL GROUP Winchester 656/7004 Assembly instructions

Invacare
Invacare Softform Premier Active 2 user manual

Stevens
Stevens ToT mate TM2185R manual
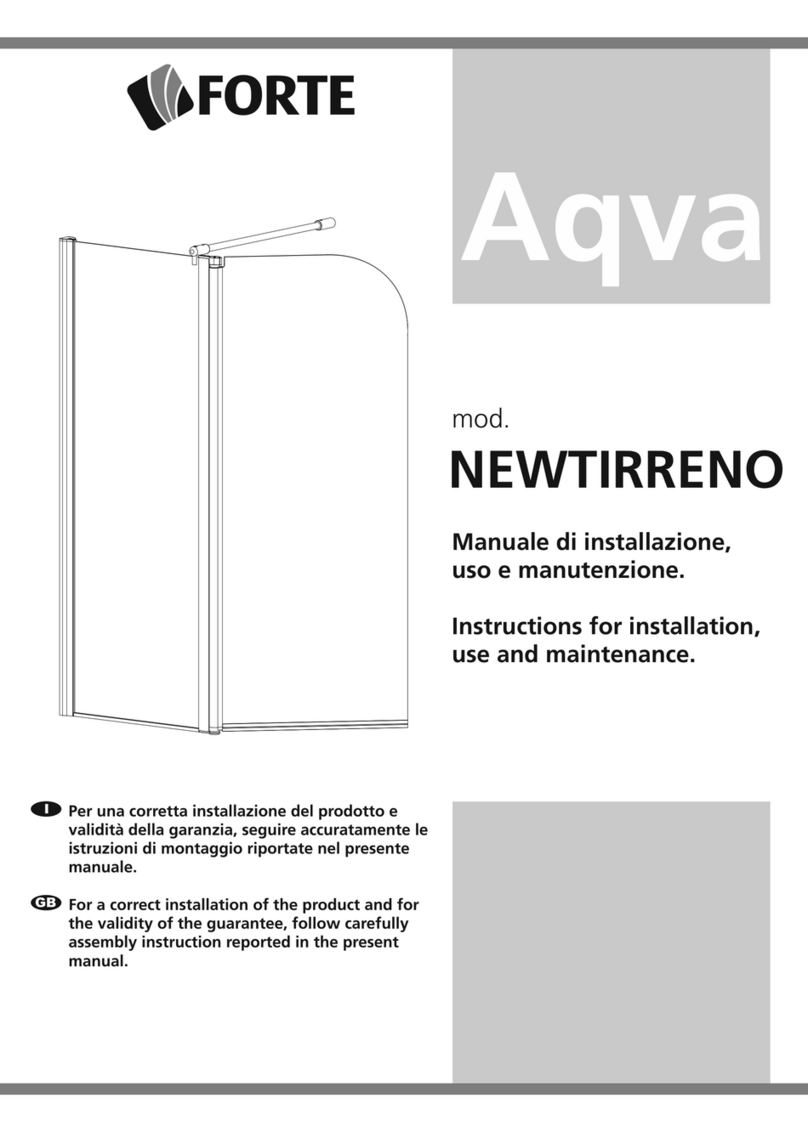
Forte
Forte Aqva NEWTIRRENO Instructions for installation, use and maintenance
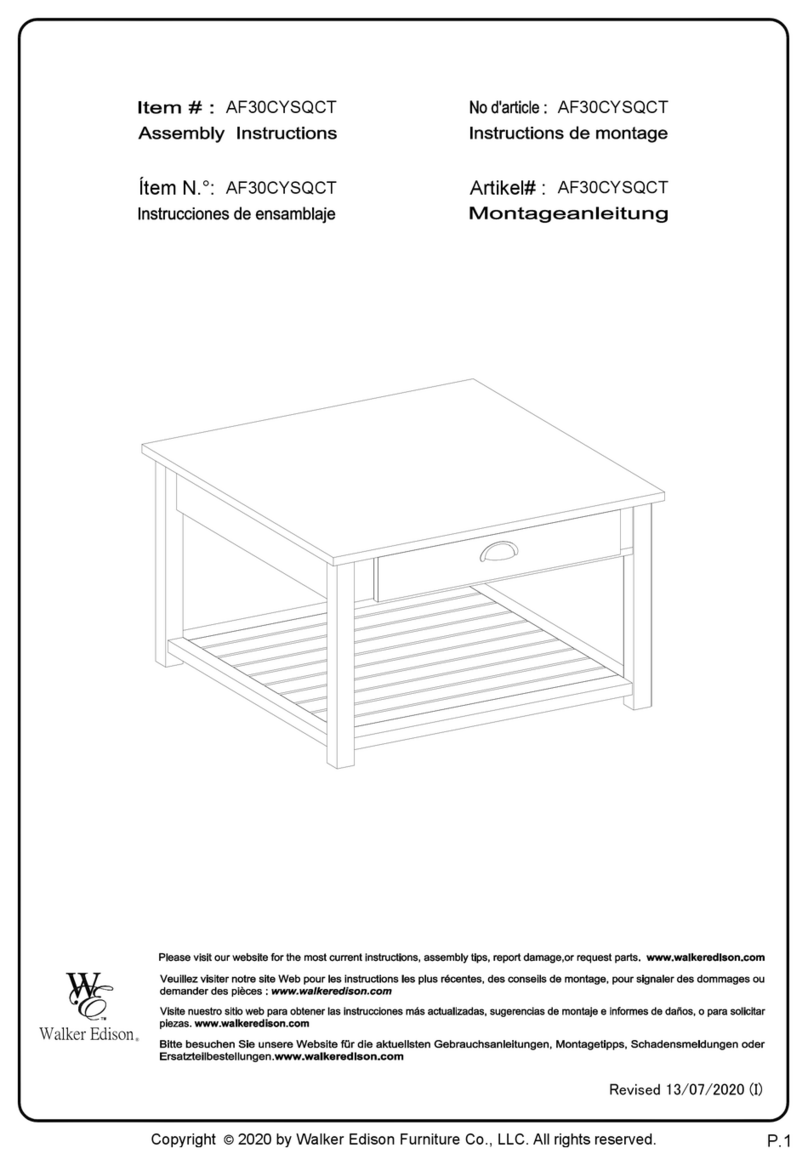
Walker Edison
Walker Edison AF30CYSQCT Assembly instructions

tropitone
tropitone 800154FTCH/GL Installation and operating instructions
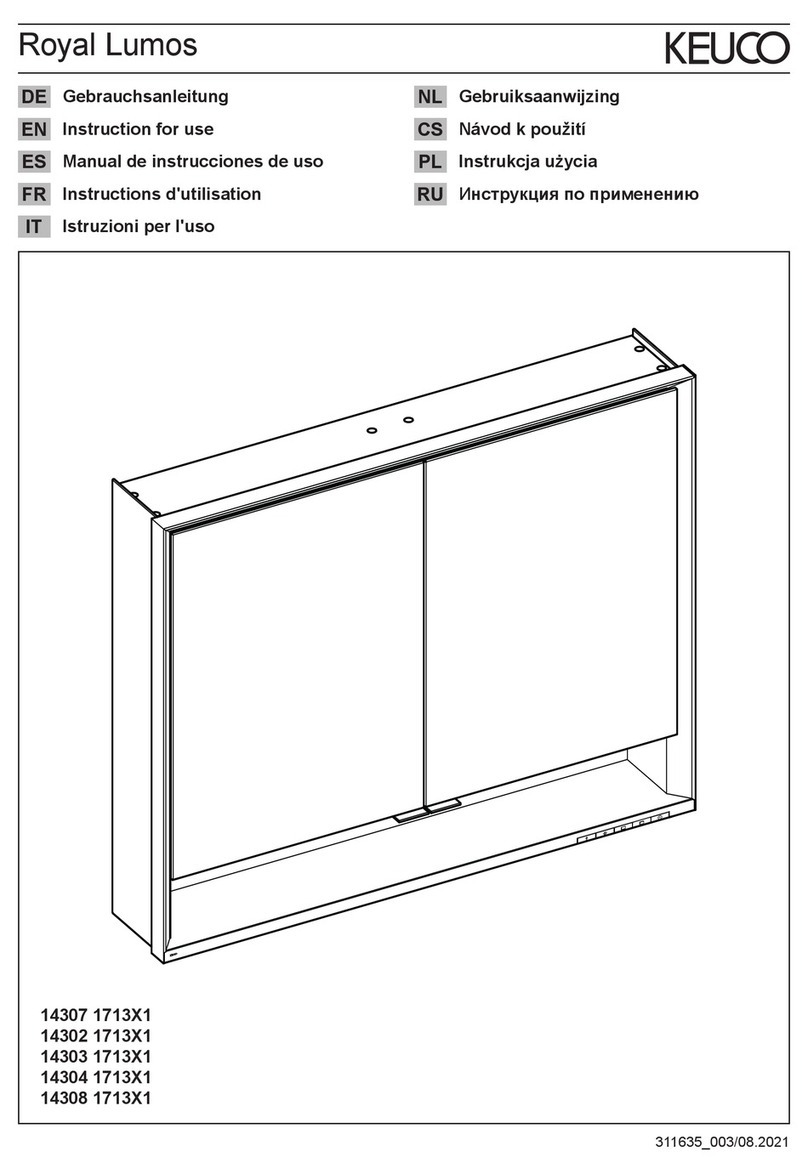
KEUCO
KEUCO Royal Lumos 14304171331 Instructions for use
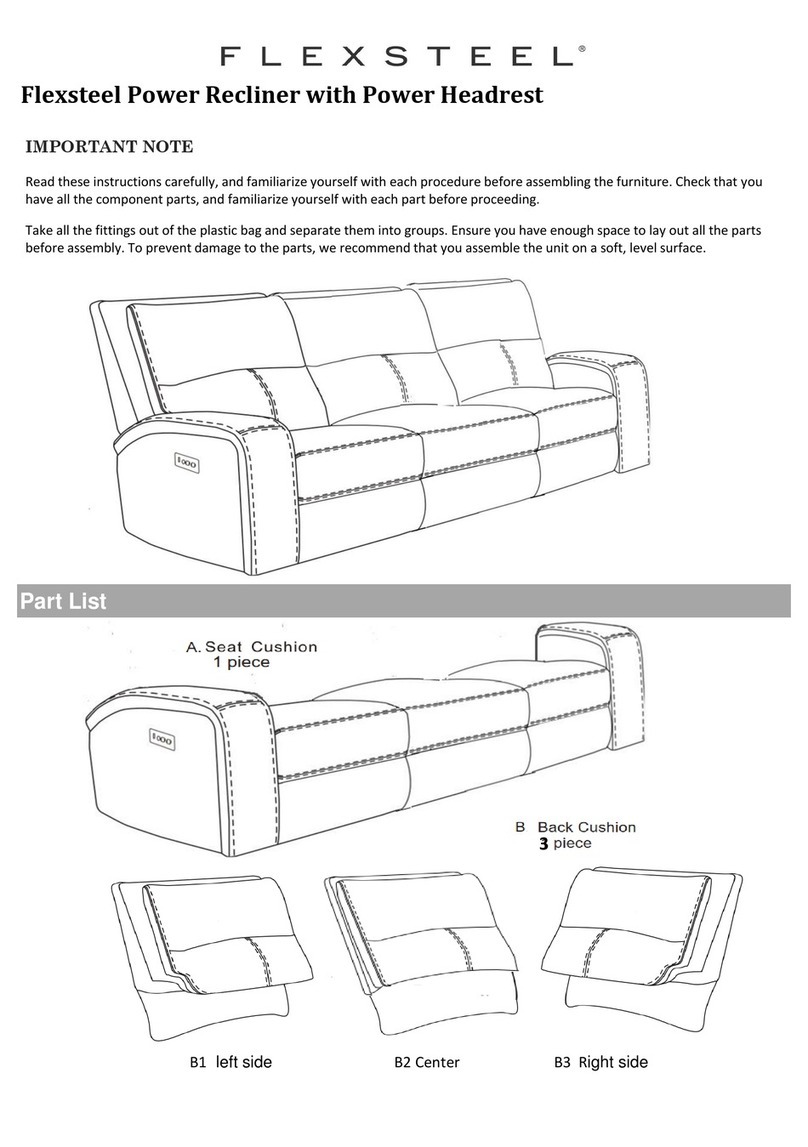
Flexsteel home
Flexsteel home Nirvana 165062PH manual

Costway
Costway JV10741 manual

Dorel
Dorel WM7891TBB Assembly instructions
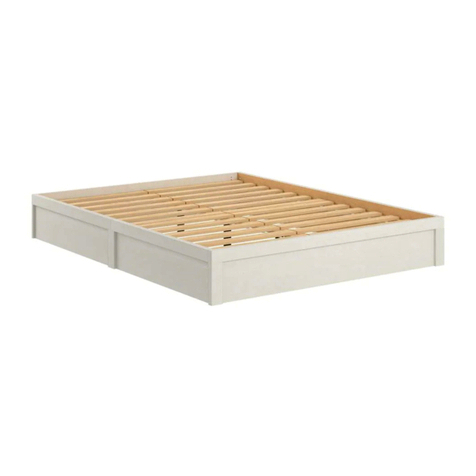
Ameriwood HOME
Ameriwood HOME 5961330COM Assembly manual

Blanco
Blanco BLANCOTERRA 157-143 Specification sheet
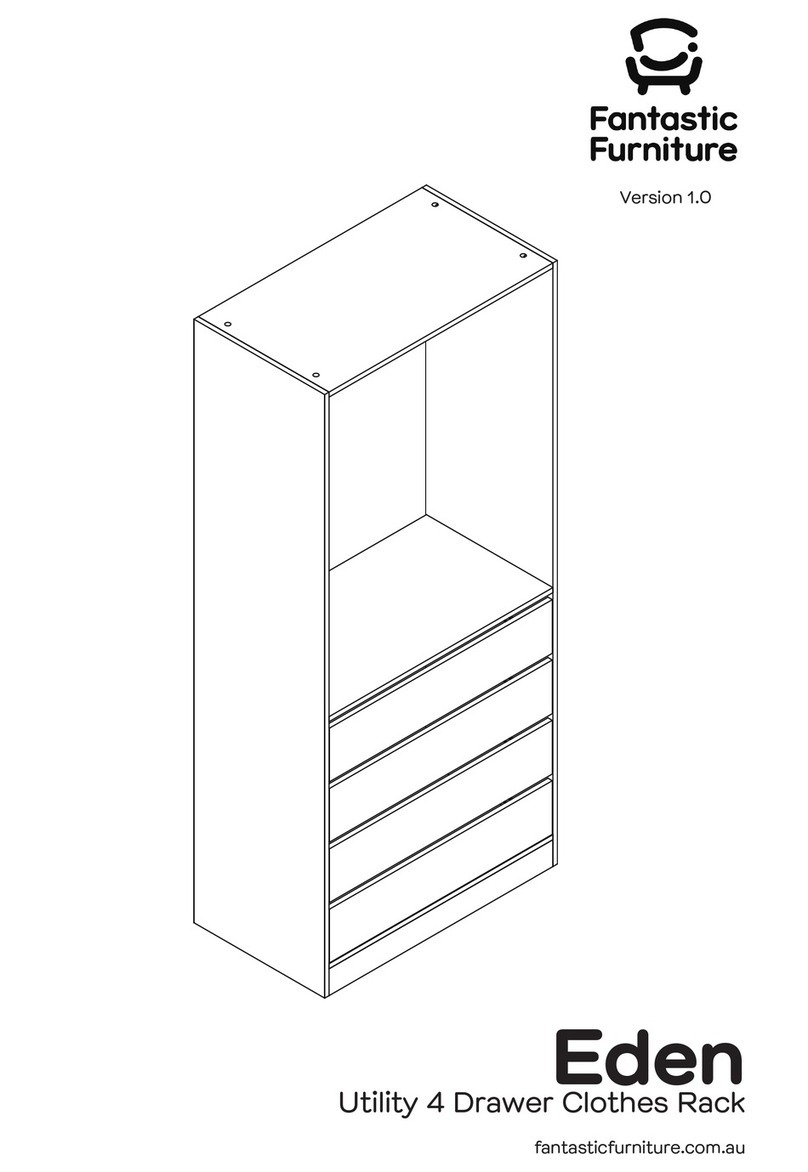
fantastic furniture
fantastic furniture Eden Utility 4 Drawer Clothes Rack manual

INNOLIVING
INNOLIVING Beaute INN-805 user manual
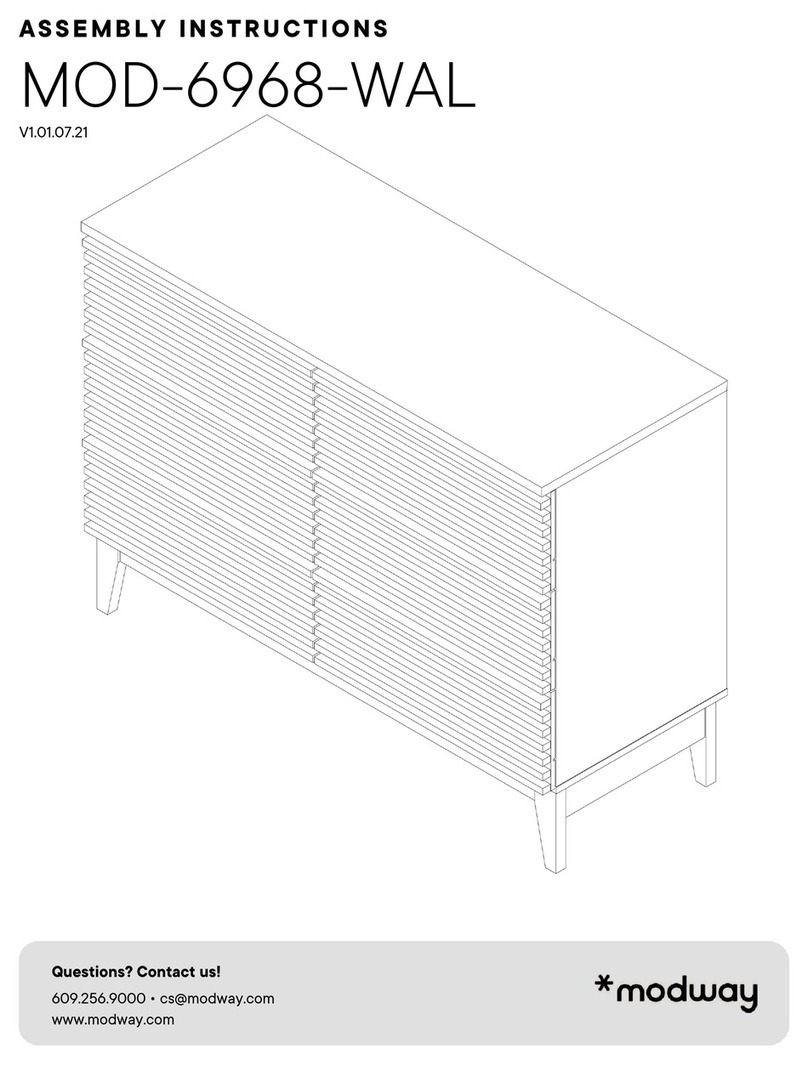
modway
modway MOD-6968-WAL Assembly instructions

Systembuild Evolution
Systembuild Evolution 4621056COM Instruction booklet
